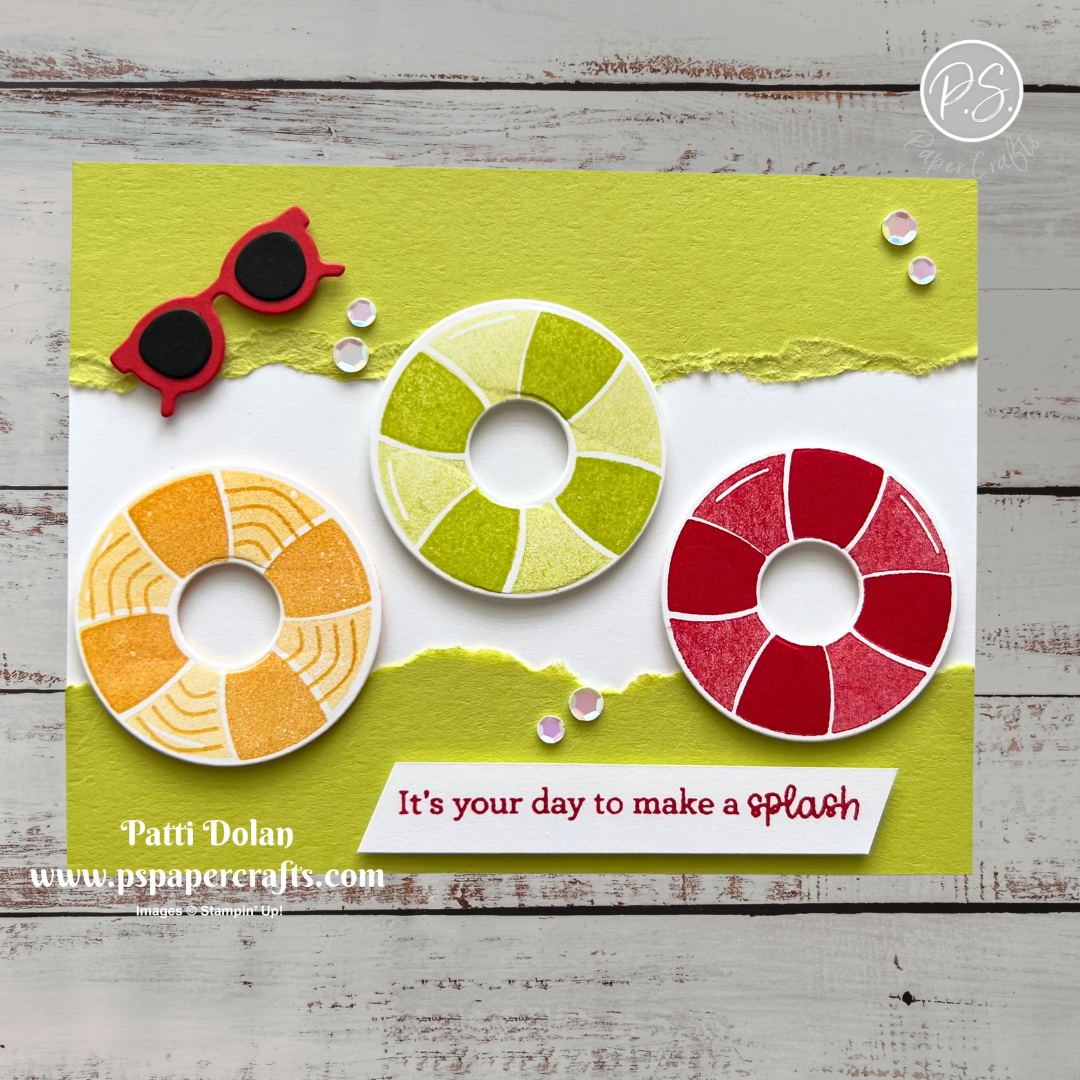
Splash & Relax Color Combo

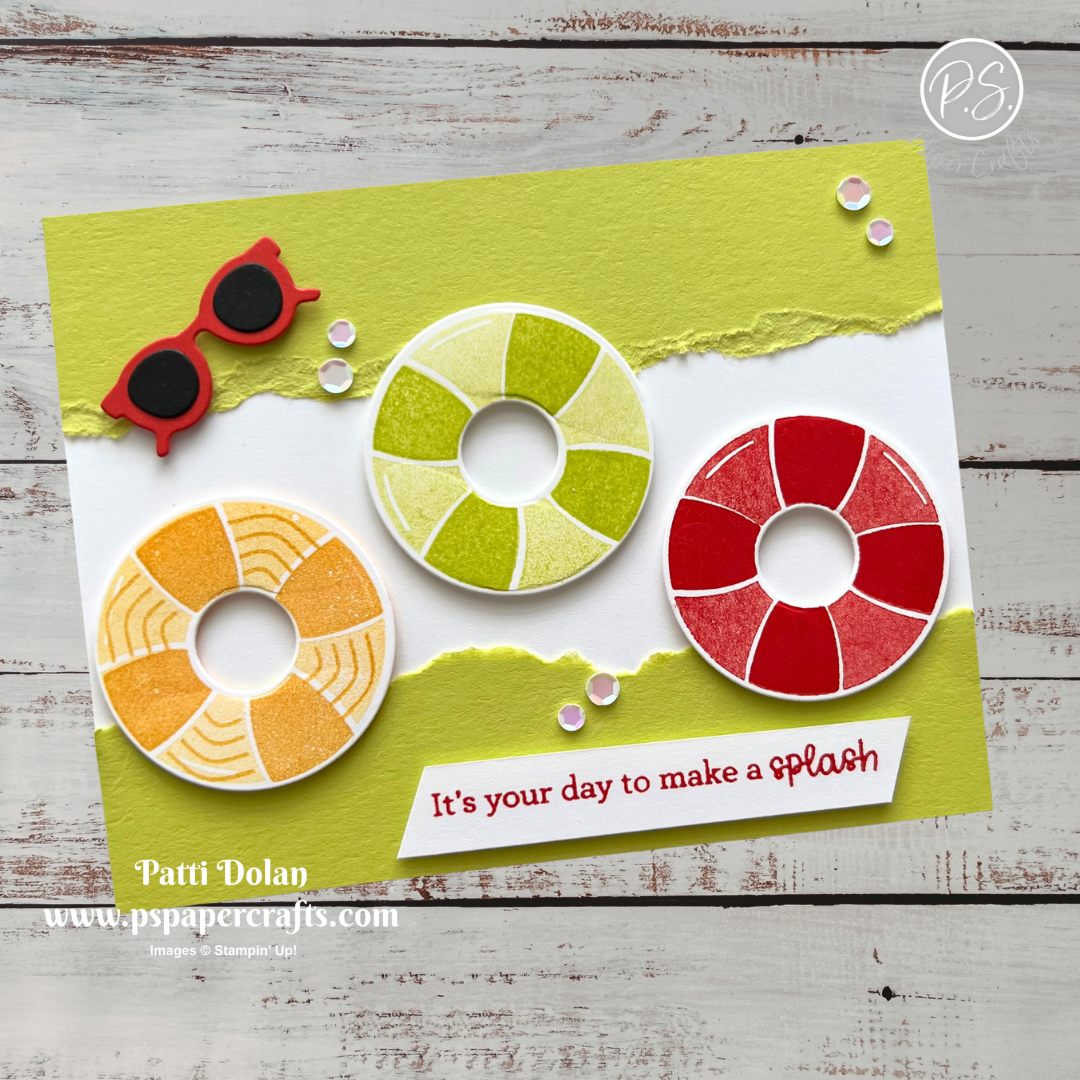
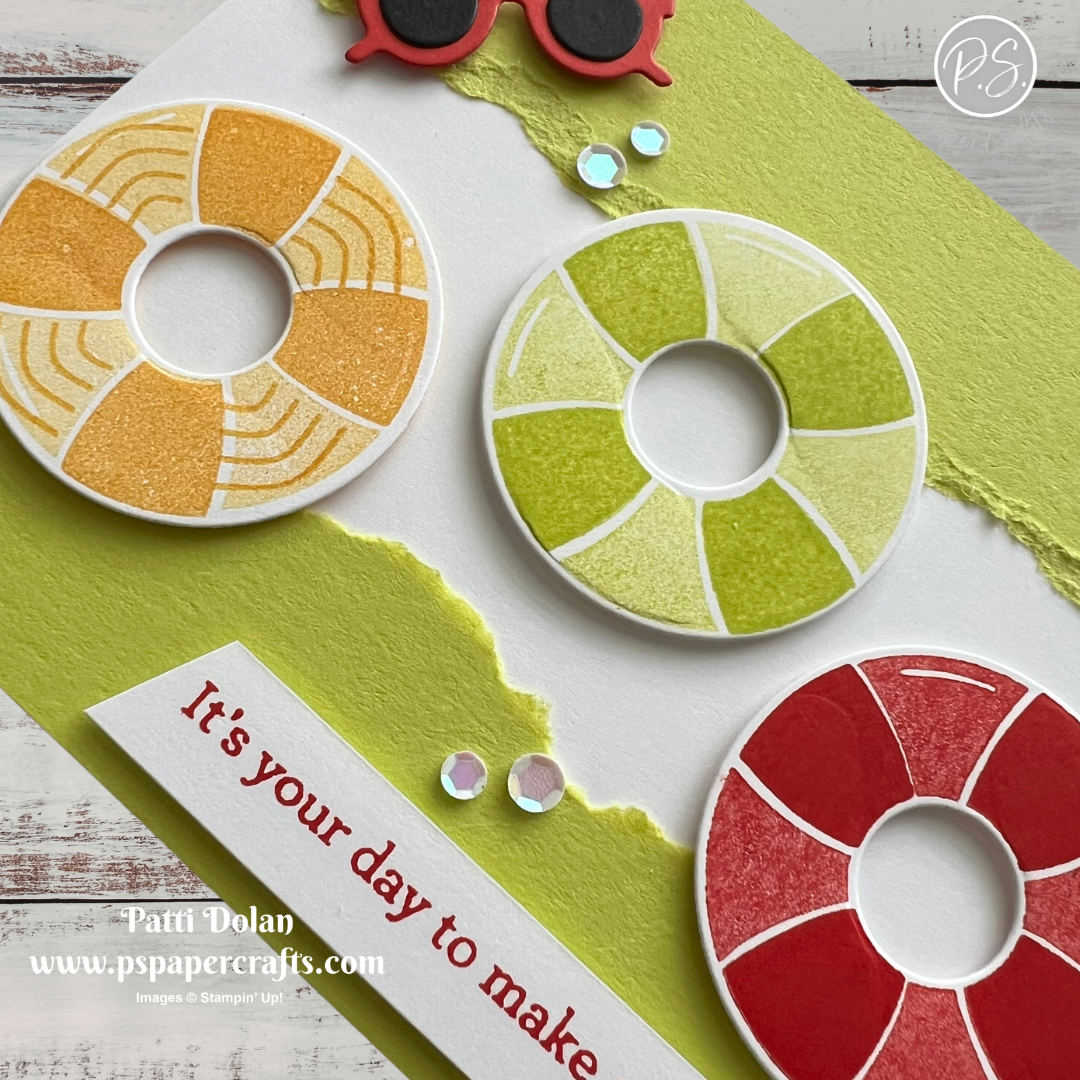
This is such a fun summer card. I used the Splash & Relax Bundle to create it and love how it turned out.


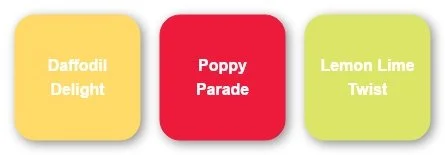
The Color Combo is from my June Inspiration Calendar - Daffodil Delight, Poppy Parade and Lemon Lime Twist.

You can get my calendar each month when you subscribe to my email list.


Tips & Instructions

  • Lemon Lime Twist - 5-1/2 x 8-1/2, score at 4-1/4

  • Basic White Layer - 4-1/4 x 5-1/2

  • Lemon Lime Twist - 5-1/2 x about 2-3/4, tear in half and adhere to the top and bottom of the Basic White layer. Adhere the layer to the card base.

  • Stamp 3 swim tubes on Basic White using Daffodil Delight, Lemon Lime Twist and Poppy Parade inks. I first stamped the full image by stamping off first on a piece of scrap paper to get the lighter shade. Next I stamped the image with the 4 wide strips direct with the same color. For the Daffodil Delight tube, I added the thin stripes in the light areas using Daffodil Delight ink.

  • Die cut the tubes with the coordinating die.

  • Die cut the sunglasses from Poppy Parade and the lenses from Basic Black. Adhere the lenses to the glasses.

  • Adhere the swim tubes and sunglasses to the card with Dimensionals.

  • Add some Sunset Sparkle Sequins.


On the inside layer (4 x 5-1/4), stamp the sentiment in Poppy Parade ink. Stamp the beach ball in Lemon Lime Twist ink, stamping off for one image and direct for the other.
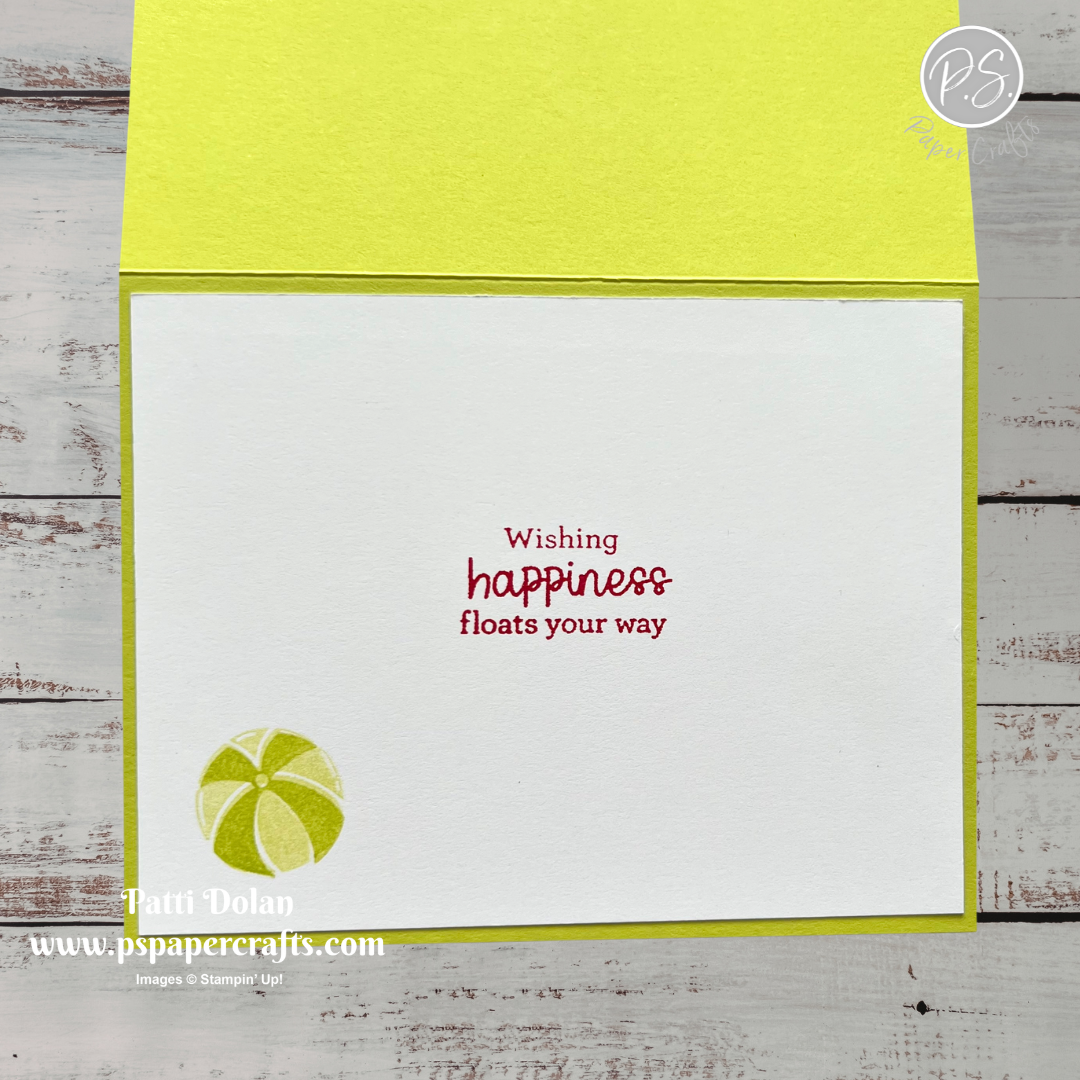


I love the bright colors for this card, truly a summer vibe!


Supply List

You can click on the item to purchase it from my Online Store.
 

Sketch Challenge - Forever Florals

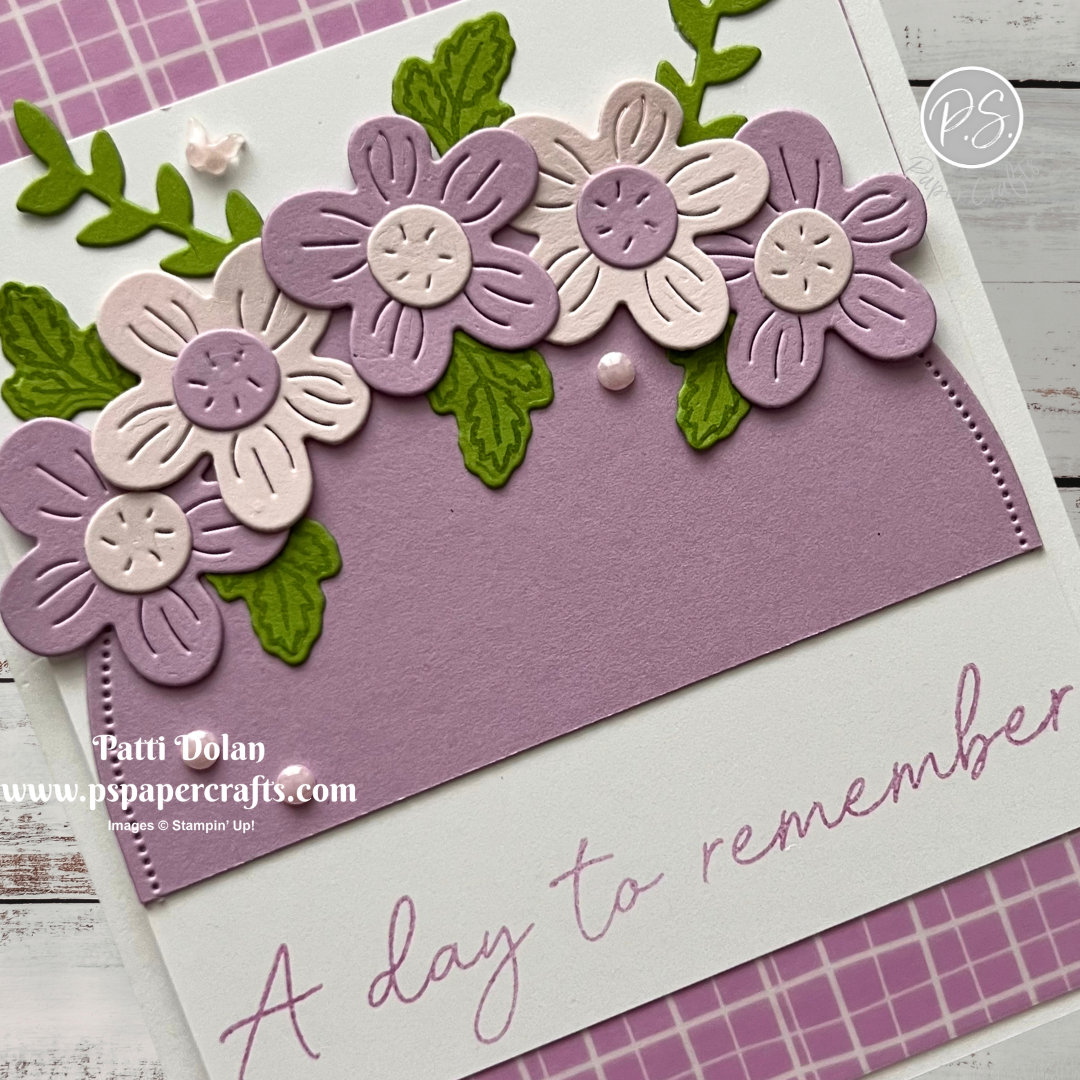
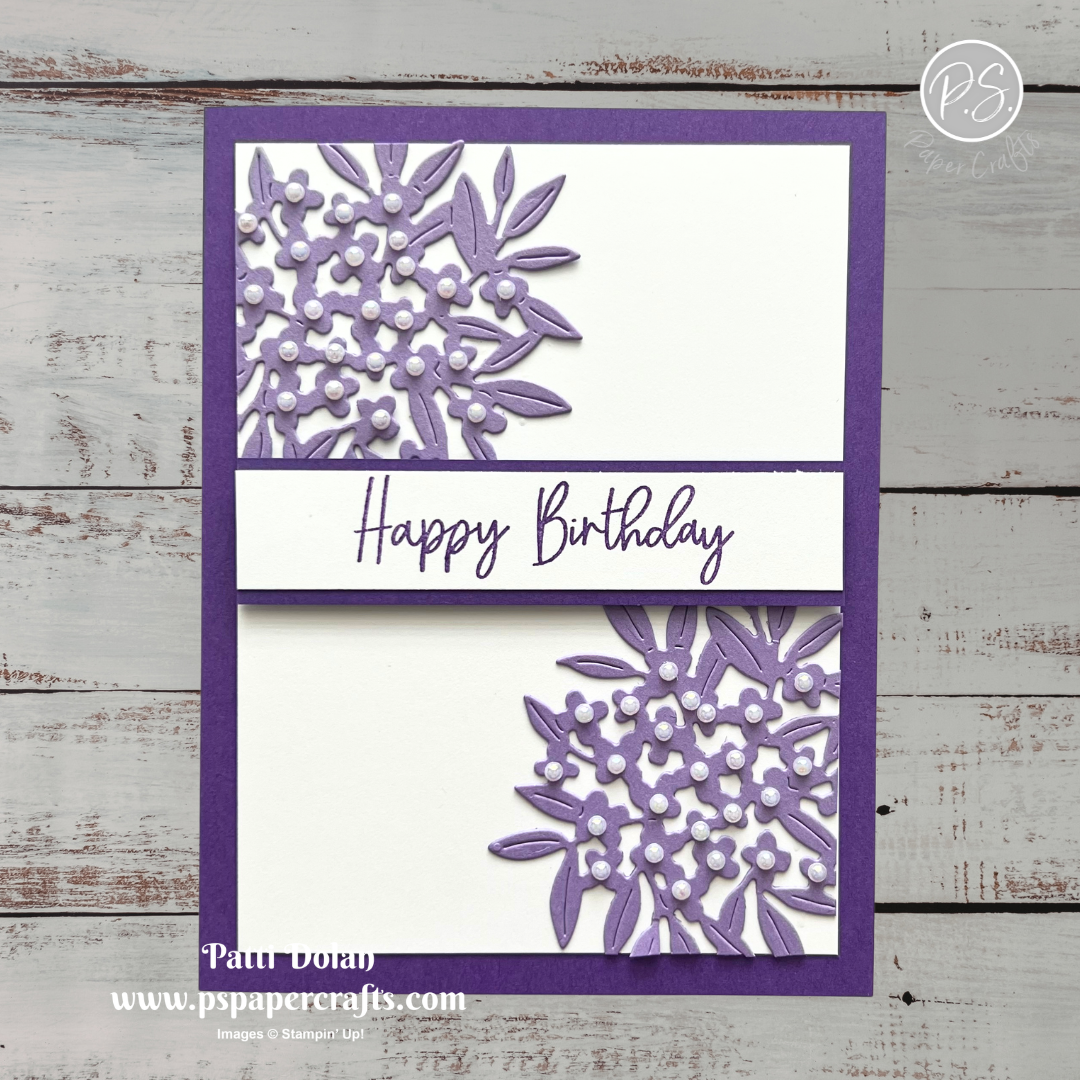
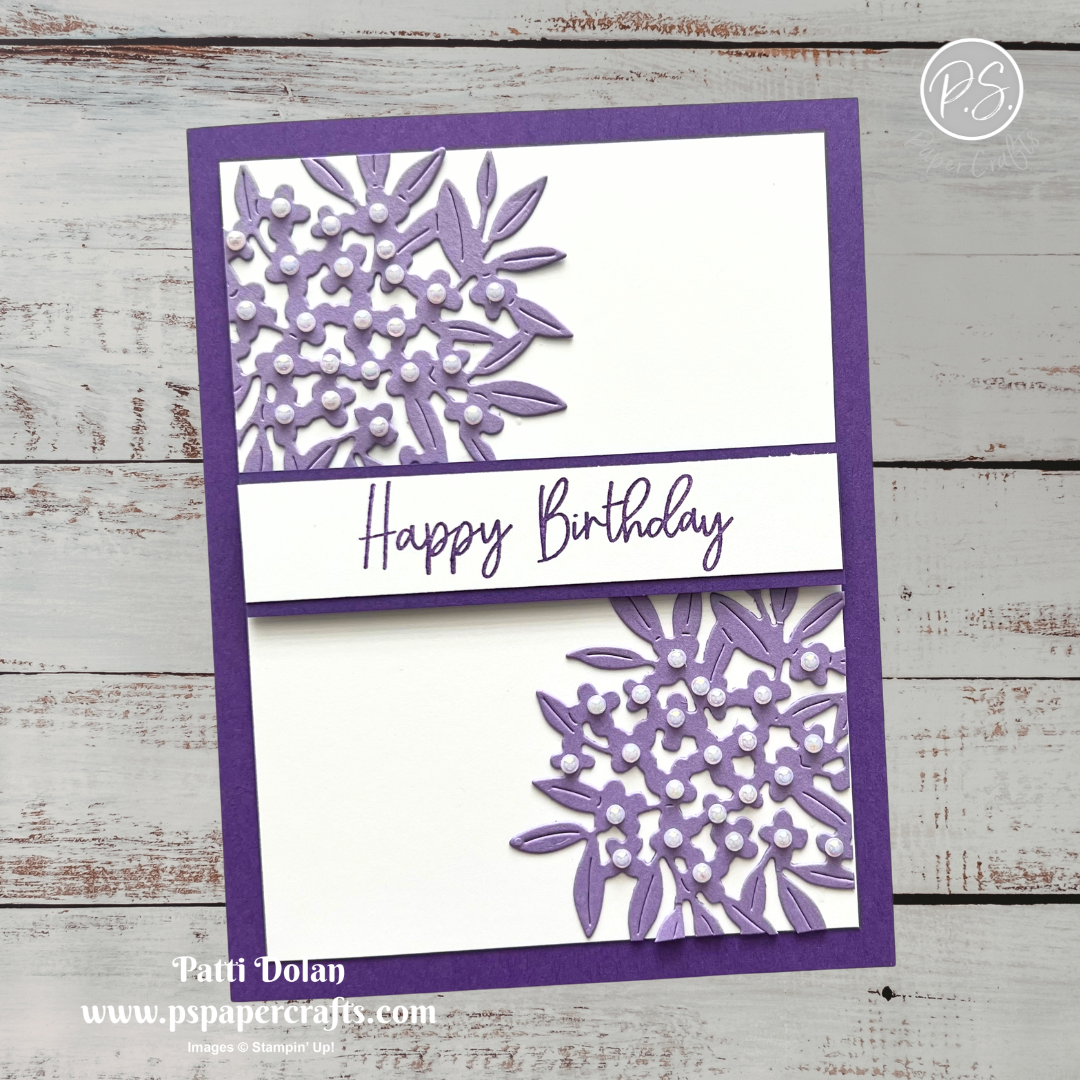
I love Highland Heather and Gorgeous Grape together and decided to use them for this pretty Birthday Card. I made it for the weekly Splitcoaststampers Sketch Challenge.


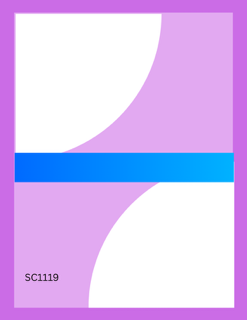
Here’s the sketch I used. You can see all the projects posted for this week’s challenge by clicking on the sketch below.


Tips & Instructions

  • Gorgeous Grape Card Base - 5-1/2 x 8-1/2, score at 4-1/4

  • Basic White Layer - 3-3/4 x 5

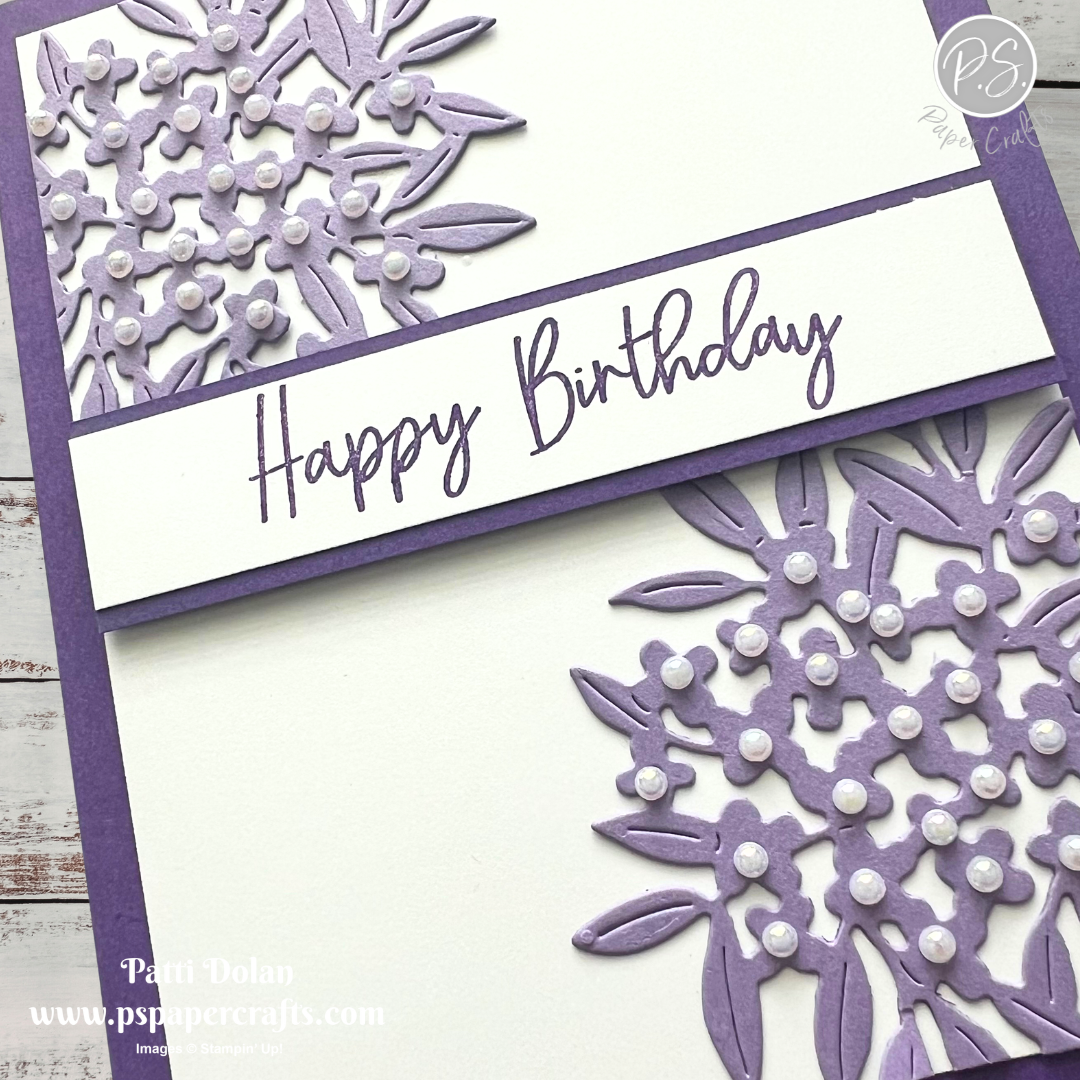
  • Highland Heather - die cut 2 floral pieces using the Forever Florals Dies. Adhere to the corners, letting them hang over a little bit. Trim off the part that hangs over, trimming from the back. Adhere to the card base.

  • Basic White Strip - 3/4 x 3-3/4, stamp the sentiment in Gorgeous Grape Ink. The sentiment is from the Balloon Festoon Stamp Set.

  • Adhere the sentiment strip to a piece of 7/8 x 3-3/4 strip of Gorgeous Grape Cardstock. Adhere to the card with Dimensionals.

  • Add Iridescent Pearls to each of the flower centers.


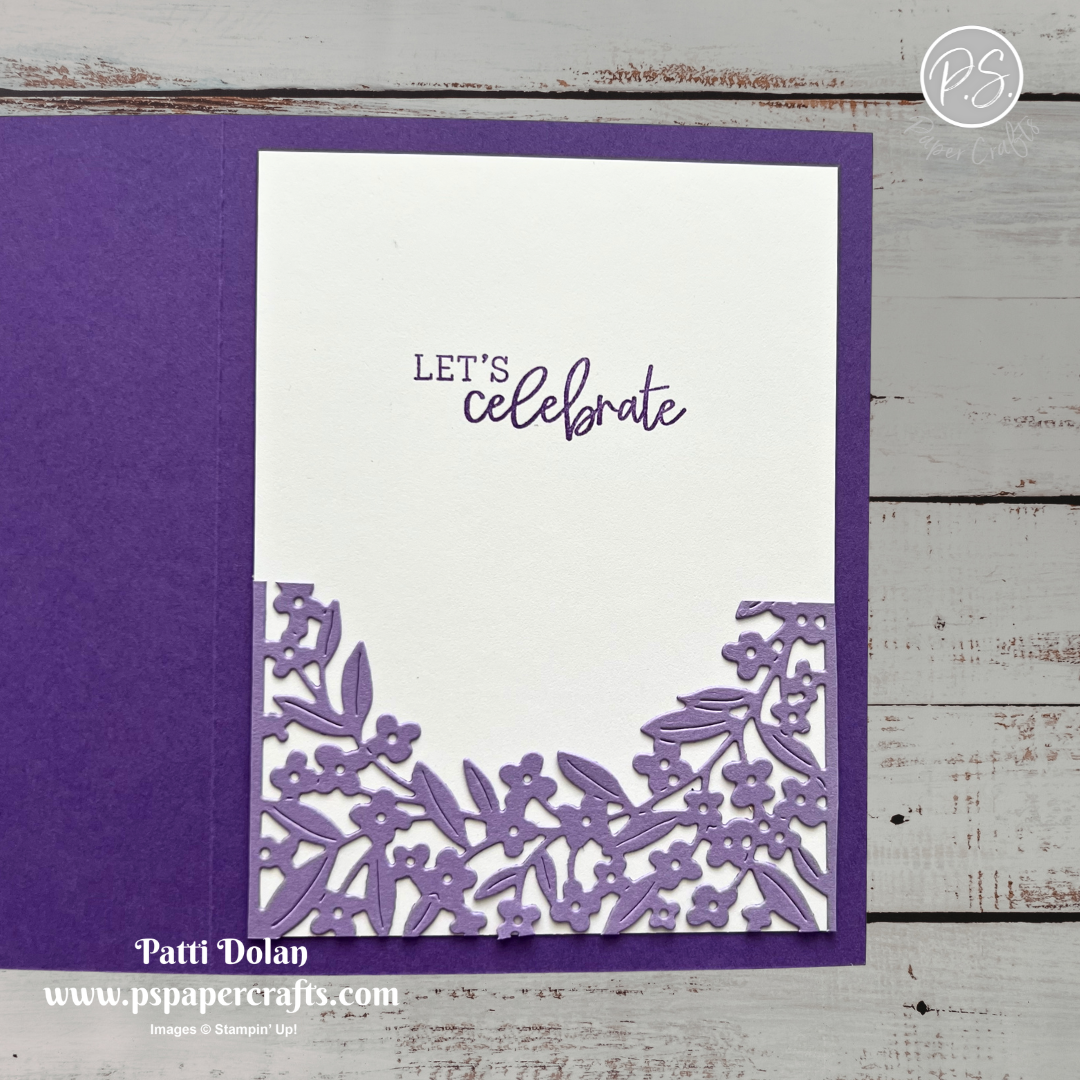
On the inside layer (3-3/4 x 5), stamp the sentiment Gorgeous Grape Ink. Die cut the bottom part of the large floral die from Highland Heather Cardstock. Cut it down to fit the inside layer.


I love all the pearls on the flowers, it’s such a feminine look.


Supply List

You can click on the item to purchase it from my Online Store.
 

Sketch Saturday - Silly Old Bear

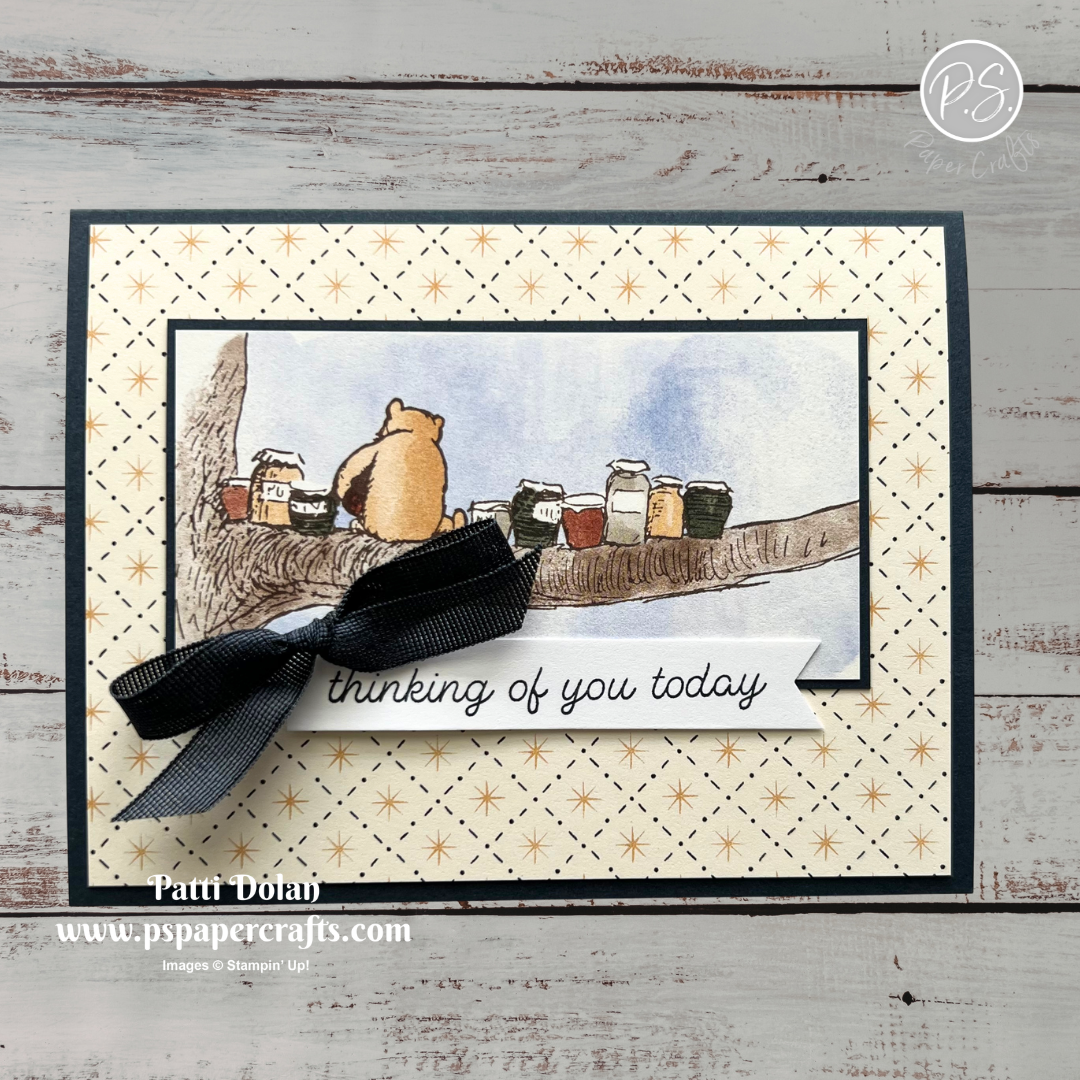
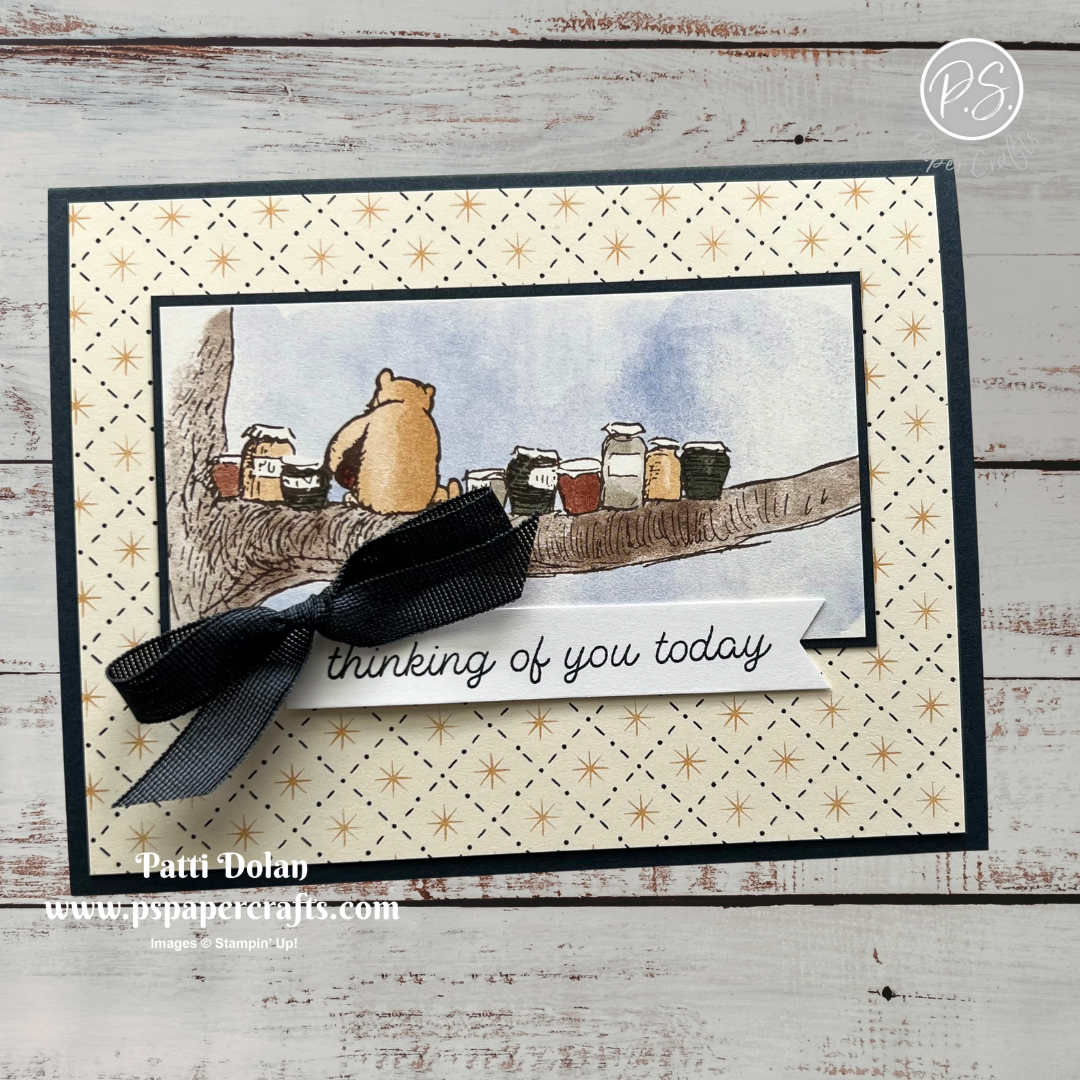
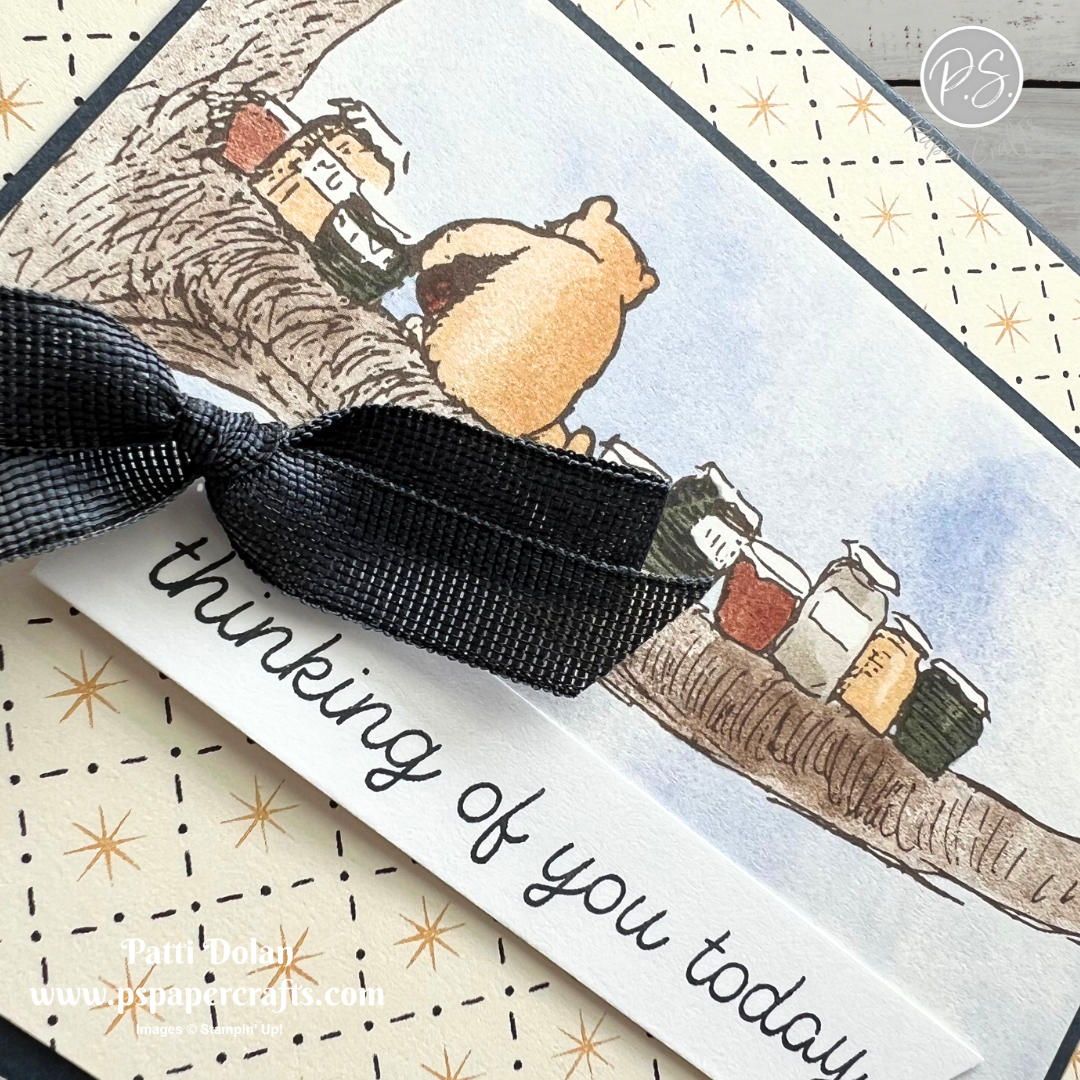
This was such an easy card to make for the weekly Sketch Challenge. I used a scene from the Silly Old Bear Designer Series Paper and just added a mat, a sentiment and layered them on another piece of the patterned paper.


Here’s the sketch I used. It’s from the Atlantic Hearts Sketch Challenge. I love doing their challenges.


Tips & Instructions

  • Secret Sea Card Base - 5-1/2 x 8-1/2, score at 4-1/4

  • Silly Old Bear Designer Series Paper - 4 x 5-1/4, adhere to the card base.

  • Cut down the scene from the paper pack to 2-1/8 x 4-1/8. Adhere to a Secret Sea Mat cut to 2-1/4 x 4-1/4. Adhere to the card.

  • Stamp the sentiment on a 1/2” strip of Basic White in Secret Sea ink. Banner one end and adhere to the card.

  • Tie a bow with a piece of Secret Sea Faux Linen Ribbon and adhere to the card with a Glue Dot.


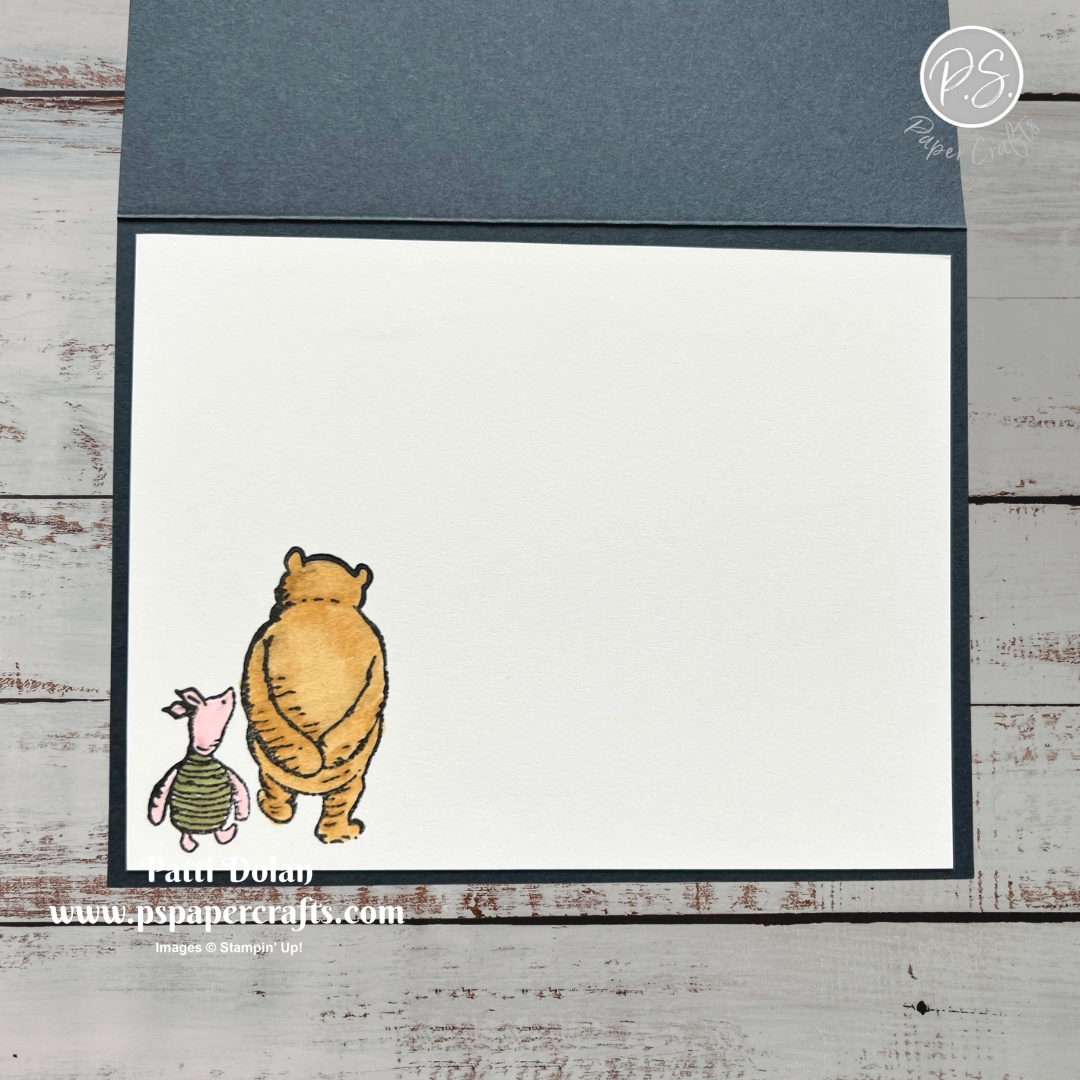
On the inside layer (4 x 5-1/4), stamp the Winnie the Pooh and Piglet image in black ink. Color Piglet with Light Flirty Flamingo and Light Mossy Meadow Stampin’ Blends Markers. Color Winnie he Pooh with Golden Glow Stampin’ Blends Markers.


I love this sweet picture of Winnie the Pooh sitting on a branch with with full of honey pots.


Supply List

You can click on the item to purchase it from my Online Store.
 

Reverse Pleated Gatefold Cards

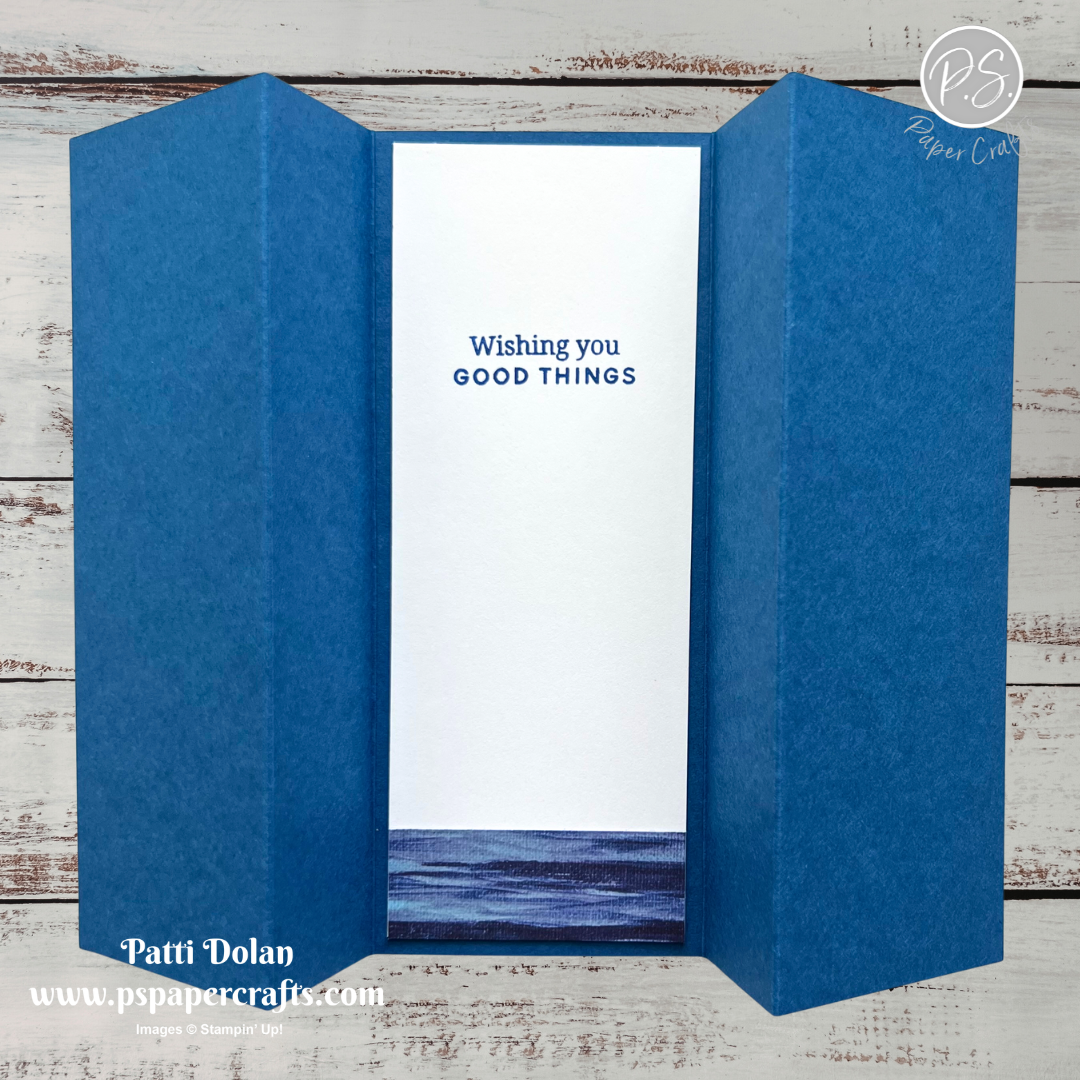
Have you ever made a Reverse Pleated Gatefold Card? There are so many different versions of gatefold cards and this was a new one to me. It’s an easy card to make and is great to display!


Watch the video to see step by step instructions to make this design.

Click on the button below to get a printable pdf with measurements and instructions.


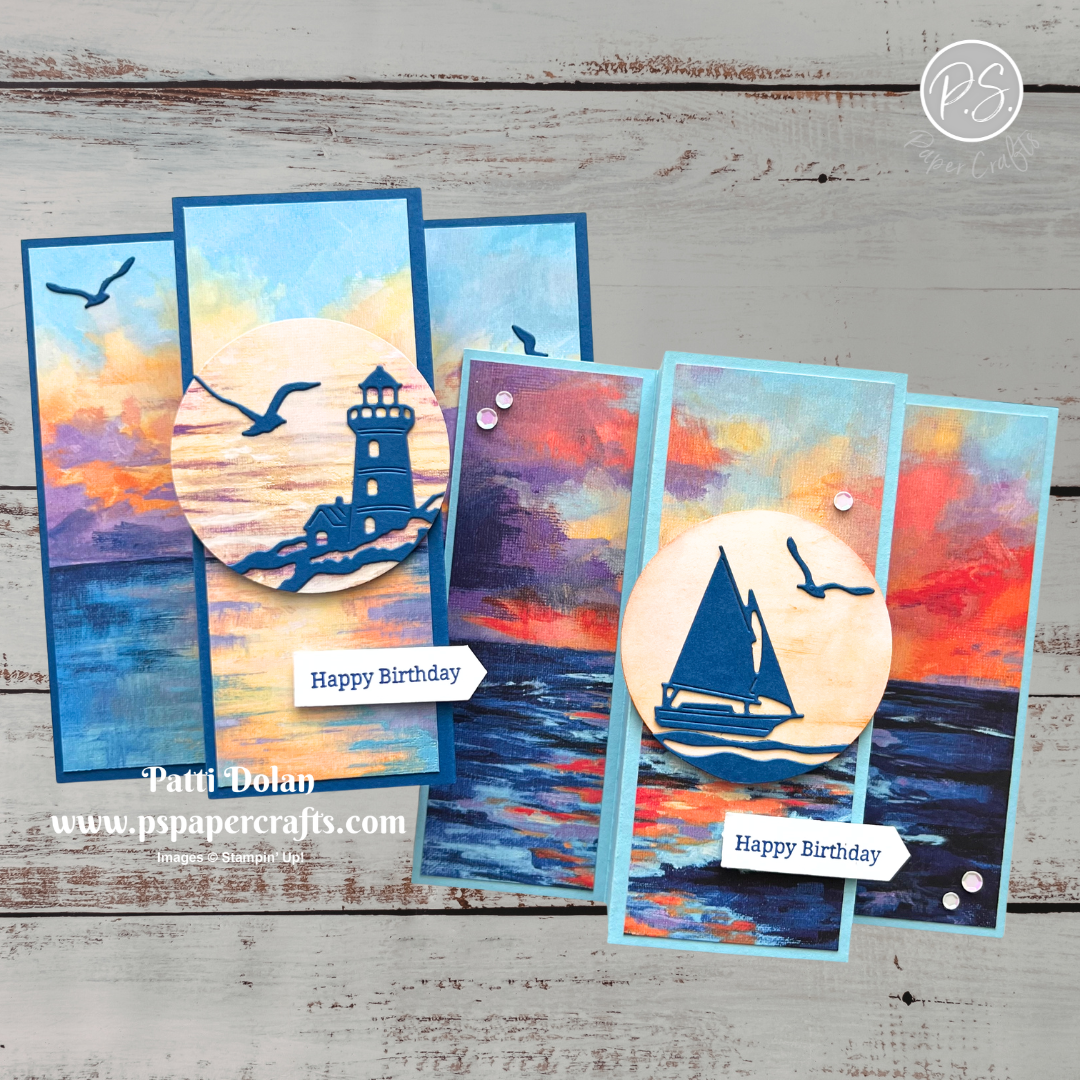
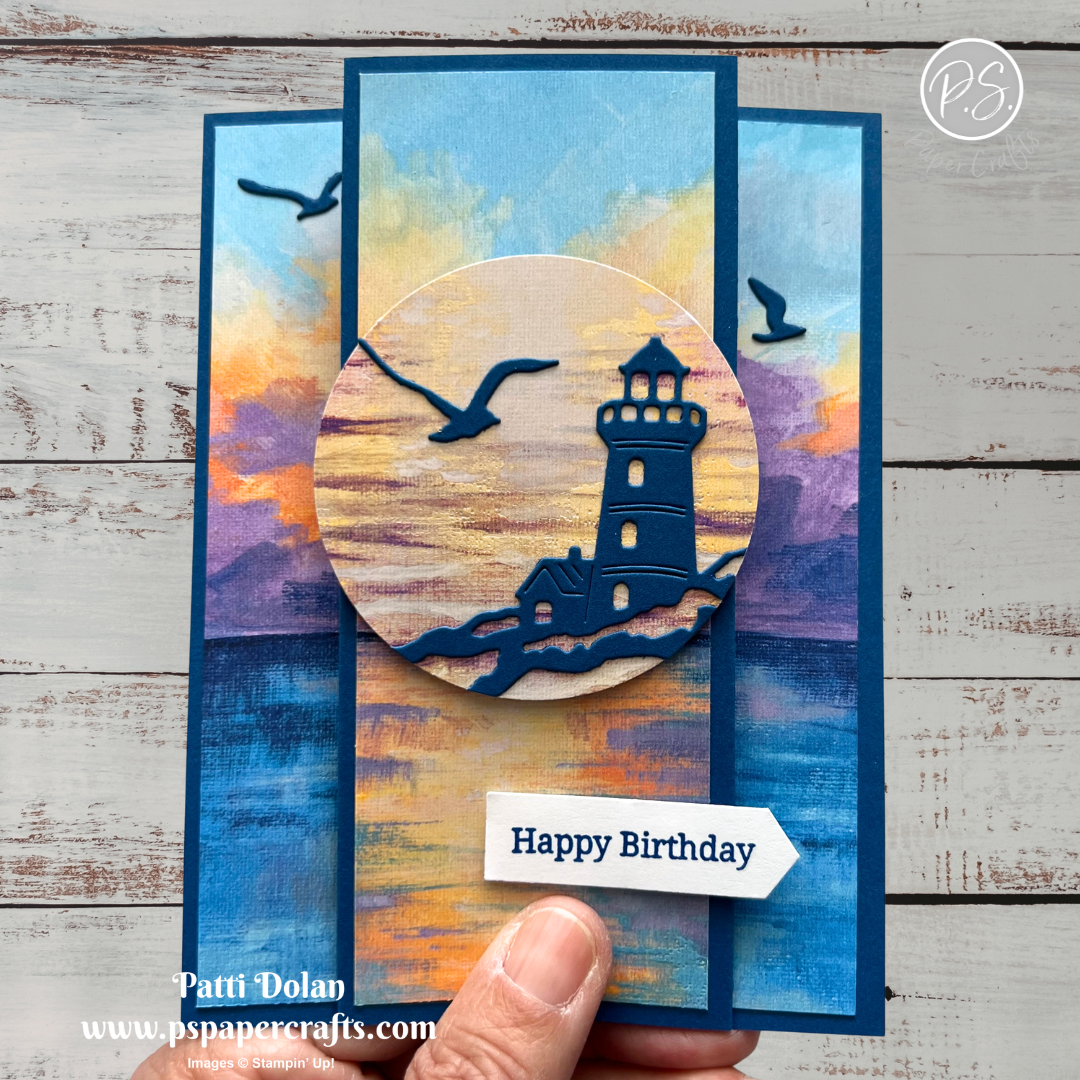
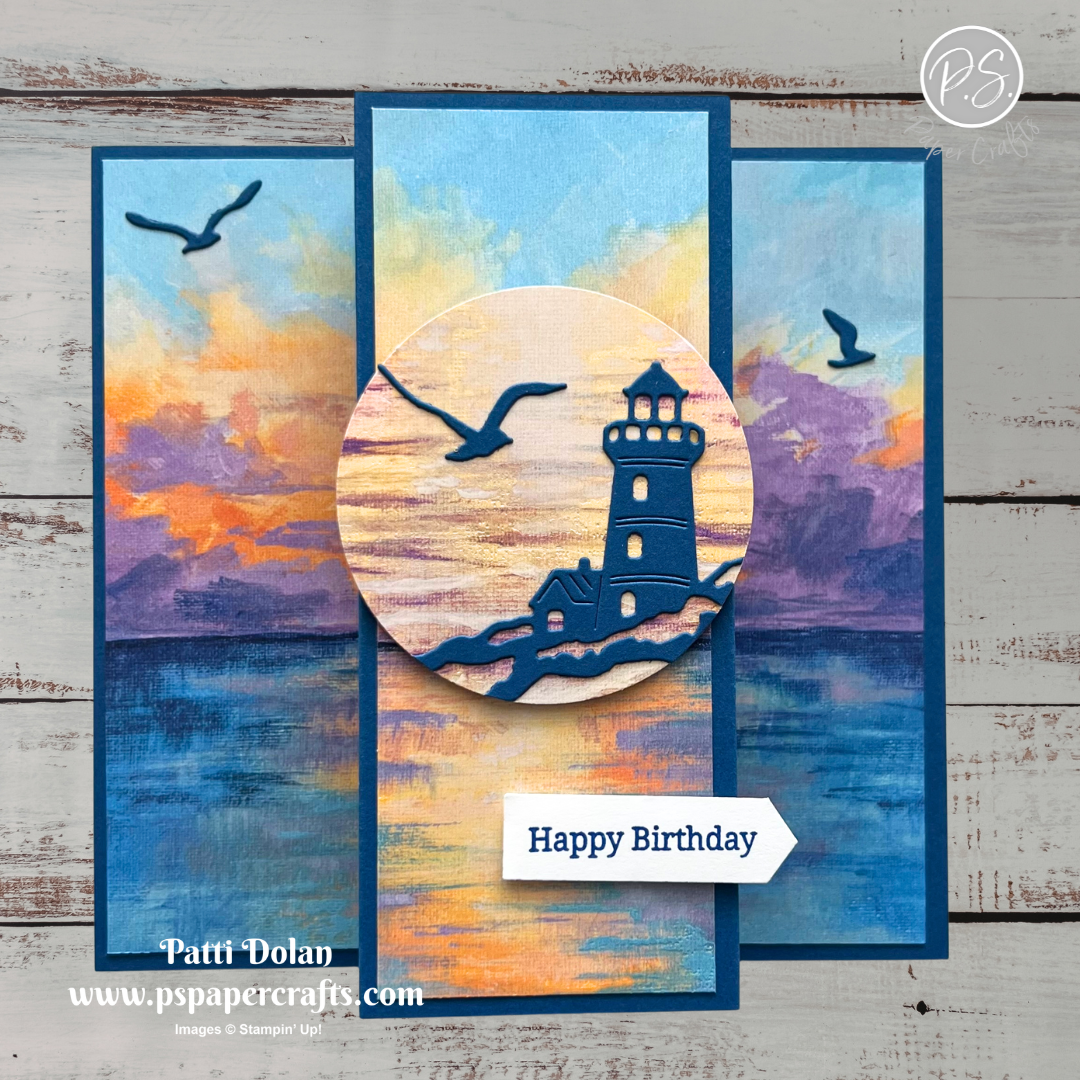
Both cards were made using the Scenic Coast Specialty Designer Series Paper and the Sunset Coast Dies. The sentiments are from the Banner Sayings Bundle.


For this card, I punched a circle from white cardstock and blended some Crushed Curry and Strawberry Slush ink to create a sunset look.


Supply List

You can click on the item to purchase it from my Online Store.
 

Floral Spray Color Combo

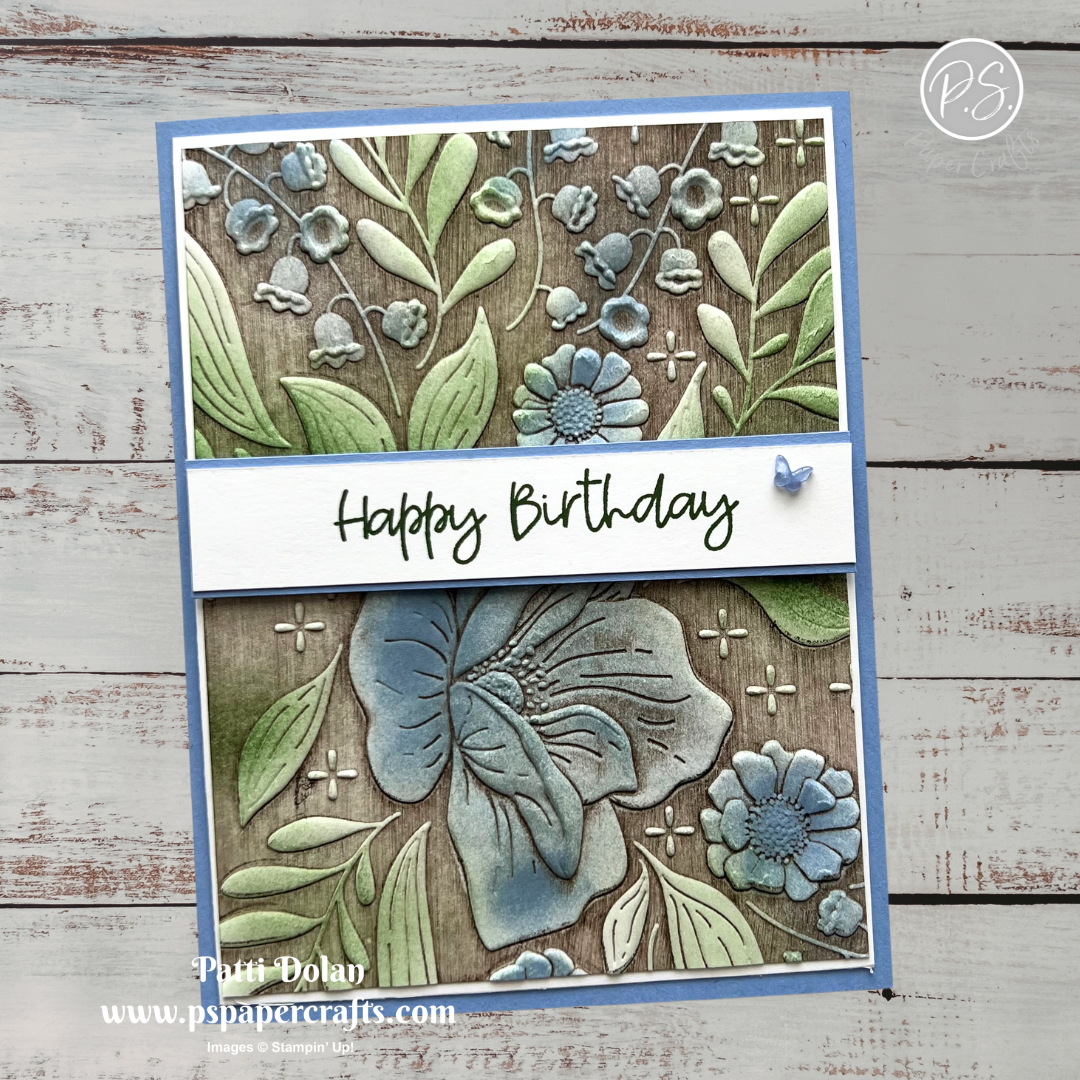
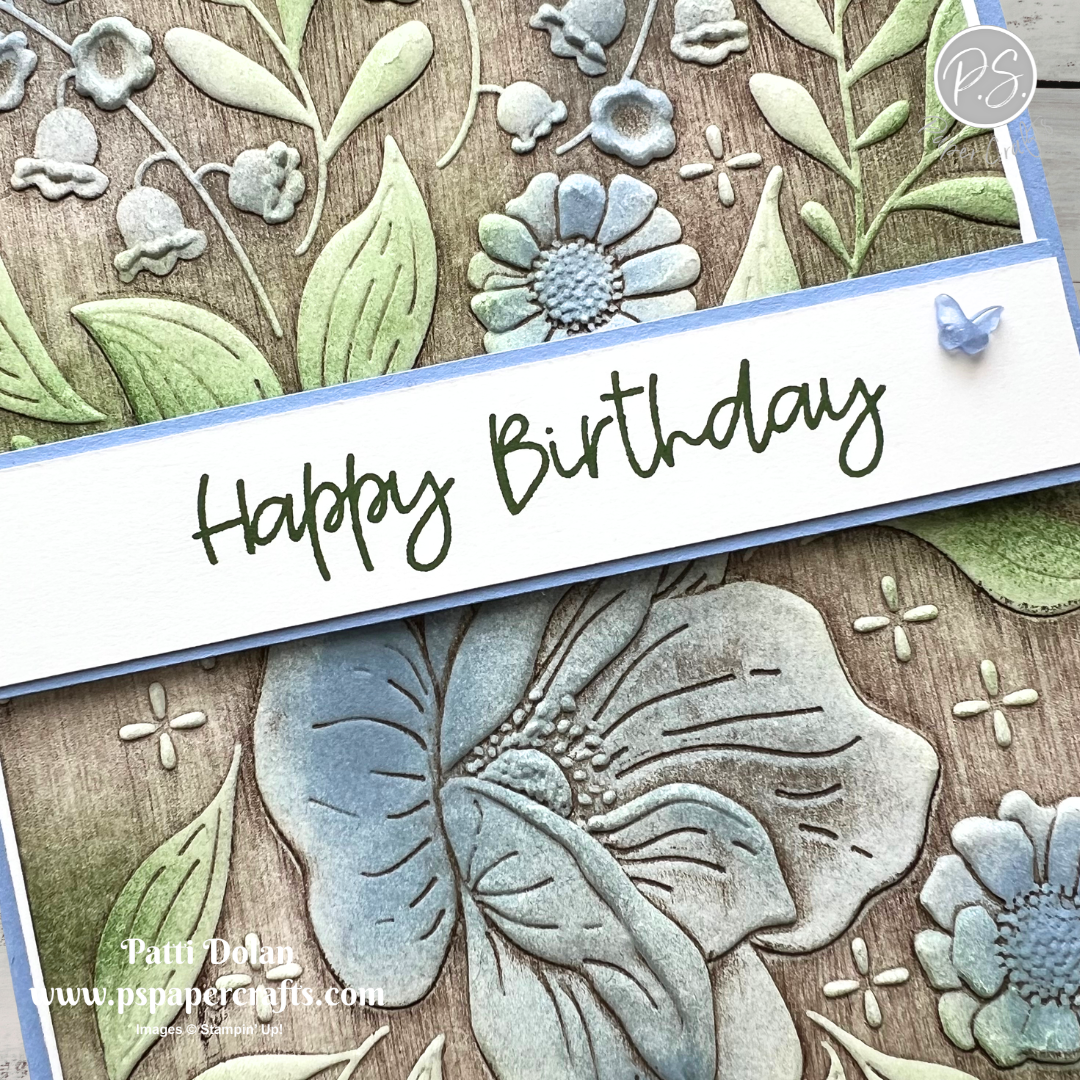
I love how this card turned out. The Floral Spray 3D Embossing Folder is beautiful and I inked it up and embossed a piece of white cardstock and then added some green and blue with Blending Brushes…so easy but so pretty!


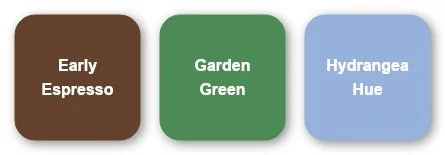
I used the Color Combo from my June Inspiration Calendar - Early Espresso, Garden Green and Hydrangea Hue.

You can get my calendar each month when you subscribe to my email list.


Tips & Instructions

  • Hydrangea Hue Card Base - 5-1/2 x 8-1/2, score at 4-1/4

  • Basic White Layer - 4 x 5-1/4

  • Emboss and ink a Basic White Layer cut to 3-7/8 x 5-1/8. Add Early Espresso Ink to the inside of the Floral Spray 3D Embossing Folder. Add it to the side that has the Stampin’ Up! on it, this will give you the ink on the background of the image. To do this lightly drag your ink pad across inside of the folder. Carefully lay the white piece on the inked area and run through your embossing machine.

  • Use Small Blending Brushes to add Hydrangea Hue to the flowers and Garden Green to the leaves.

  • Adhere the embossed layer to the white layer and then to the card base.

  • Basic White Strip - 3/4 x 4, stamp the sentiment in Garden Green and adhere to a Hydrangea Hue 7/8 x 4 strip. I used the sentiment from the Lily of the Valley Stamp Set. Adhere to the card with Dimensionals.

  • Add a Hydrangea Hue butterfly.


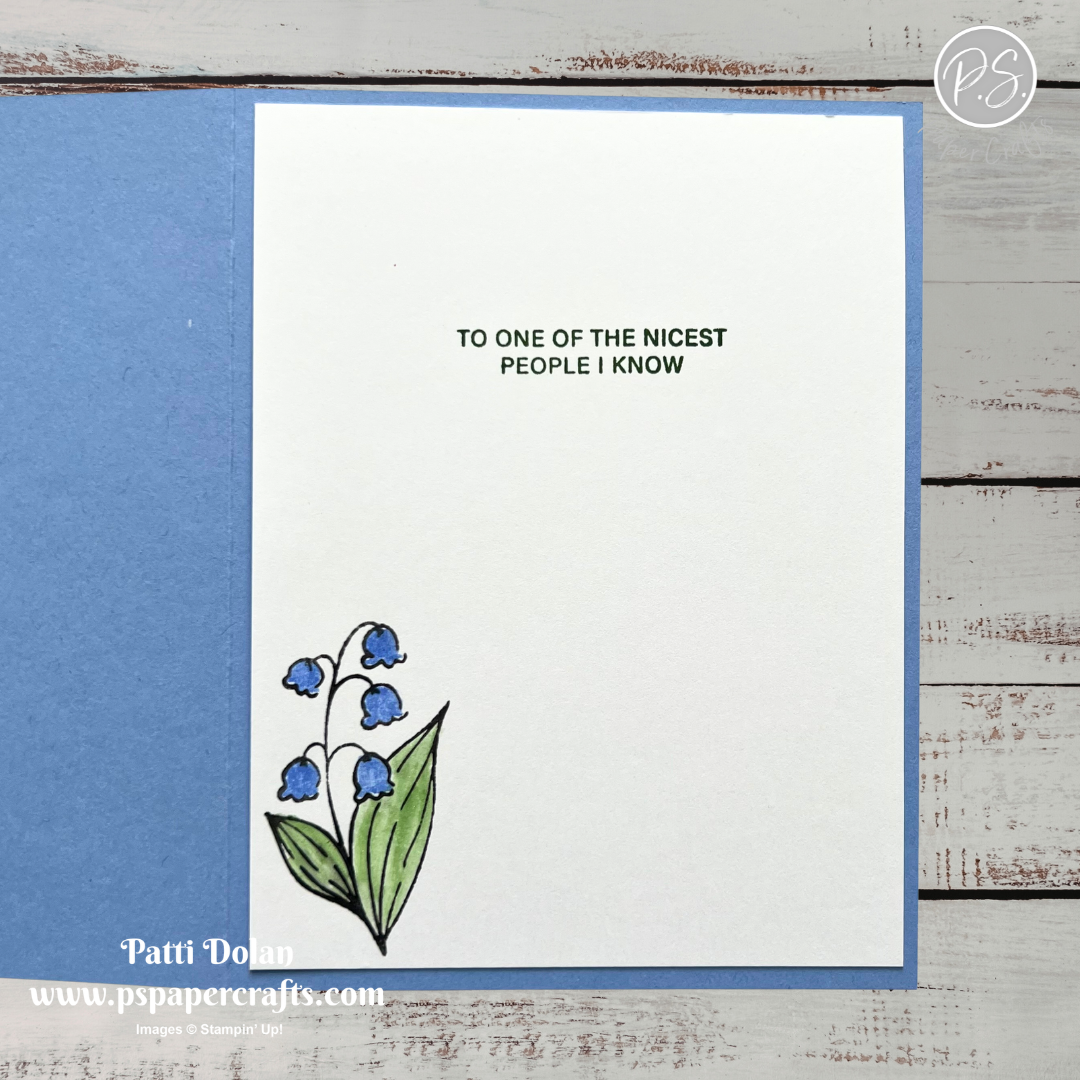
On the inside layer (4 x 5-1/4), stamp the sentiment Garden Green ink. Stamp the floral image in black ink. Color the flowers with a Hydrangea Hue Glitter Brush. Color the leaves with Garden Green by picking up the ink with a Wink of Stella brush.


I love how well these colors go together to create this beautiful card!


Supply List

You can click on the item to purchase it from my Online Store.
 

Sketch Challenge - Velvet Meadow

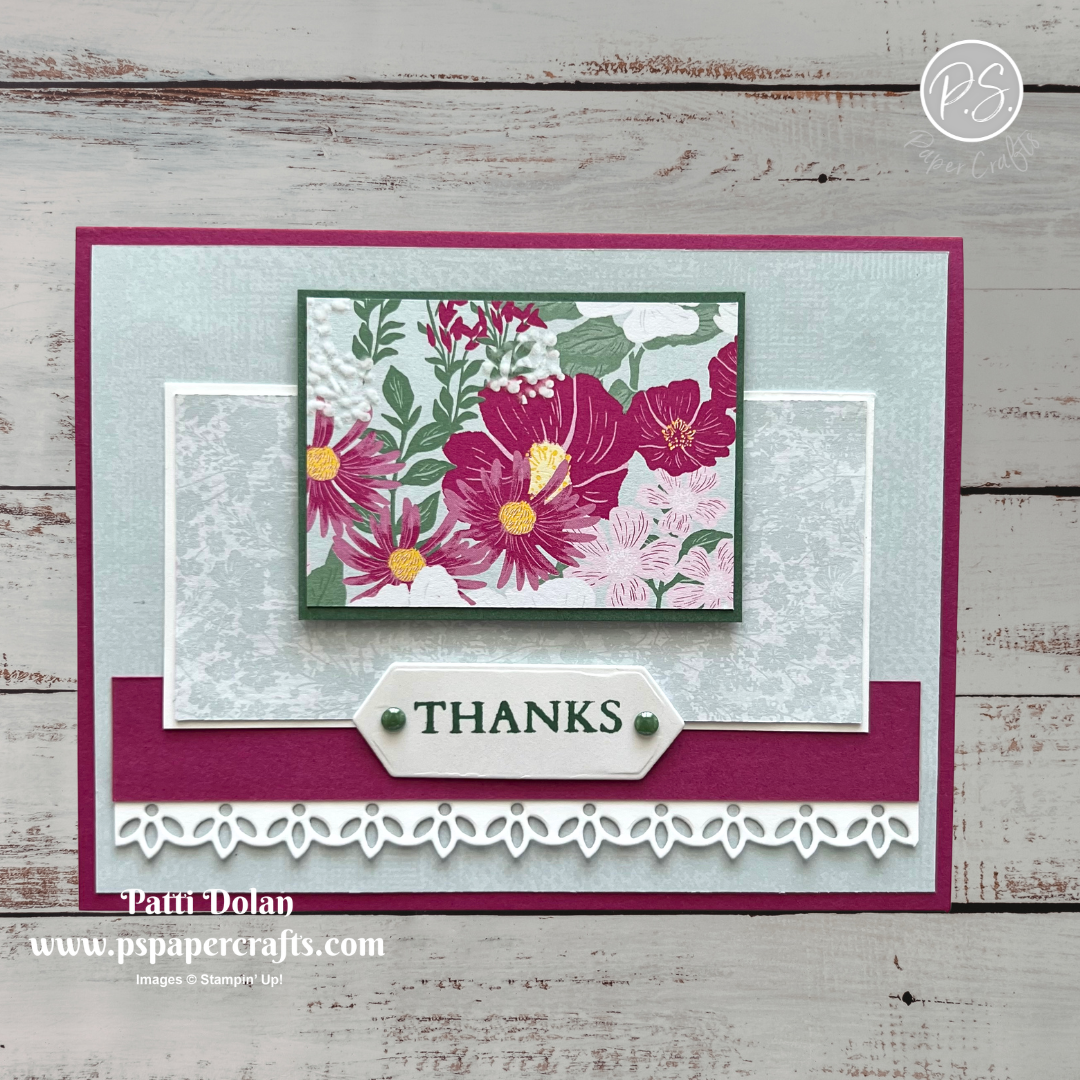
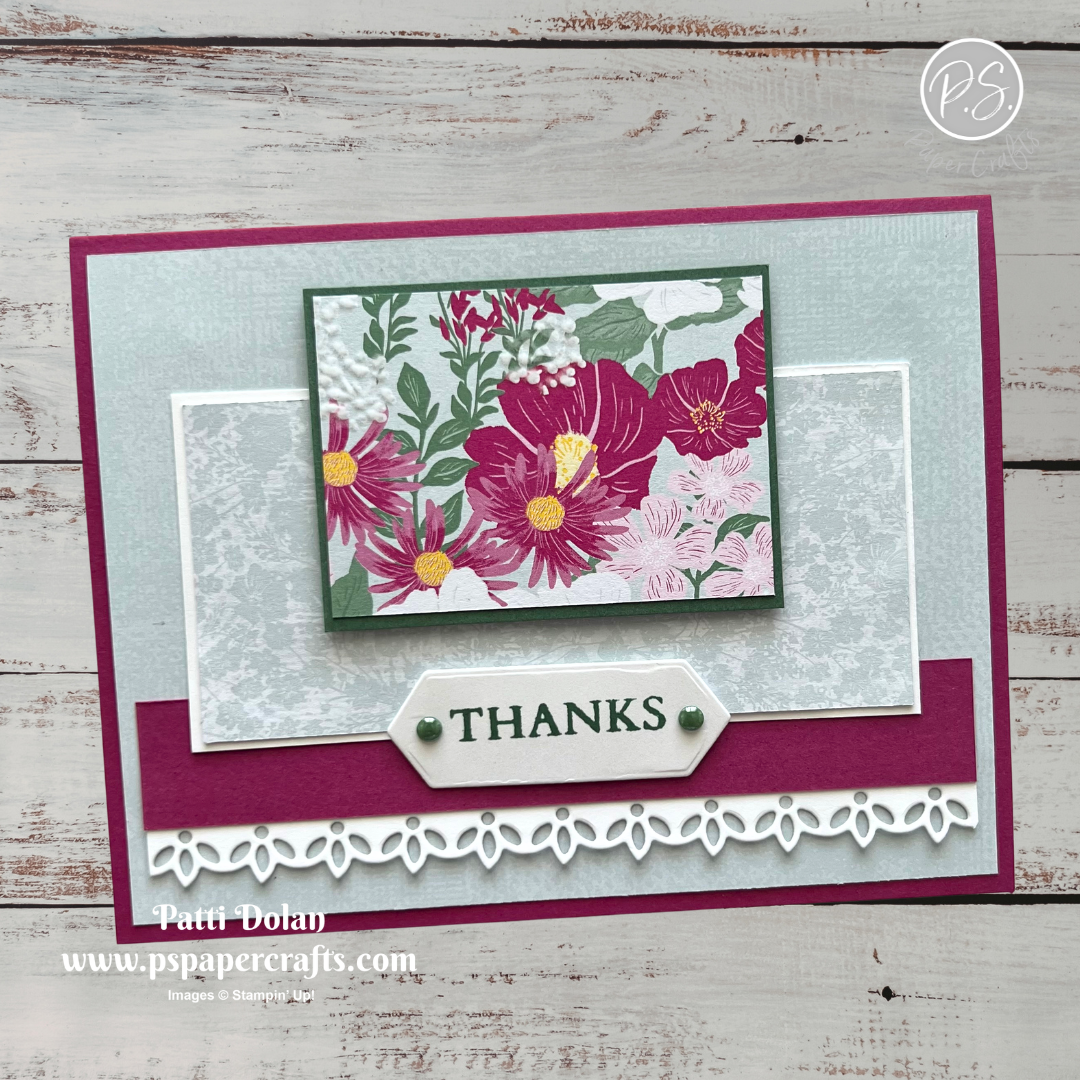
I love the Velvet Meadow Specialty Designer Series Paper and decided to use it for this week’s Splitcoaststampers Sketch Challenge.


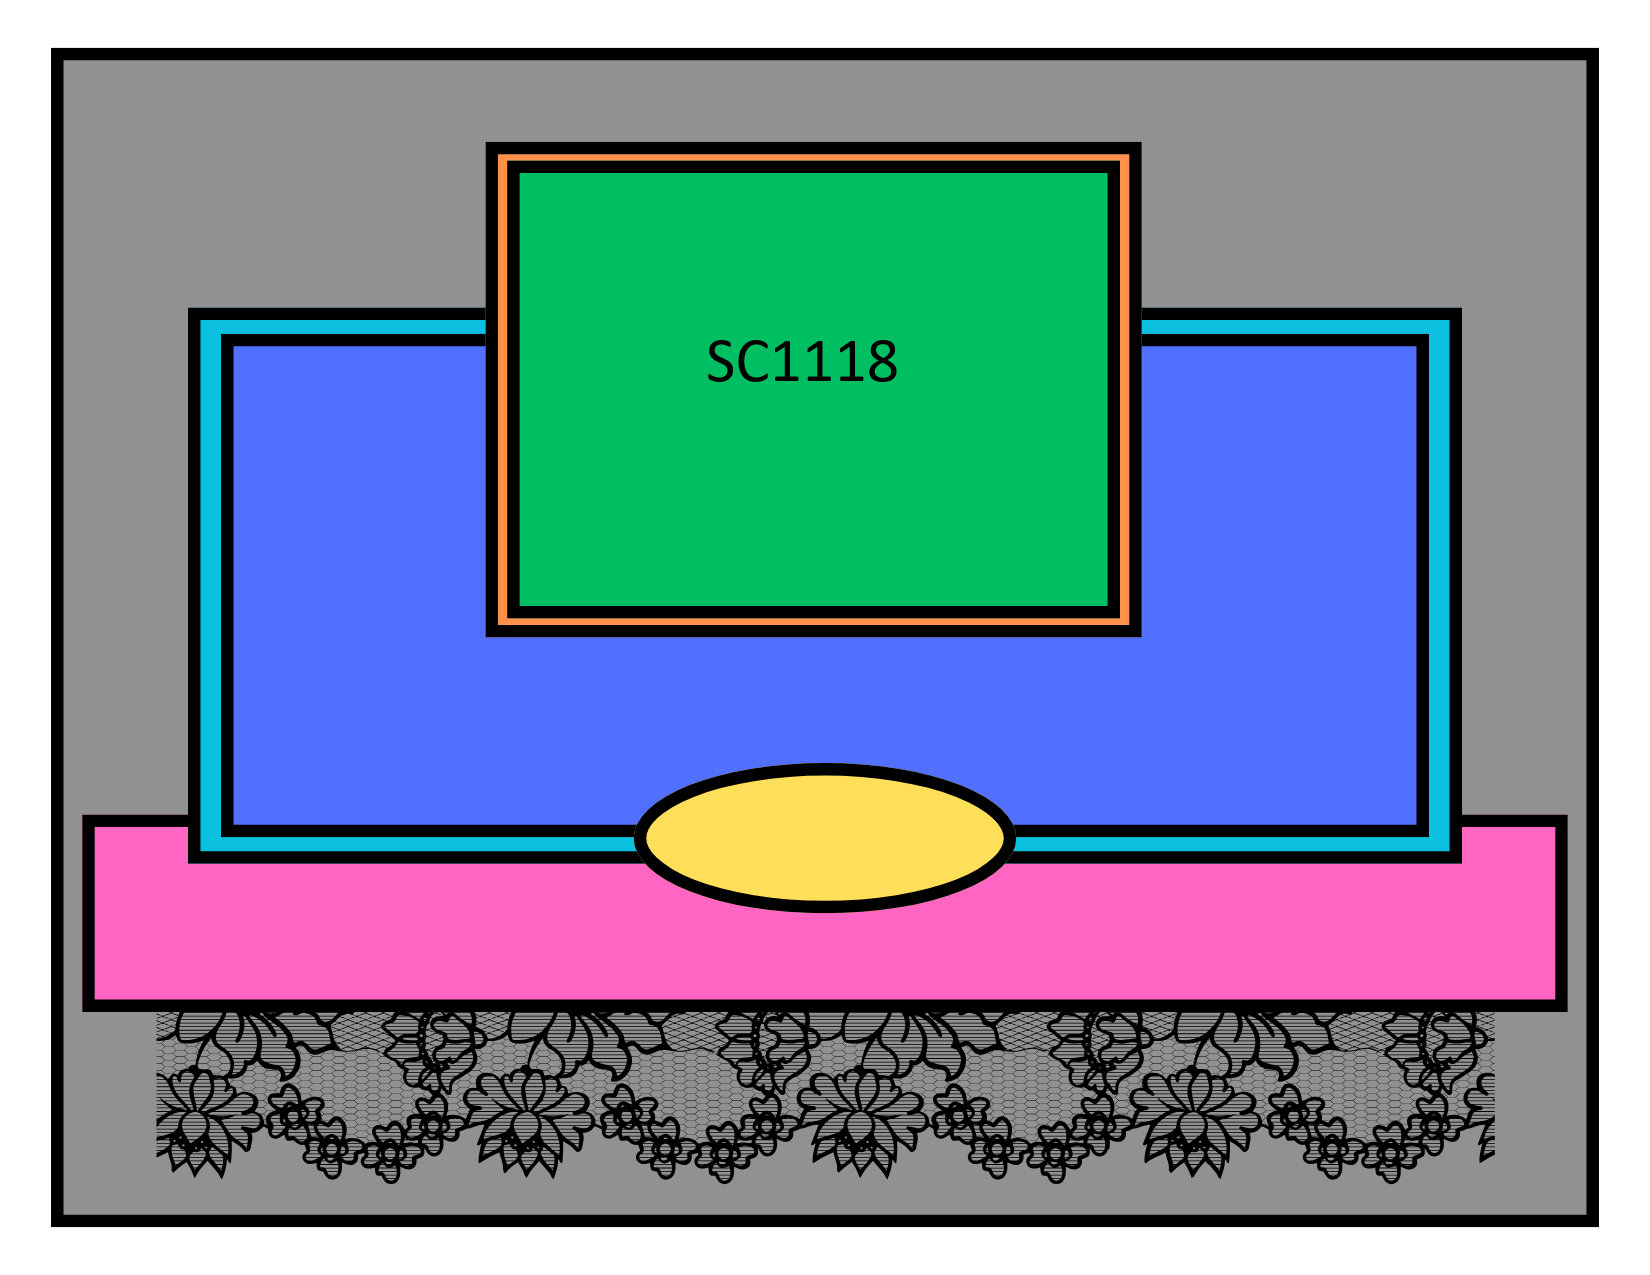
Here’s the sketch I used. You can see all the projects posted for this week’s challenge by clicking on the sketch below.


Tips & Instructions

  • Berry Burst Card Base - 5-1/2 x 8-1/2, score at 4-1/4

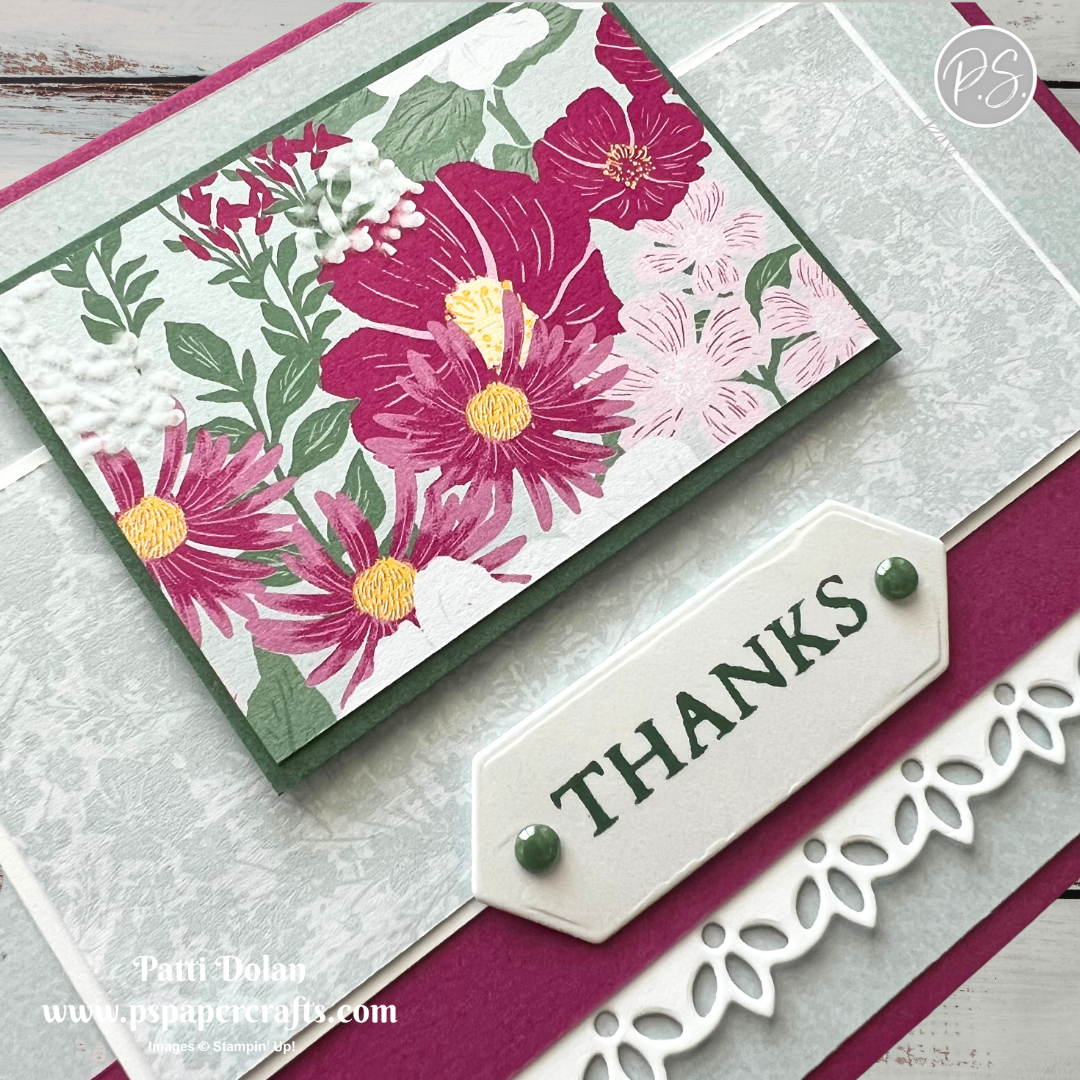
  • Velvet Meadow Specialty Designer Series Paper - 4 x 5-1/4, adhere to the card base.

  • Velvet Meadow Specialty Designer Series Paper (flower pattern) - 1-7/8 x 2-5/8, adhere to a piece of Peaceful Pine Cardstock cut to 2 x 2-3/4.

  • Velvet Meadow Specialty Designer Series Paper (Cloud Cover pattern) - 2 x 4-1/4, adhere to a piece of Basic White Cardstock cut to 2-1/8 x 4-3/8.

  • Basic White - 3/4 x 5, die cut using the Bordered in Beauty Dies and adhere to a 3/4 x 5 piece of Berry Burst Cardstock.

  • Adhere the strip with the bordered edge to the card base, then the larger rectangle piece on top of it. Adhere the smaller rectangle piece with Dimensionals.

  • Die cut the label from Basic White using the Bordered in Beauty Dies. Stamp the sentiment in Peaceful Pine Ink. I used the sentiment from the Flowering Meadow Stamp Set. Adhere to the card with Dimensionals.

  • Add some Peaceful Pine Dots.


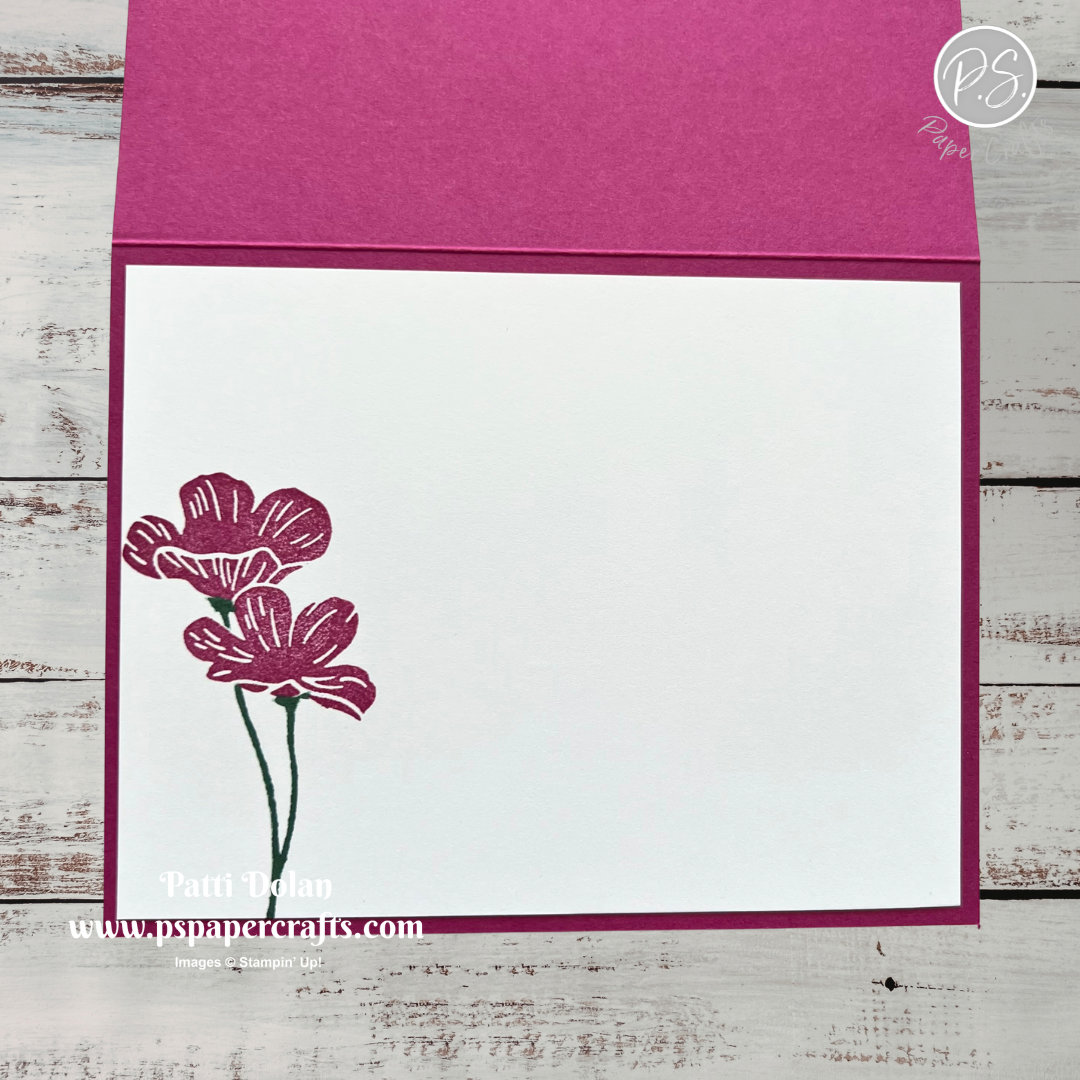
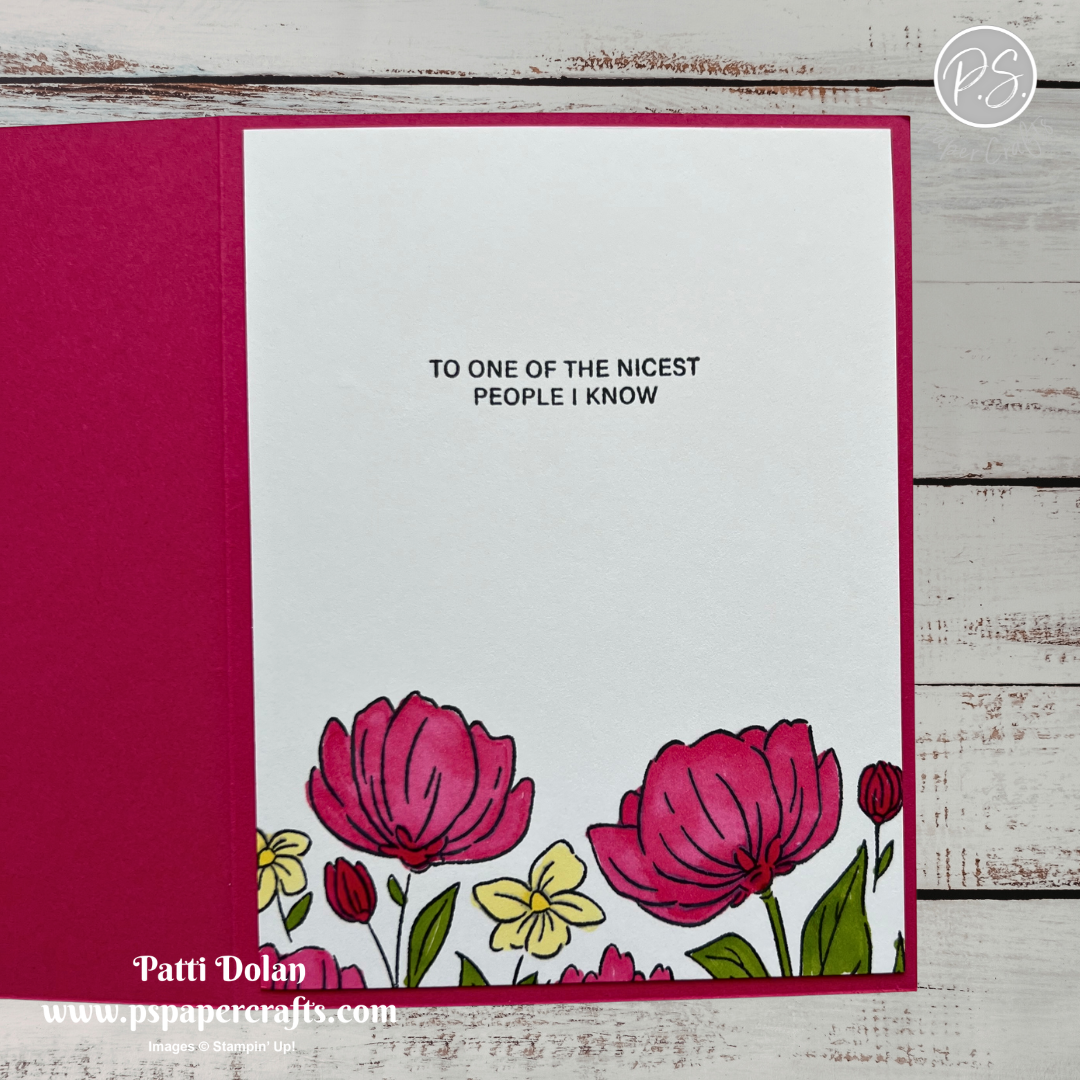
On the inside layer (4 x 5-1/4), stamp the flowers in Berry Burst Ink and the stems in Peaceful Pine Ink.


I love all the patterns in the Velvet Meadow paper with the fancy border along the bottom.


Supply List

You can click on the item to purchase it from my Online Store.
 

Spotlight Techinque

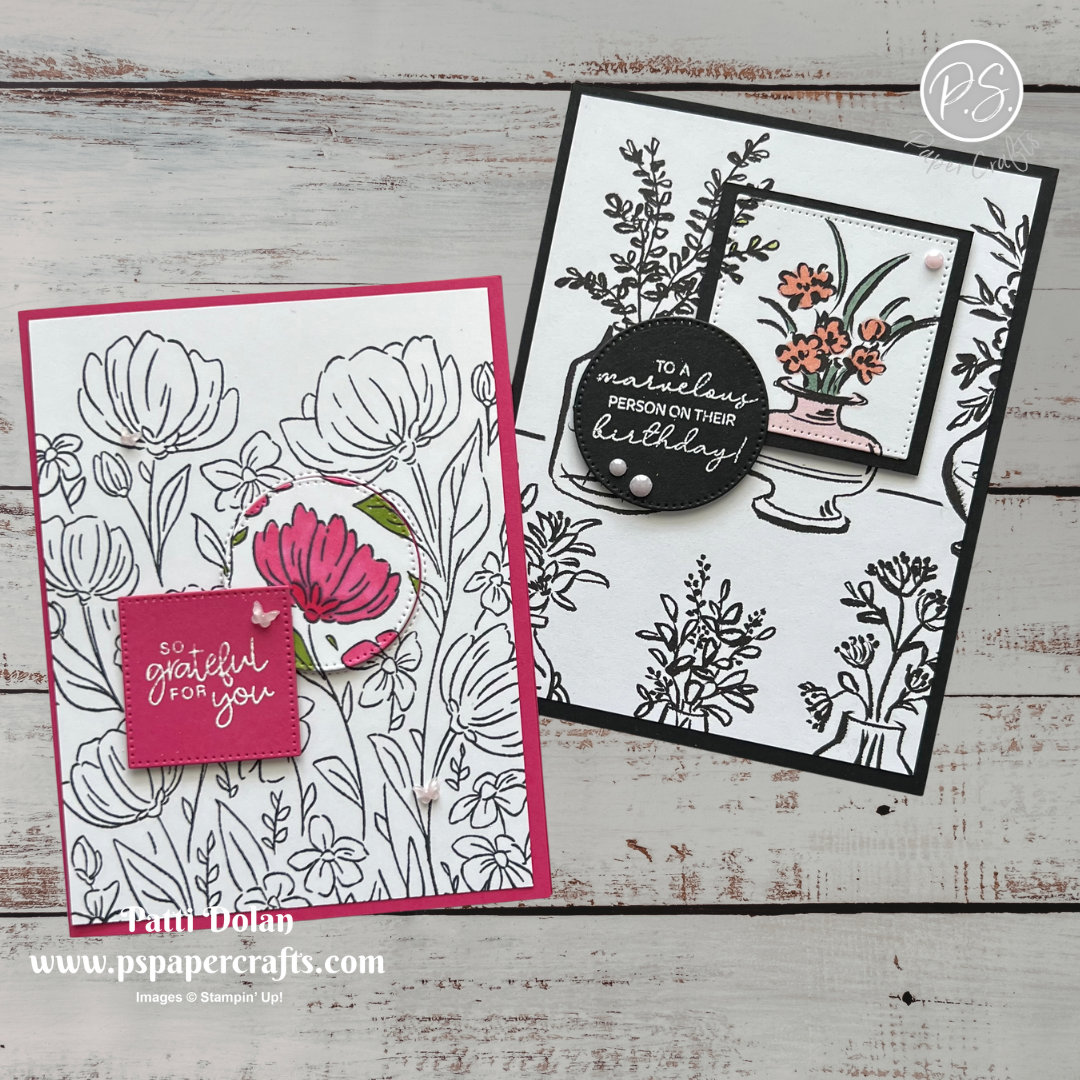
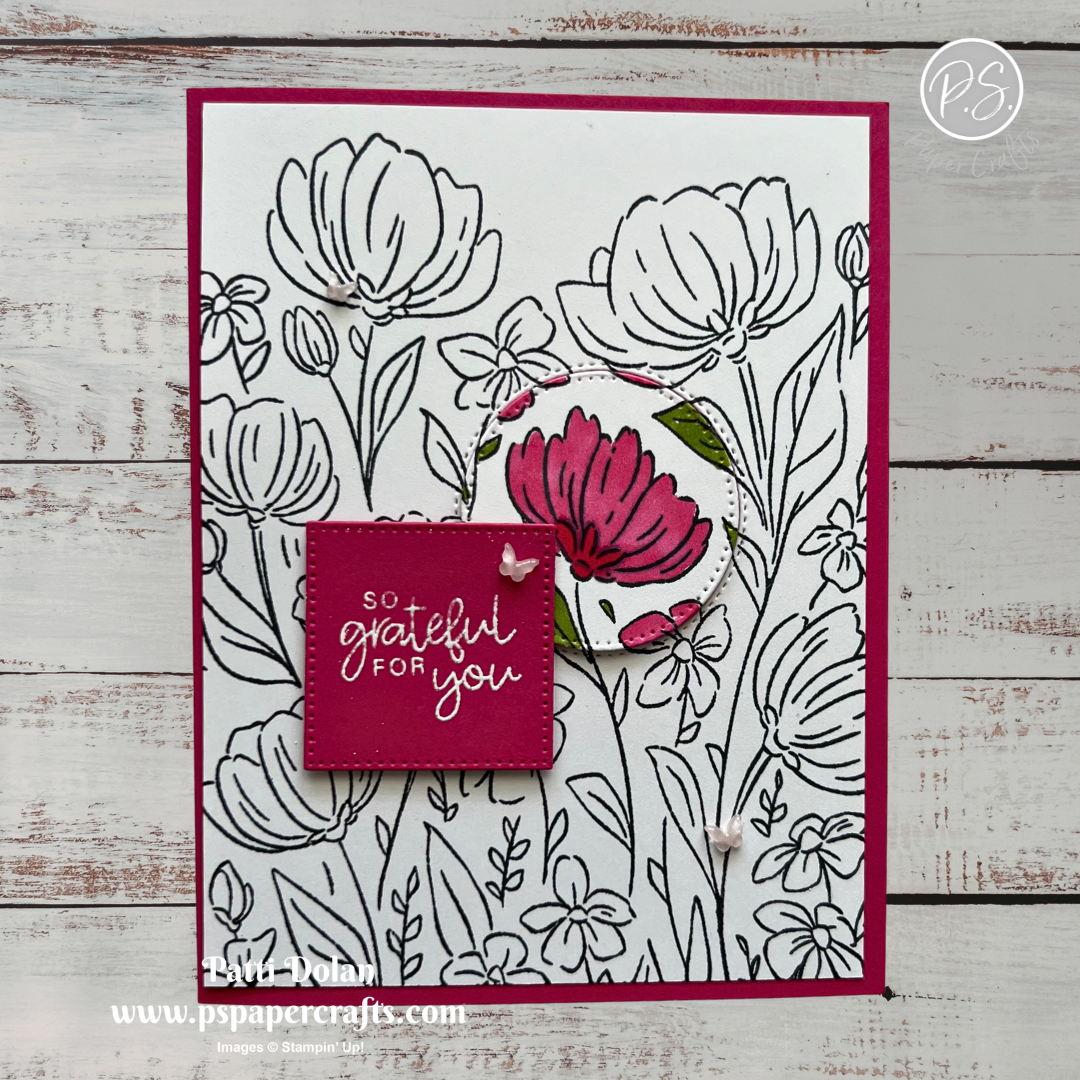
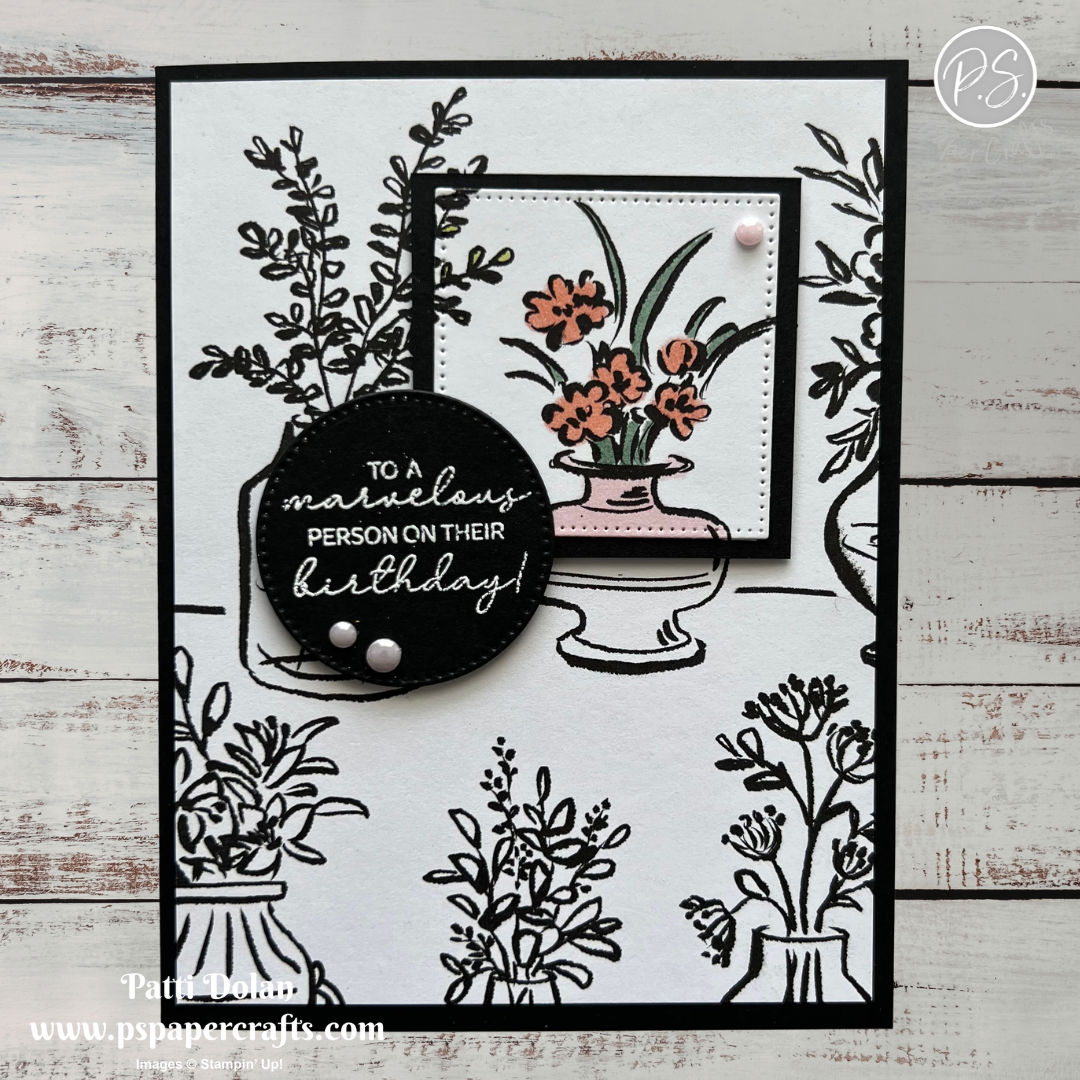
One of my favorite ways to add a pop of color to a black-and-white card is with the Spotlight Technique. You can start with a black-and-white Designer Series Paper or stamp a large image, then highlight a portion of the design with color to create a beautiful focal point. This simple technique really makes the colored area stand out, and these cards turned out so pretty!


Watch the video to see step by step instructions to make this design.

Click on the button below to get a printable pdf with measurements and instructions.


For this card, I stamped the flowers using the Flowers Flair background stamp. The sentiment is from the Lily of the Valley Stamp Set and I embossed it on Melon Mambo.


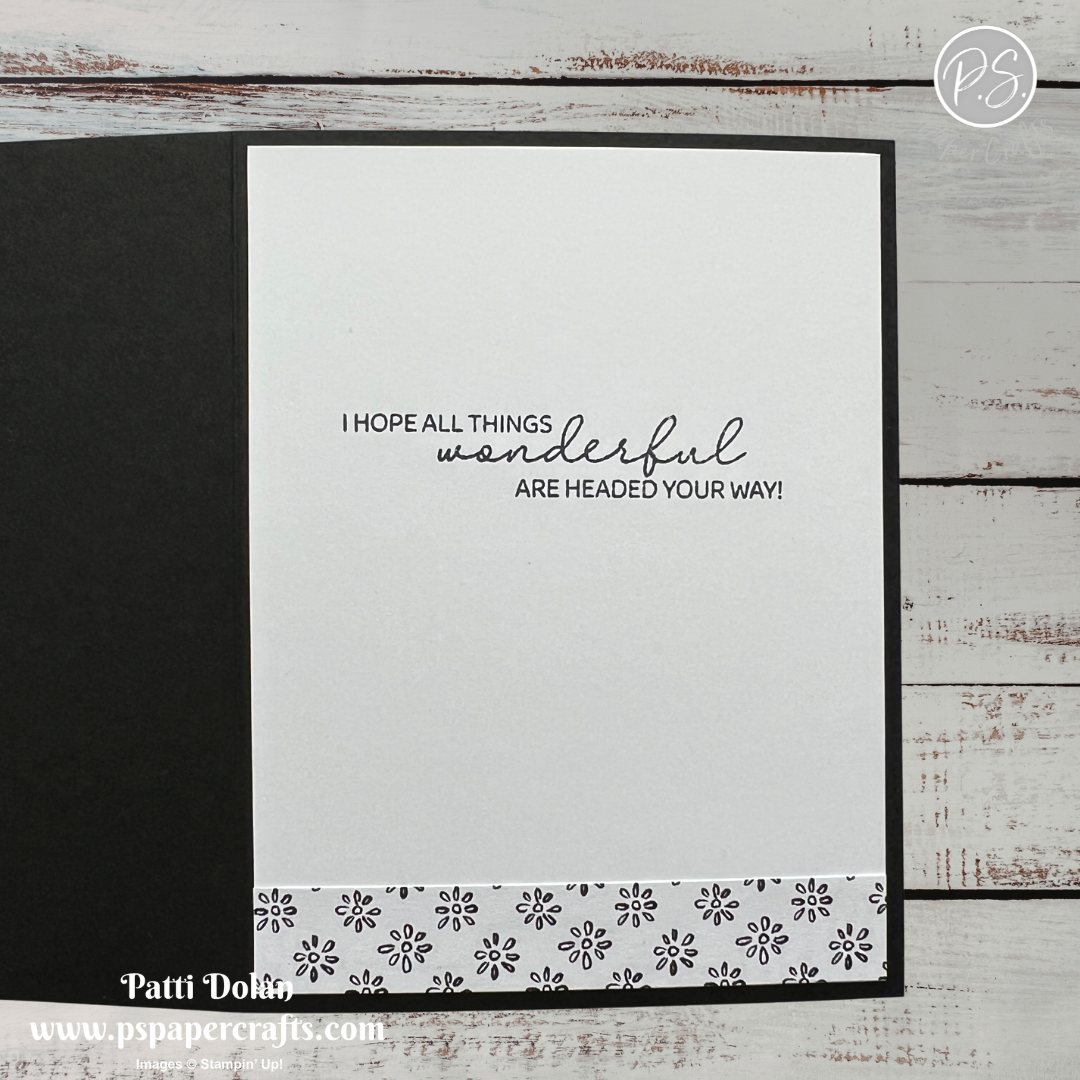
I love how this one turned out using the Artisan Sketch Garden Designer Series Paper and the Sending Salutations Stamp Set.


Supply List

You can click on the item to purchase it from my Online Store.
 

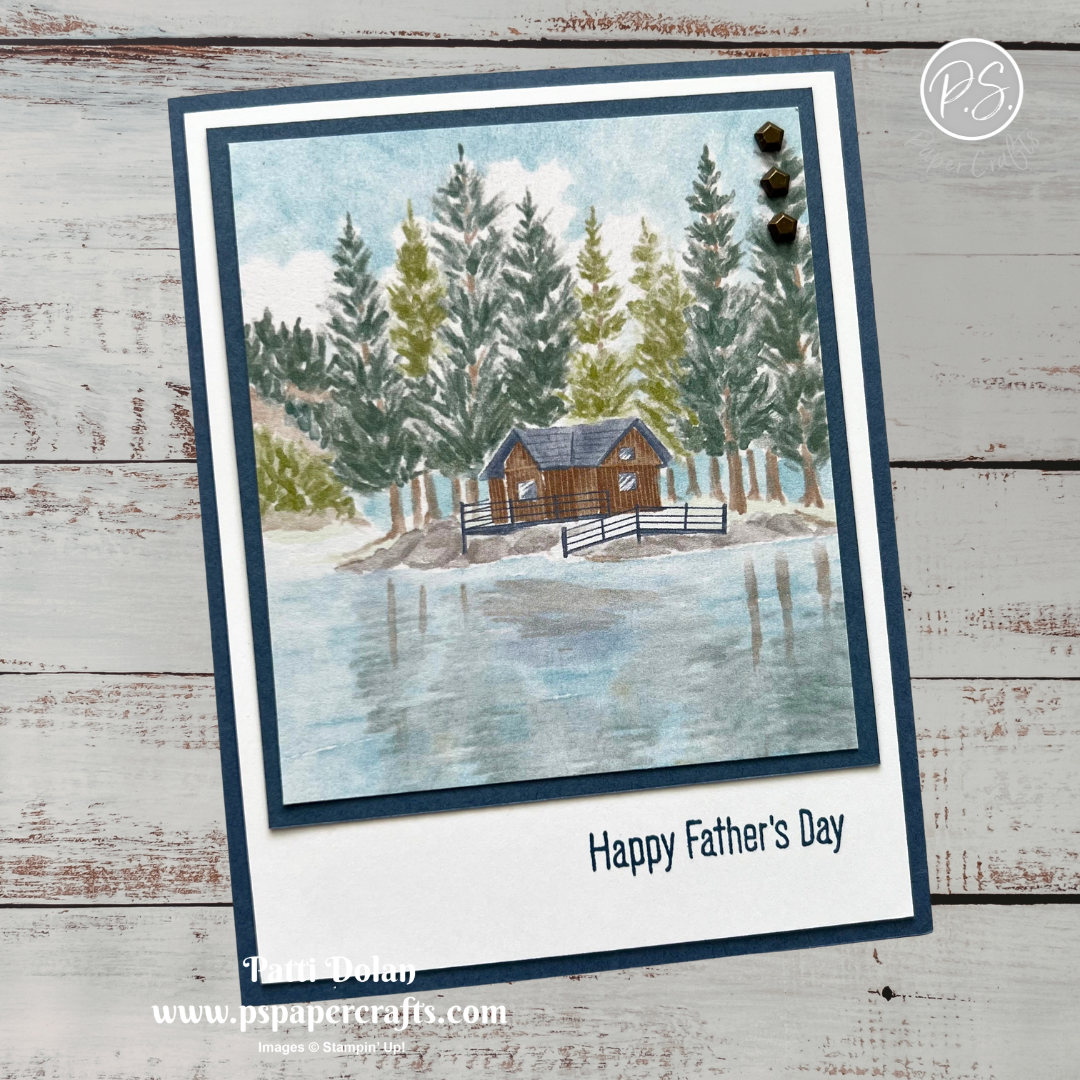
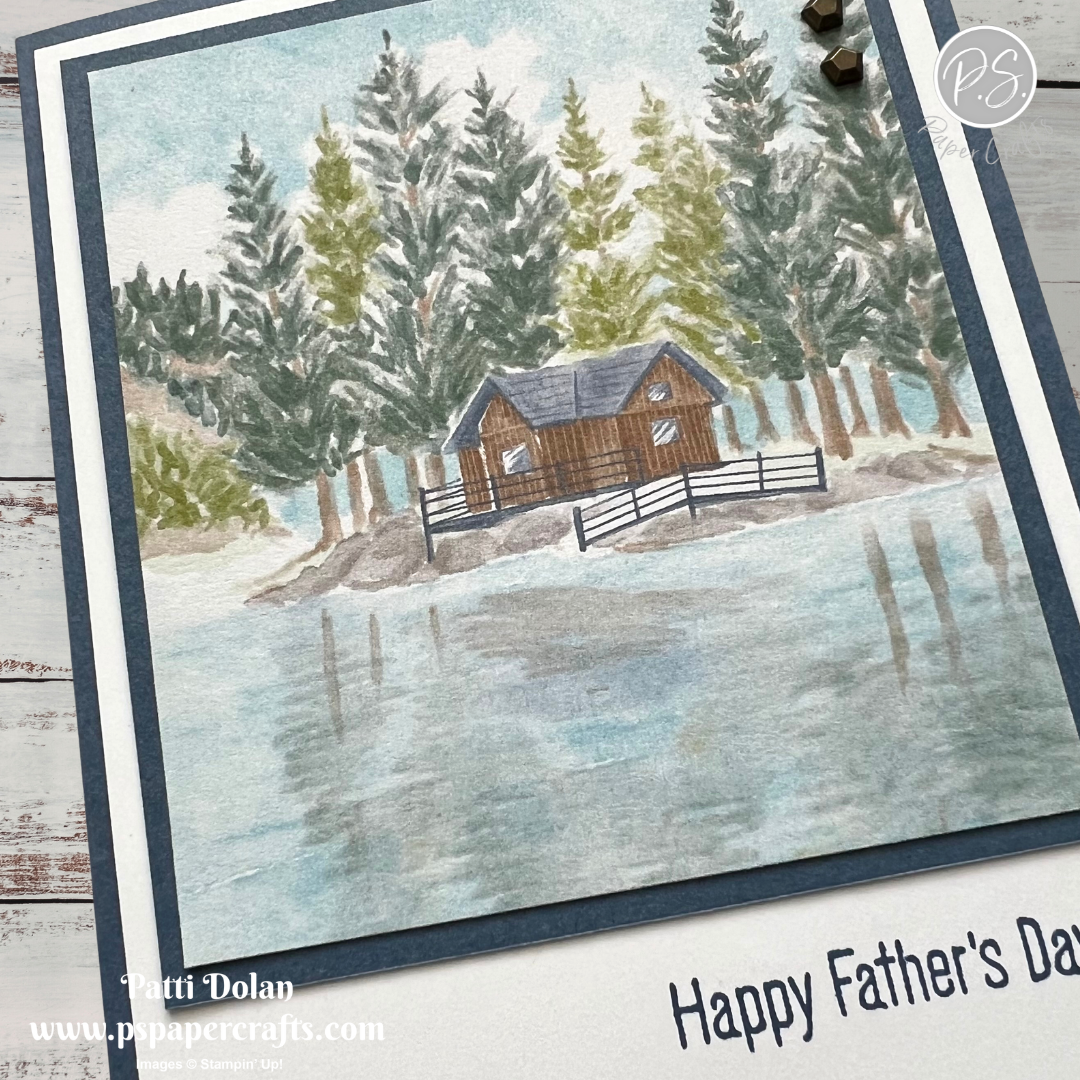
Sketch Challenge - Relaxing Waterside Father's Day Card

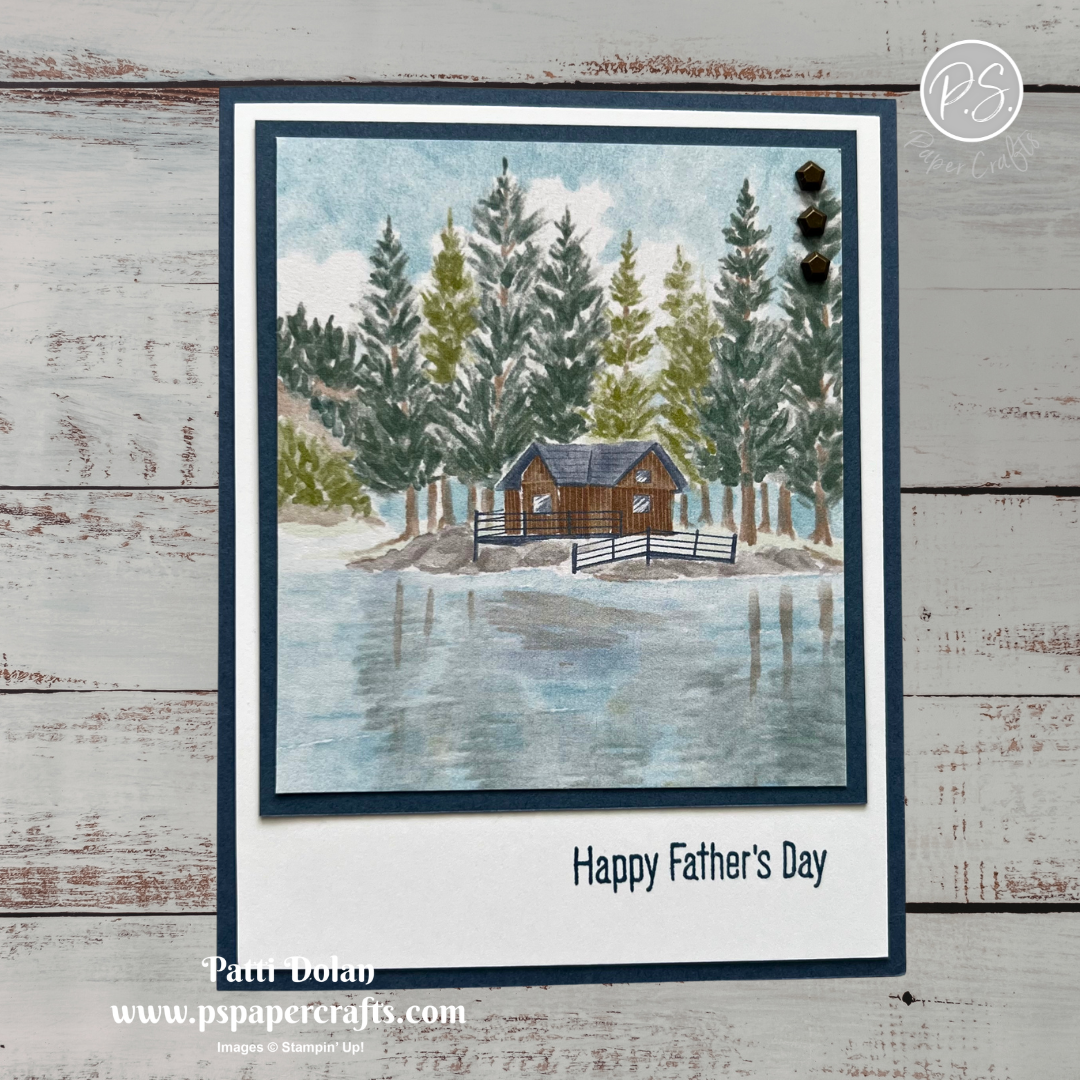
This week’s Sketch Challenge from Splitcoaststampers was so easy. When I saw it, I thought that the Waterside Retreat Designer Series Paper would have a perfect scene for it.


Here’s the sketch I used. You can see all the projects posted for this week’s challenge by clicking on the sketch below.


Tips & Instructions

  • Misty Moonlight Card Base - 5-1/2 x 8-1/2, score at 4-1/4

  • Basic White Layer - 4 x 5-1/4

  • Waterside Retreat Designer Series Paper Layer - 3-1/2 x 4

  • Misty Moonlight Layer - 3-3/4 x 4-1/4

  • Adhere the Designer Series Paper layer to the Misty Moonlight Layer. Place it on the white layer to determine placement for the sentiment. Stamp the sentiment in Misty Moonlight ink.

  • Adhere layer to the white layer and then to the card.

  • Add some Faux Bronze Pentagons.


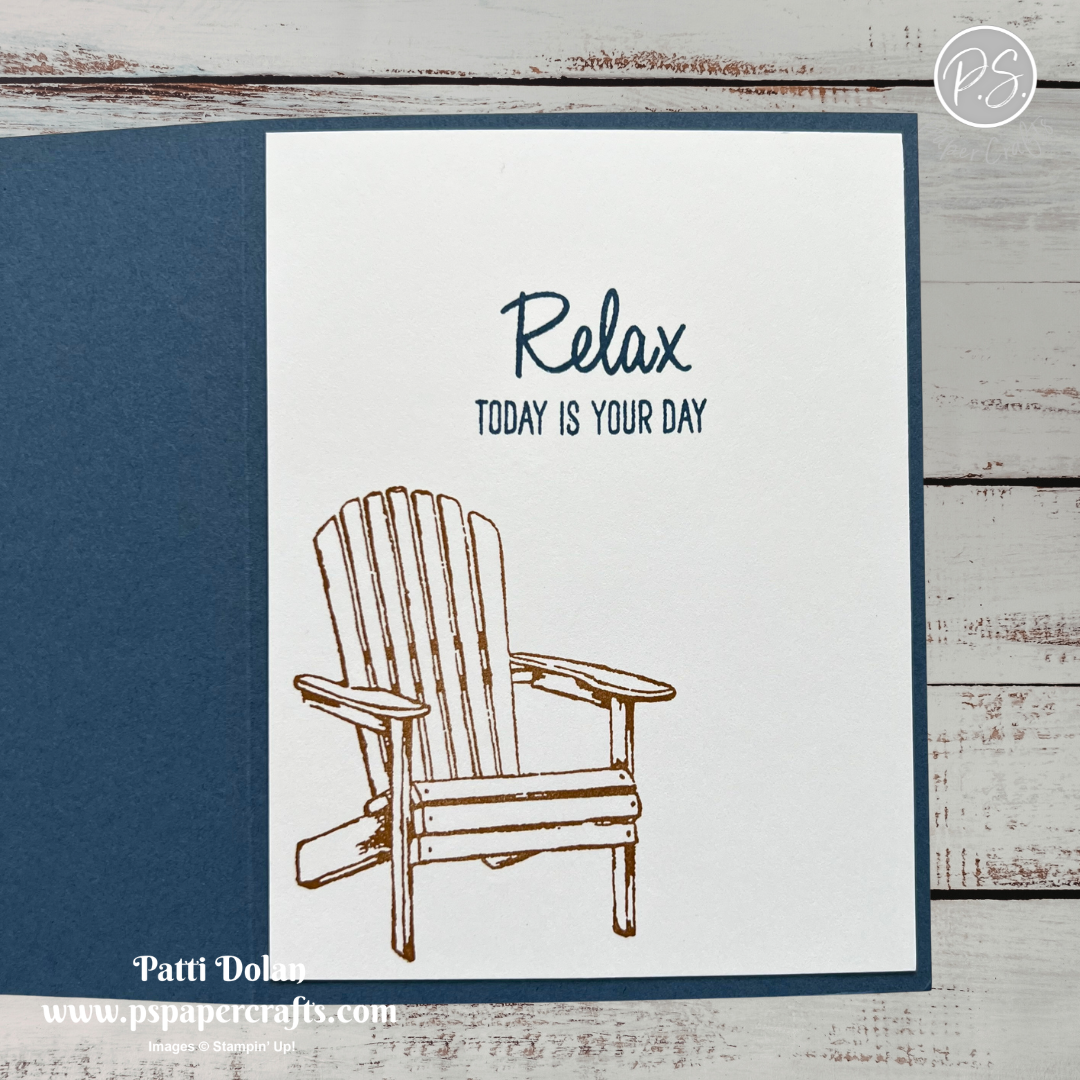
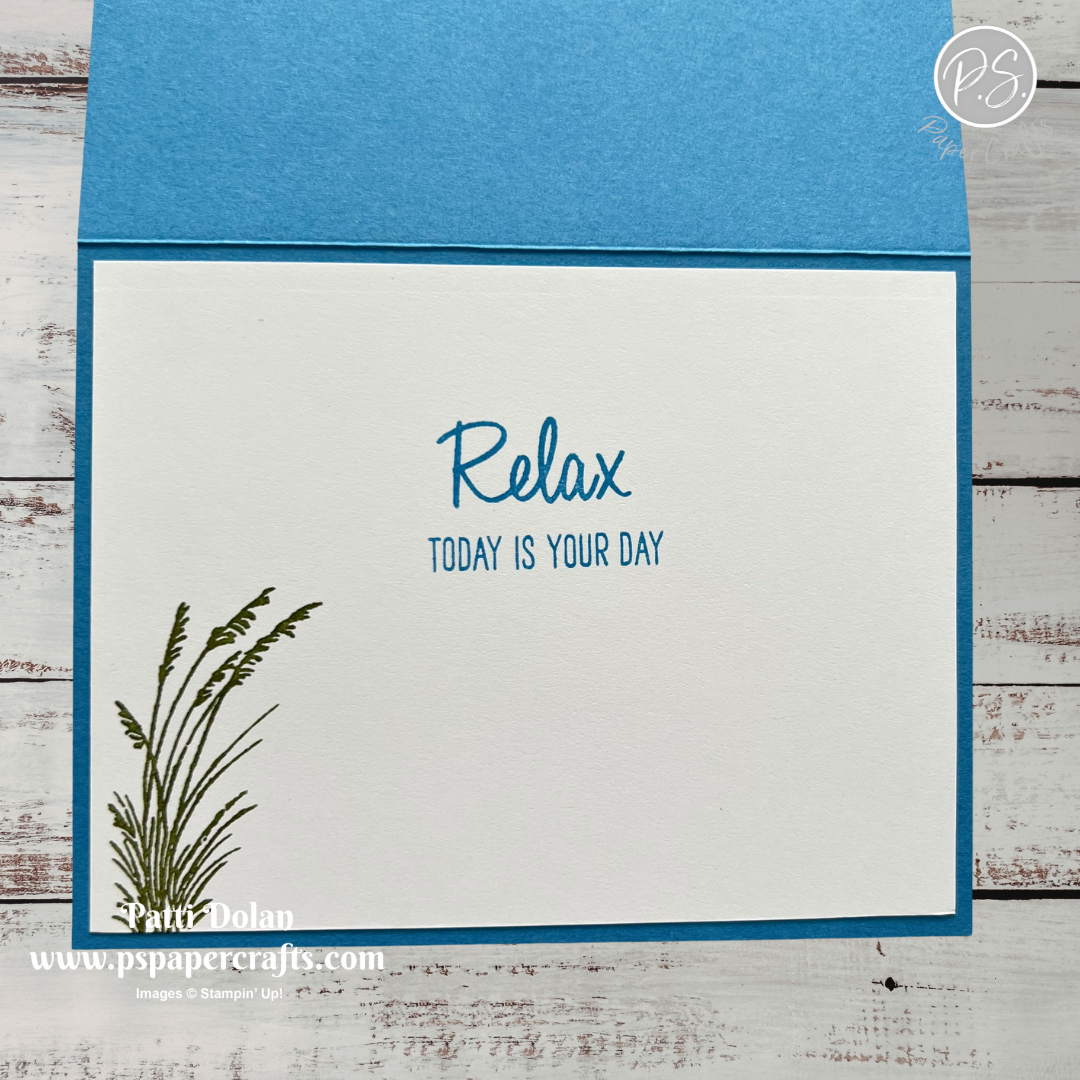
On the inside layer (4 x 5-1/4), stamp the sentiment chair in Pecan Pie ink and the sentiments in Misty Moonlight ink.


I love the how peaceful this scene is with the cabin on the lake.


Supply List

You can click on the item to purchase it from my Online Store.
 

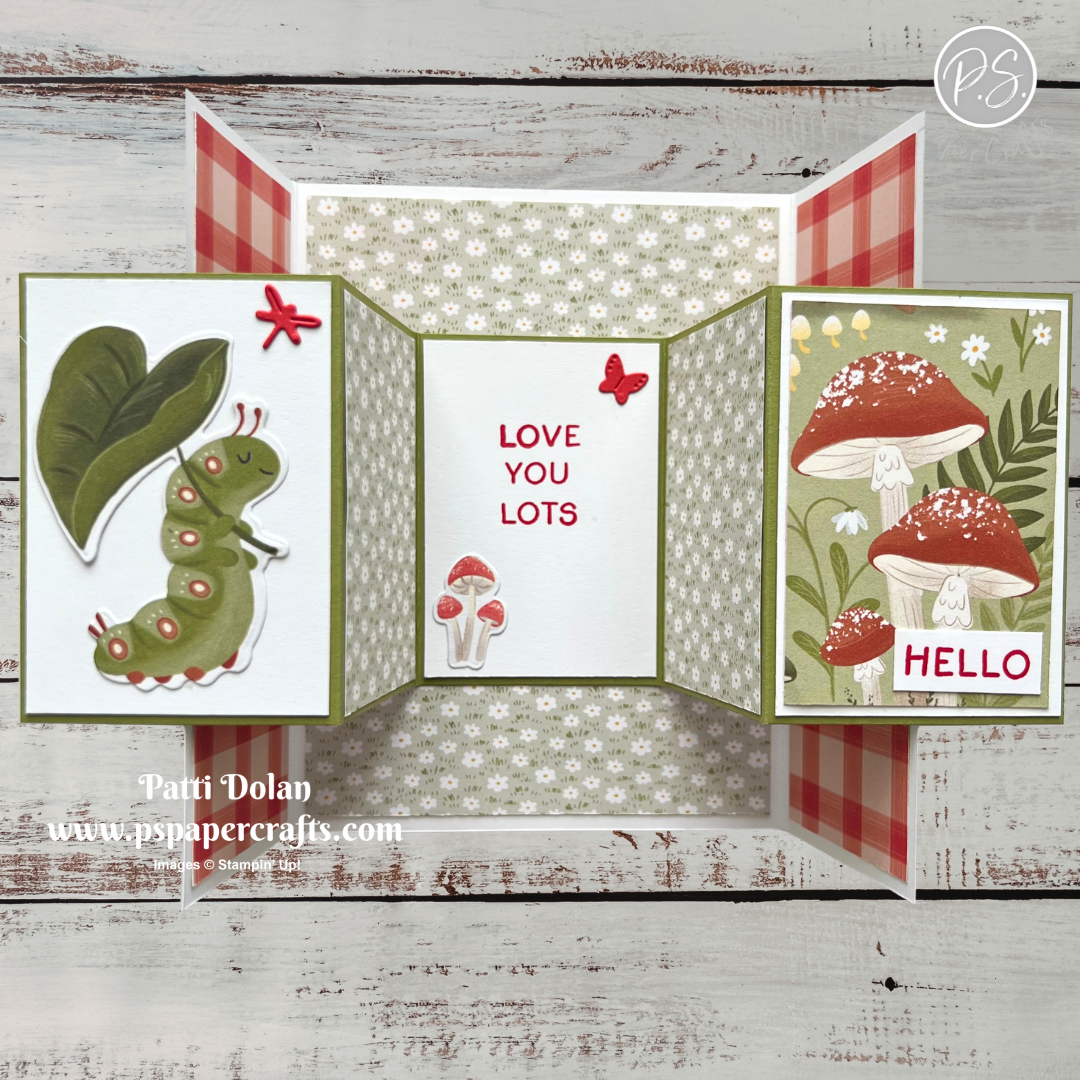
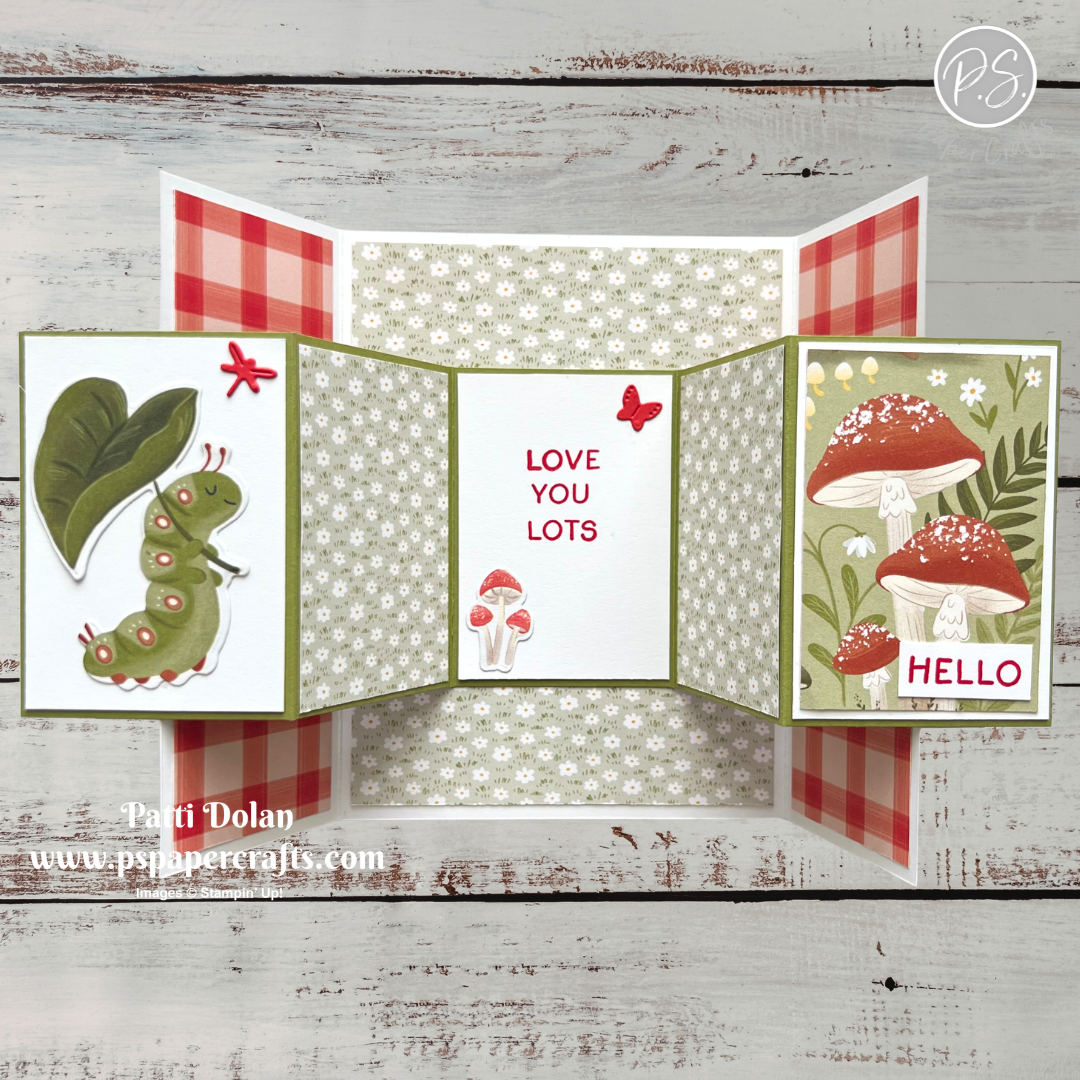
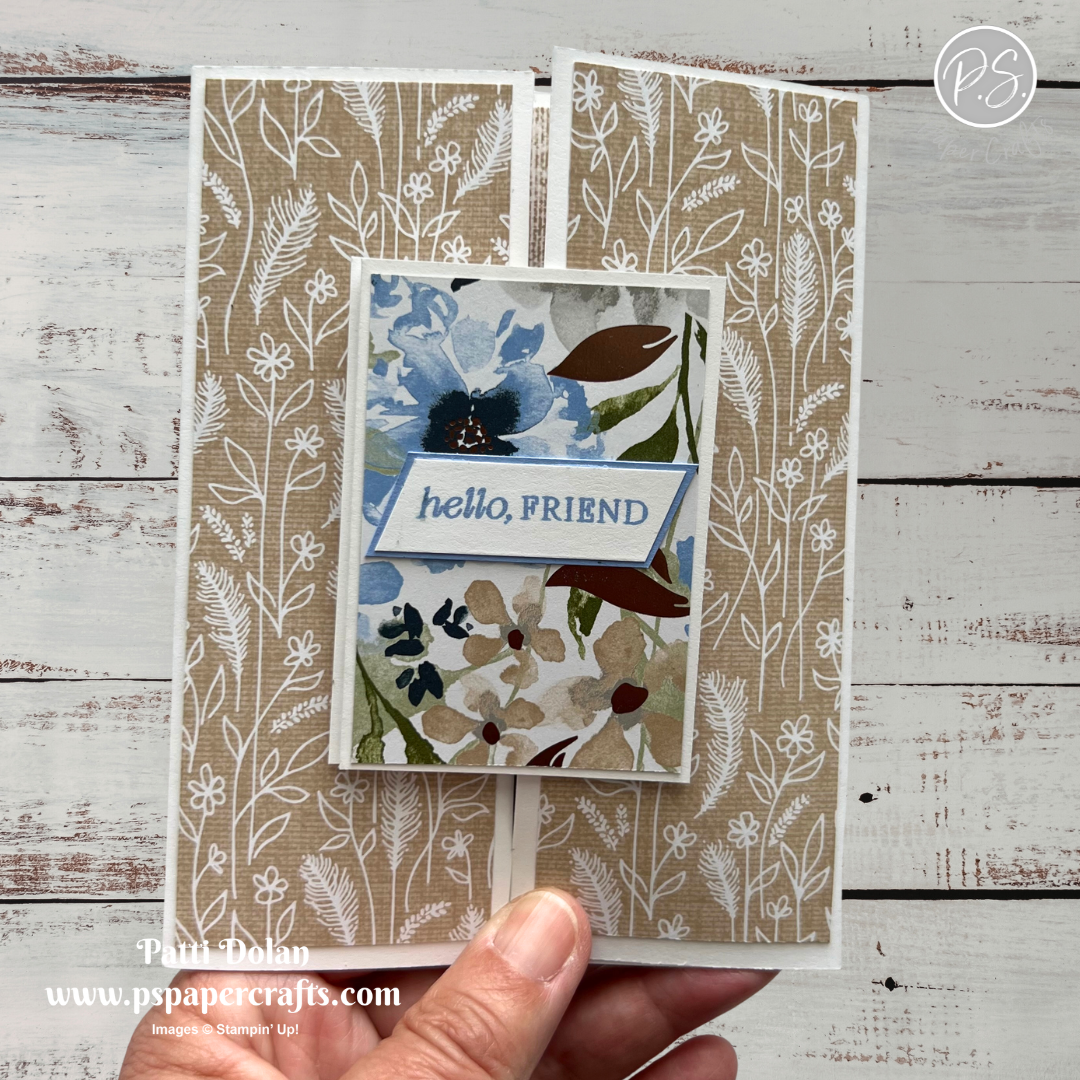
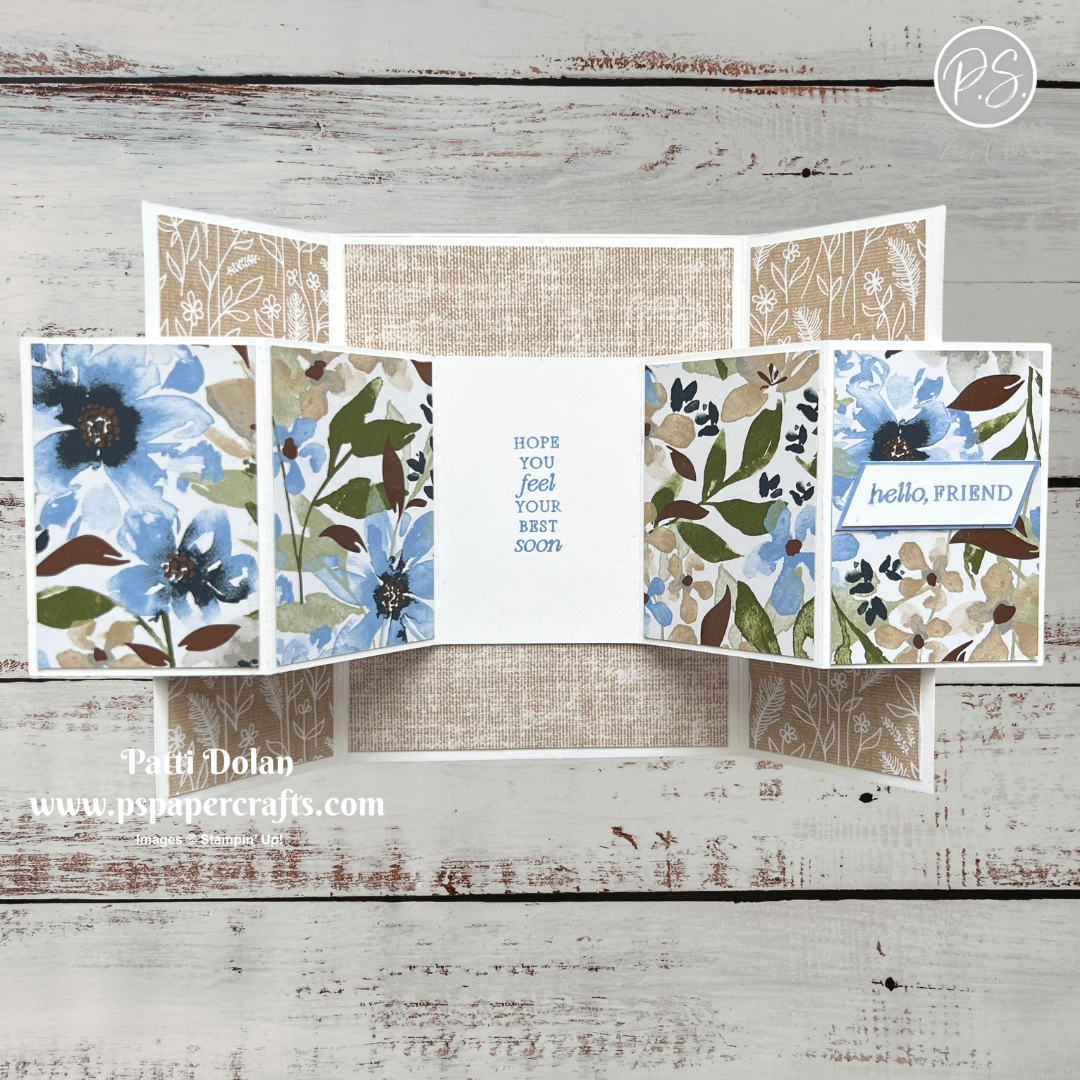
Double Accordion Gatefold Cards

These Double Accordion Gatefold Cards have quite a few pieces to them, but the finished result is absolutely worth it! They stand up beautifully for display and are such a fun way to really show off your favorite patterned papers. The accordion folds add lots of interest and dimension, making these cards extra special for any occasion.


Watch the video to see step by step instructions to make this design.

Click on the button below to get a printable pdf with measurements and instructions.


This fun card was made using the Cutest Bugs Designer Series Paper along with the Sweet Bugs Bundle.


I used the Delicate Dreams Specialty Designer Series Paper and Delicate Whispers Stamp Set for this pretty card.


Supply List

You can click on the item to purchase it from my Online Store.
 

Cutest Crew - Color Combo

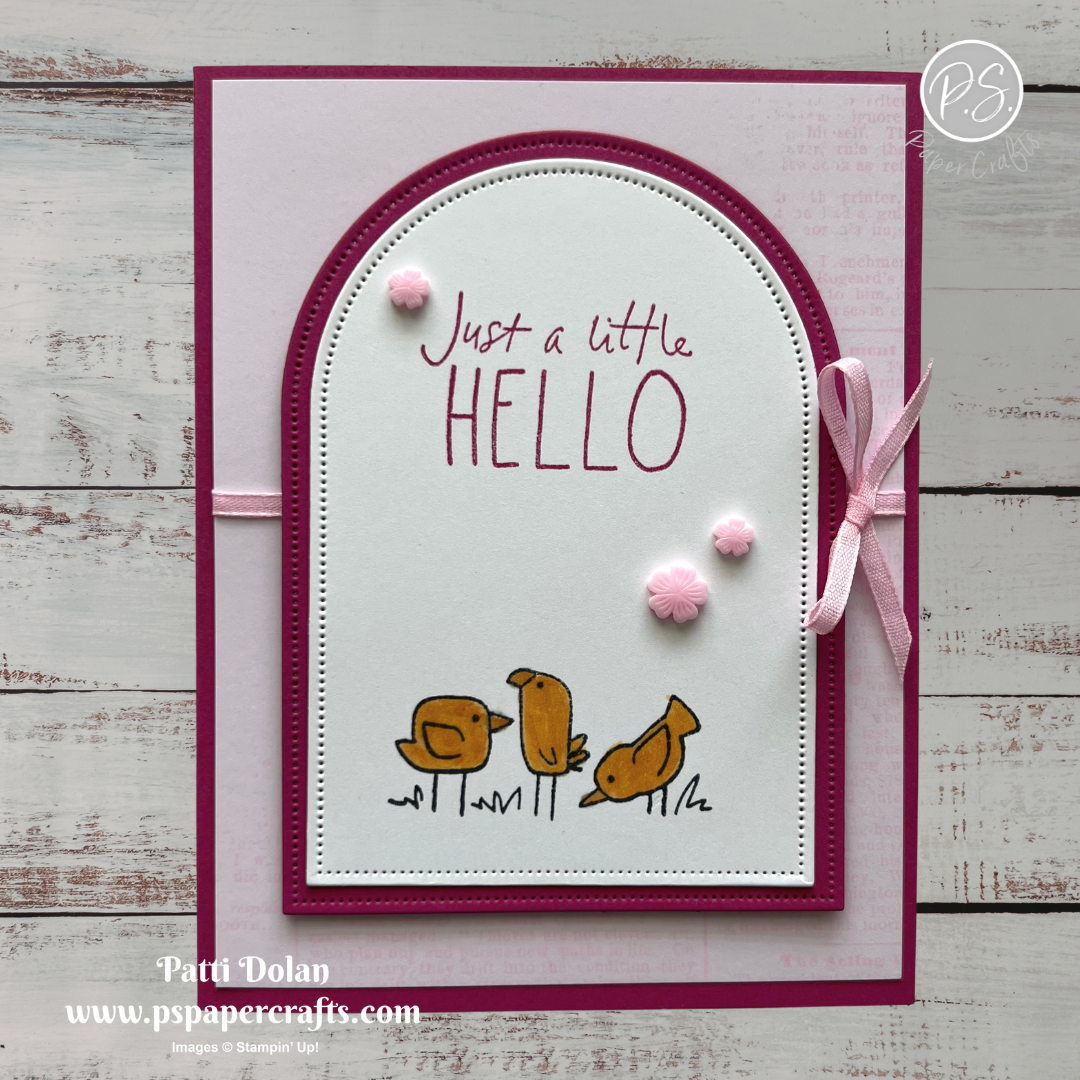
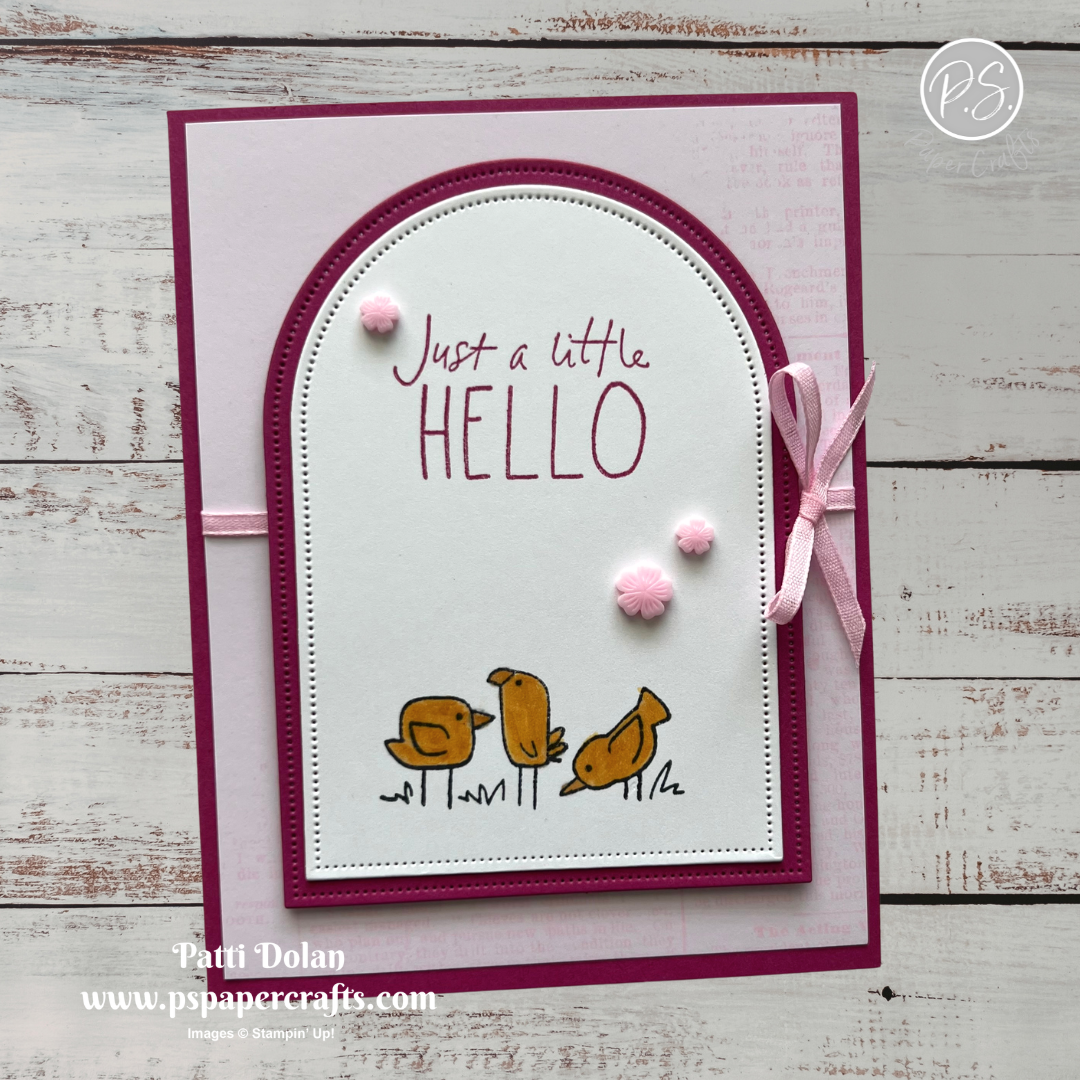
The Cutest Crew Stamp set is so adorable! I chose the 3 little birds and a Just a little HELLO sentiment for this card.


The Color Combo is from my May Inspiration Calendar - Golden Glow, Bubble Bath and Berry Burst.

You can get my Inspiration Calendar each month when you subscribe to my email list.


Tips & Instructions

  • Berry Burst Card Base - 5-1/2 x 8-1/2, score at 4-1/4

  • Everyday Essentials Mix & Match Designer Series Paper (Bubble Bath pattern) - 4 x 5-1/4. Wrap a piece of Bubble Bath Ribbon around the layer and adhere to the back. Adhere the layer to the card base.

  • Use the Everyday Arches Dies to die cut a piece of Berry Burst cardstock from the 3rd largest and a piece of Basic White cardstock from the 4th largest dies.

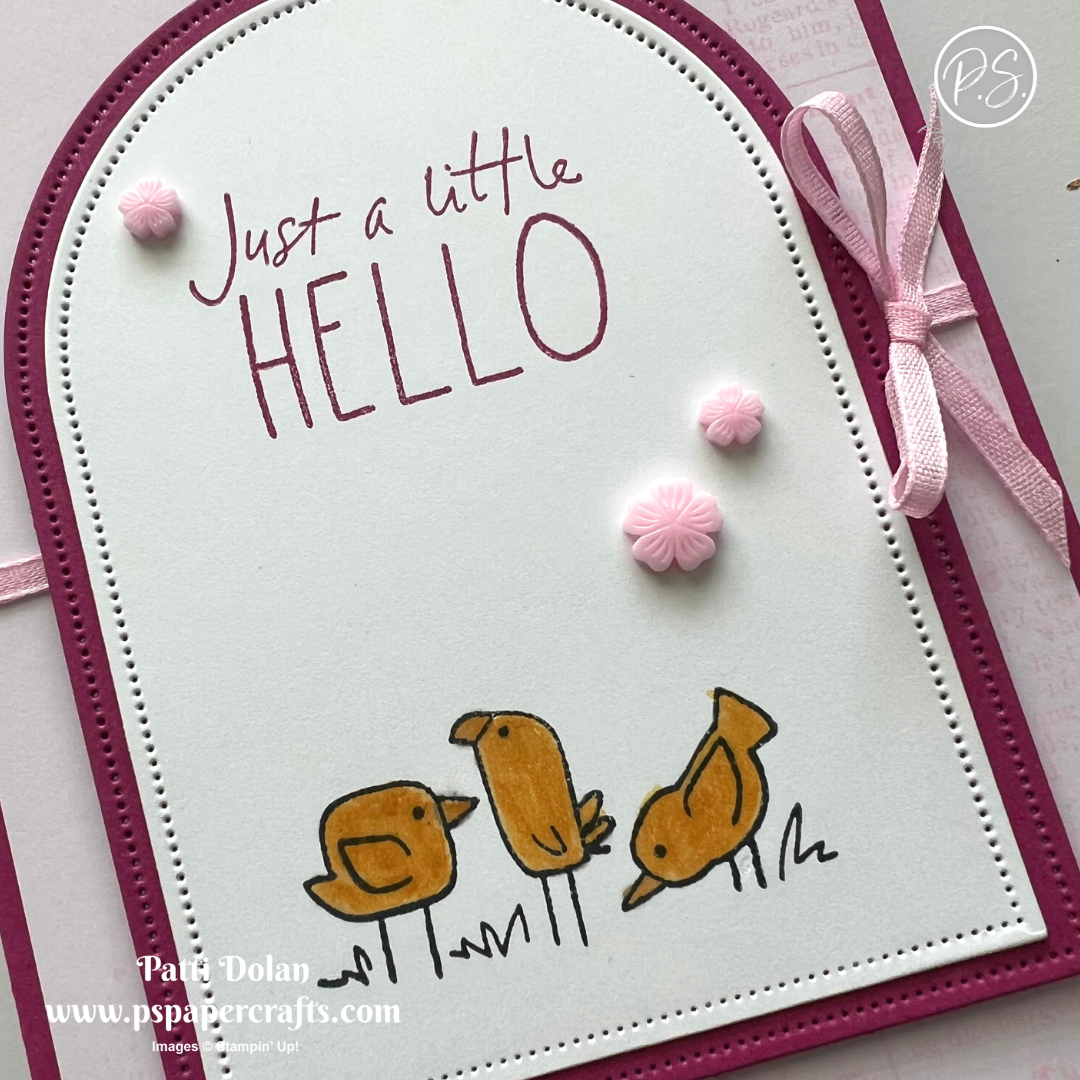
  • Stamp the trio of birds in black and the sentiment in Berry Burst ink on the white arch layer. Color the birds with a Golden Glow Shimmer Brush. Adhere to the Berry Burst arch layer and then adhere to the card with Dimensionals.

  • Tie a bow and adhere to the card with a Glue Dot.

  • Add some Dreamy Flowers.


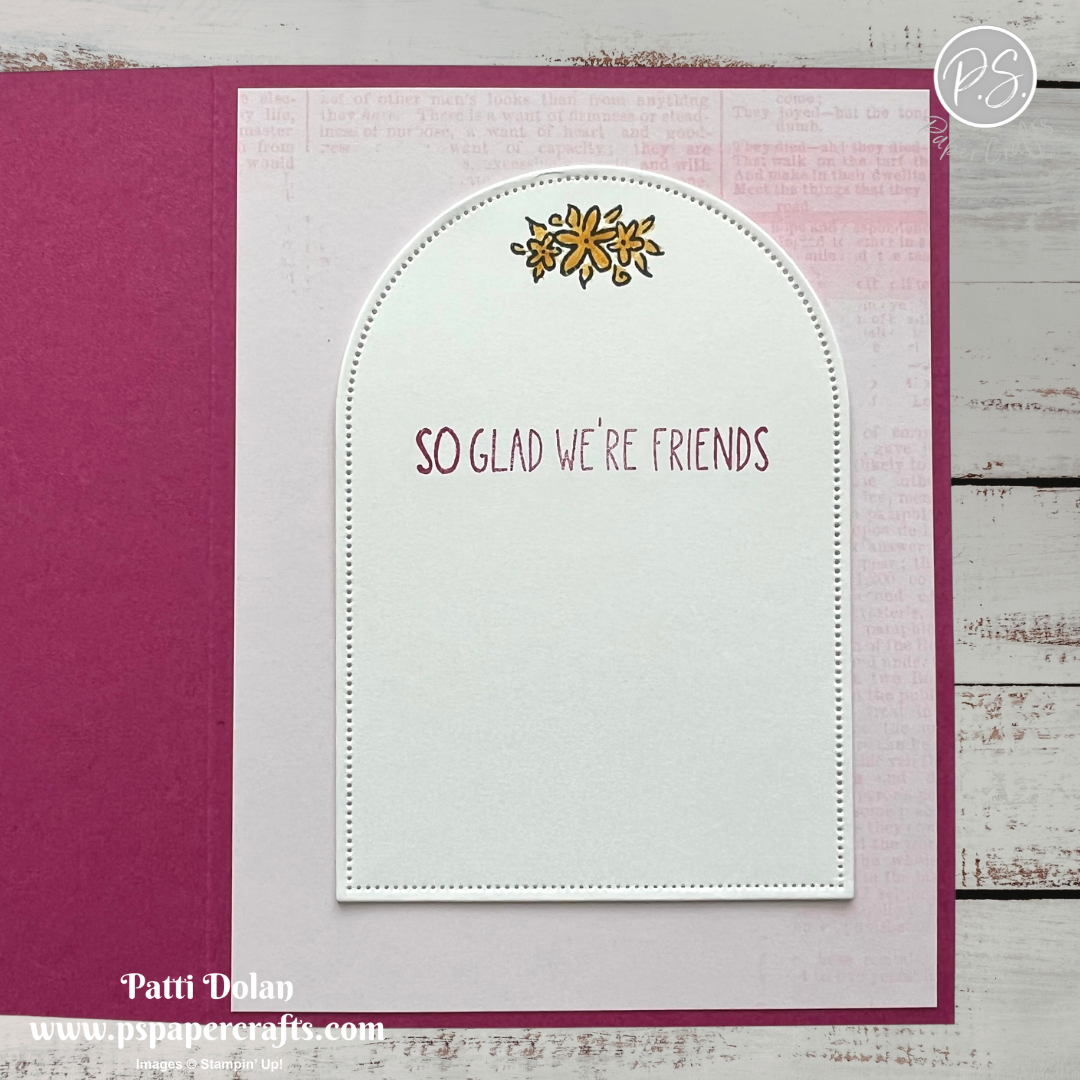
For the inside, adhere a 4 x 5-1/4 piece of Everyday Essentials Mix & Match Designer Series Paper. Die cut an arch piece from Basic White. Stamp the floral image in Black Memento ink and the sentiment in Berry Burst ink. Color the flowers with a Golden Glow Shimmer Brush.


I love the subtle typed pattern on the Bubble Bath layer. It adds just a bit of interest.


Supply List

You can click on the item to purchase it from my Online Store.
 

Sketch Challenge - Balloon Festoon

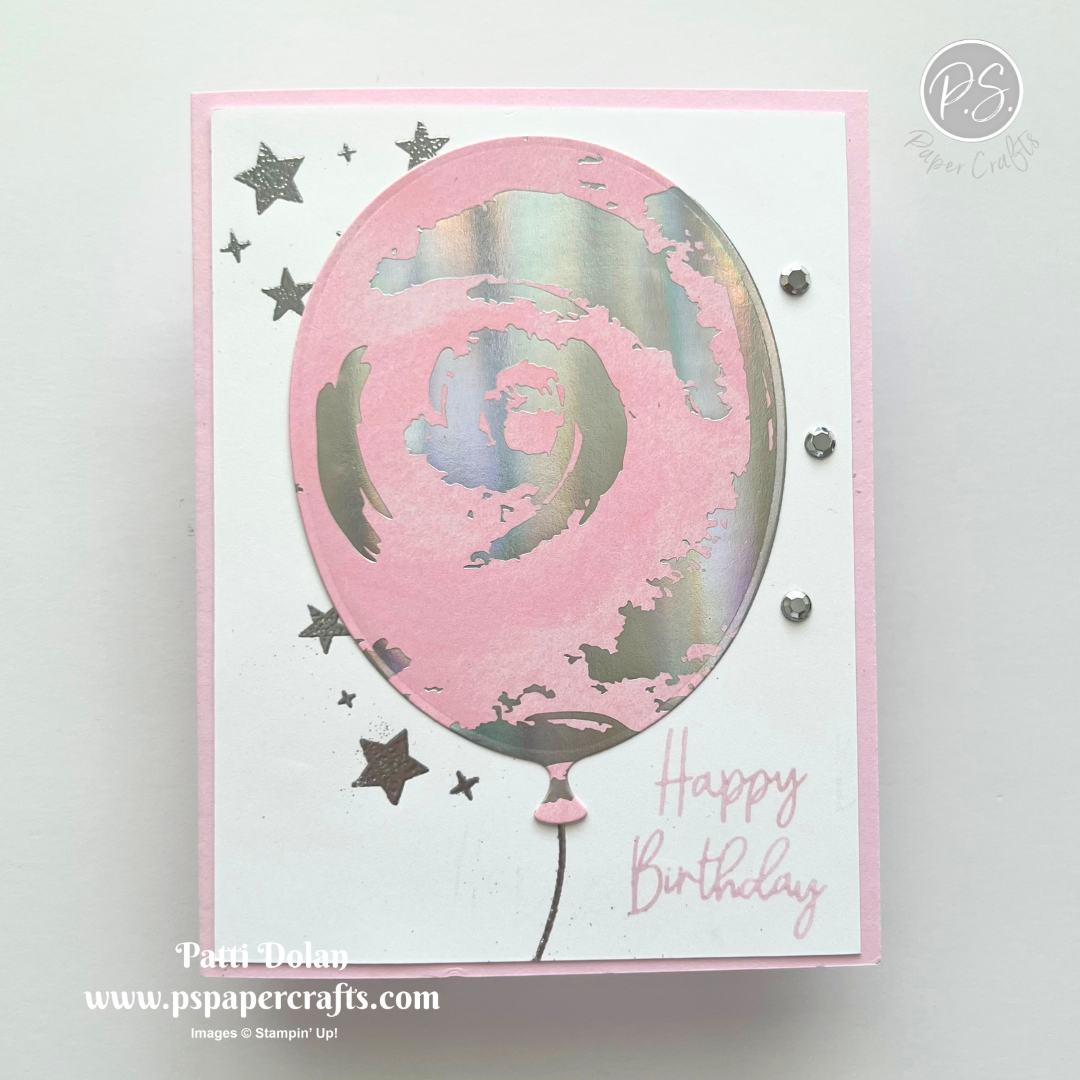
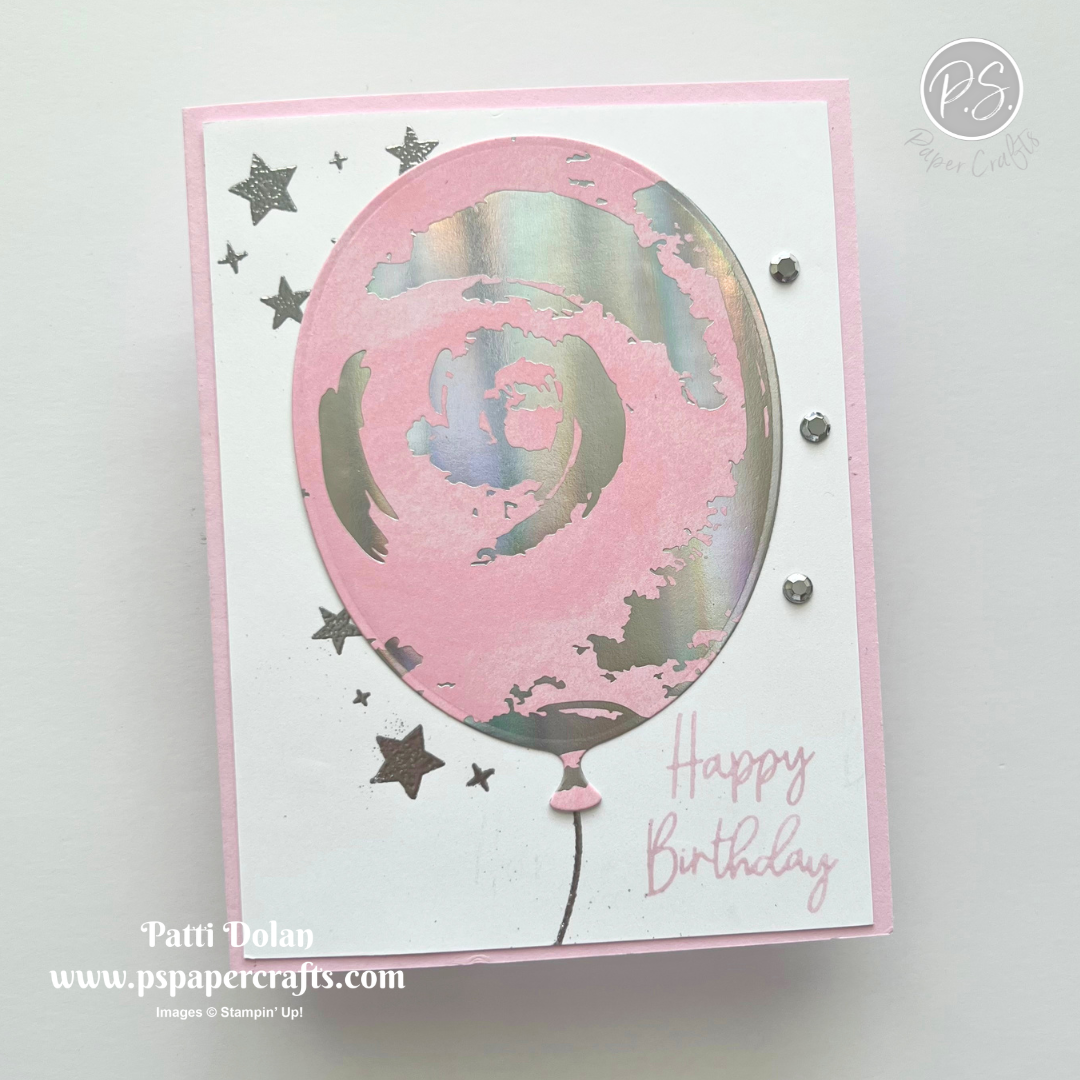
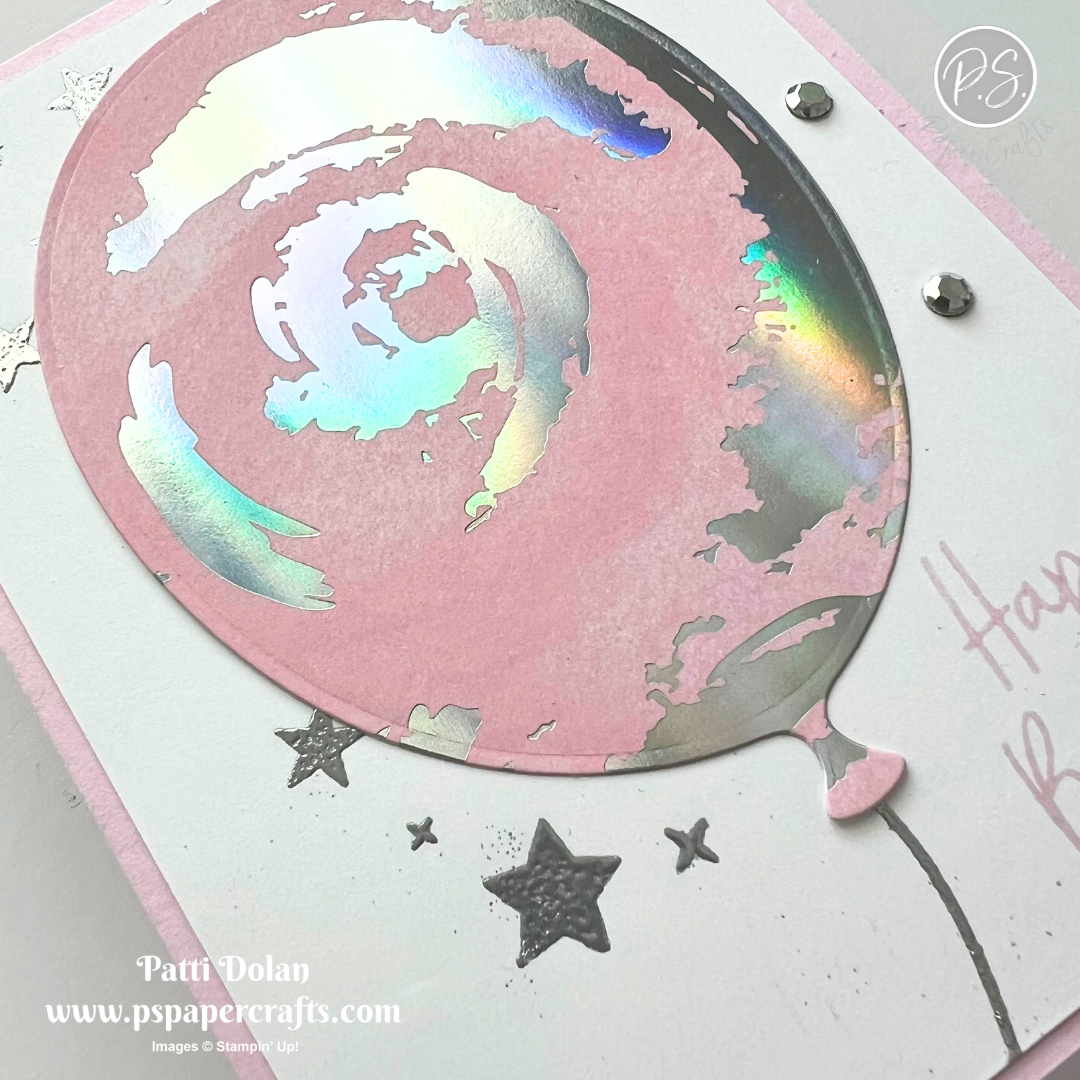
I decided to use the big balloon from the Balloon Festoon Dies for this week’s Splitcoaststampers Sketch Challenge. It works well for the oval shape. I die cut it from a piece of Splash of Sparkles Designer Series Paper.


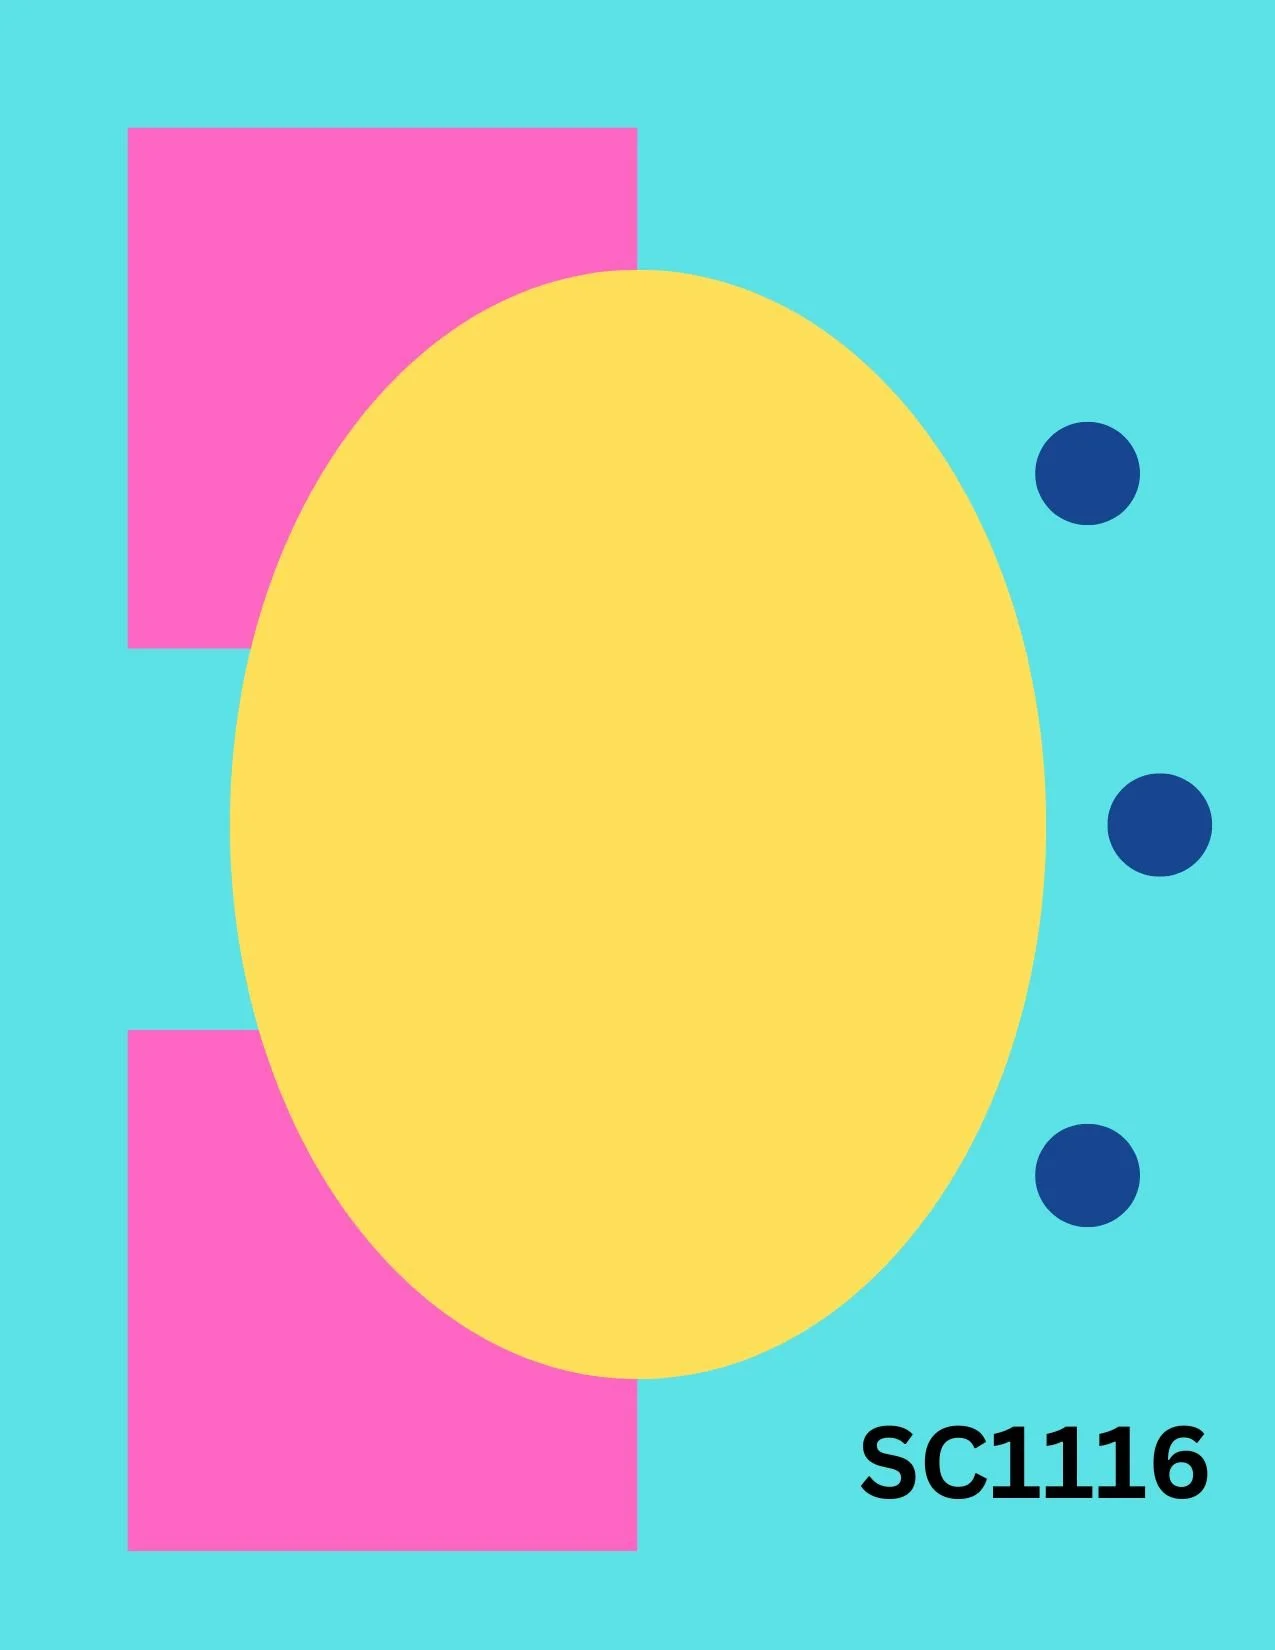
Here’s the sketch I used. You can see all the projects posted for this week’s challenge by clicking on the sketch below.


Tips & Instructions

  • Bubble Bath Card Base - 5-1/2 x 8-1/2, score at 4-1/4

  • Basic White - 4 x 5-1/4, stamp the sentiment at the bottom right corner in Bubble Bath ink using the Balloon Festoon Stamp Set. I broke it into 2 lines.

  • Splash of Sparkles Specialty Designer Series Paper - die cut using the 3rd from largest balloon from the Balloon Festoon Dies.

  • Lay the die cut balloon over the white layer to determine positioning but don’t adhere it yet. Stamp the star grouping at the top in Versamark ink and heat emboss using silver embossing powder. Lay the balloon on the layer again and determine where to stamp a second grouping of the stars, heat emboss them.

  • Now lay the balloon on the layer and stamp the balloon string in Versamark ink and heat emboss with silver embossing powder.

  • Adhere the balloon to the layer.

  • Add some silver Adhesive-Backed Metallic Gems.


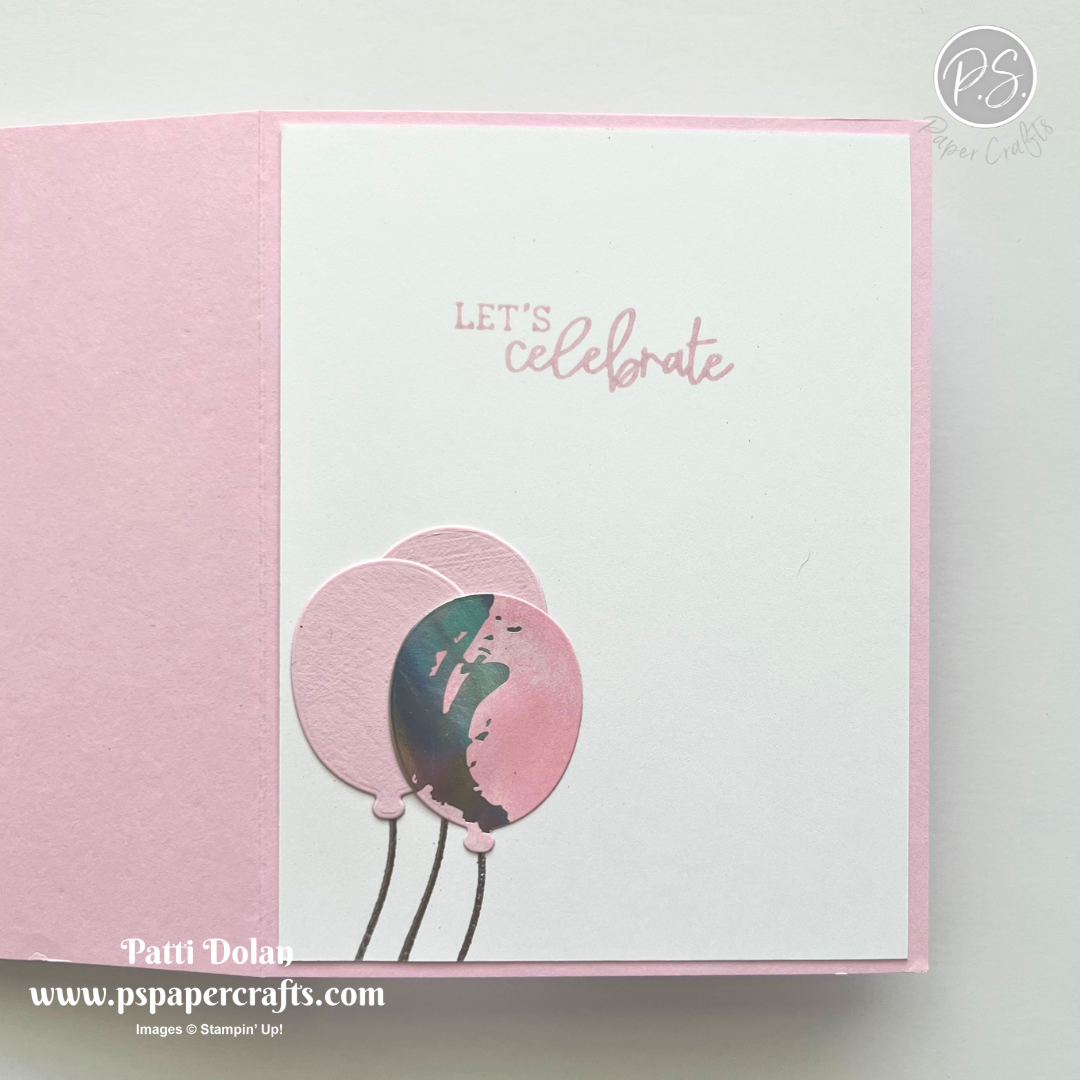
On the inside layer (4 x 5-1/4), stamp the sentiment in Bubble Bath ink. Use the smallest balloon die to die cut one balloon from the Splash of Sparkles paper and 2 balloons from Bubble Bath Cardstock. Arrange them to determine where to stamp the strings and then stamp them in Versamark ink and heat emboss with silver embossing powder. Adhere the balloons.


I love the shine on the Splash of Sparkles paper, perfect for a balloon!


Supply List

You can click on the item to purchase it from my Online Store.
 

Sketch Saturday - Heirloom Bloom

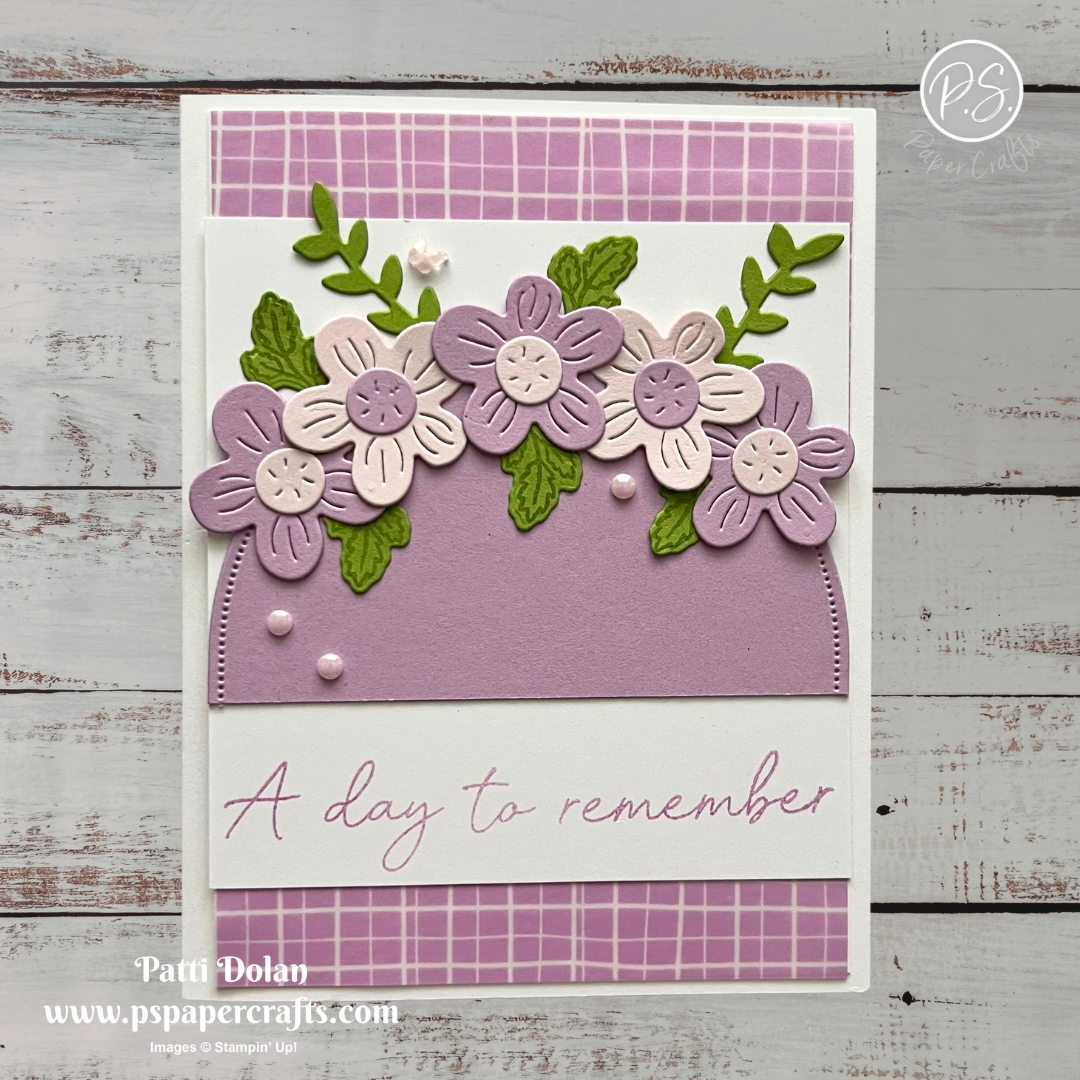
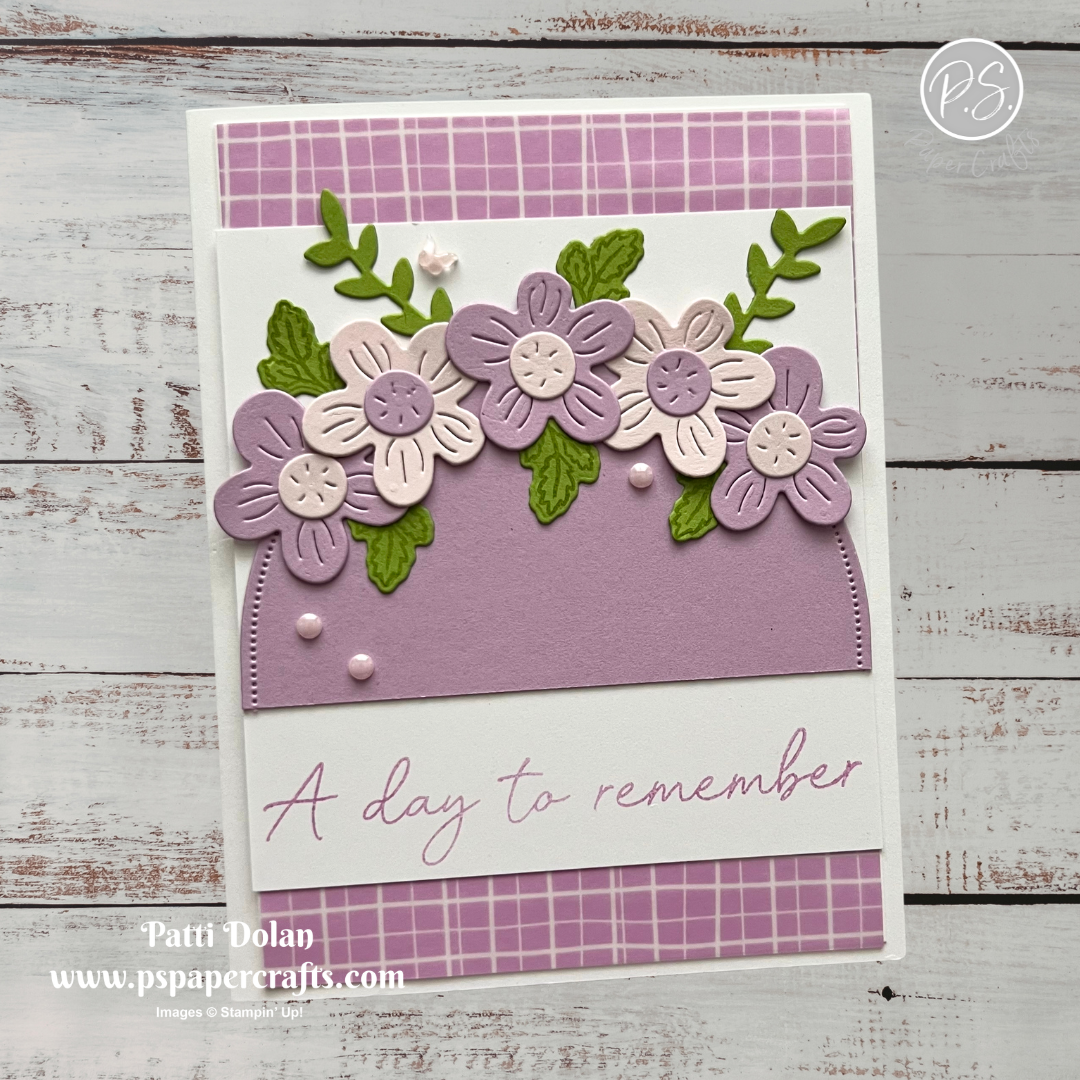
This week’s Sketch Challenge was a fun one for me. I used the Heirloom Boutique Bundle and added a piece of the Berry Botanical Vellum which is the May Product of the Month.


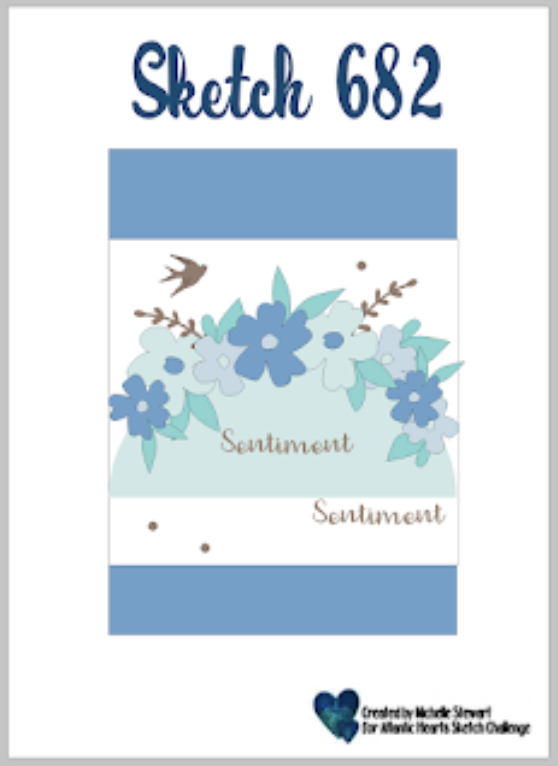
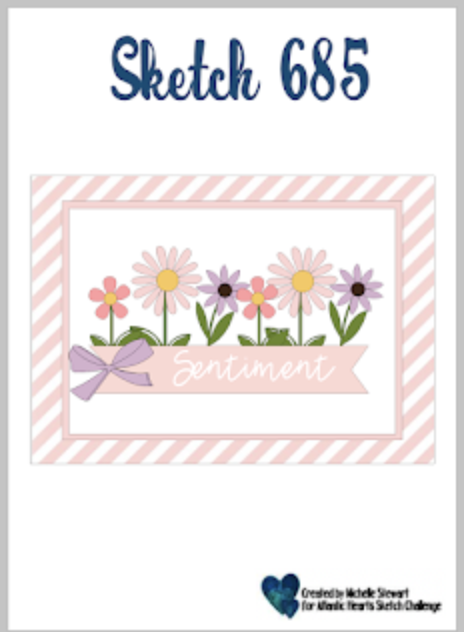
Here’s the sketch I used from the Atlantic Hearts Sketch Challenge.


Tips & Instructions

  • Thick Basic White Card Base - 5-1/2 x 8-1/2, score at 4-1/4

  • Basic White Layer - 3-7/8 x 5-1/4

  • Berry Botanical Vellum Specialty Designer Series Paper - 3-7/8 x 5-1/4, adhere to the white layer. I used liquid glue and smeared it with my finger to get a thin layer so it wouldn’t show through.

  • Basic White Layer - 3-7/8 x 4, stamp the sentiment at the bottom and adhere the layer to the center of the Vellum layer. Adhere layers to the card.

  • Fresh Freesia - die cut using the largest Everyday Arches Dies. Cut off the bottom to make the arch 2-1/4” long. Adhere to the card.

  • Using the Heirloom Bloom Dies, die cut 3 flowers (2nd from smallest flower die) from Fresh Freesia and 2 flowers from Barely Blush. Die cut 3 flower centers from Barley Blush and 2 centers from Fresh Freesia. Adhere the centers to the flowers. Adhere the flowers to the top of the arch with Glue Dots.

  • Die cut 2 sprigs from Granny Apple Green.

  • Stamp 5 sets of the small leaves in Granny Apple Green ink on Granny Apple Green Cardstock. Die cut with coordinating dies.

  • Trim the sprigs and adhere the sprigs and leaves around the flowers with liquid glue.

  • Add a Barely Blush Butterfly and some Barely Blush Dots.


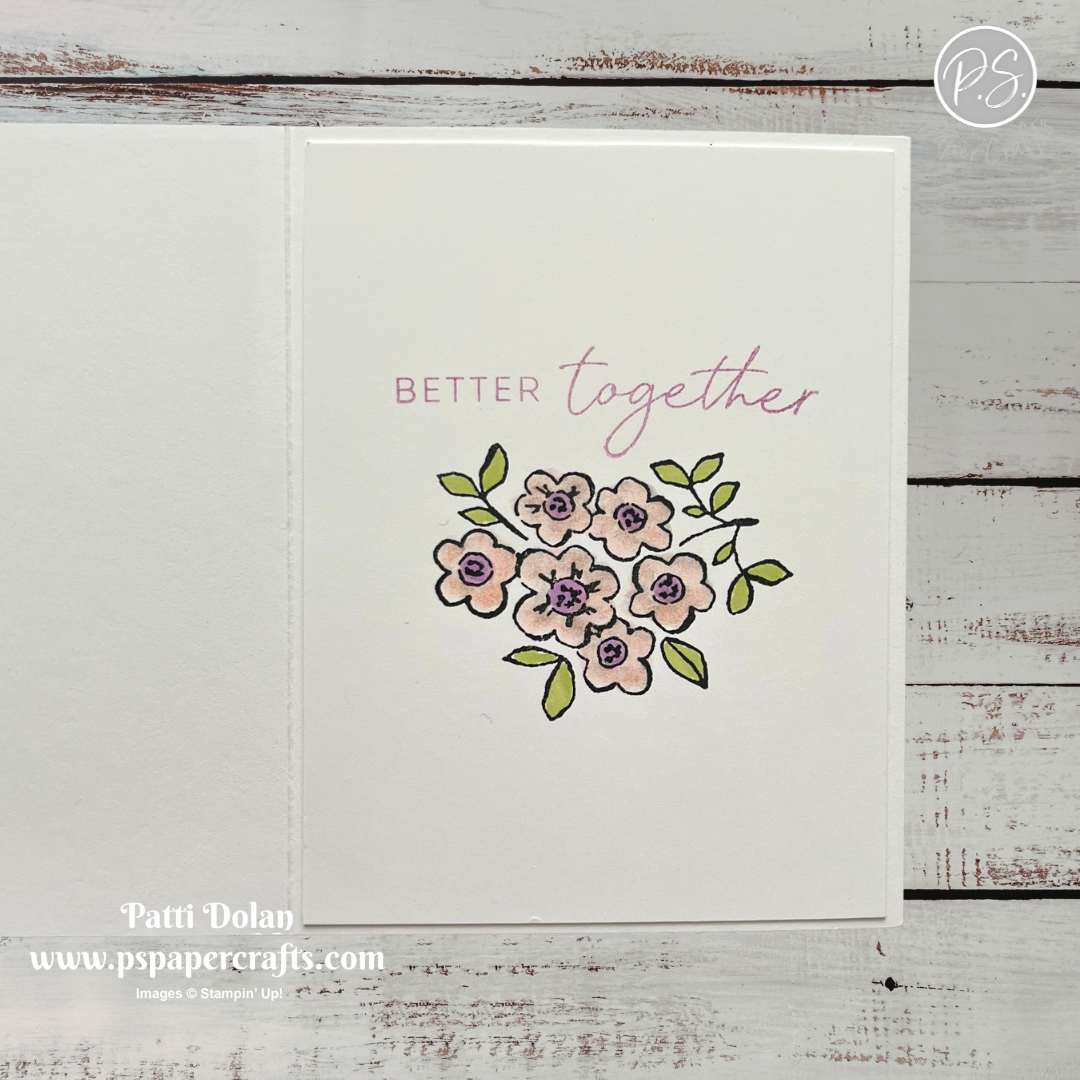
On the inside layer (4 x 5-1/4), stamp the sentiment in Fresh Freesia ink. Stamp the floral image in Black ink. Color the flowers with a Barely Blush Shimmer Brush and the leaves with a Light Granny Apple Green Stampin’ Blends Marker and the flower centers with a Dark Fresh Freesia Stampin’ Blends Marker.


This would be a great wedding or anniversary card. I love the font for the sentiment!


Supply List

You can click on the item to purchase it from my Online Store.
 

Eclipse Cards

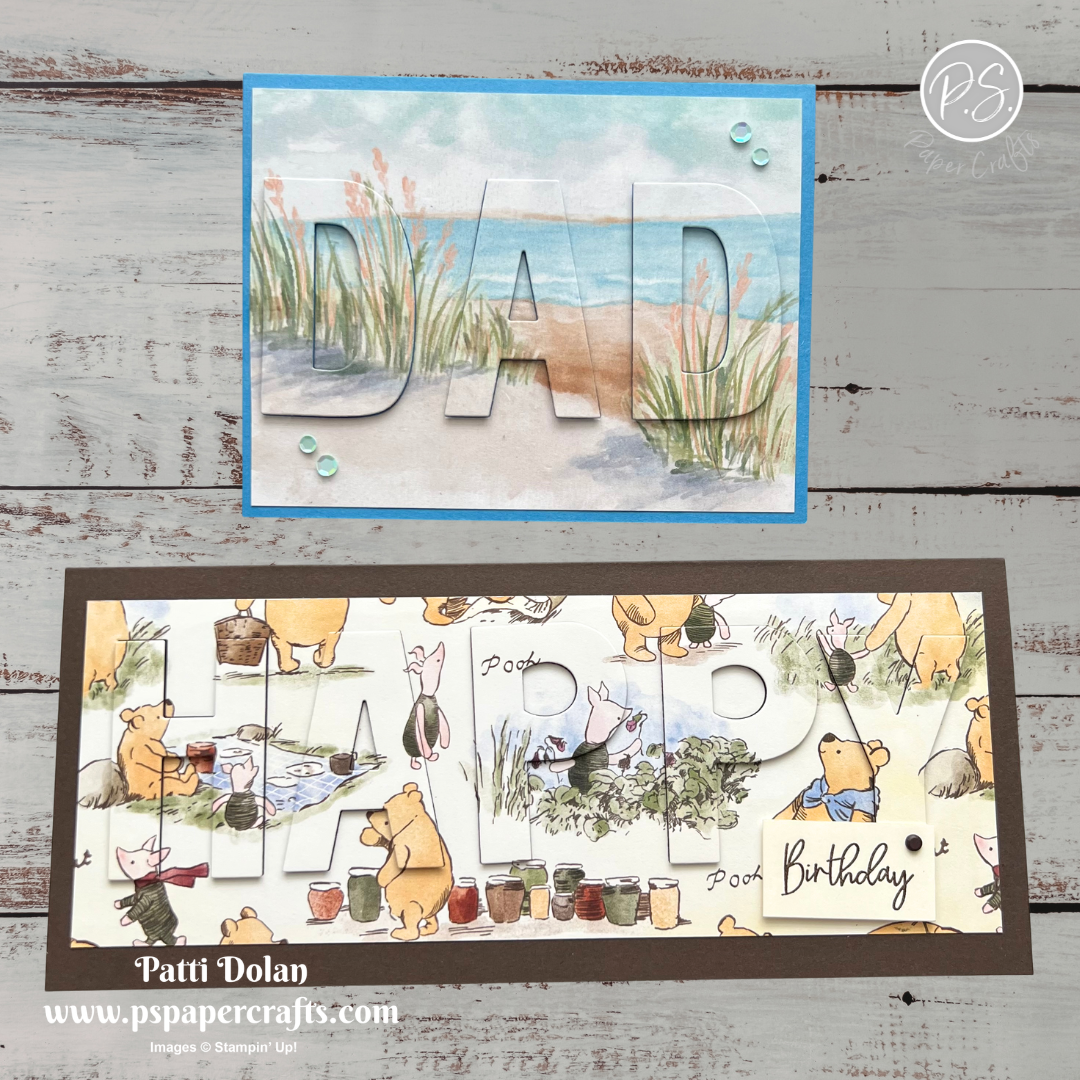
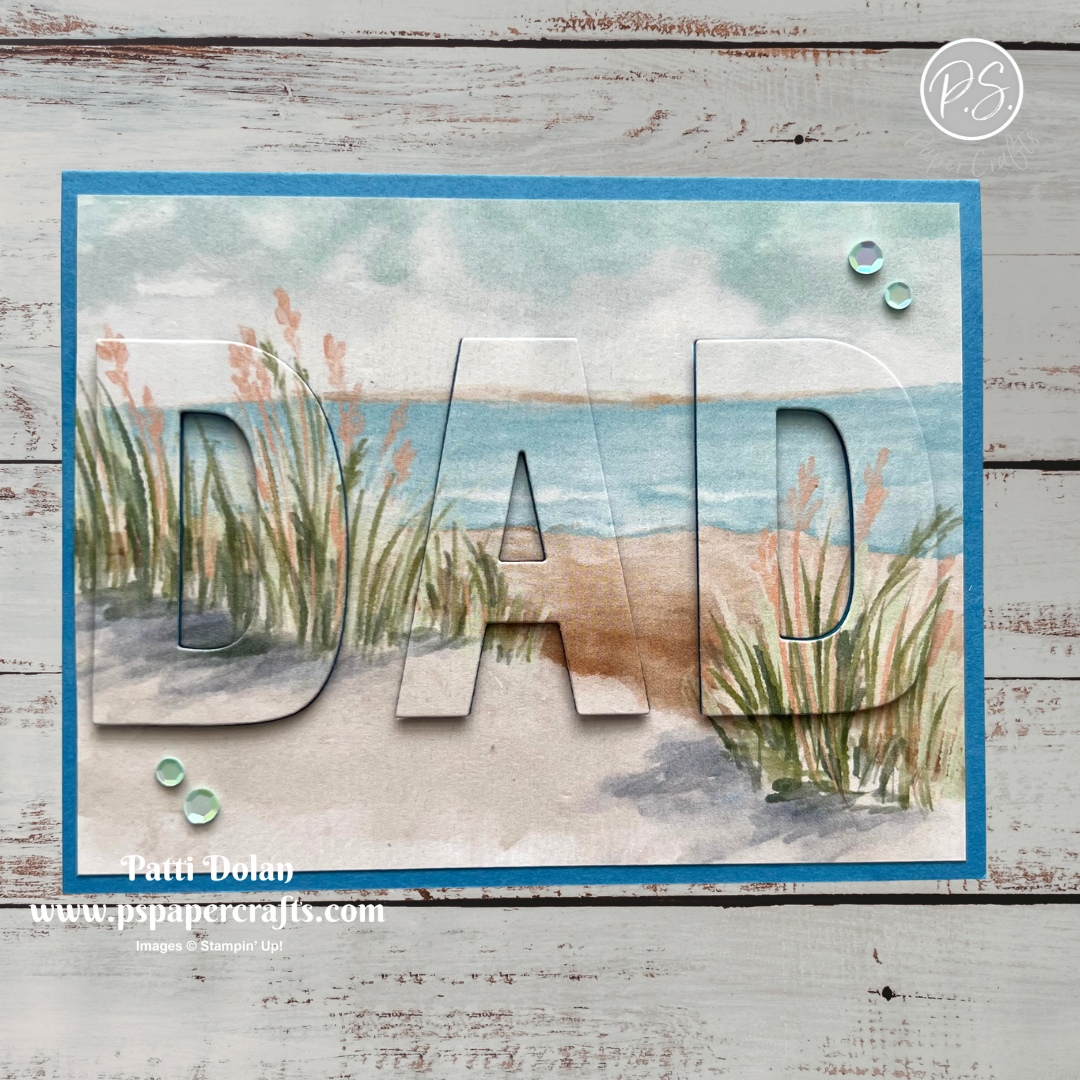
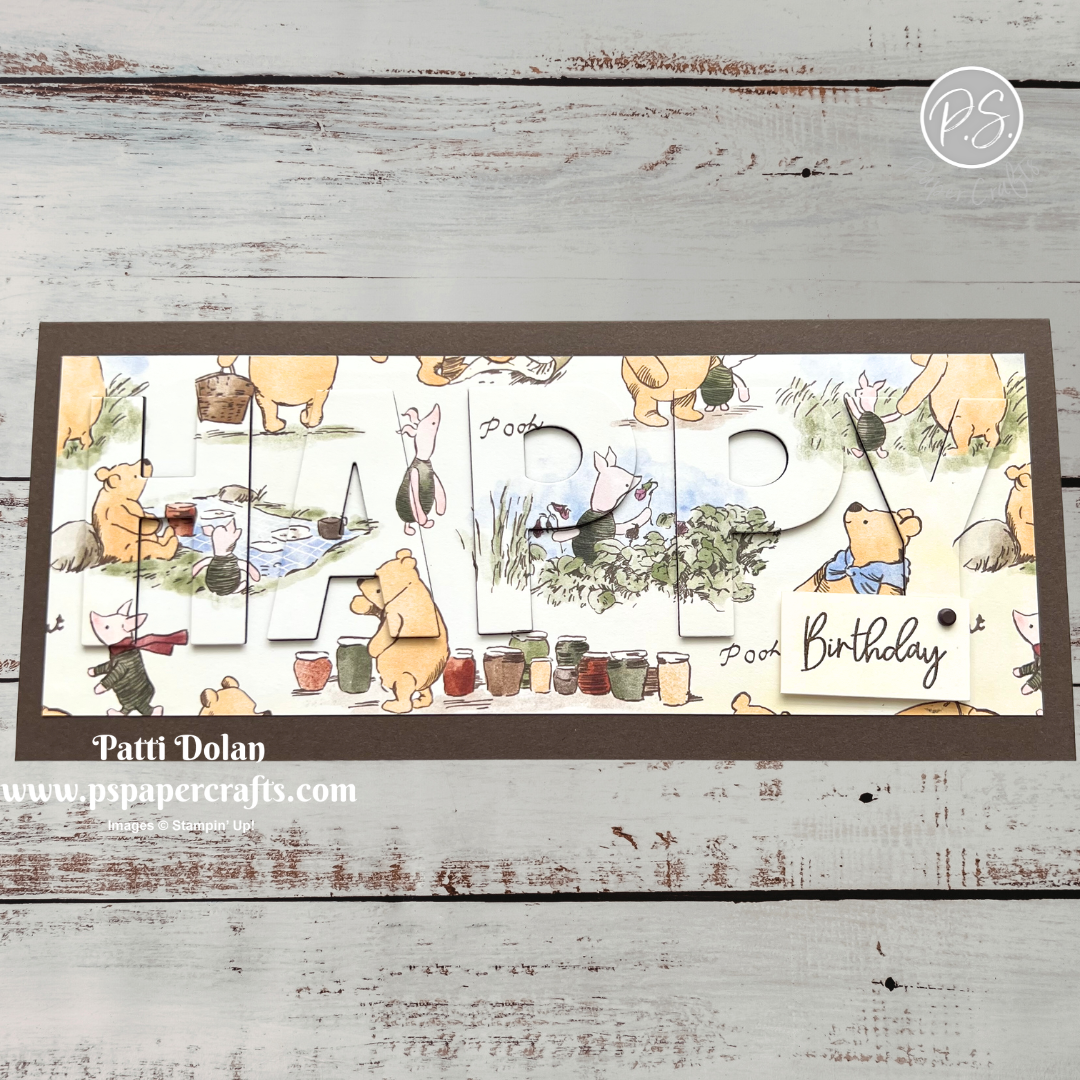
These Eclipse Cards are surprisingly easy to make and they turn out absolutely beautiful. I love using the slimline card design because it gives you extra space for larger words and sentiments. Both of these cards turned out so fun and eye-catching!


Watch the video to see step by step instructions to make this design.

Click on the button below to get a printable pdf with measurements and instructions.


Both cards were made using the Party Alphabet Dies for the letters. This is a great masculine card for Father’s Day or a Birthday. I used the Waterside Retreat and Relaxing Waterside Stamp Set to create this card.


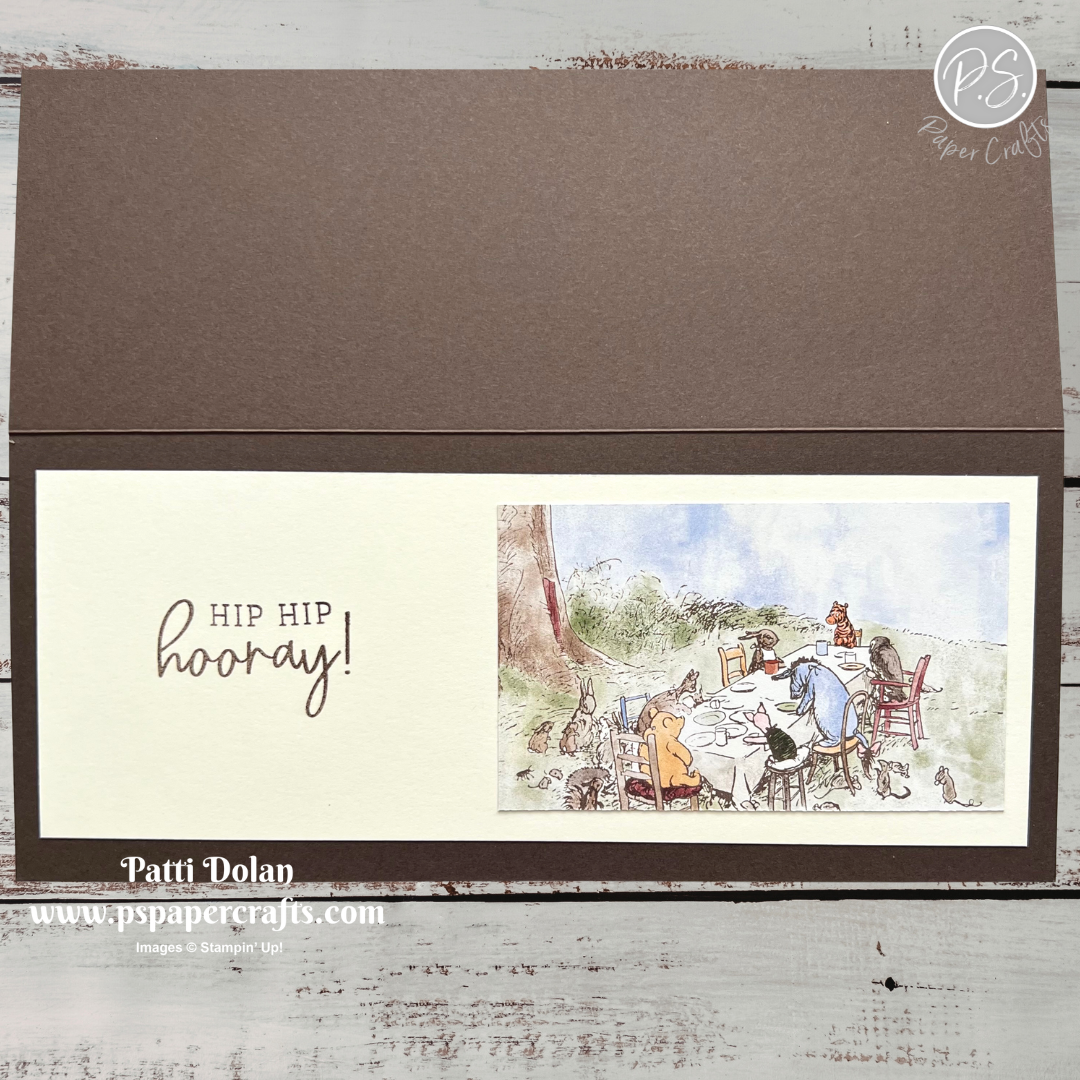
I love how fun this card is using the Silly Old Bear Designer Series Paper. The sentiment is from the Balloon Festoon Stamp Set.


Supply List

You can click on the item to purchase it from my Online Store.
 

Garden Gatherings Color Combo

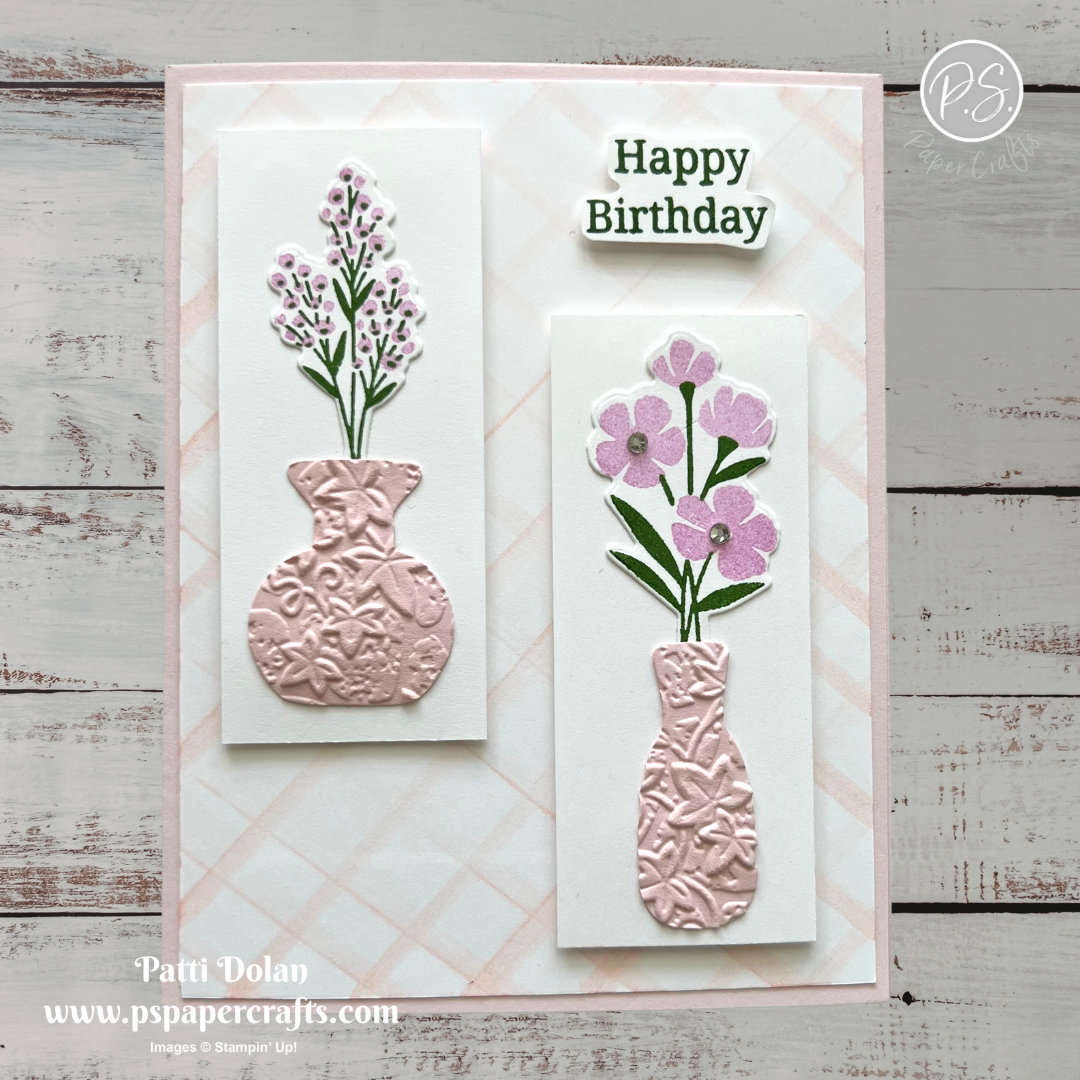
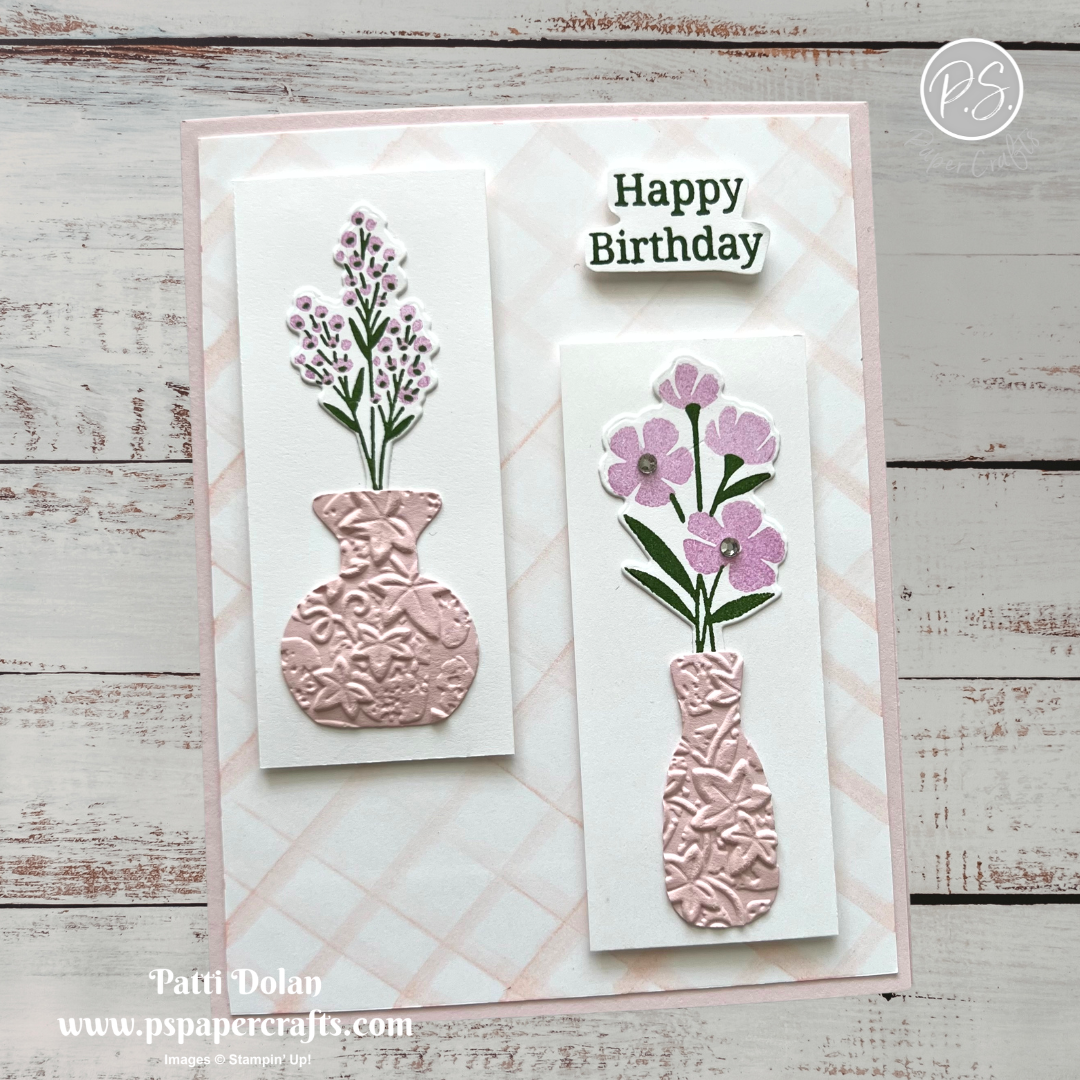
I made this pretty Birthday Card using the Garden Gatherings Bundle. The background plaid was created using one of the new Shimmer Brushes and a Clear Block.


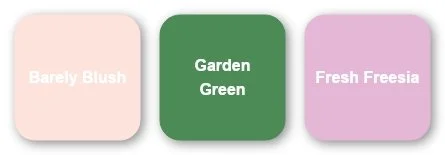
The Color Combo is from my May Inspiration Calendar - Barely Blush, Garden Green and Fresh Freesia.

You can get my calendar each month when you subscribe to my email list.


Tips & Instructions

  • Barely Blush Card Base - 5-1/2 x 8-1/2, score at 4-1/4

  • Basic White Layer - 4 x 5-1/4, use a Barely Blush Shimmer Brush to create the background plaid. With a Barely Blush Shimmer Brush, draw lines diagonally across the layer, then draw the other way. I used a Clear Block F to help guide me drawing the lines. Adhere to the card base.

  • Stamp the two sets of stems in Garden Green ink on Basic White. Stamp the flowers for each in Fresh Freesia ink. Die cut with coordinating dies.

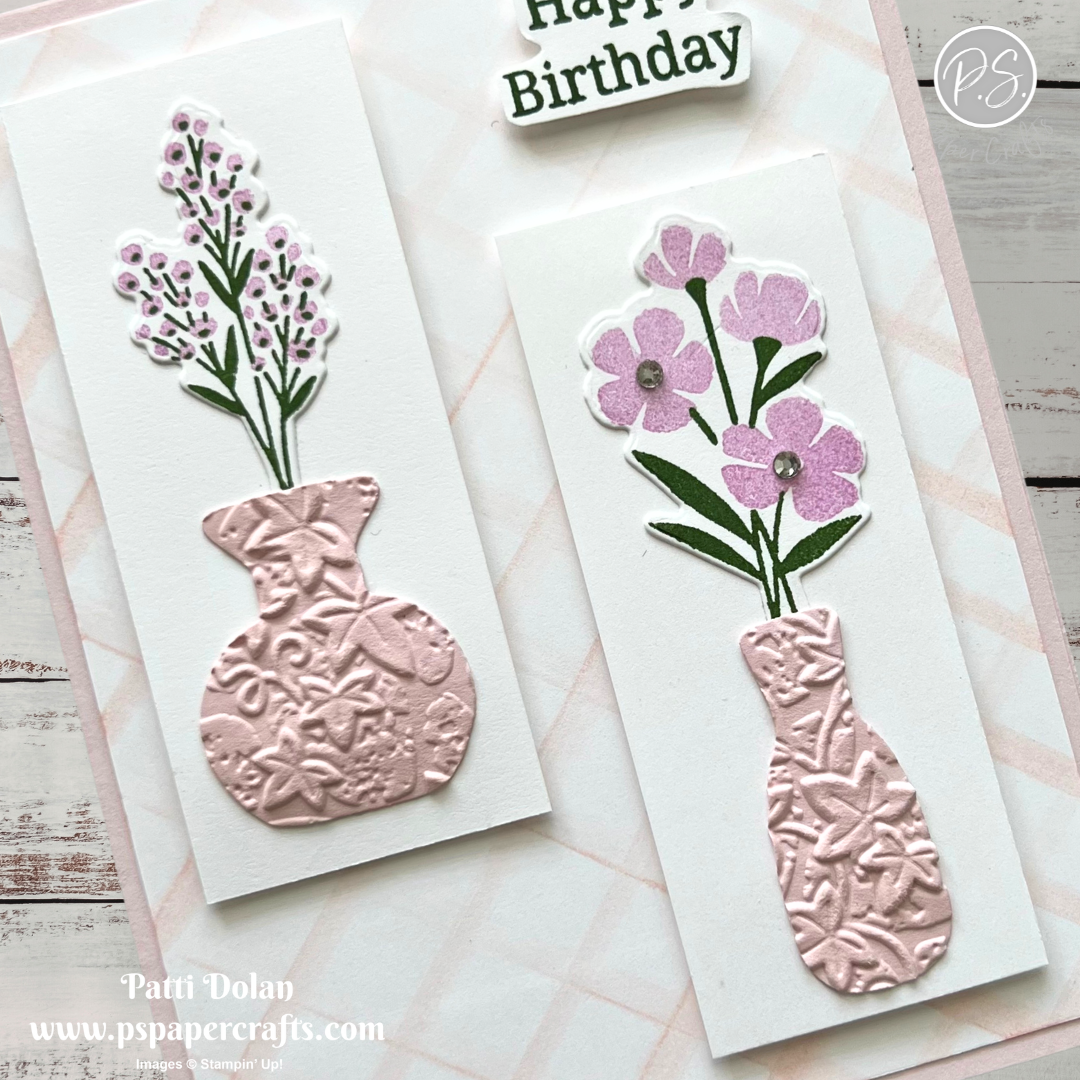
  • Die cut the two vases from Barely Blush. Emboss the vases using the Stone & Vine 3D Embossing Folder. Use a Blending Blush to add some Barely Blush ink onto the vases.

  • Basic White - (2 pieces) 1-1/2 x 3-5/8.

  • Adhere the flowers and vases to the white pieces. Adhere to the card with Dimensionals.

  • Stamp the sentiment in Garden Green ink on Basic White. I broke it into 2 lines. Fussy cut around it and adhere to the card with Dimensionals.


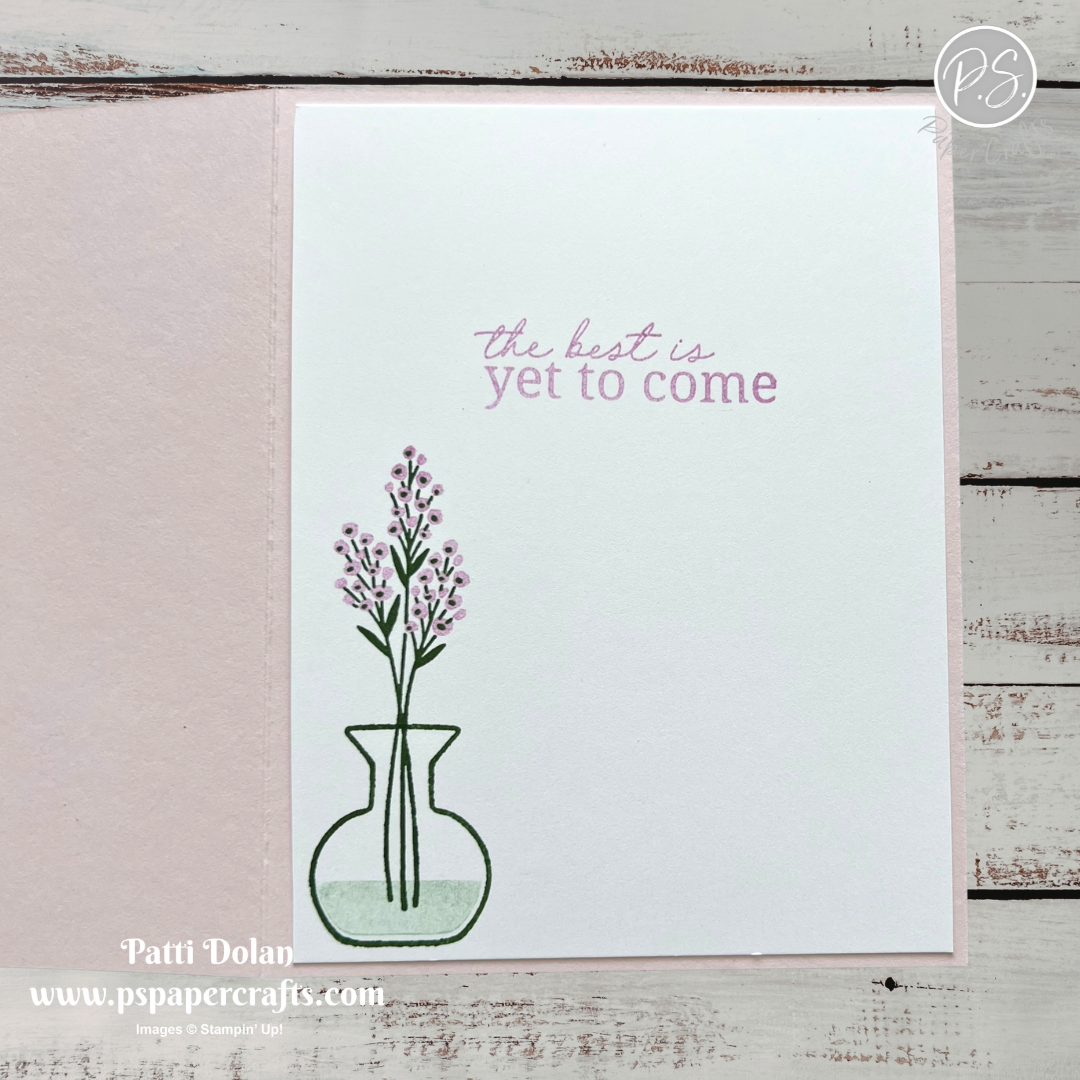
On the inside layer (4 x 5-1/4), stamp the sentiment in Fresh Freesia ink. Stamp the vase and stems in Garden Green ink and the flowers in Fresh Freesia ink. Stamp the water in Pool Party ink.


I love the embossed vases and that sparkly background on this card.


Supply List

You can click on the item to purchase it from my Online Store.
 

Sketch Challenge - All Aflutter

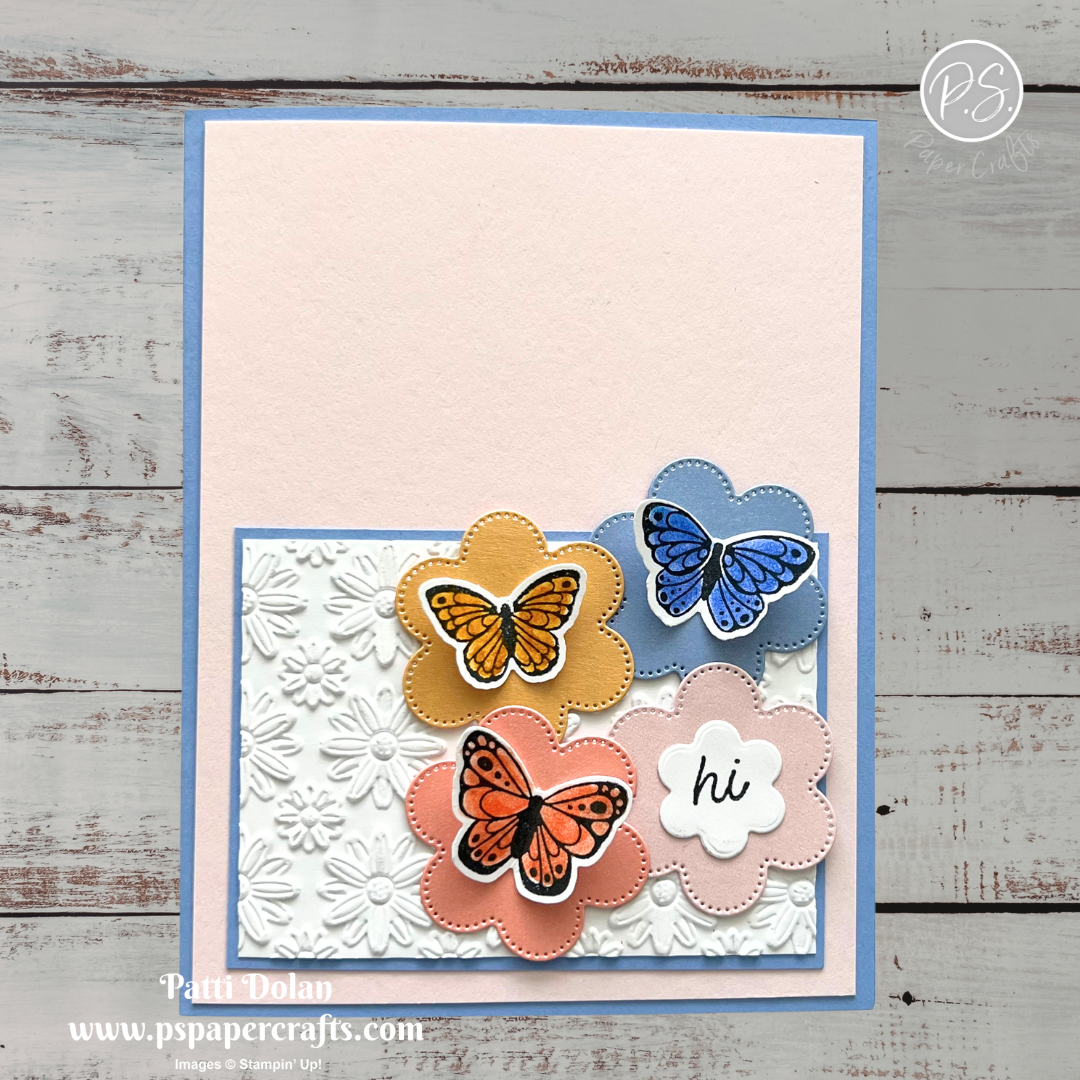
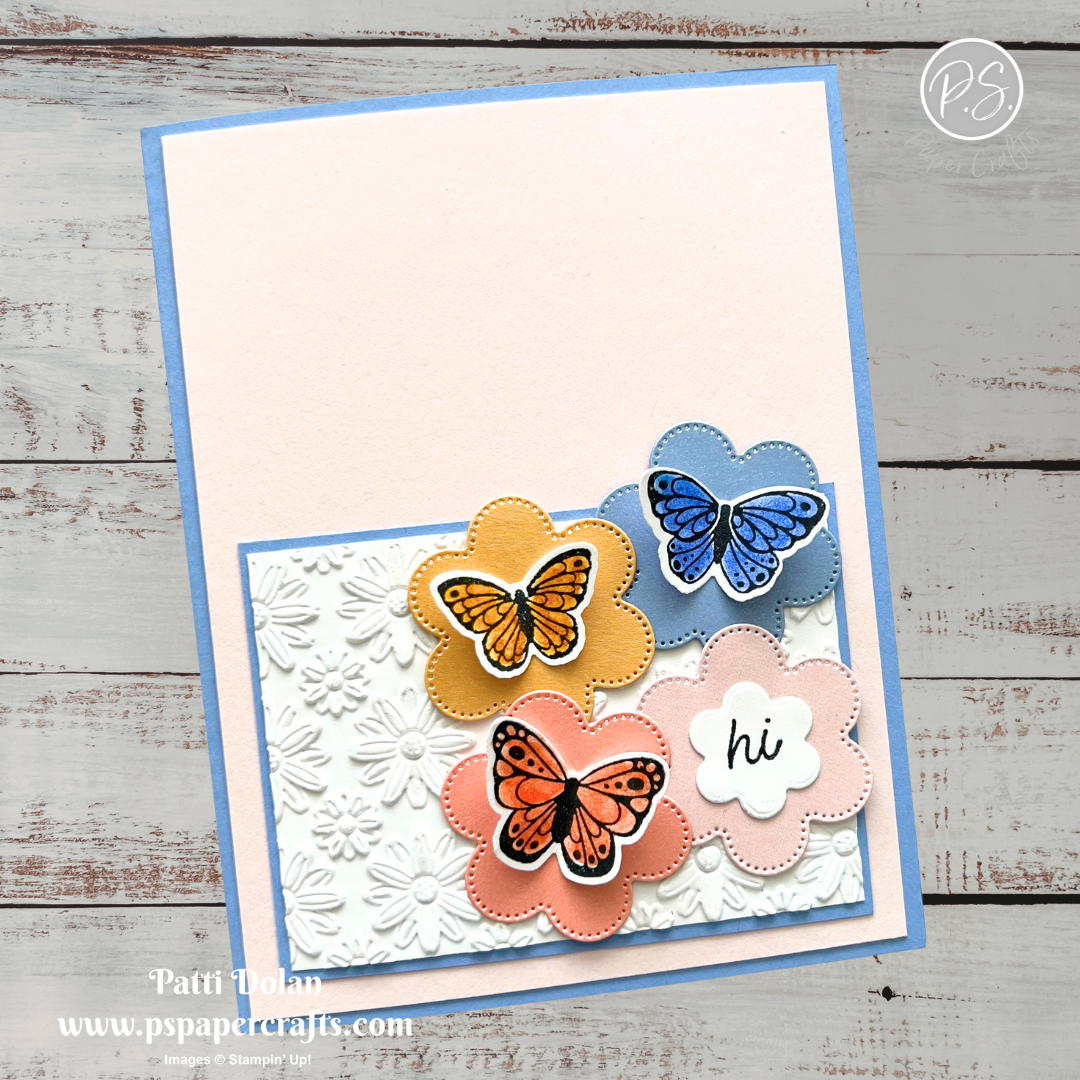
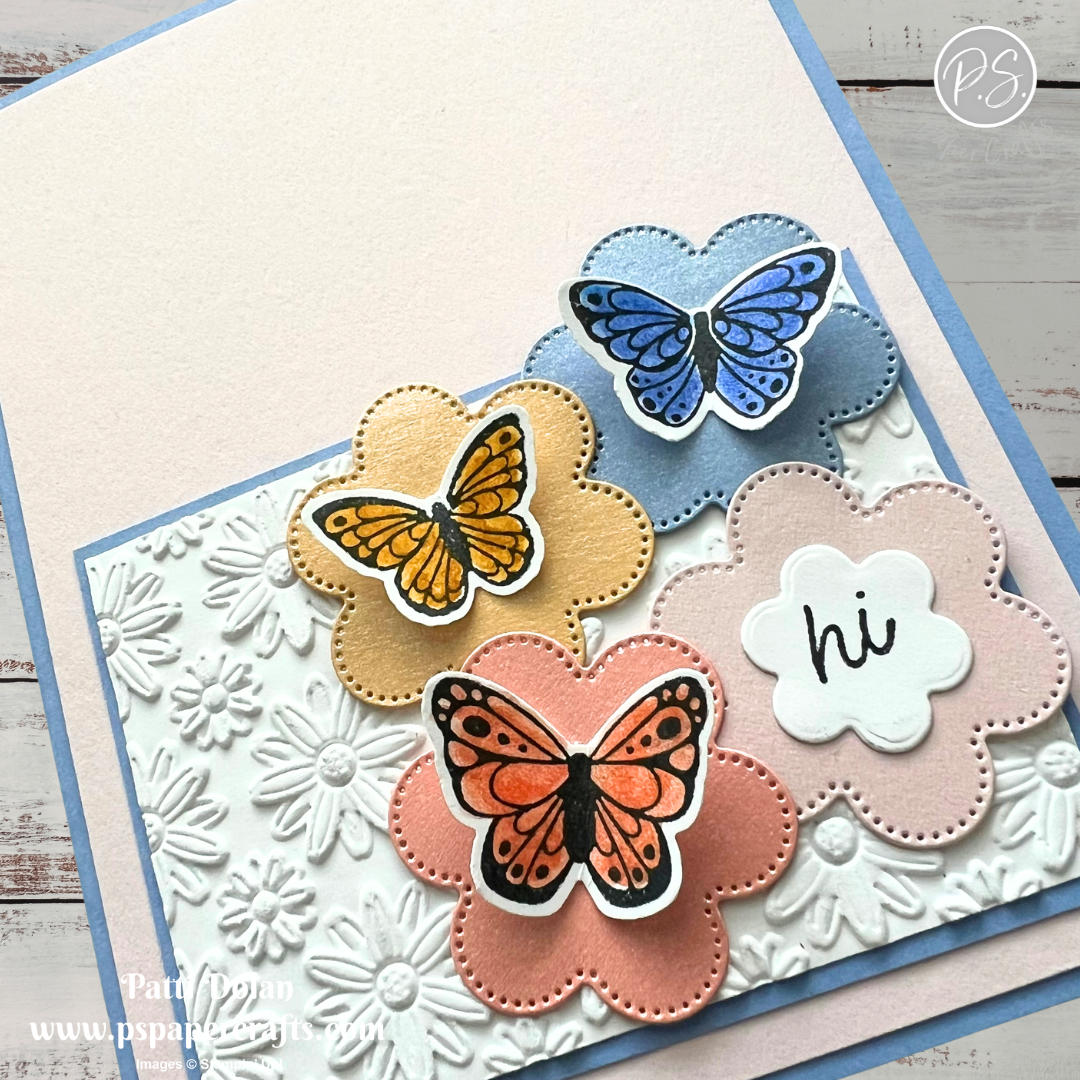
I made this card for the weekly Splitcoaststampers Sketch Challenge. I’m on their sketch team and love all the challenges they do. The butterflies are from the All Aflutter Bundle and they are sitting on some flowers shapes from the Scalloped Blooms Dies.


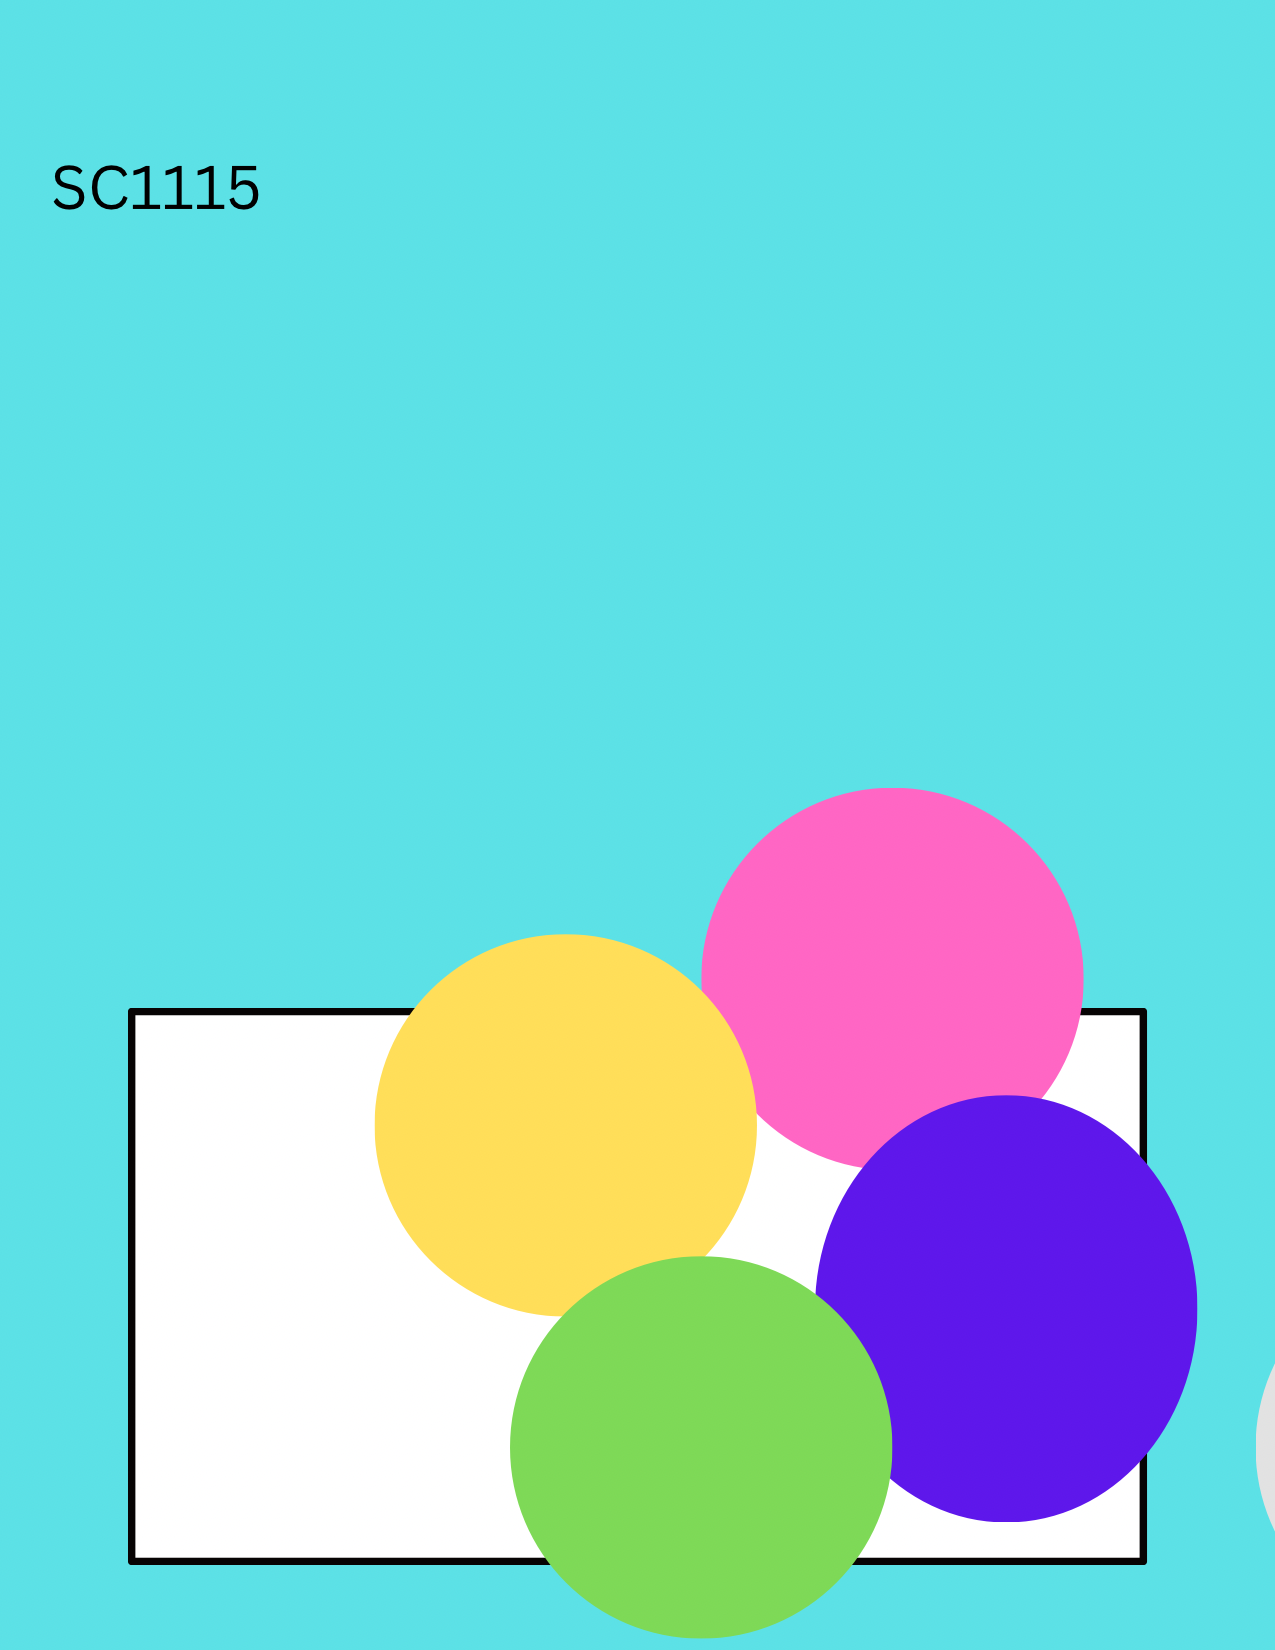
Here’s the sketch I used. You can see all the projects posted for this week’s challenge by clicking on the sketch below.


Tips & Instructions

  • Hydrangea Hue Card Base - 5-1/2 x 8-1/2, score at 4-1/4

  • Barely Blush Layer - 4 x 5-1/4, adhere to the card base.

  • Hydrangea Hue Layer - 2-5/8 x 3-5/8

  • Basic White Layer - 2-1/2 x 3-1/2, emboss using the Lazy Daisy 3D Embossing Folder and adhere to the Hydrangea Hue Layer and then to the card.

  • Die cut the second from smallest flower shape using the Scalloped Blooms Dies from Pearlized Specialty Paper. I used Barely Blush, Crisp Cantaloupe, Hydrangea Hue and Golden Glow.

  • Die cut the smallest flower shape from Basic White. Stamp just the word “hi” using the All Aflutter Stamp Set in Black ink. (Tip - Use Post-It Notes or Masking Tape to cover the words you don’t want to include.) Adhere the small flower to one of the larger flowers.

  • Stamp the trio of butterflies in black ink on Basic White and punch with the coordinating All Aflutter Punch.

  • Color the butterflies with Hydrangea Hue, Crisp Cantaloupe and Golden Glow Shimmer Brushes. Bend the butterflies at the middle and adhere to the flower shapes.

  • Adhere the flower shapes to the card.


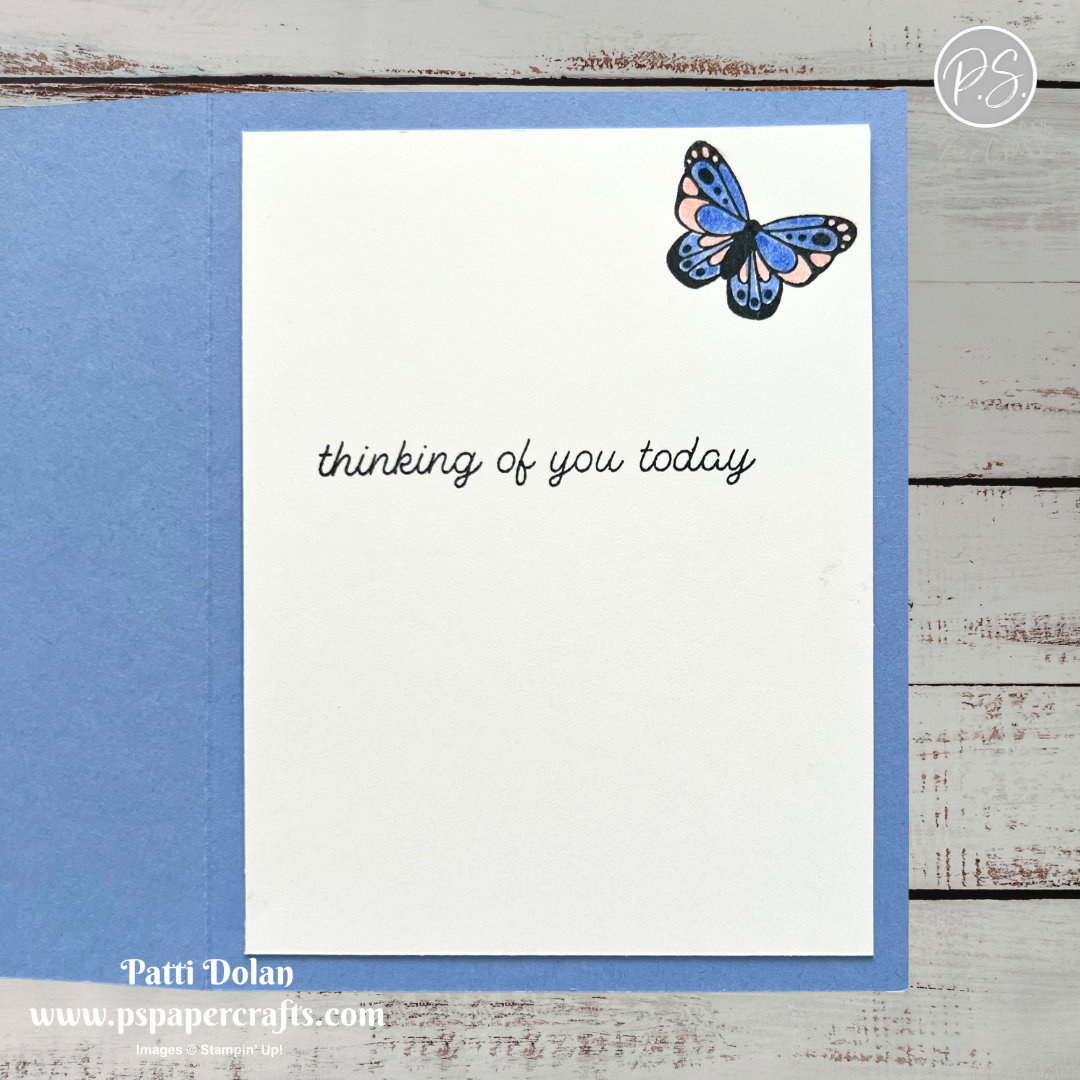
On the inside layer (4 x 5-1/4), stamp the sentiment and one butterfly in black ink. Color the butterfly with Hydrangea Hue and Barely Blush Shimmer Brushes.


I love the shine from the Pearlized Specialty Paper and the Shimmer on the butterflies. The picture doesn’t really capture how pretty it is.


Supply List

You can click on the item to purchase it from my Online Store.
 

Sketch Saturday - Words & Wishes

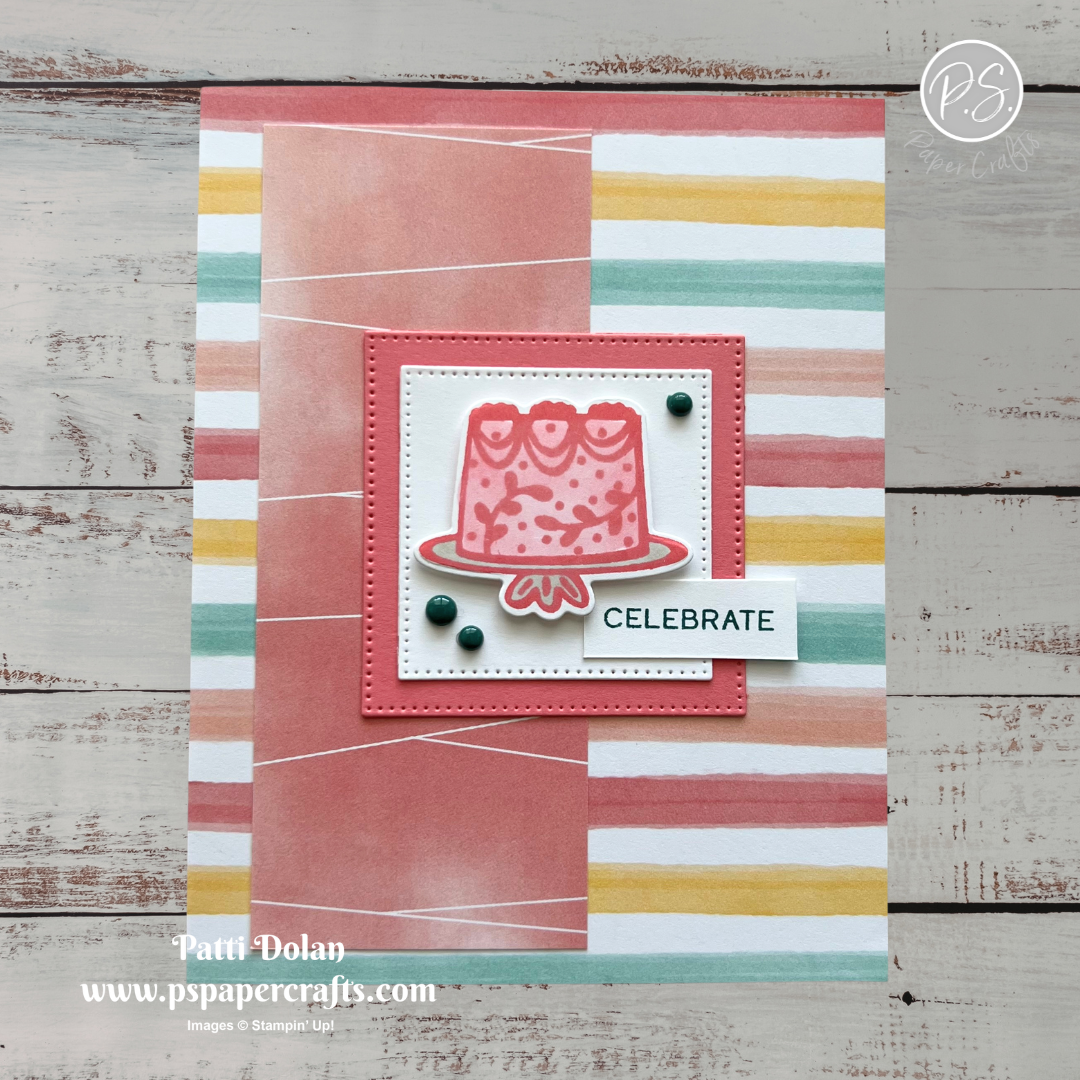
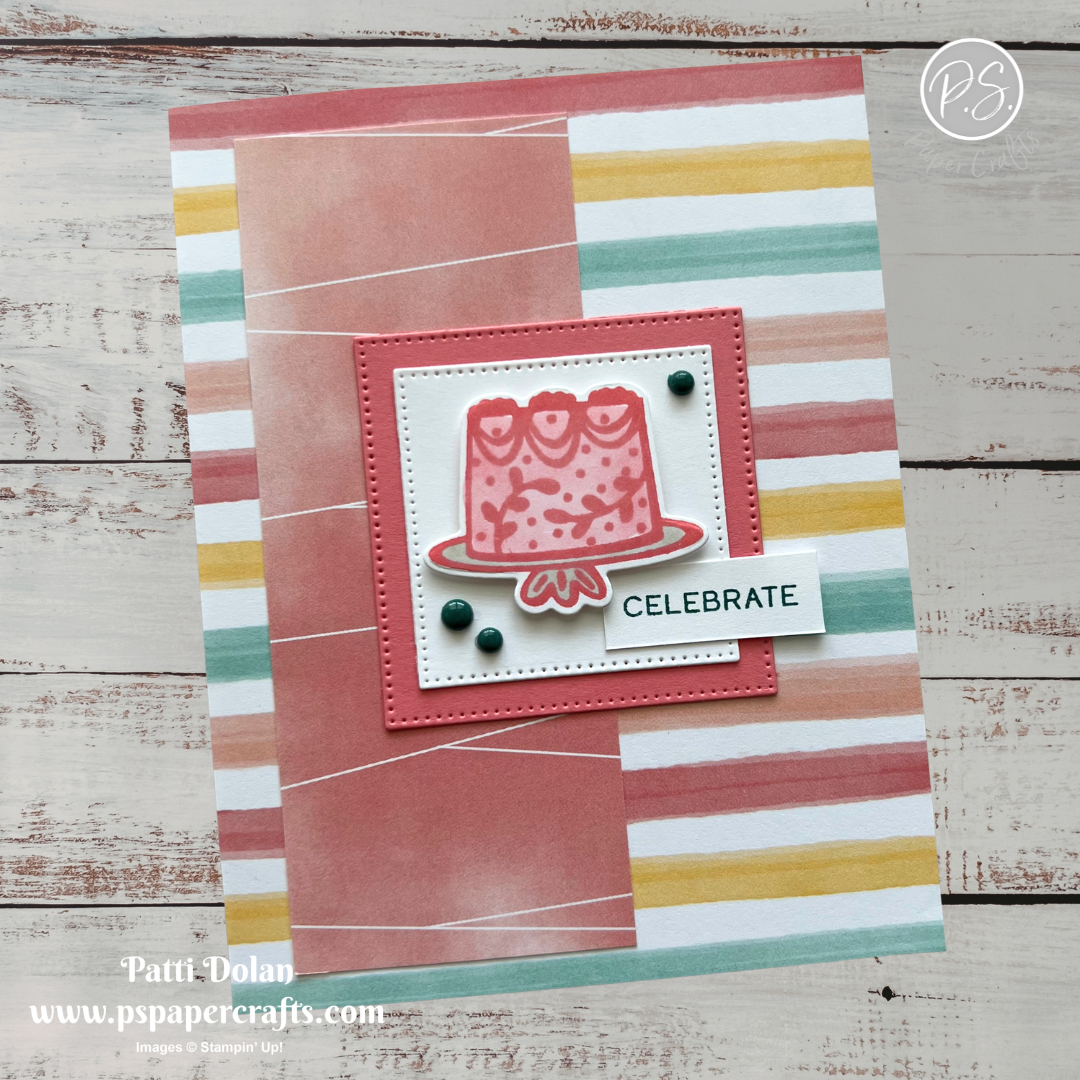
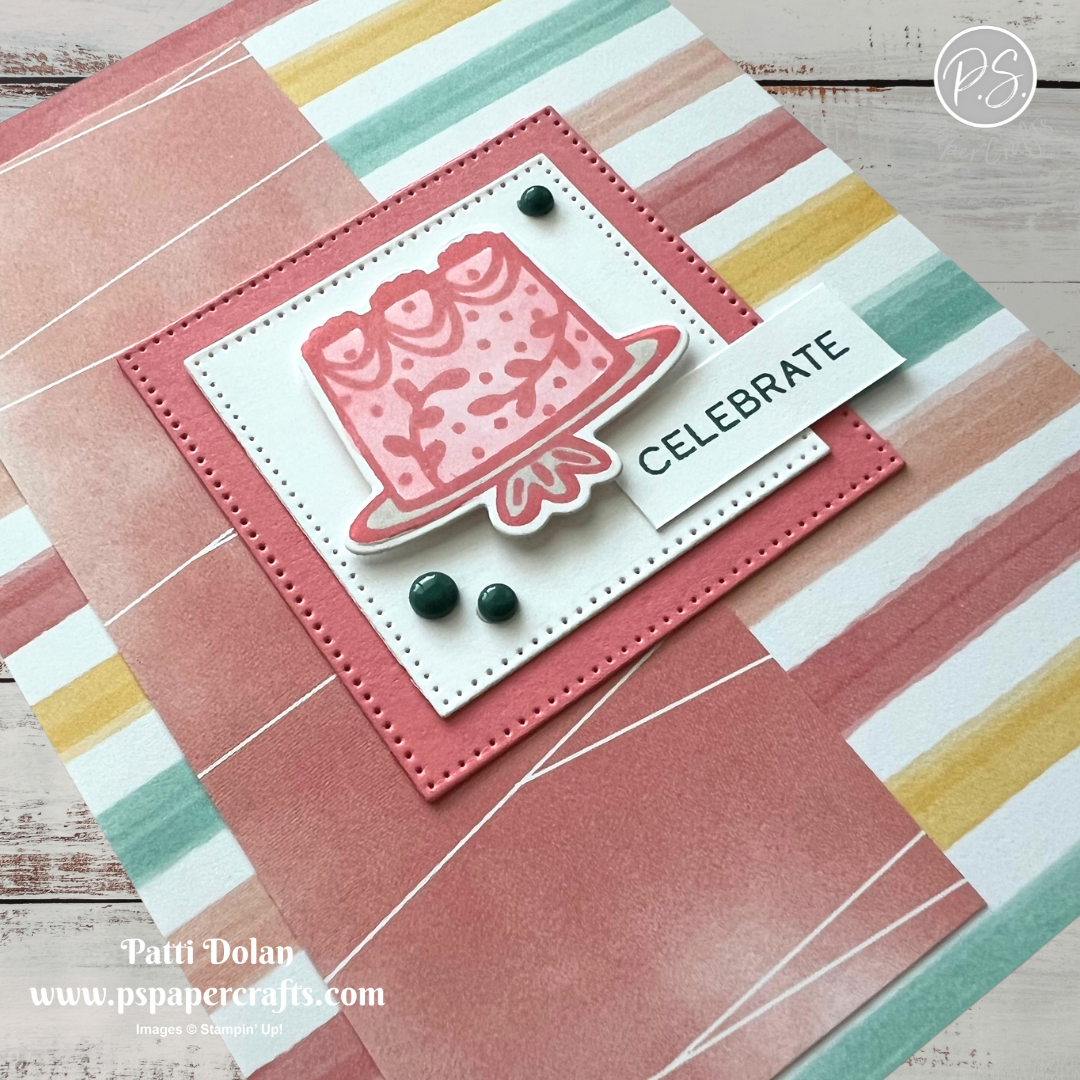
I love these colorful stripes on this paper from the Beautiful Ordinary Life Designer Series Paper and decided to use it for this week’s Sketch Challenge.


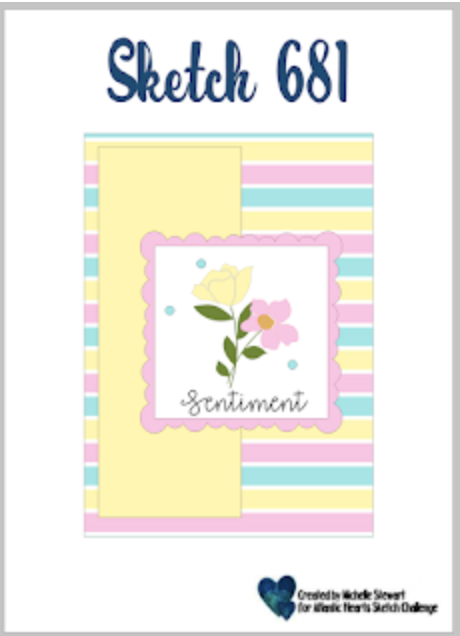
Here’s the sketch I used from the weekly Atlantic Hearts Sketch Challenge.


Tips & Instructions

  • Flirty Flamingo Card Base - 5-1/2 x 8-1/2, score at 4-1/4

  • Beautiful Ordinary Life Layer - 4-1/4 x 5-1/2, adhere to the card base.

  • Beautiful Ordinary Life Strip - 2 x 5, adhere to the card.

  • Flirty Flamingo - Die cut the second from largest square from the Stylish Shapes Dies.

  • Basic White - Die cut the third from largest square from the Stylish Shapes Dies.

  • Stamp the cake on a piece of Basic White in Flirty Flamingo ink. Color the cake with a Light Flirty Flamingo ink and the plate in Smoky Slate ink. Die cut with coordinating die

  • Adhere the squares together and then adhere the cake using Dimensionals.

  • Stamp the sentiment on a 1/2” strip of Basic White in Pretty Peacock ink. Cut down and adhere to the card with Dimensionals.

  • Add some Pretty Peacock Array of Dots to the card.


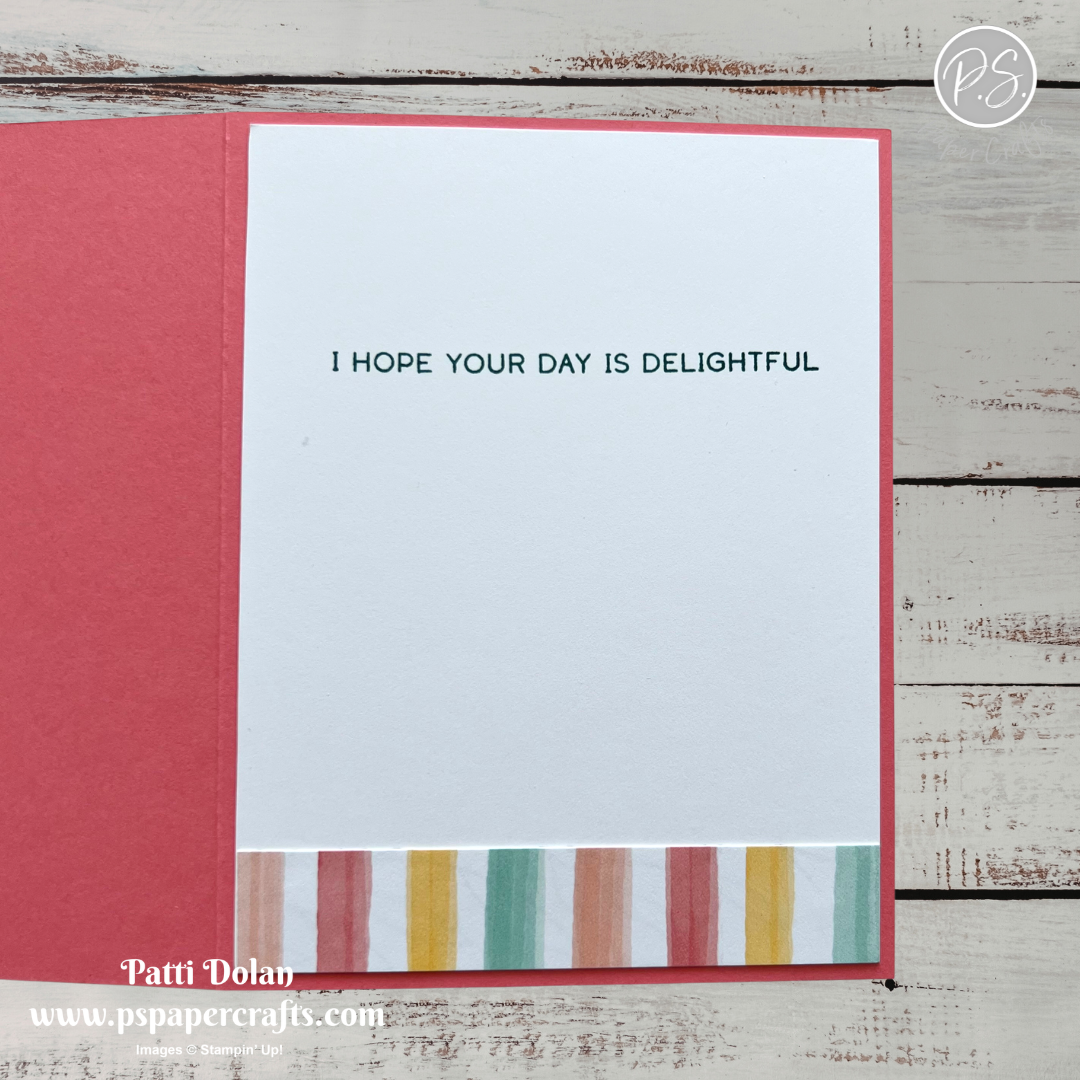
On the inside layer (4 x 5-1/4), stamp the sentiment in Pretty Peacock ink. Add a piece of Designer Series Paper cut to 3/4 x 4.


I love the pretty stripes, they look like a watercolor brush across the paper.


Supply List

You can click on the item to purchase it from my Online Store.
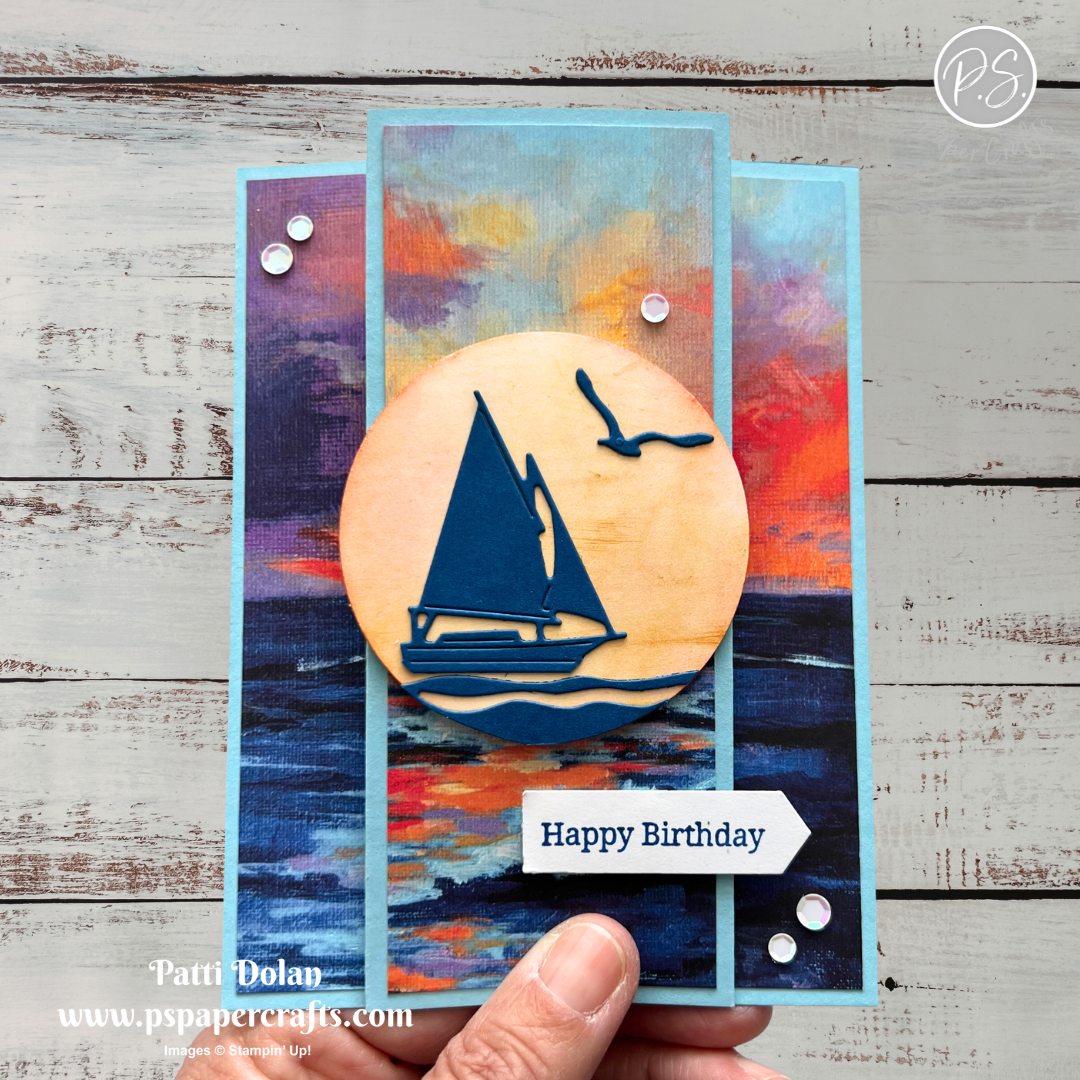
 

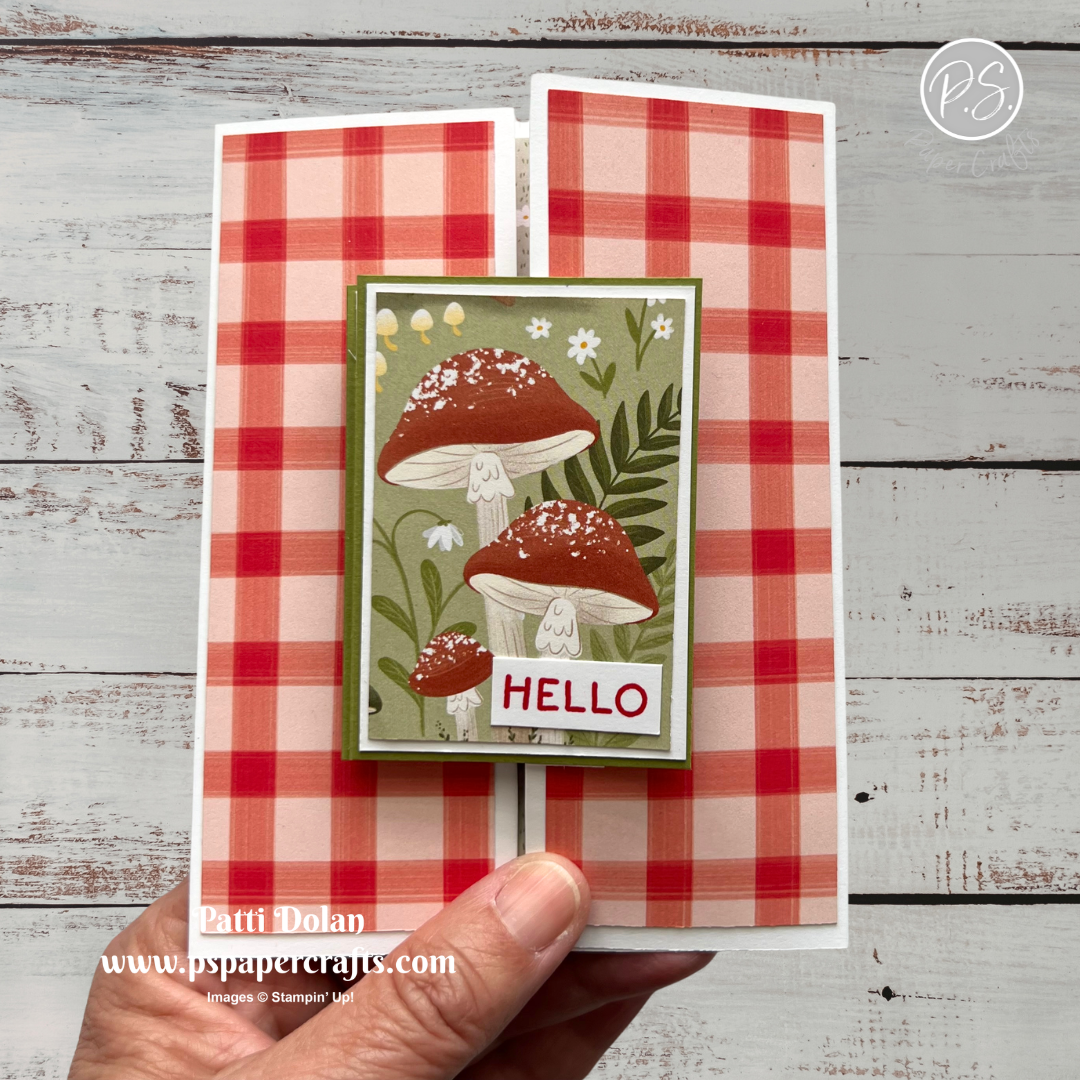
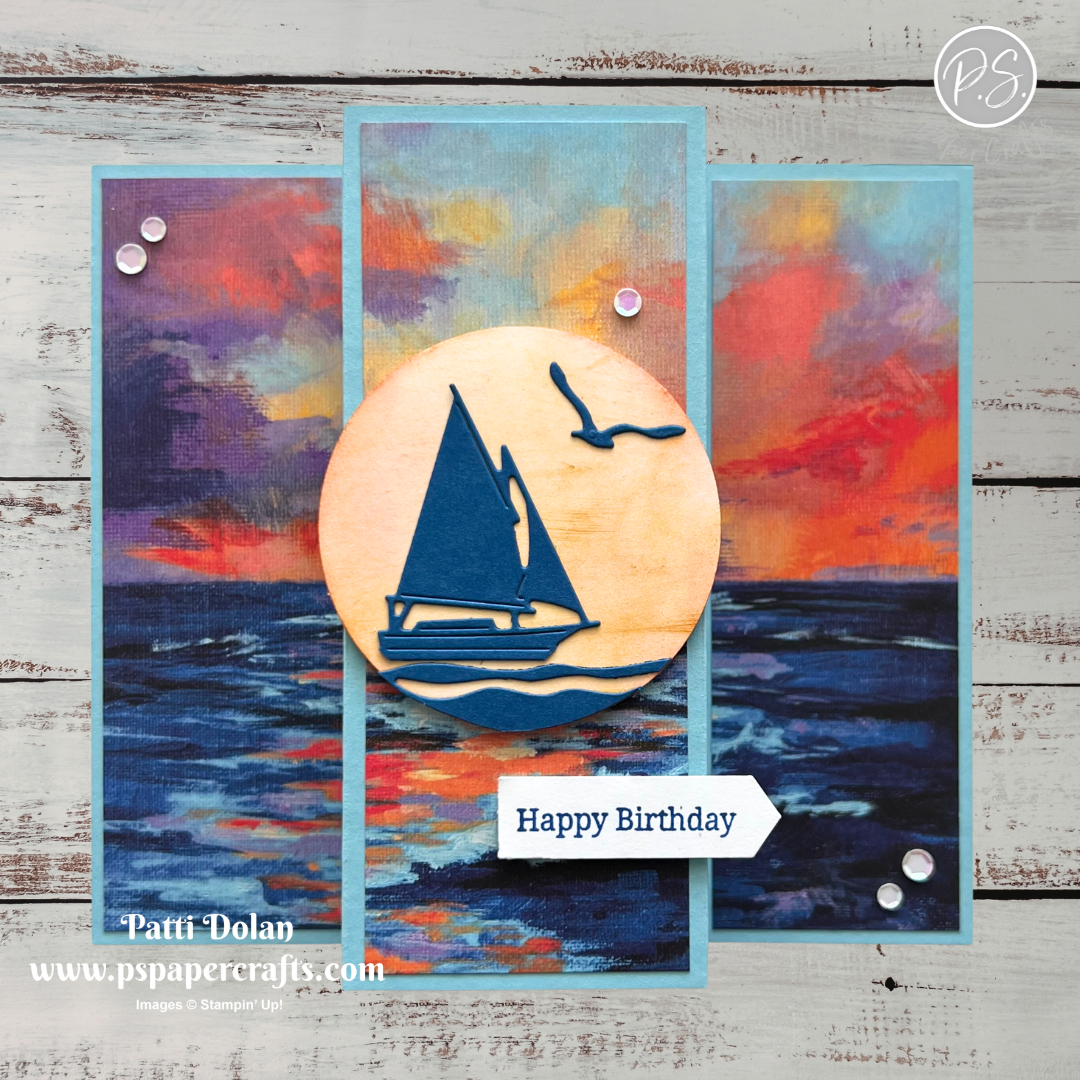
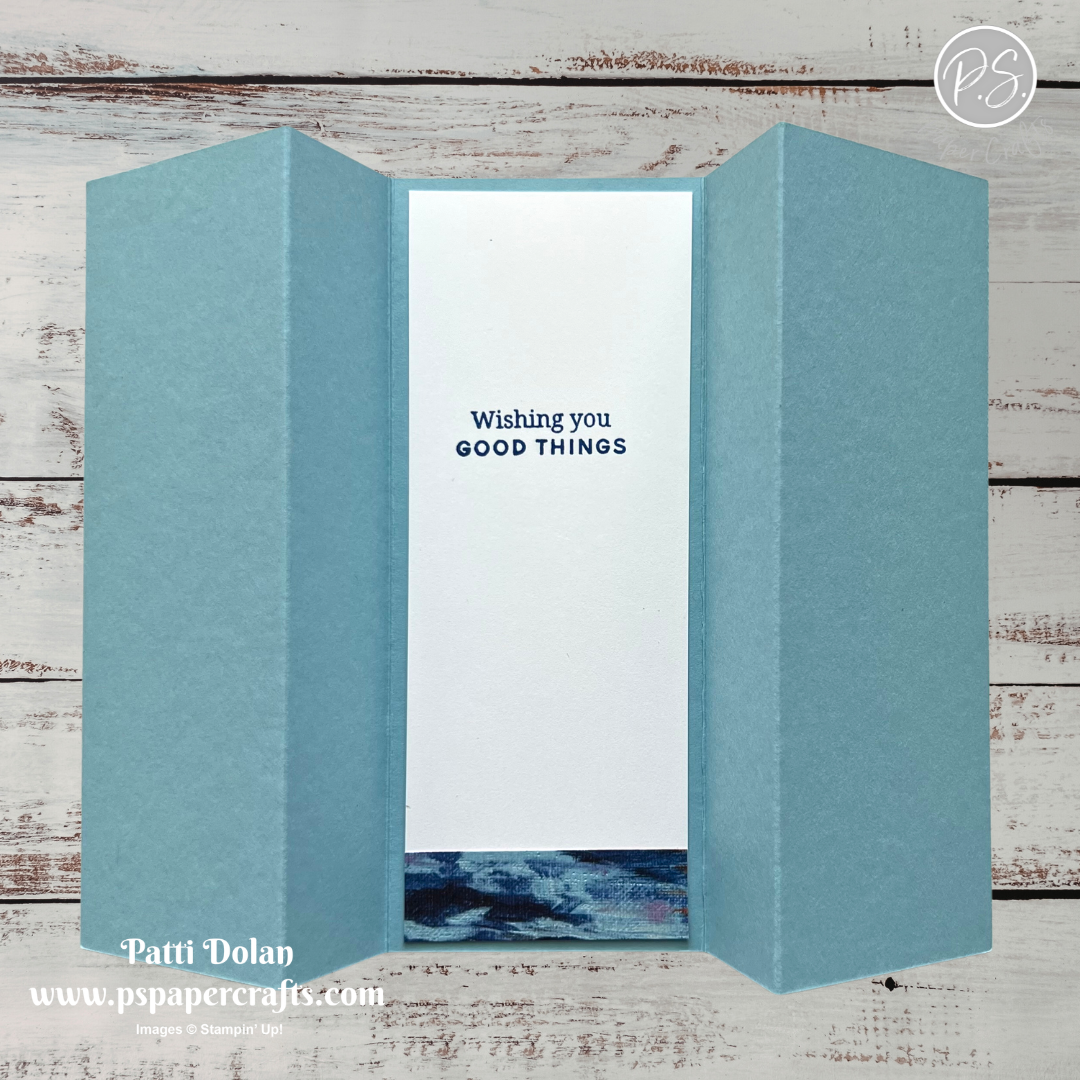
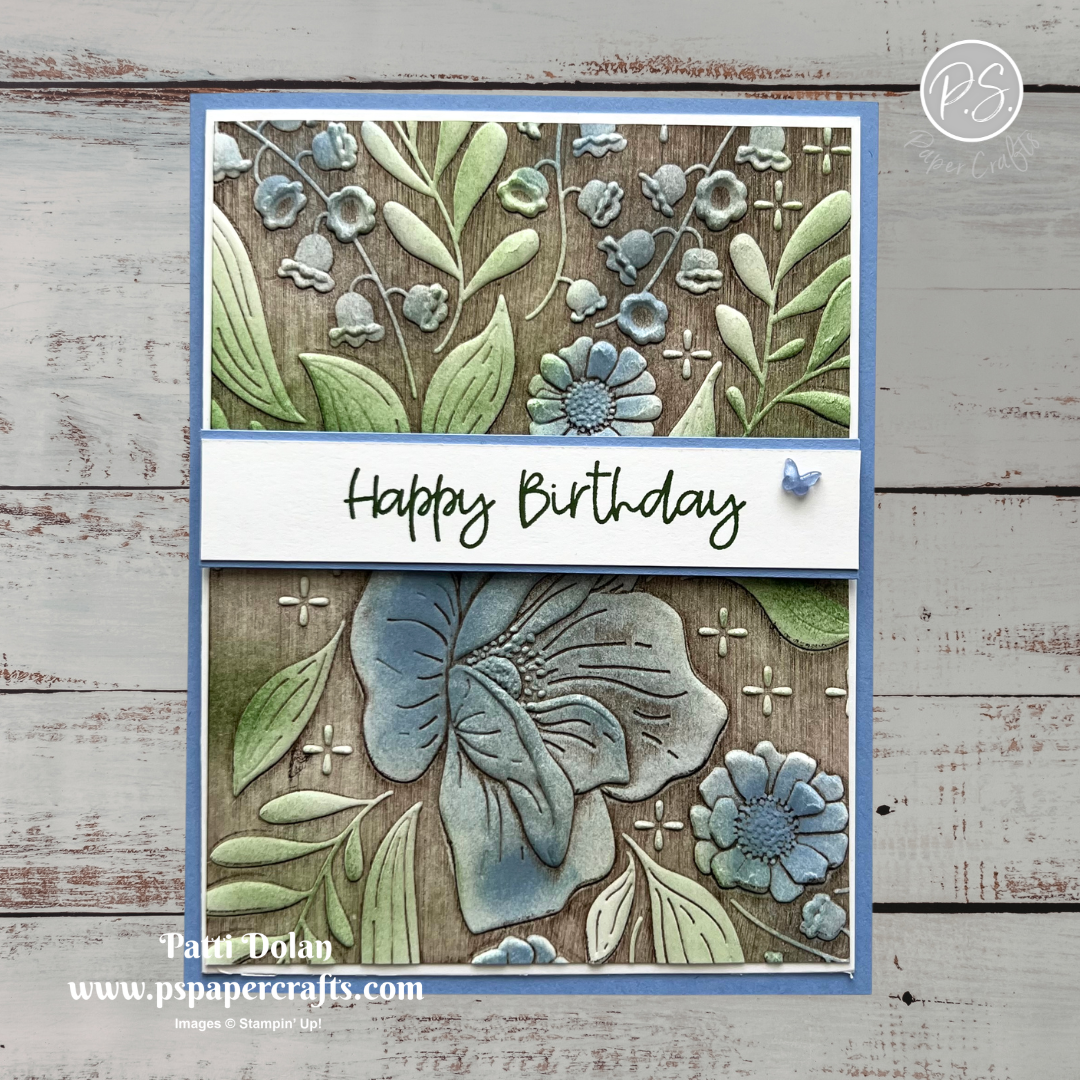
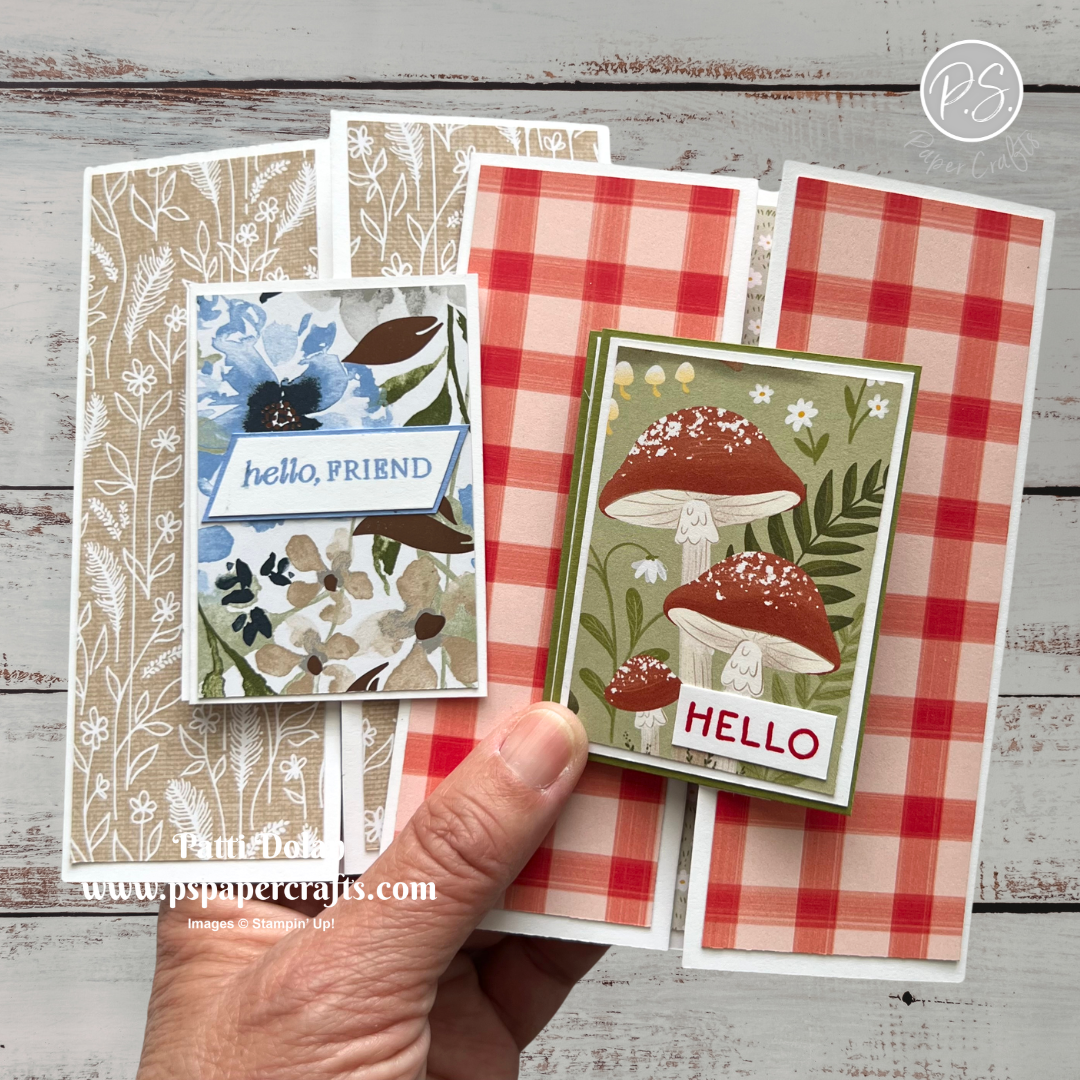
Interlocking Fancy Fold Cards

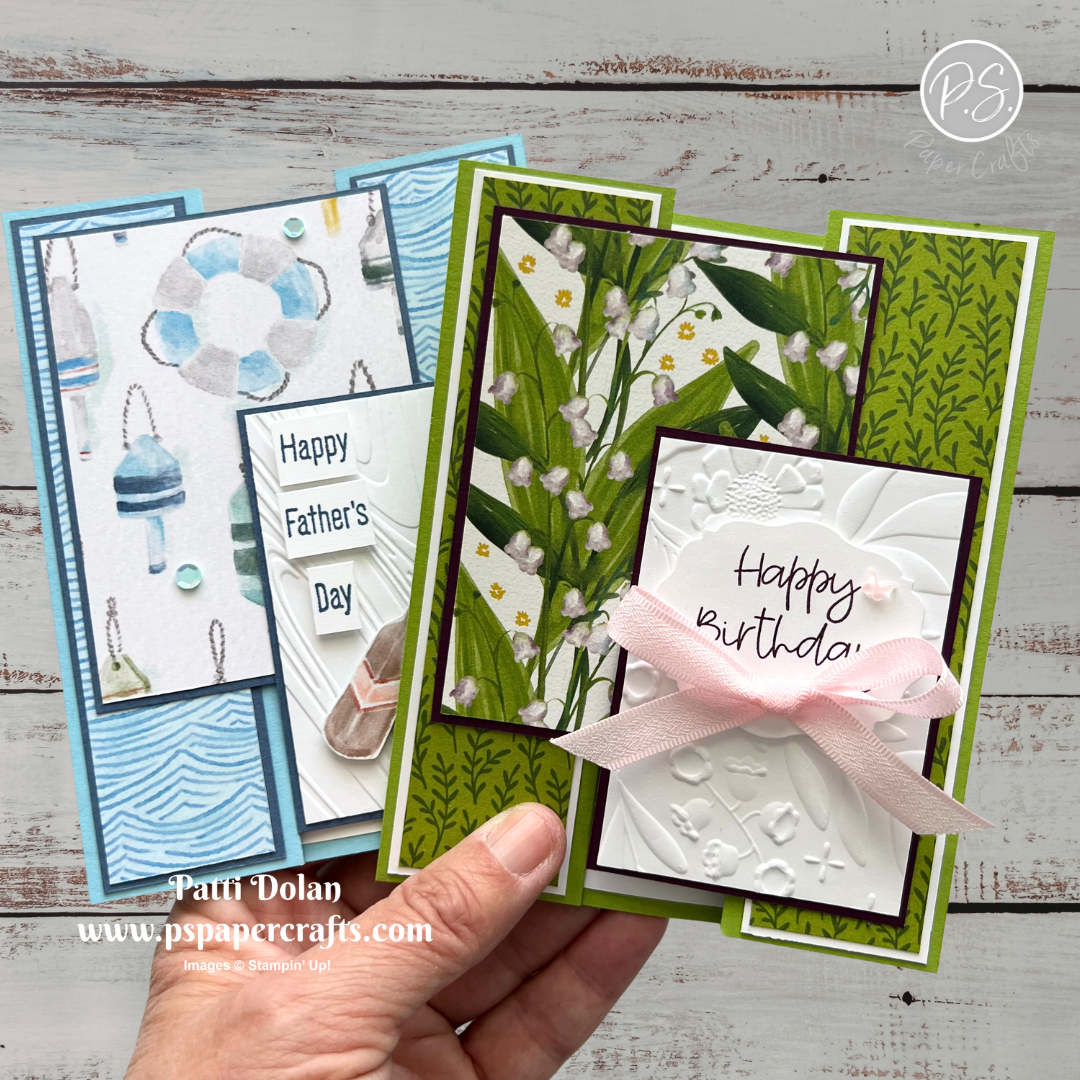
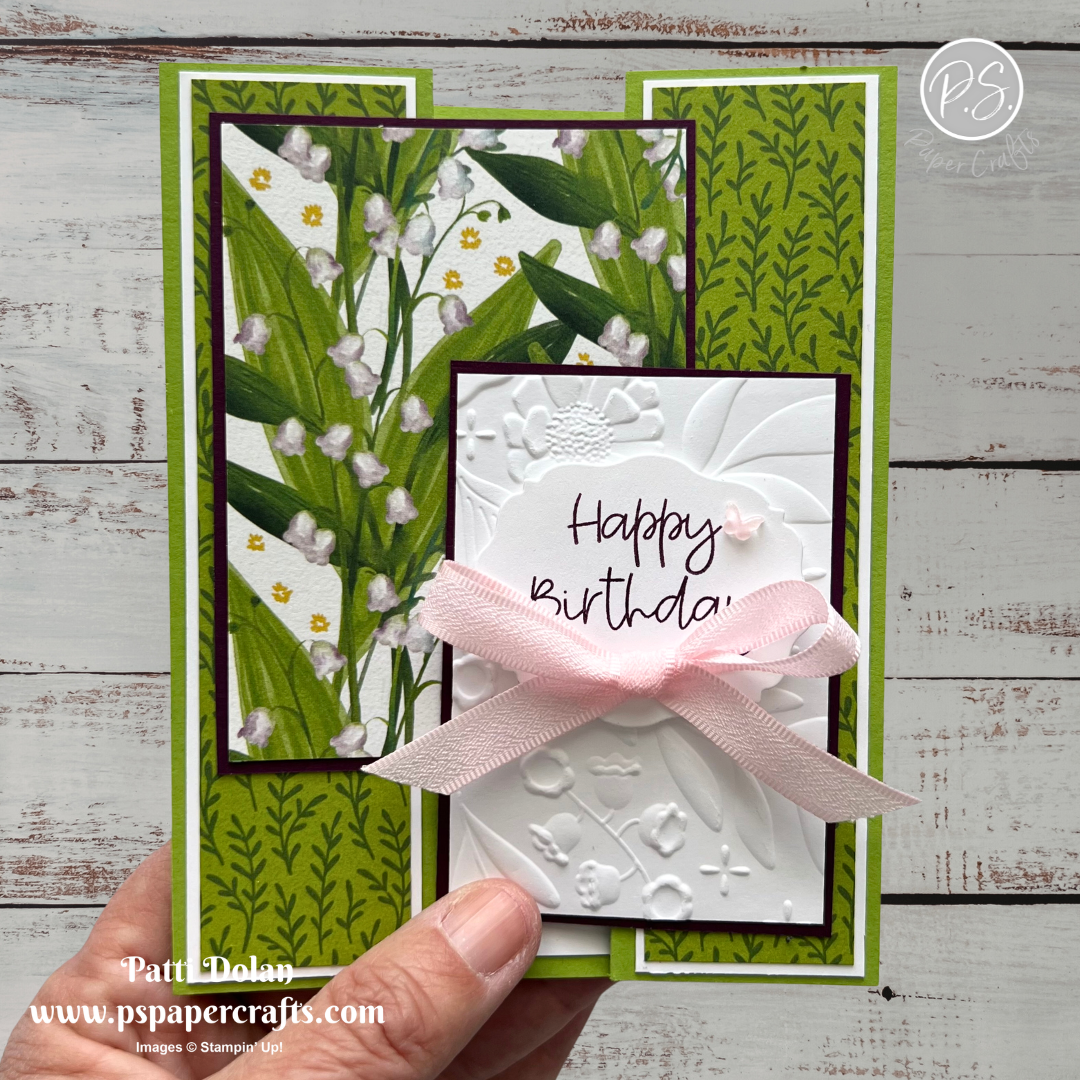
I created these Interlocking Fancy Fold Cards on my YouTube channel today, and I’m having so much fun using all the new Designer Series Paper from the latest catalog!


Watch the video to see step by step instructions to make this design.

Click on the button below to get a printable pdf with measurements and instructions.


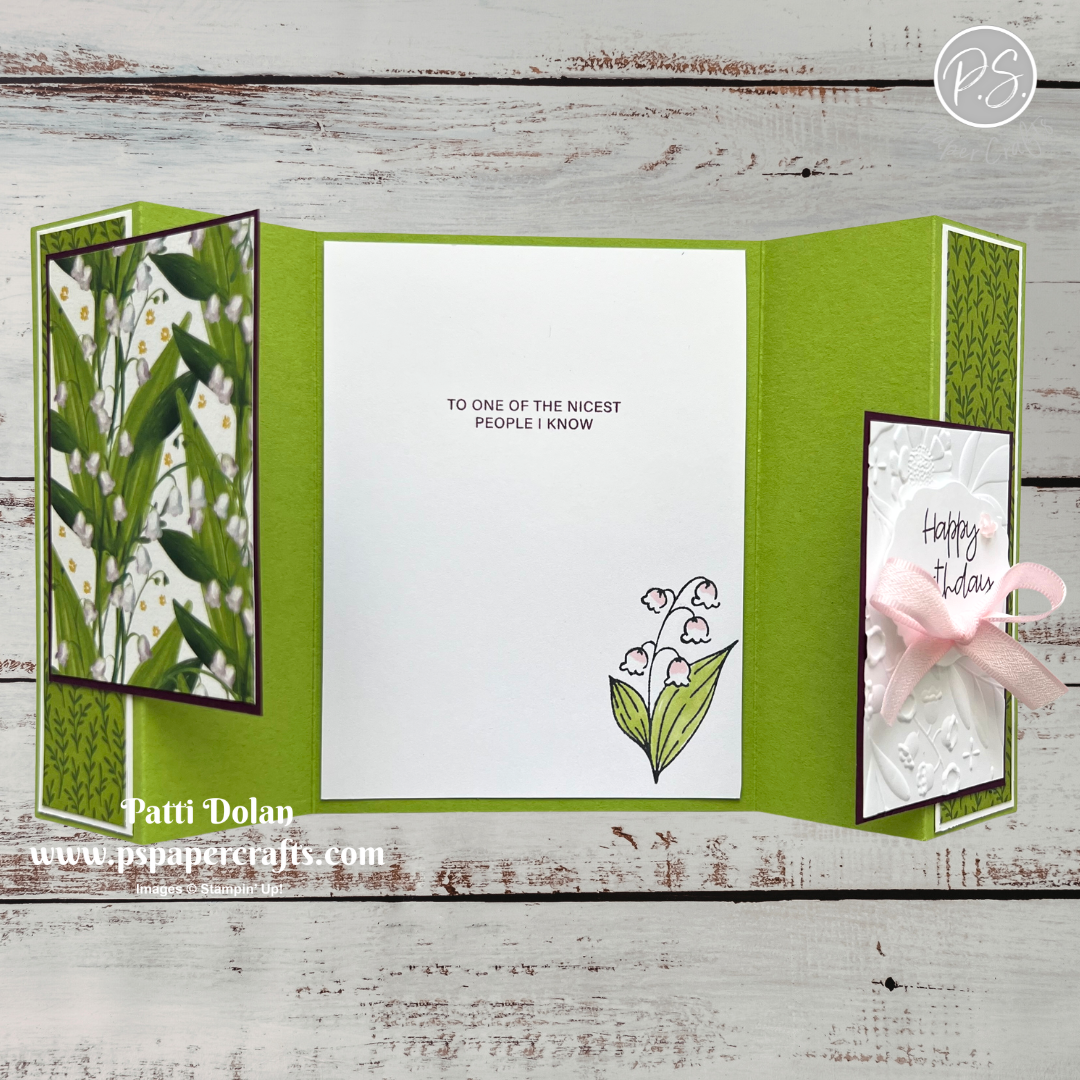
This card was made using the Valley In Bloom Designer Series Paper, Lily Of The Valley Stamp Set and Floral Spray 3D Embossing Folder. I love these products!!!


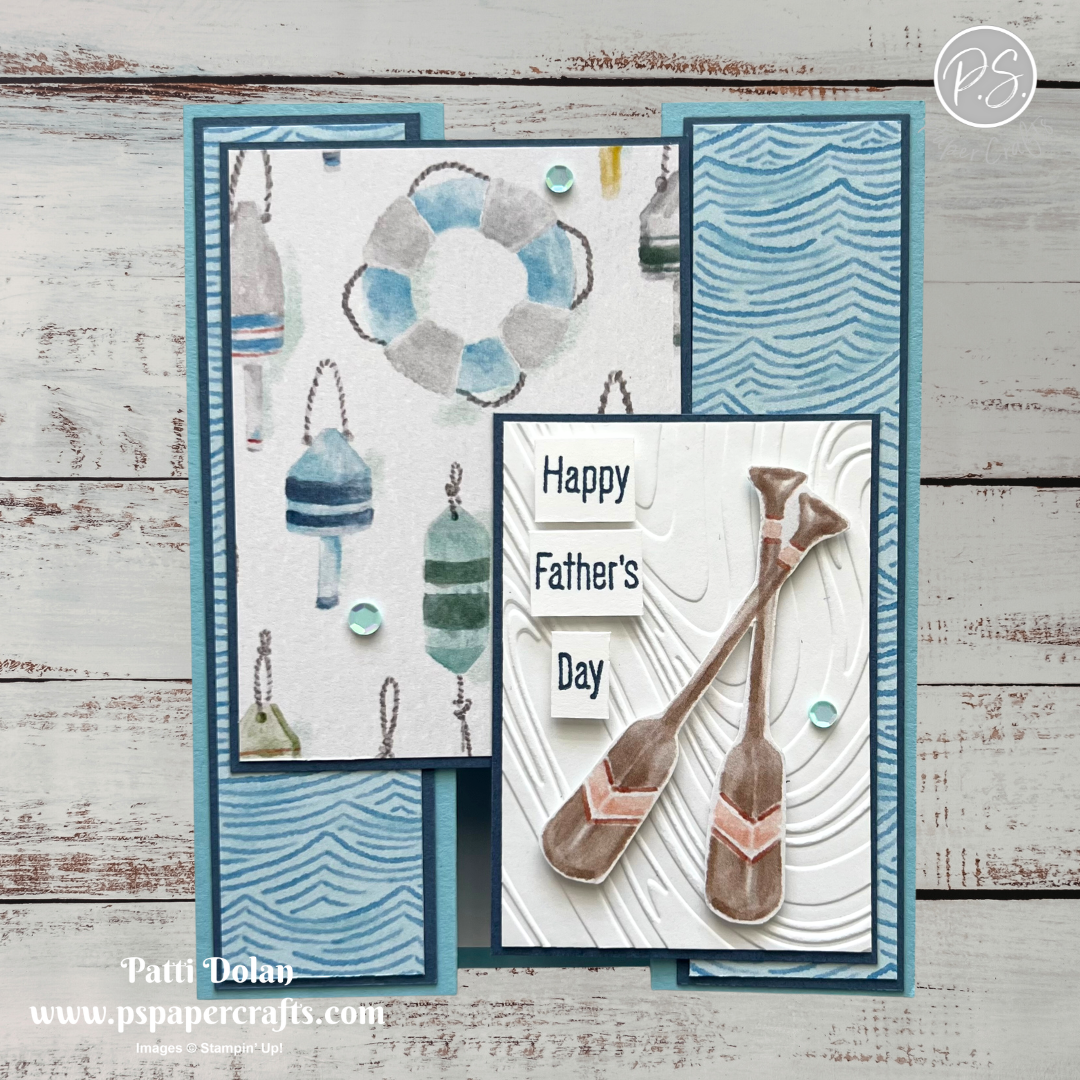
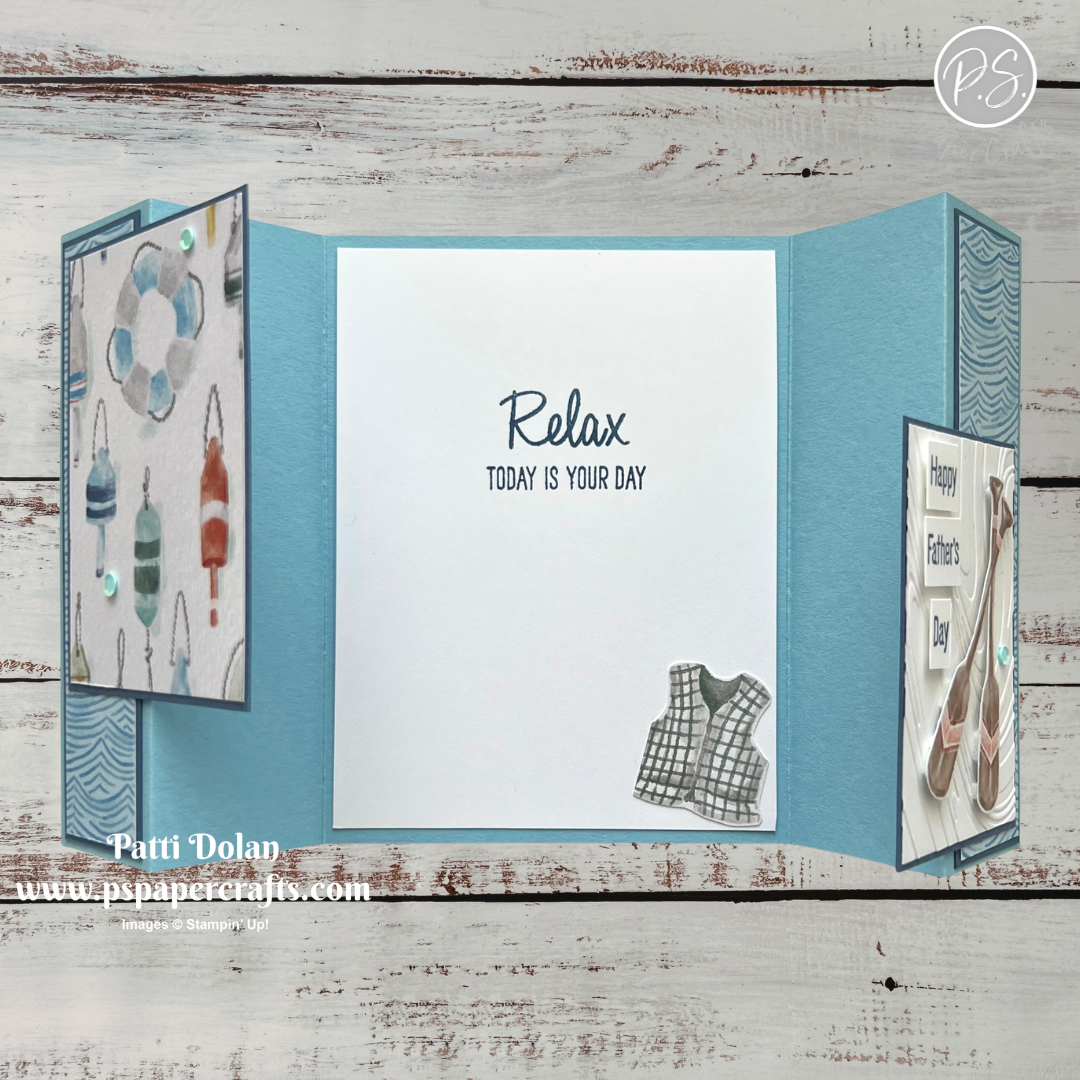
This card was made using the Waterside Retreat Designer Series Paper and coordinating Relaxing Waterside Stamp Set. These products are great for masculine cards.


Supply List

You can click on the item to purchase it from my Online Store.
 

Playful Packaging Color Combo

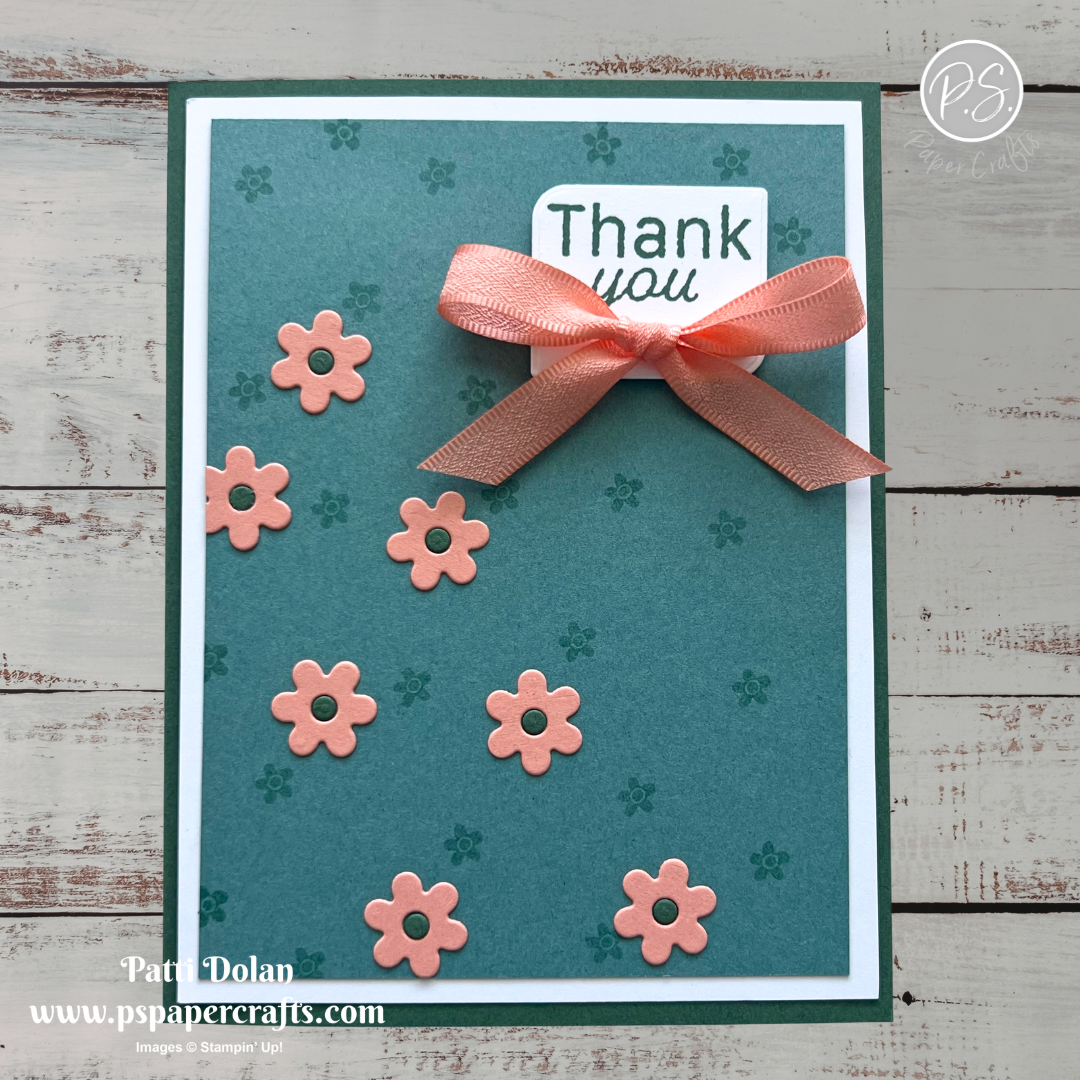
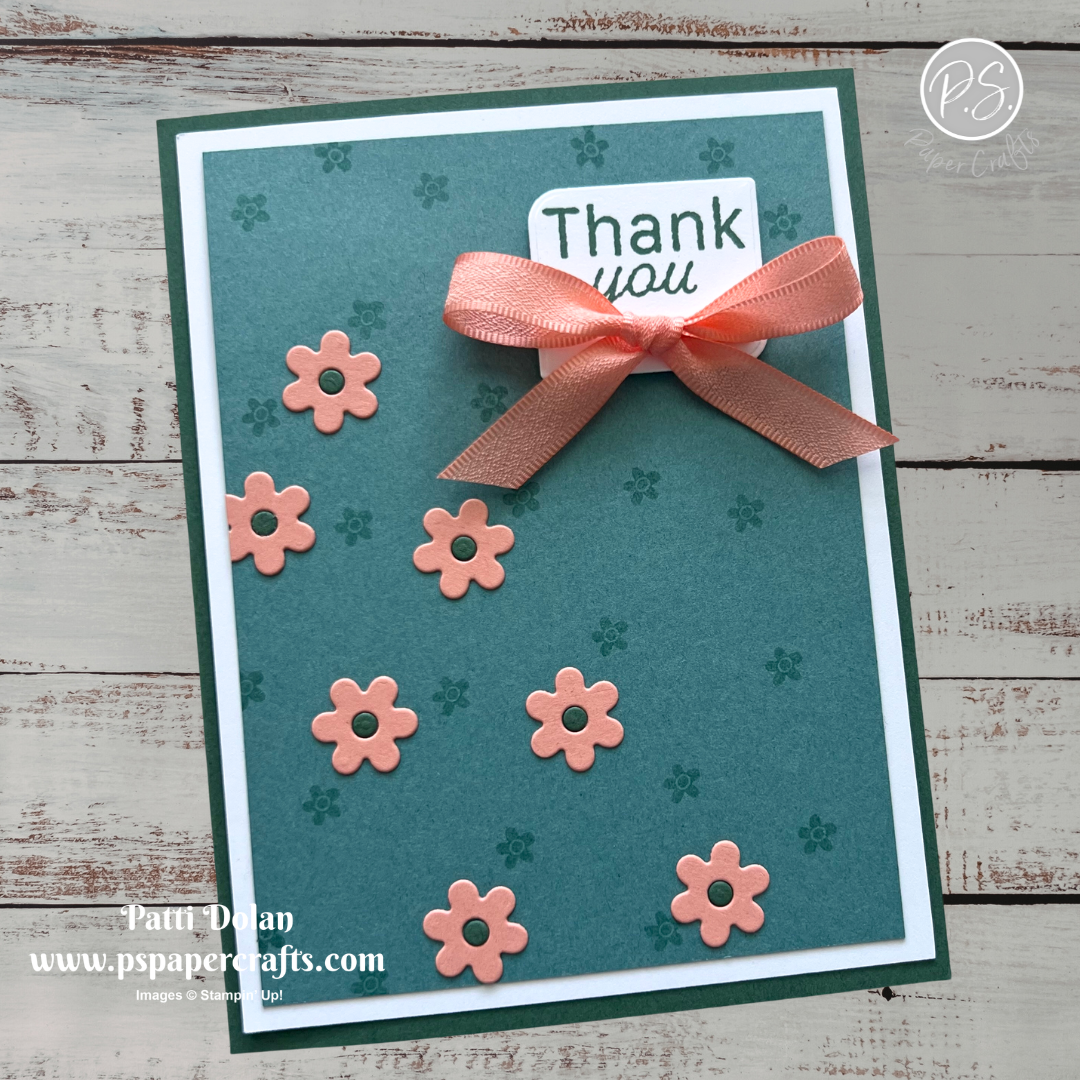
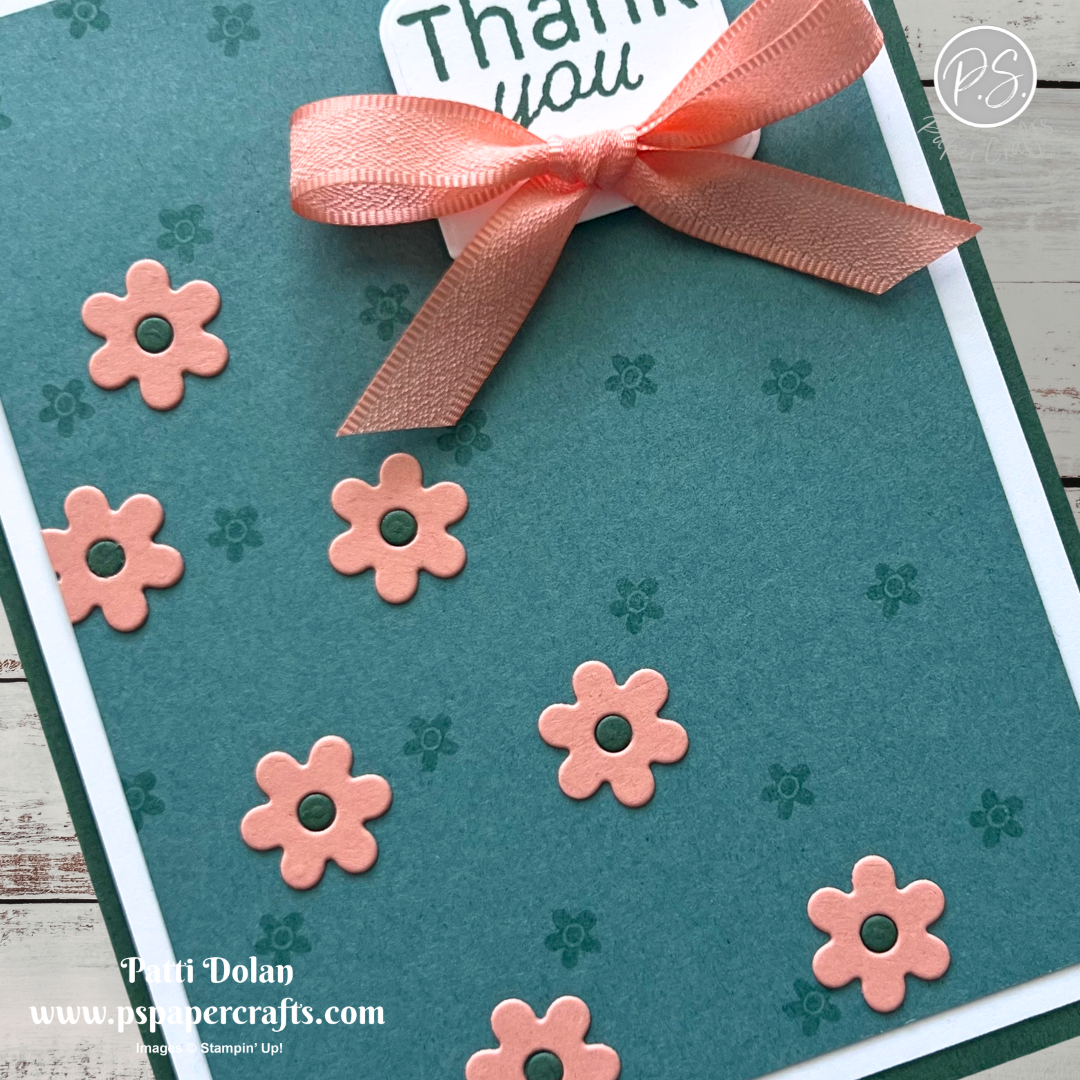
I used the new Playful Packaging Bundle to create this Thank You card. The Crisp Cantaloupe flowers and bow add a nice brightness to the card.


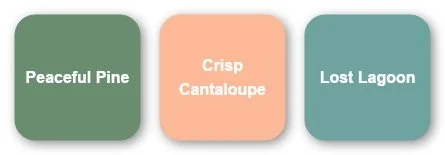
The Color Combo is from my May Inspiration Calendar - Peaceful Pine, Crisp Cantaloupe and Lost Lagoon.

You can get my calendar each month when you subscribe to my email list.


Tips & Instructions

  • Peaceful Pine Card Base - 5-1/2 x 8-1/2, score at 4-1/4

  • Basic White Layer - 4 x 5-1/4

  • Lost Lagoon Layer - 3-3/4 x 5, stamp the small flower randomly on the layer in Lost Lagoon ink using the Playful Packaging Stamp Set.

  • Die cut the flowers from Crisp Cantaloupe Cardstock using the Playful Packaging Dies. Die cut a second set from Peaceful Pine Cardstock to get the centers for the flowers.

  • Adhere the flowers and the centers to the Lost Lagoon layer. Adhere the layer to the white layer and then to the card base.

  • Die cut the label using the Playful Packaging Dies from Basic White. Stamp the sentiment in Peaceful Pine ink. Adhere to the card with Dimensionals.

  • Tie a bow with Crisp Cantaloupe Ribbon and adhere to the label with a Glue Dot.


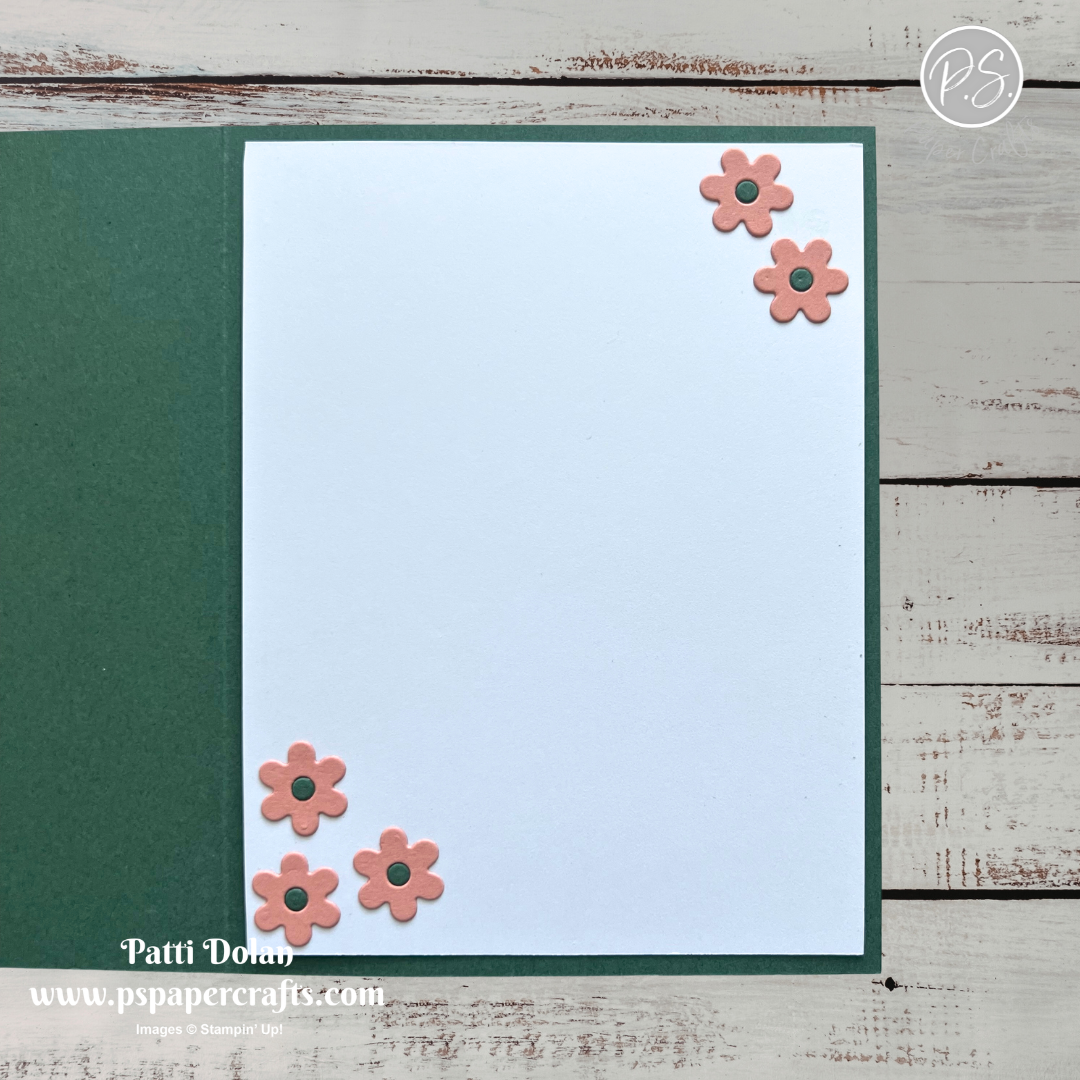
On the inside layer (4 x 5-1/4), add some Crisp Cantaloupe flowers with Peaceful Pine centers.


I love stamping a background using the same color ink as the cardstock.


Supply List

You can click on the item to purchase it from my Online Store.
 

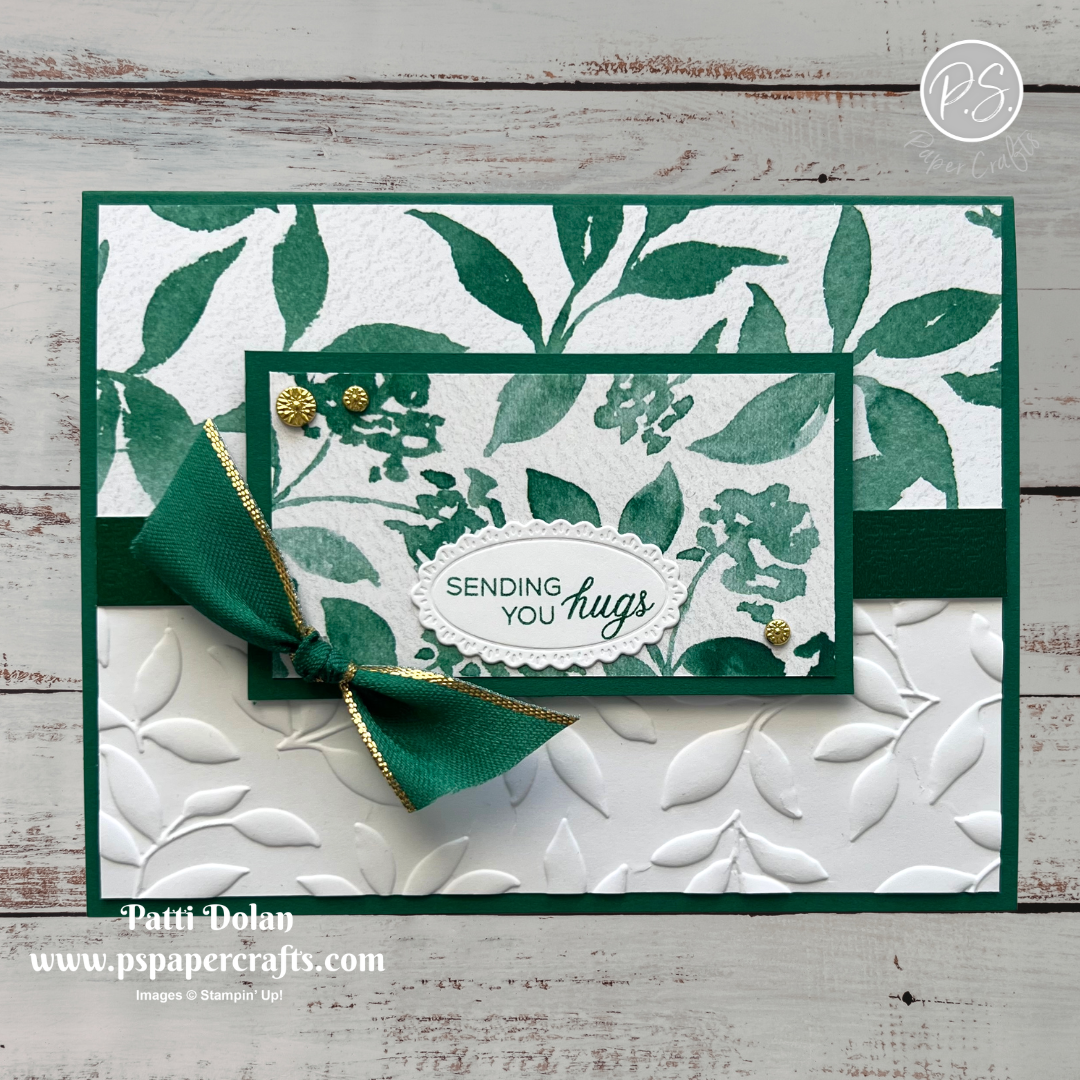
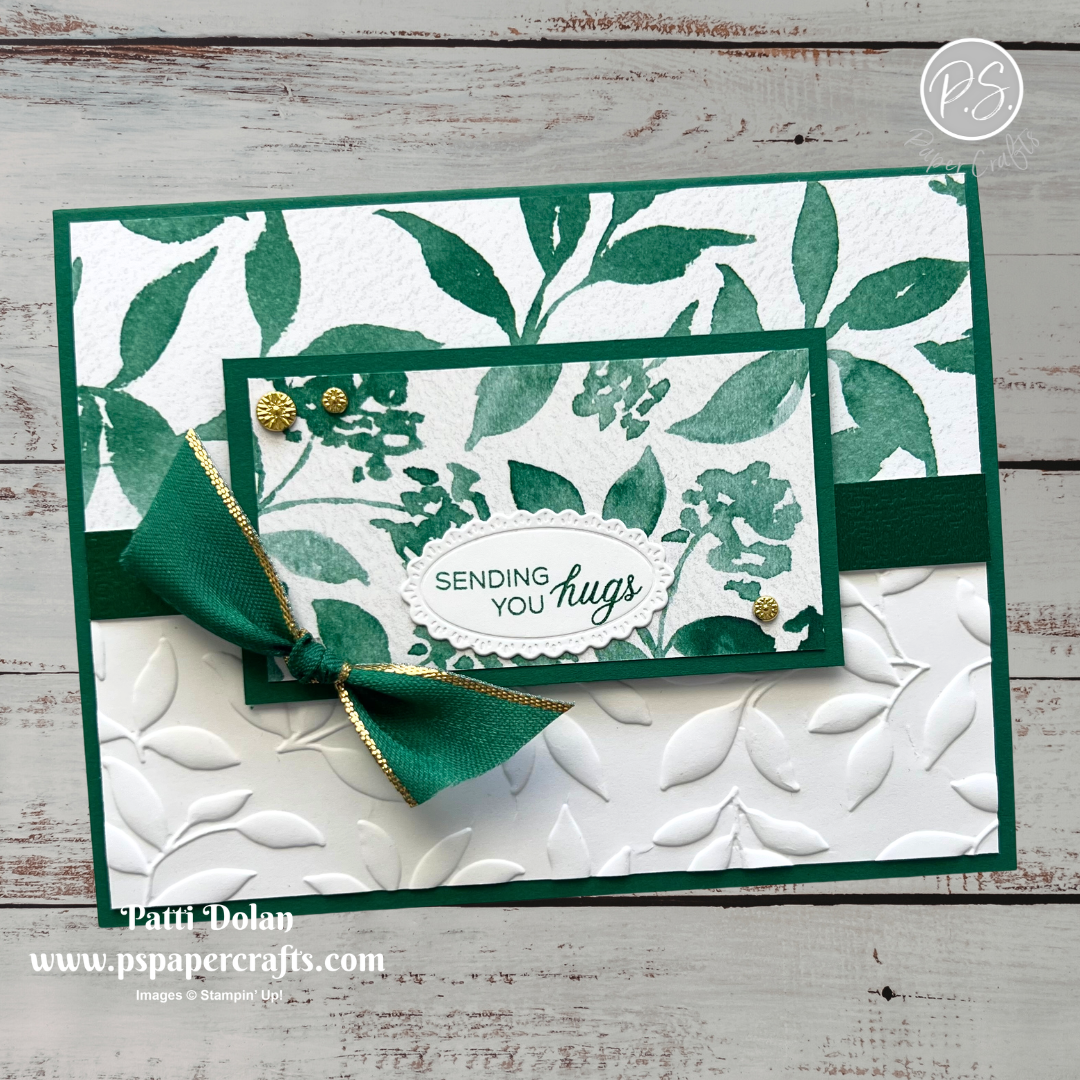
Sketch Challenge - Phrases & Frames

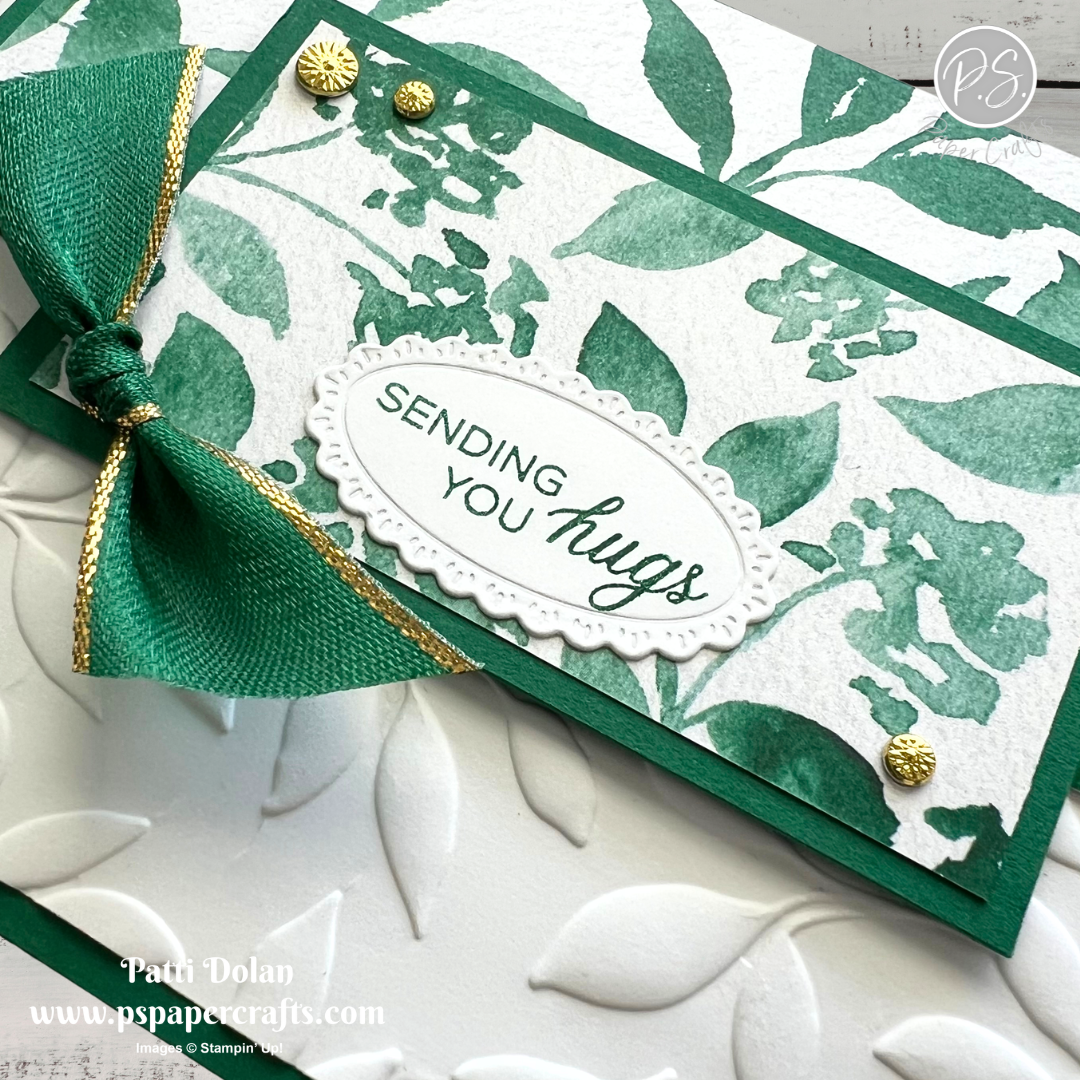
This week’s Splitcoaststampers Sketch Challenge was an easy one for me. I used the Garden Poetry Designer Series Paper and embossed a layer with the Paradise Garden Hybrid Embossing Folder.


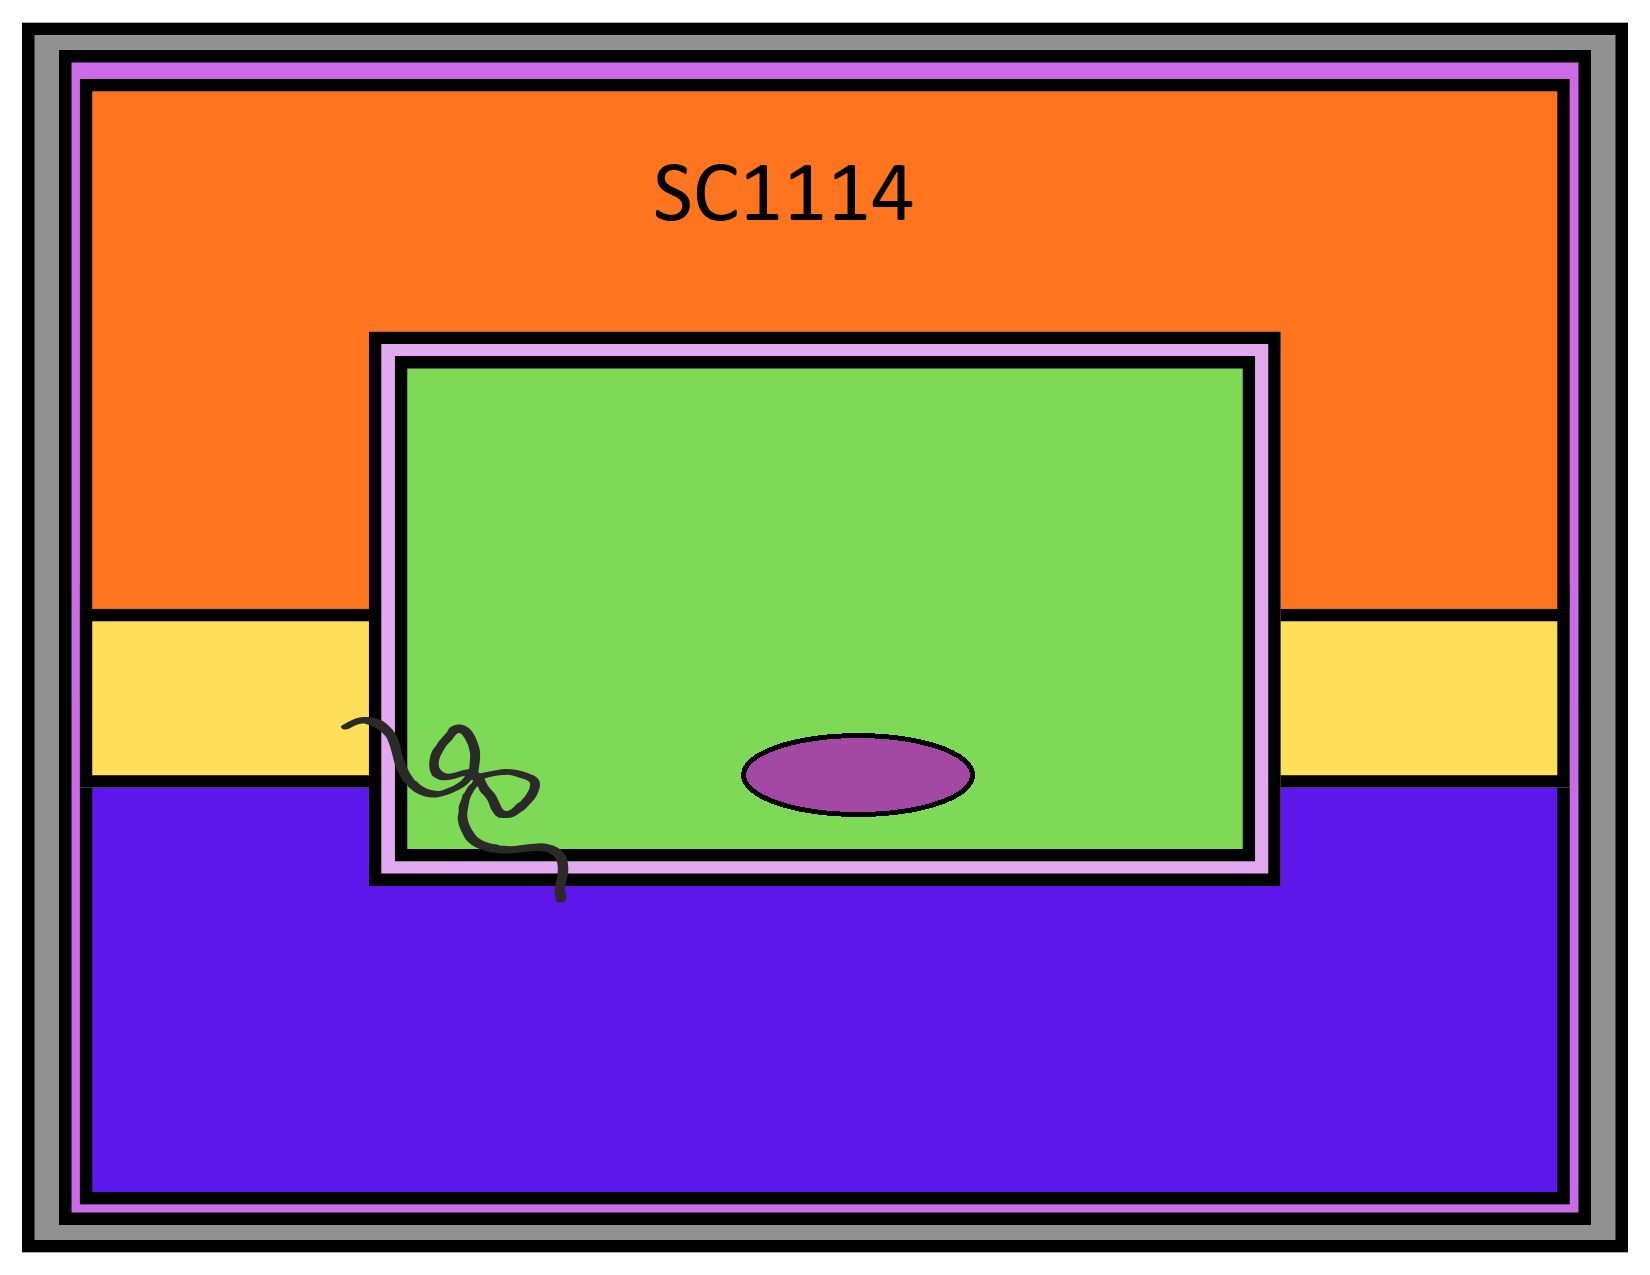
Here’s the sketch I used. You can see all the projects posted for this week’s challenge by clicking on the sketch below.


Tips & Instructions

  • Shaded Spruce Card Base - 5-1/2 x 8-1/2, score at 4-1/4

  • Basic White Layer - 2 x 5-1/4, emboss using the Paradise Garden Hybrid Embossing Folder and adhere to the bottom of the card front leaving a border around it.

  • Garden Poetry Designer Series Paper (green leafy pattern) - 2 x 5-1/4, adhere to the top of the card front leaving a border around it.

  • Garden Textures Specialty Foil Sheet - 1/2 x 5-1/4, adhere to the card front over the seam.

  • Shaded Spruce Layer - 2 x 3-1/2

  • Garden Poetry Designer Series Paper (green floral pattern) - 1-3/4 x 3-1/4, adhere to the Shaded Spruce Layer and then adhere to the card with Dimensionals.

  • Basic White - die cut the small oval using the Phrases & Frames Dies.

  • Stamp the sentiment in Shaded Spruce on the oval. The stamp is from the Phrases & Frames Stamp Set. Adhere to the card.

  • Tie a knot in a piece of Shaded Spruce & Gold Edged Ribbon and adhere to the card.

  • Add some Flower Accents.


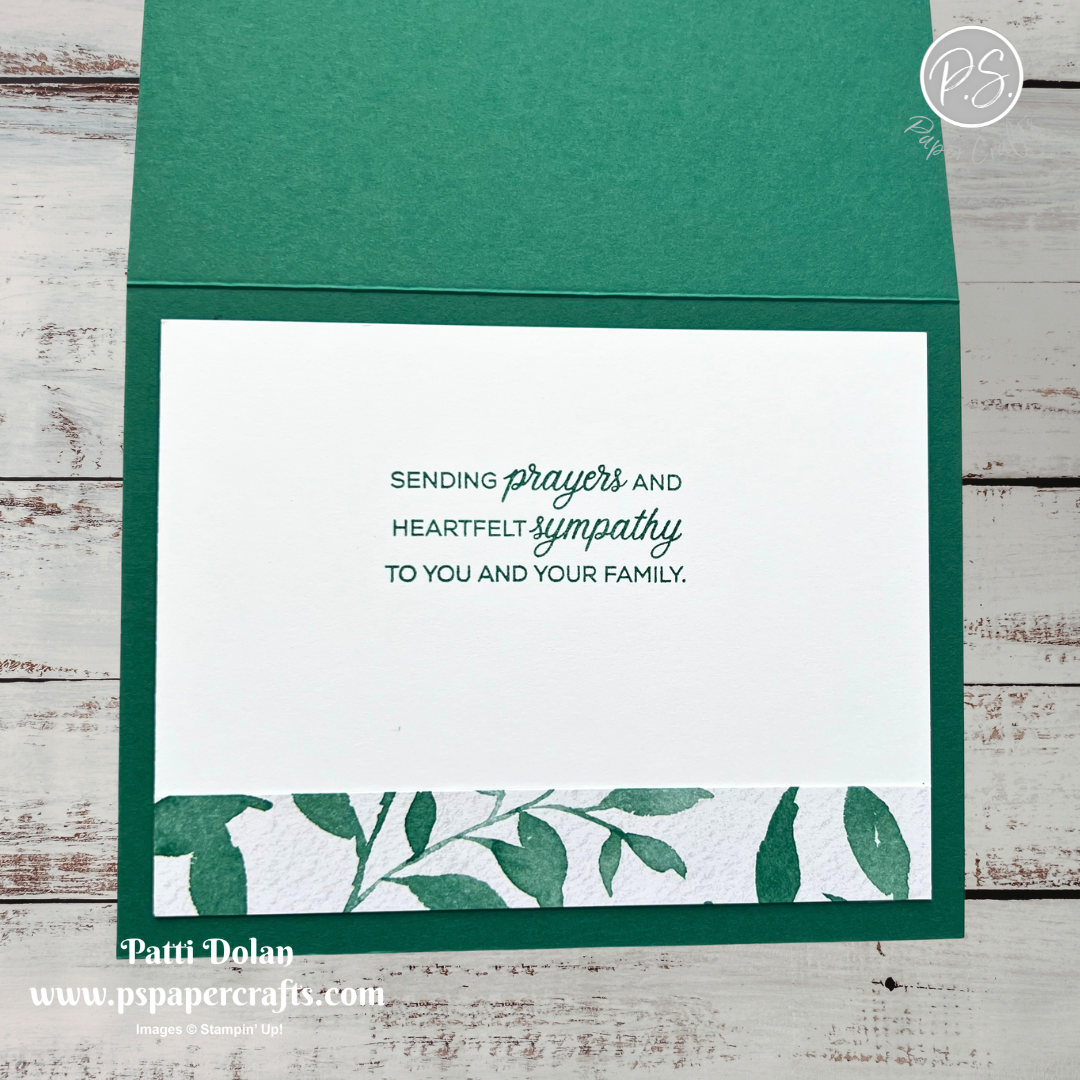
On the inside layer (4 x 5-1/4), stamp the sentiment in Shaded Spruce ink. Add a piece of Designer Series Paper cut to 3/4 x 5-1/4.


I love all the different patterns and the embossed layer on this card. Stampin’ Up! makes it so easy with all the coordinating colors and products.


Supply List

You can click on the item to purchase it from my Online Store.
 

Sketch Saturday - Moonlit Flora

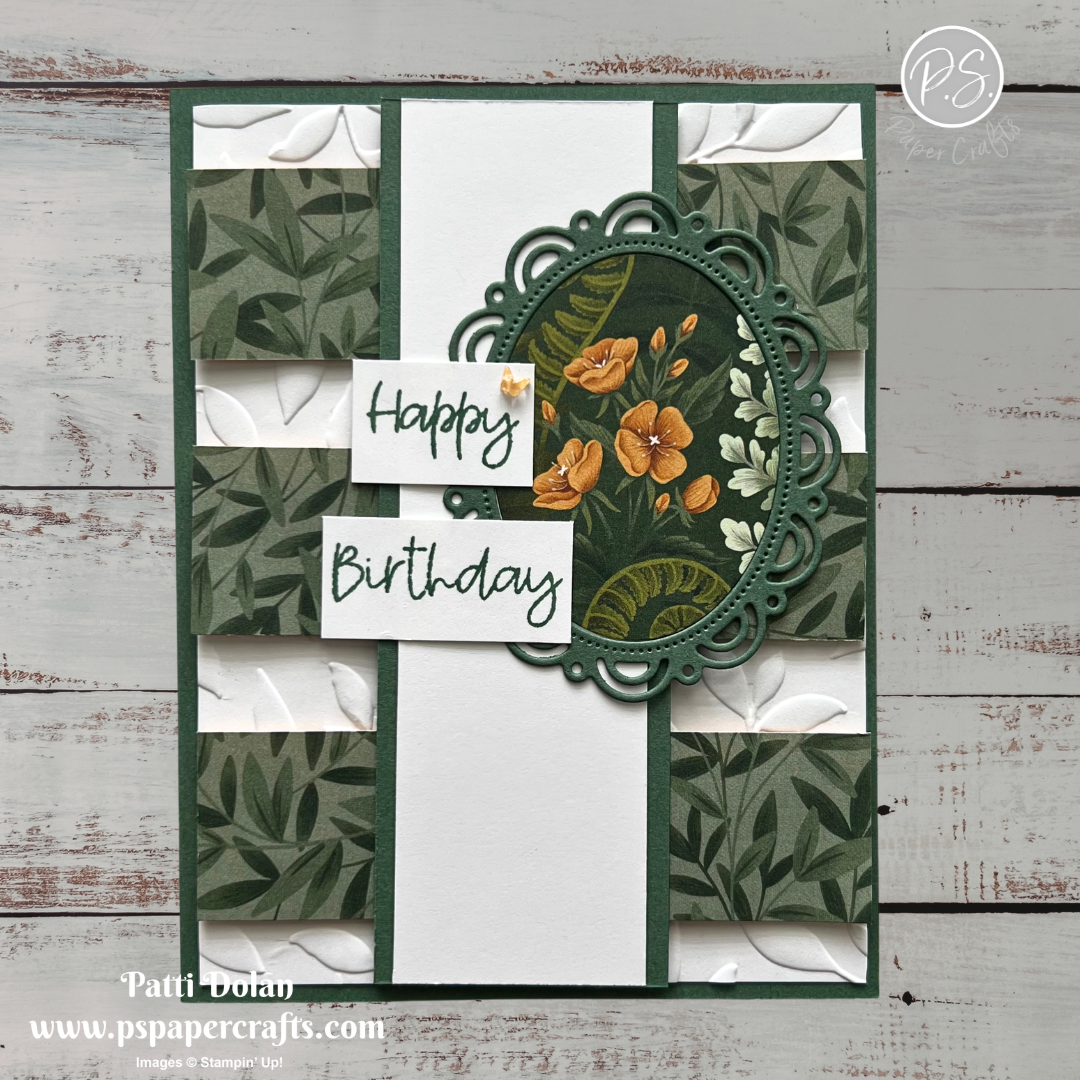
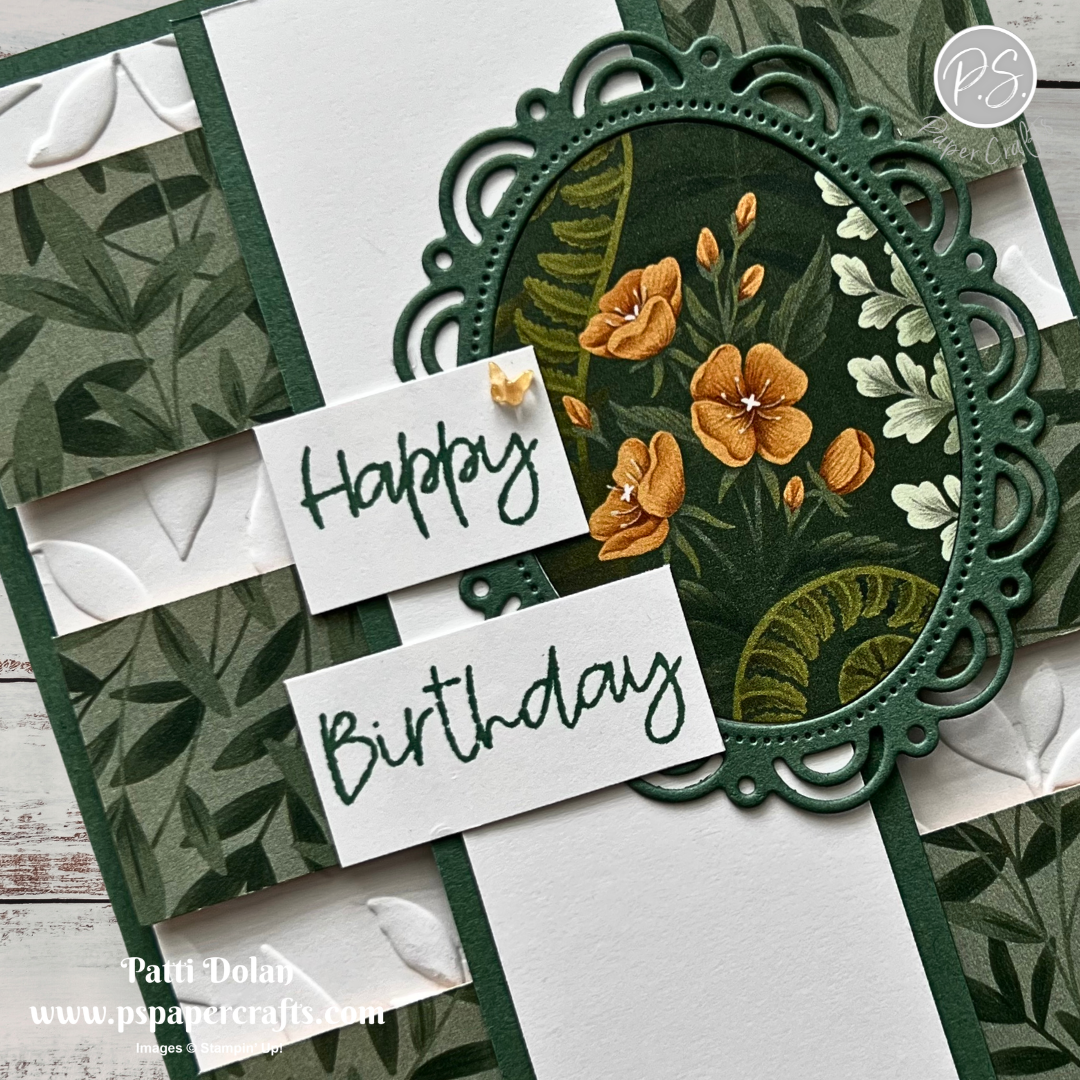
Here’s my card for this week’s Sketch Challenge, mixing in a variety of products. I went with a leafy theme and added a delicate oval accented with some pretty flowers.


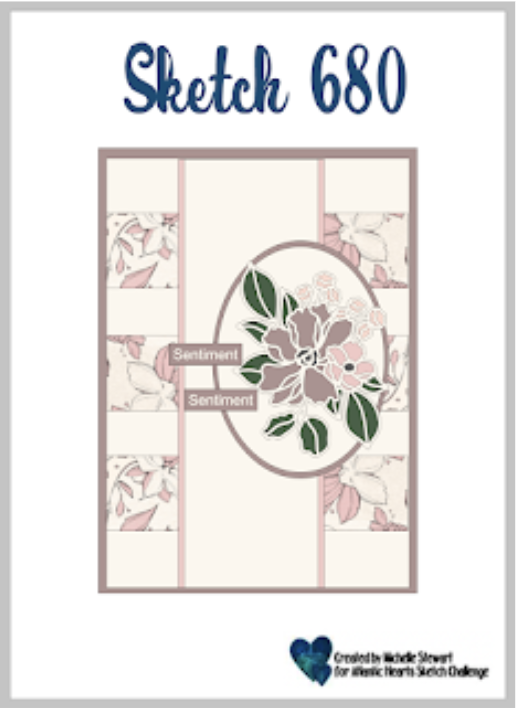
Here’s the sketch I used from the weekly Atlantic Hearts Sketch Challenge.


Tips & Instructions

  • Peaceful Pine Card Base - 5-1/2 x 8-1/2, score at 4-1/4

  • Basic White Layer - 4 x 5-1/4, emboss using the Paradise Garden Hybrid Embossing Folder and adhere to the card base.
  • Cut 3 strips of the leaf pattern from the Moonlit Flora Designer Series Paper - 1-1/8 x 4 and adhere to the card using Dimensionals.

  • Peaceful Pine Front Layer - 1-3/4 x5-1/4

  • Basic White Front layer - 1-1/2 x 5-1/4, adhere to the Peaceful Pine Layer and then to the card.

  • Use the Scalloped Wishes Dies to die cut the scalloped oval from Peaceful Pine Cardstock and the floral pattern from the Moonlit Flora Designer Series Paper.

  • Adhere the scalloped oval frame and the patterned inside oval to the card.

  • Stamp the sentiment from the Lilly of the Valley Stamp Set in Peaceful Pine ink on a 3/4 strip of Basic White. Cut the strip to have 2 rows and adhere to the card.
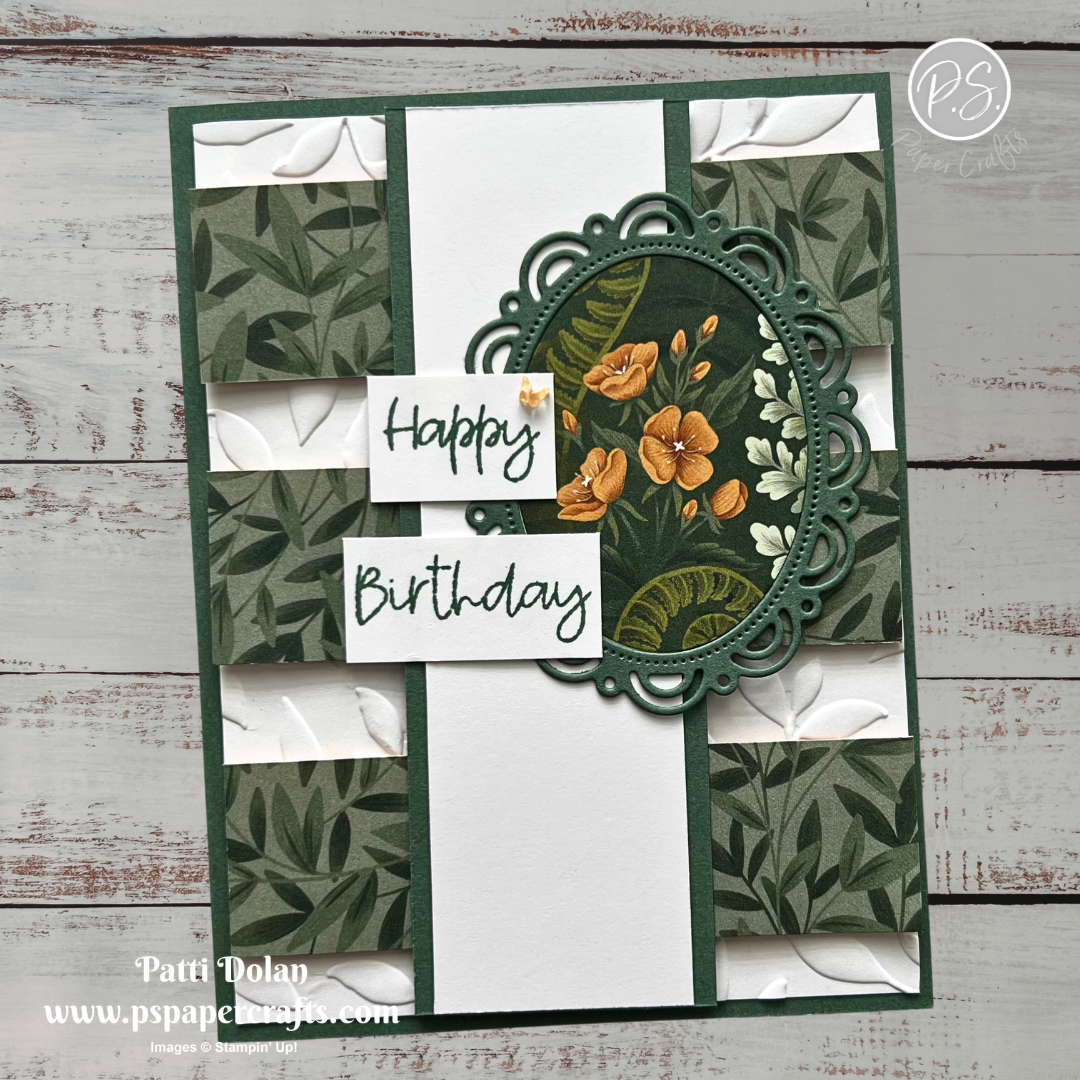
  • Add a Golden Glow butterfly.


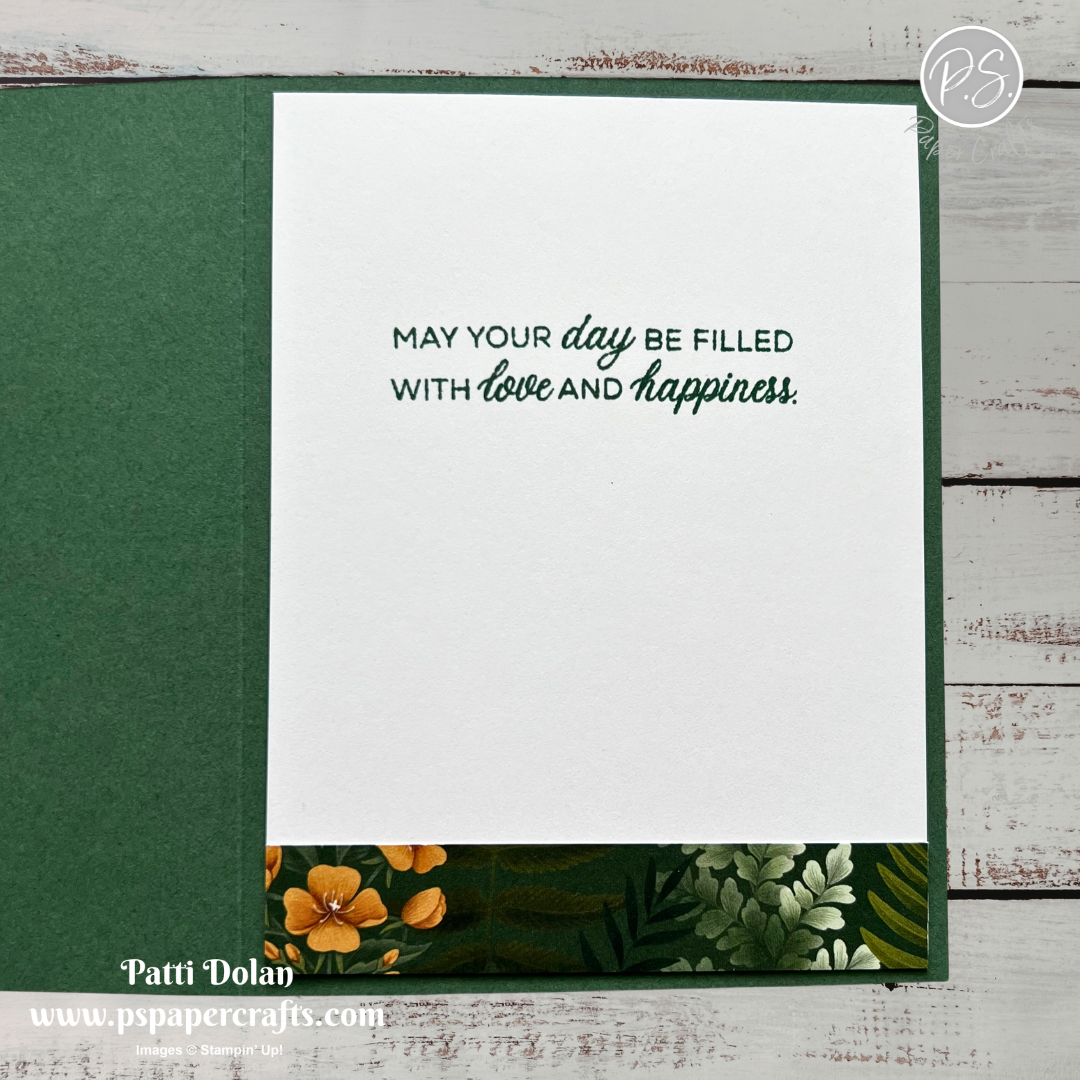
On the inside layer (4 x 5-1/4), stamp the sentiment from the Phrases & Frames Stamp Set in Peaceful Pines ink. Add a piece of Designer Series Paper cut to 3/4 x 4.


I love the beautiful scalloped oval and the embossed layer on this card.


Supply List

You can click on the item to purchase it from my Online Store.