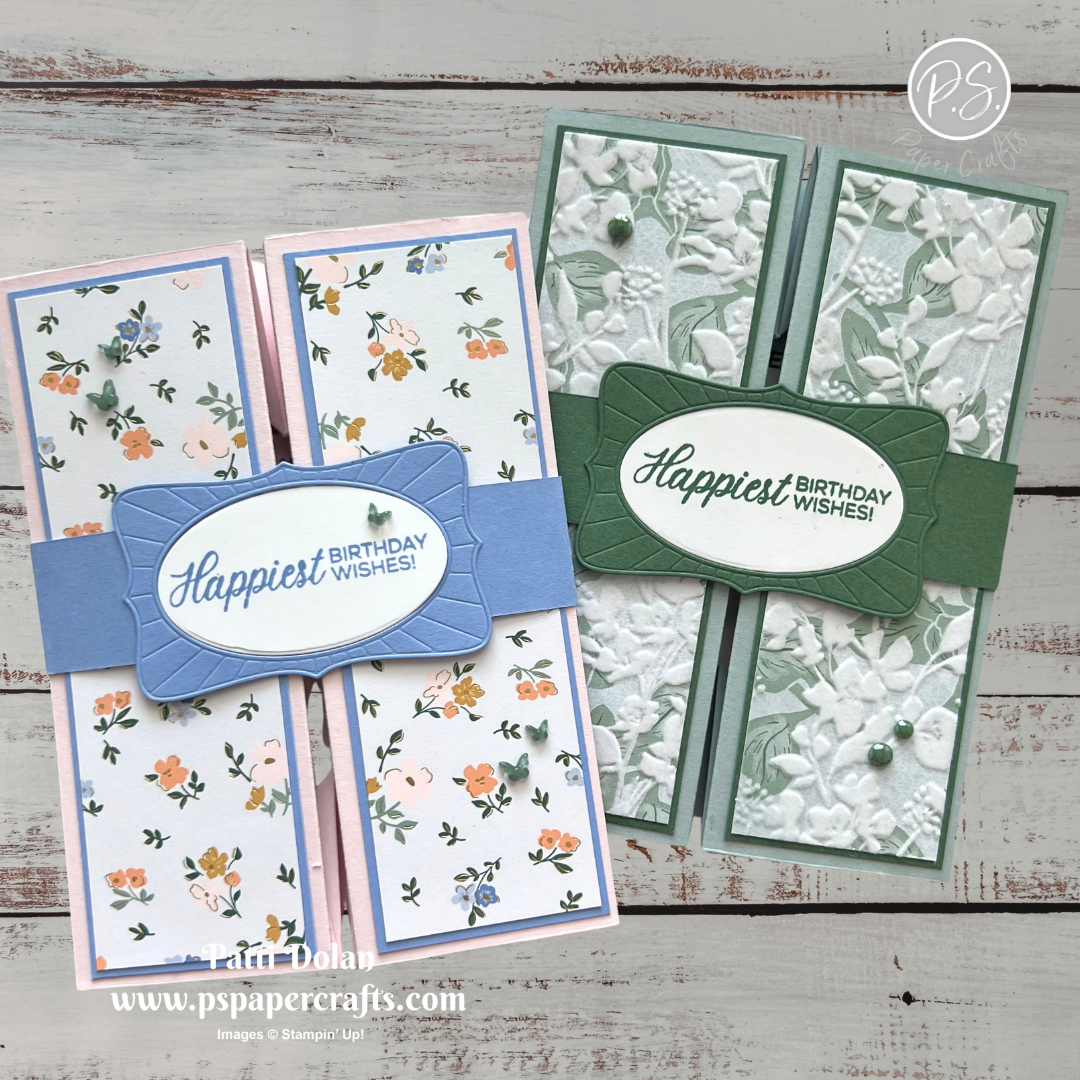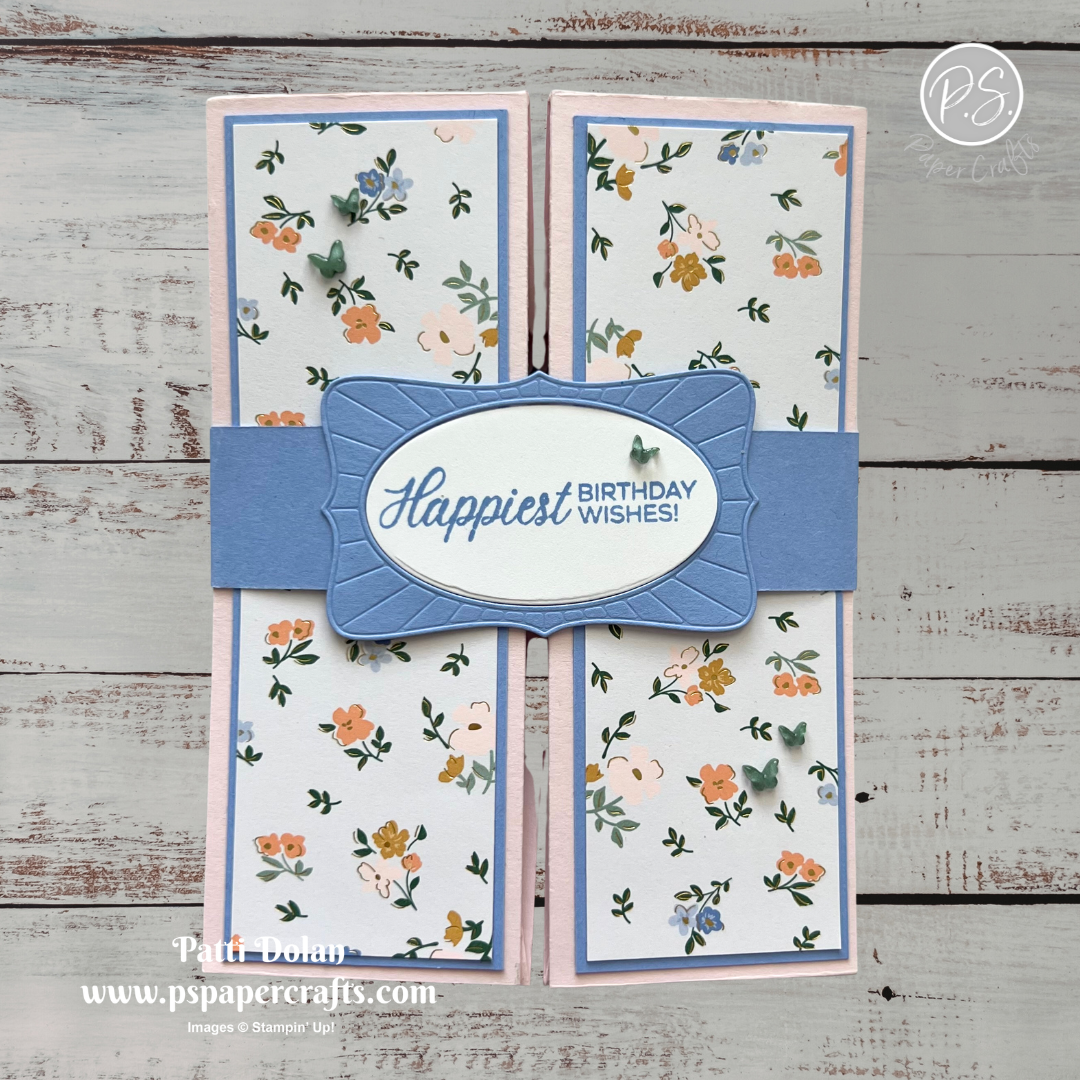
Double Vision Cards

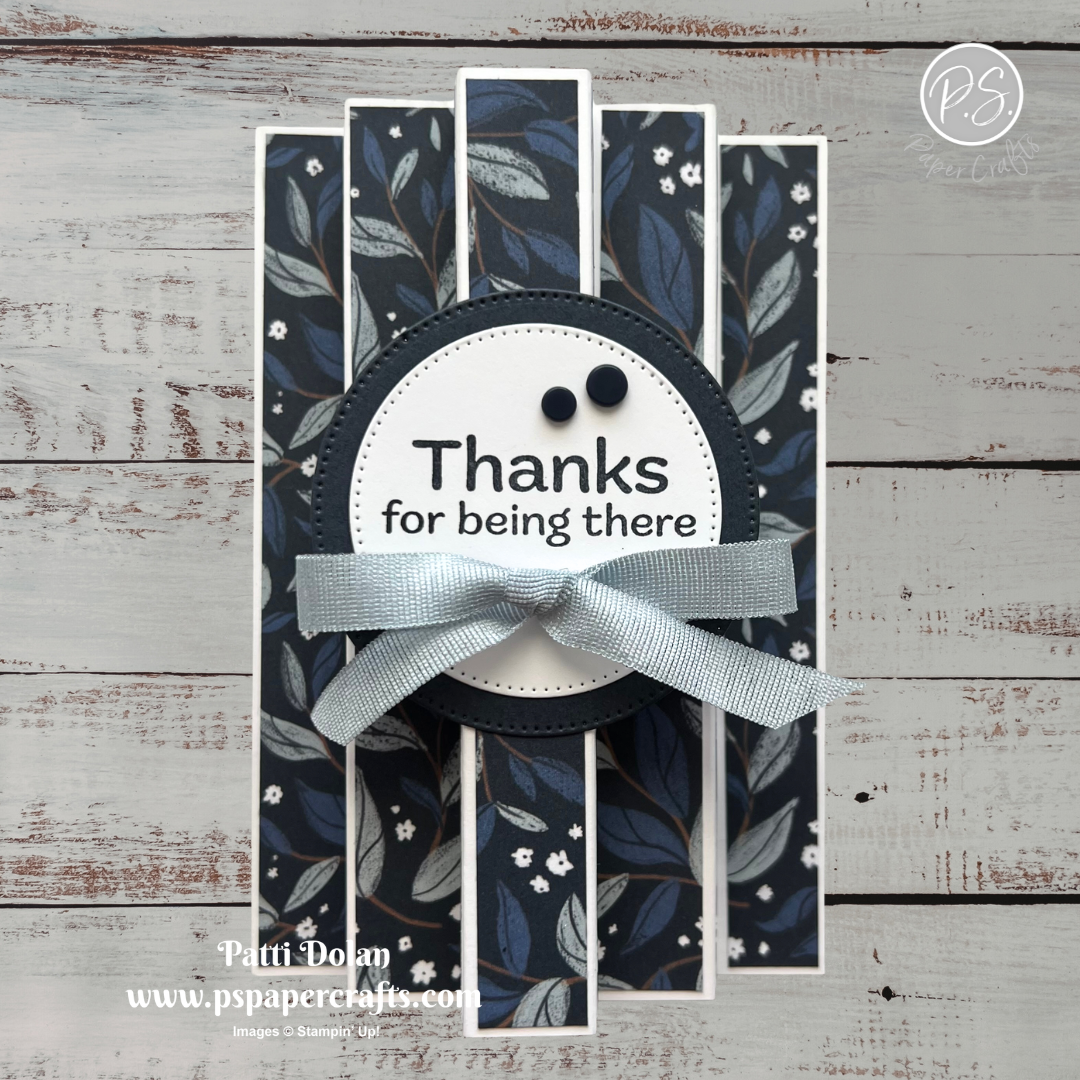
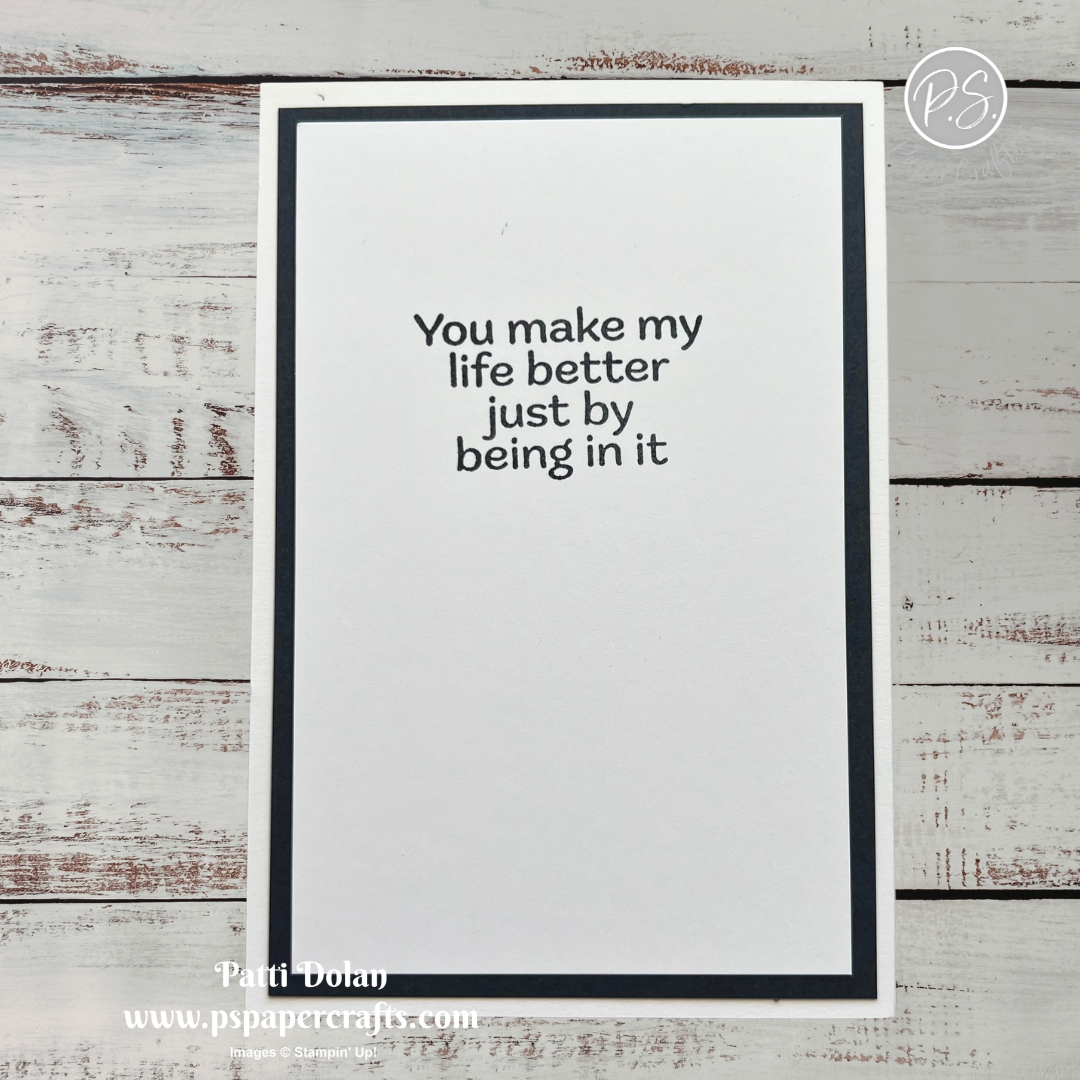
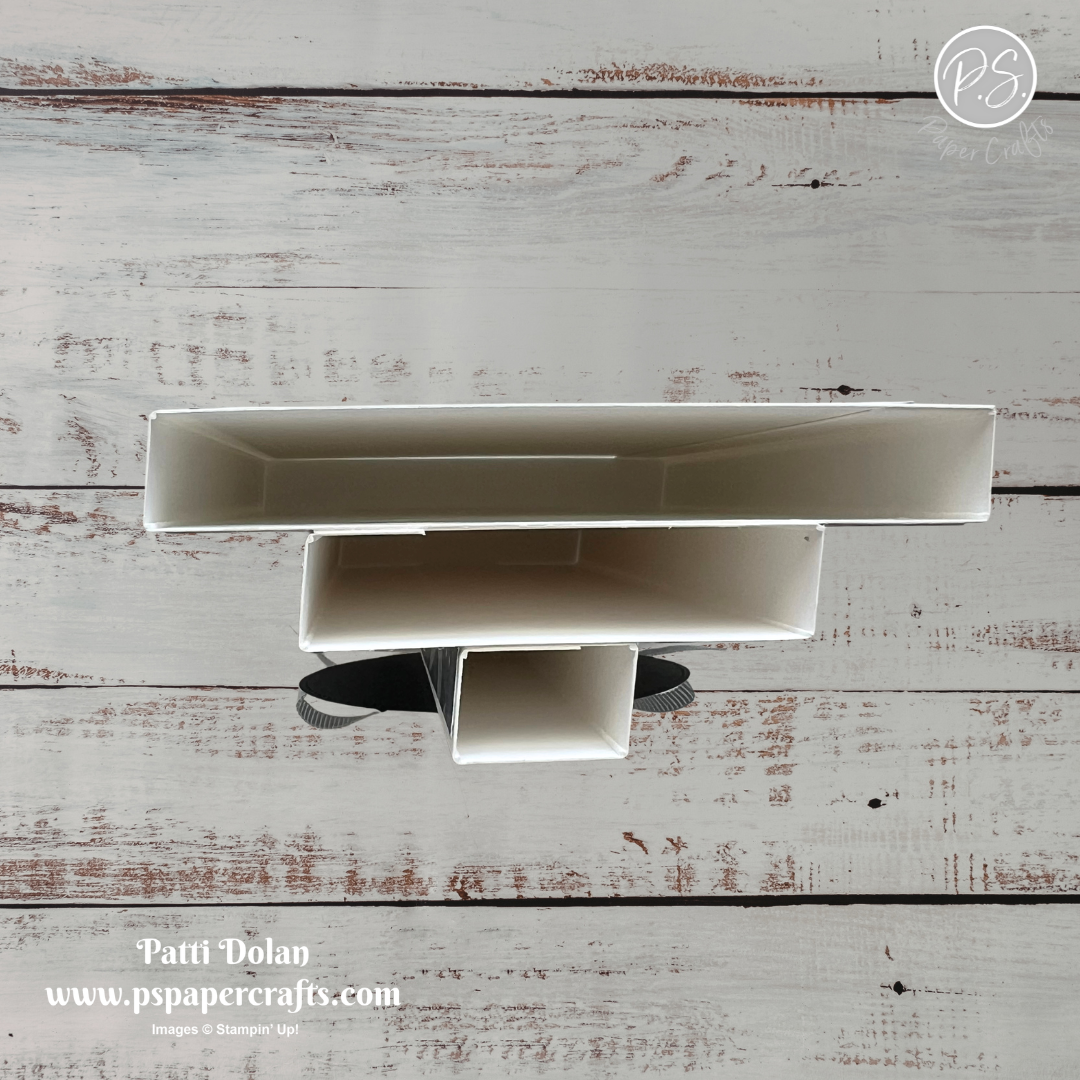
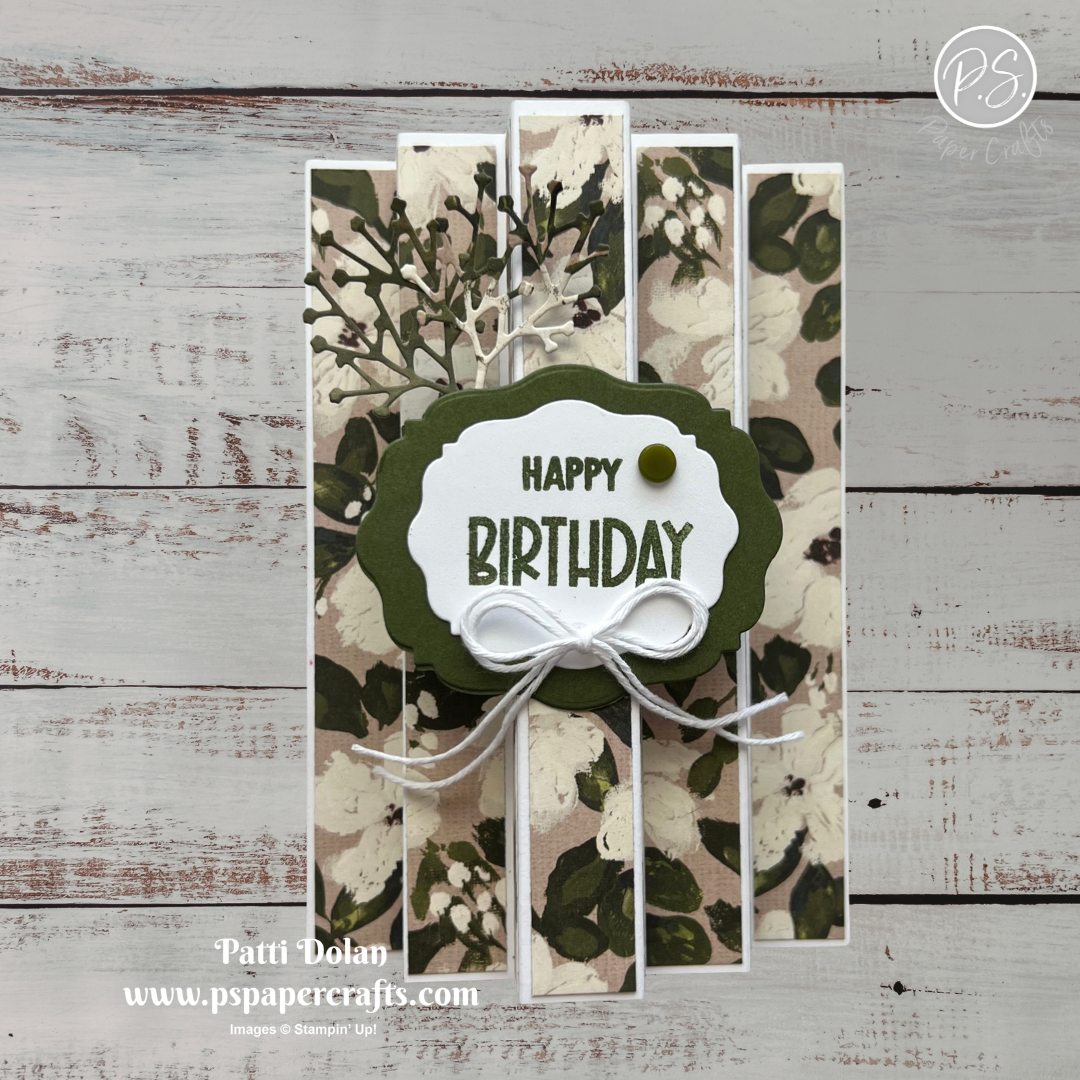
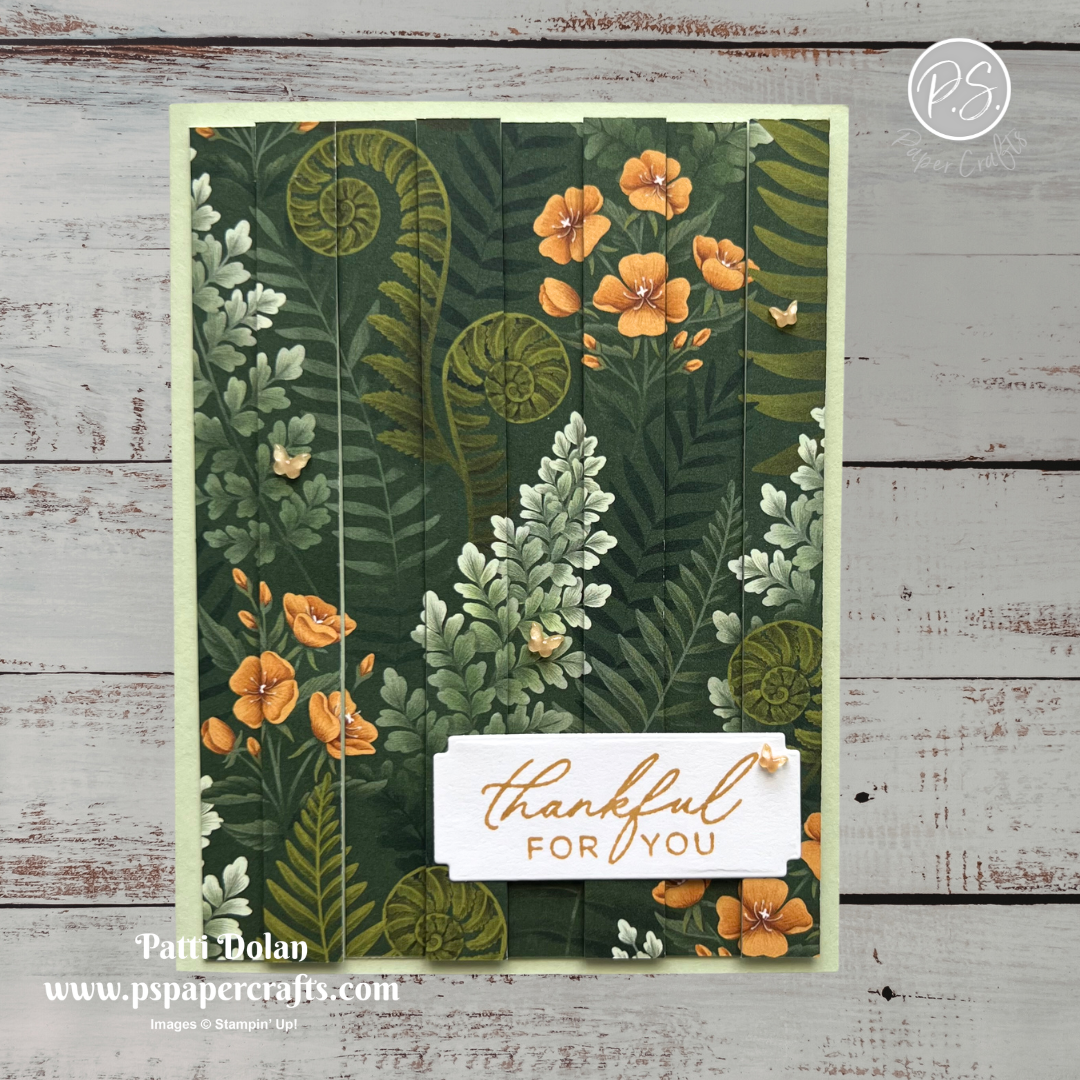
The Double Vision Cards are very popular so I decided to give it a try for my Friday Fun Fold video. Don’t let the look fool you—they’re easier to create than you might think, and once you try one, you’ll be hooked on making more!


Watch the video to see step by step instructions to make this design.

Click on the button below to get a printable pdf with measurements and instructions.


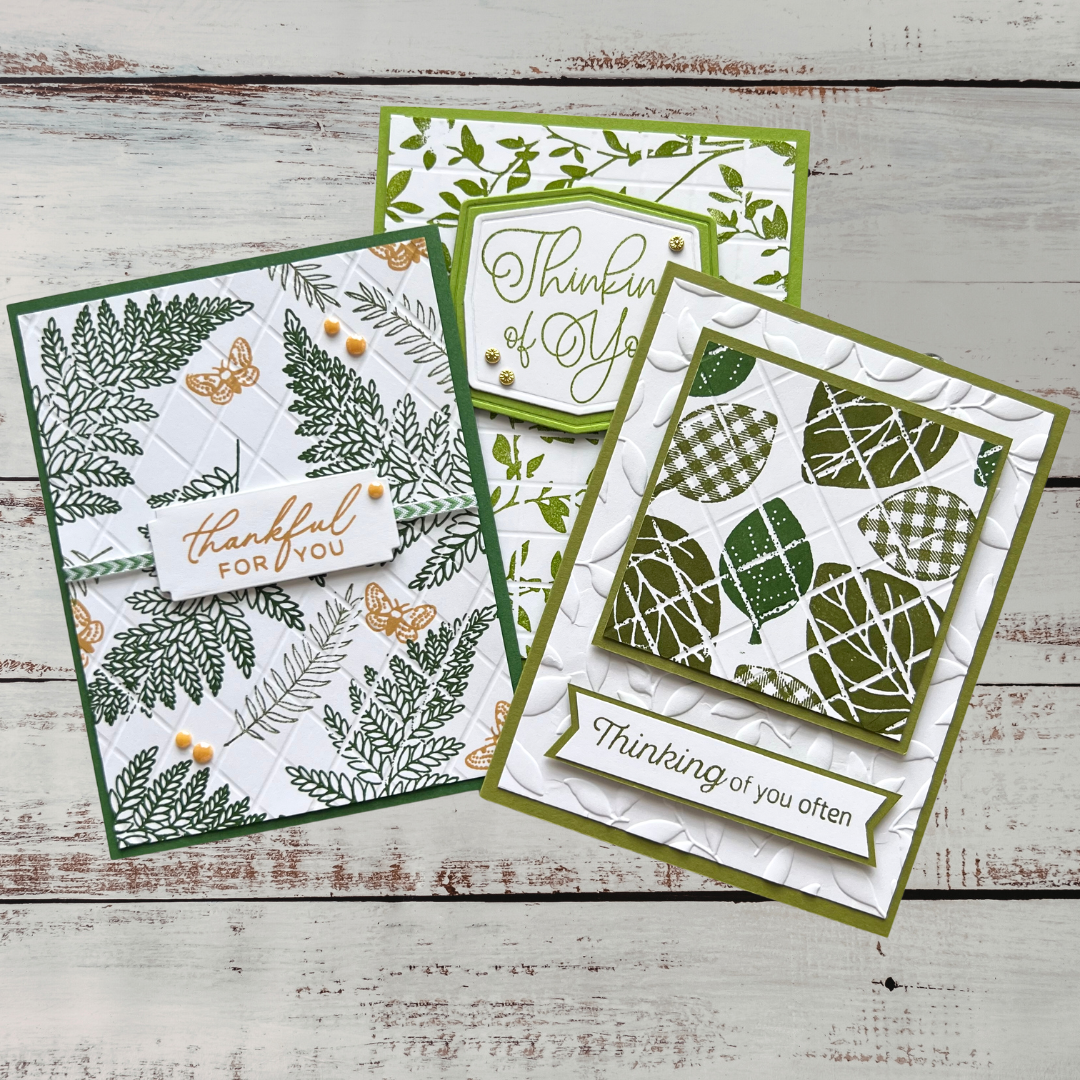
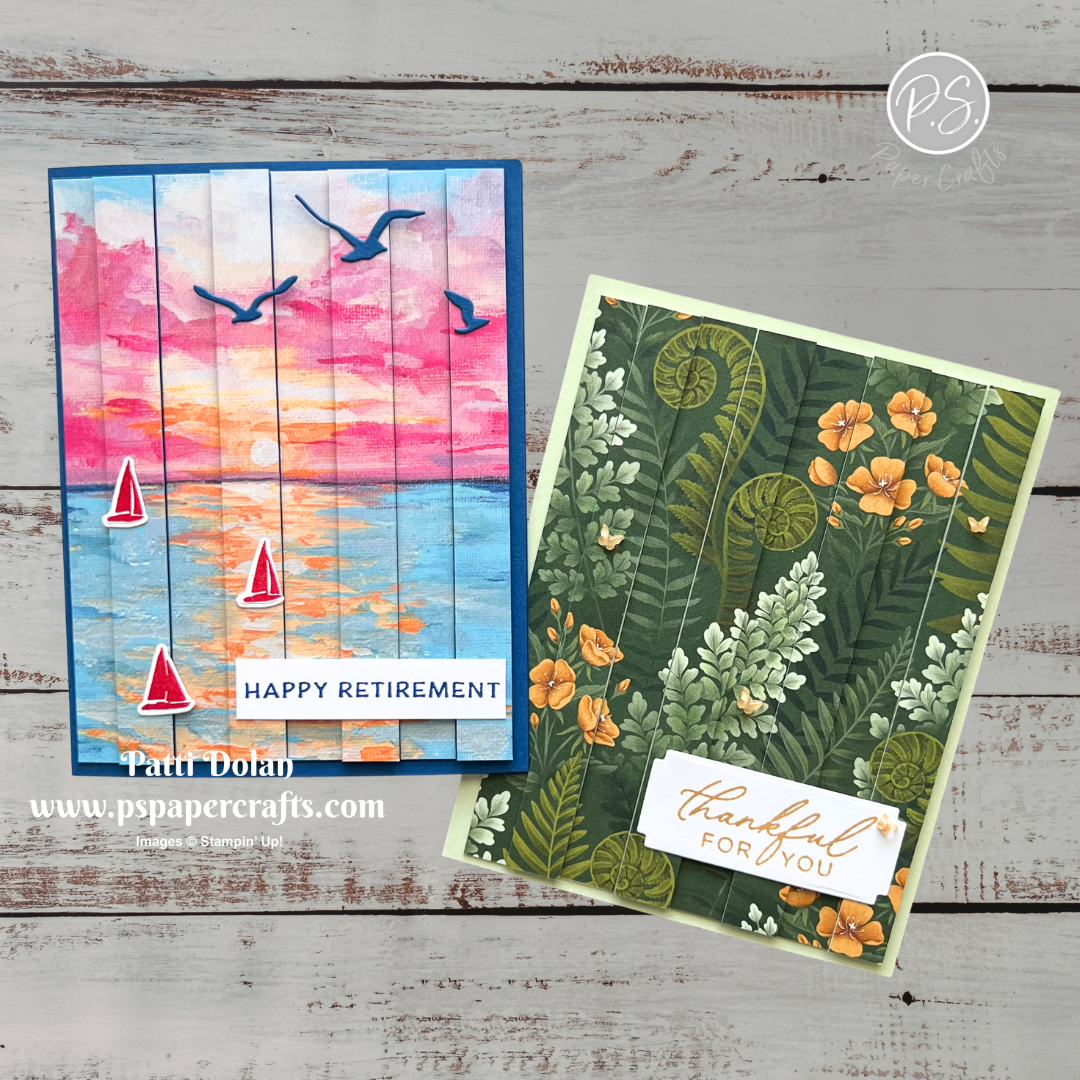
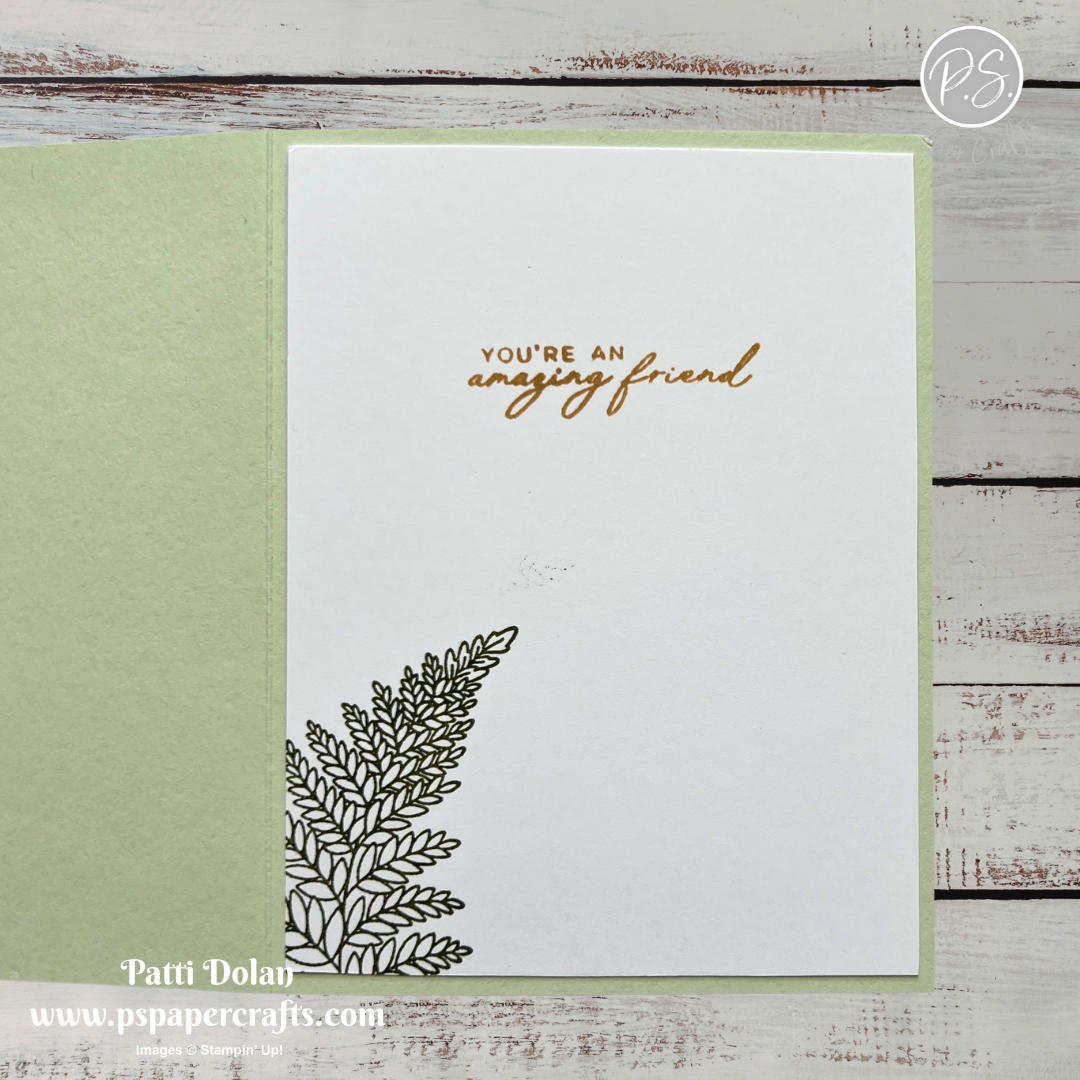
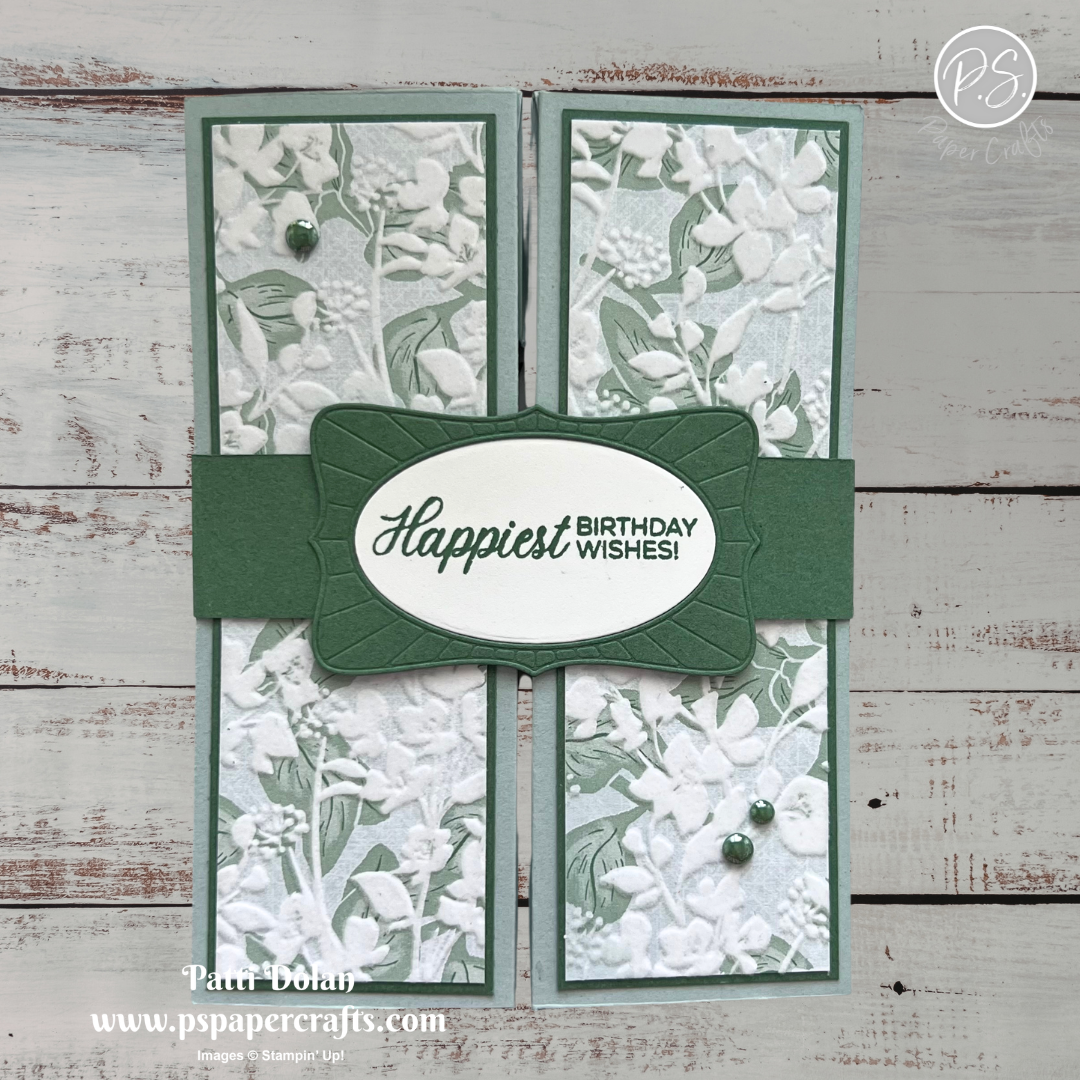
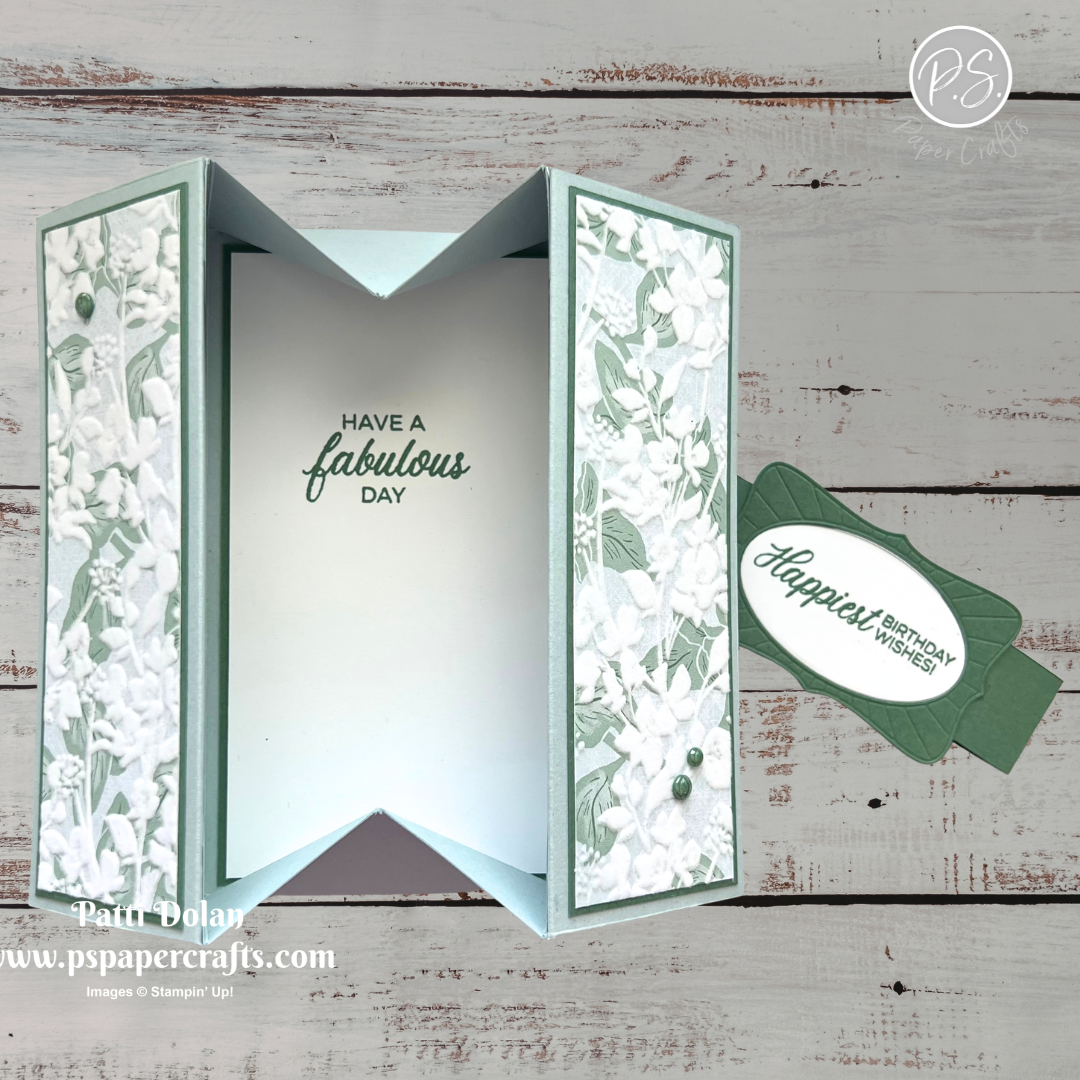
I used the gorgeous Moonlit Flora Suite Designer Series Paper for this card. The sentiment is from the Fern & Flora Bundle.


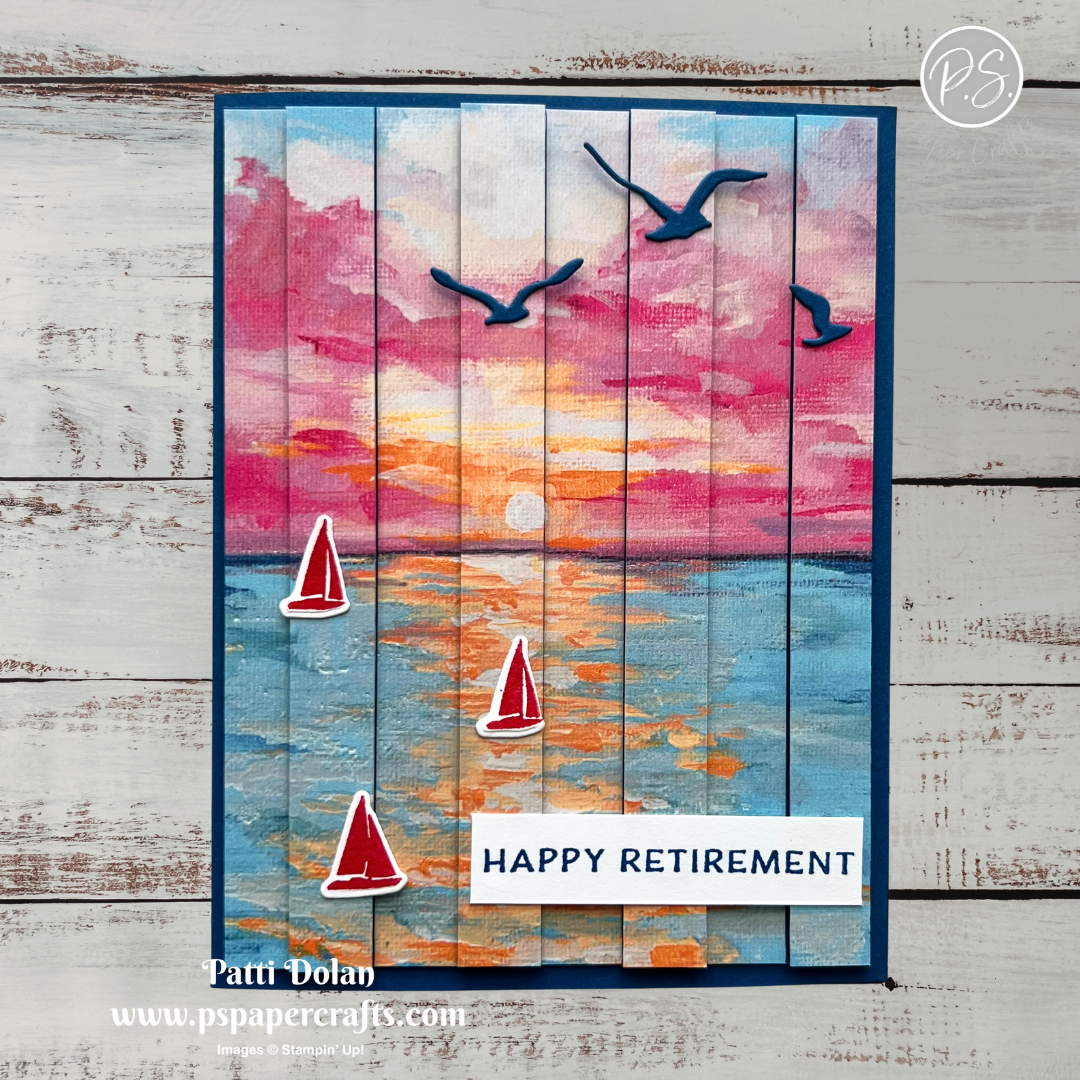
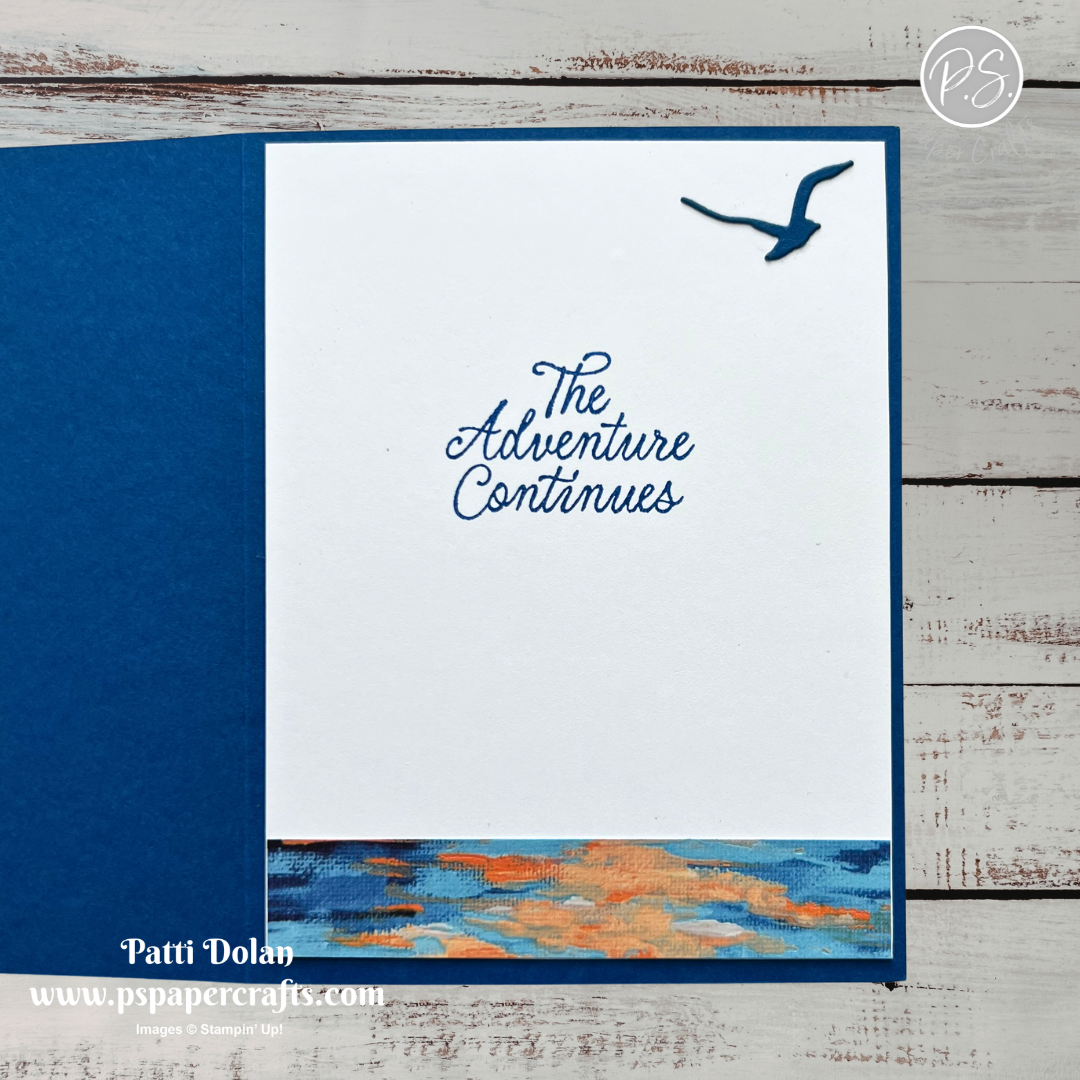
This card was made using the Scenic Coast Specialty Designer Series Paper. Some sheets feature iridescent details that shift color as you move them, so pretty!


Supply List

You can click on the item to purchase it from my Online Store.
 

Scalloped Blooms Color Combo

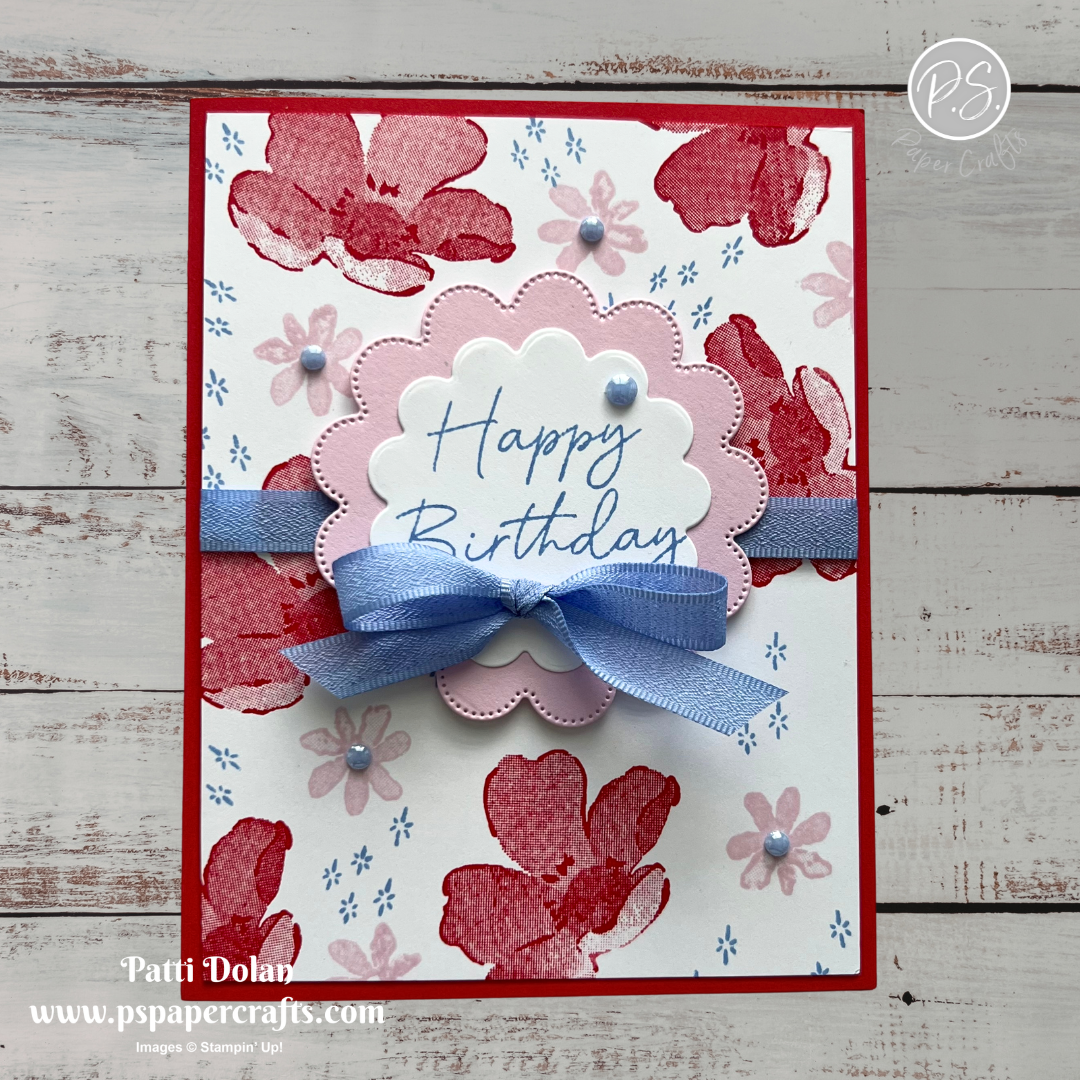
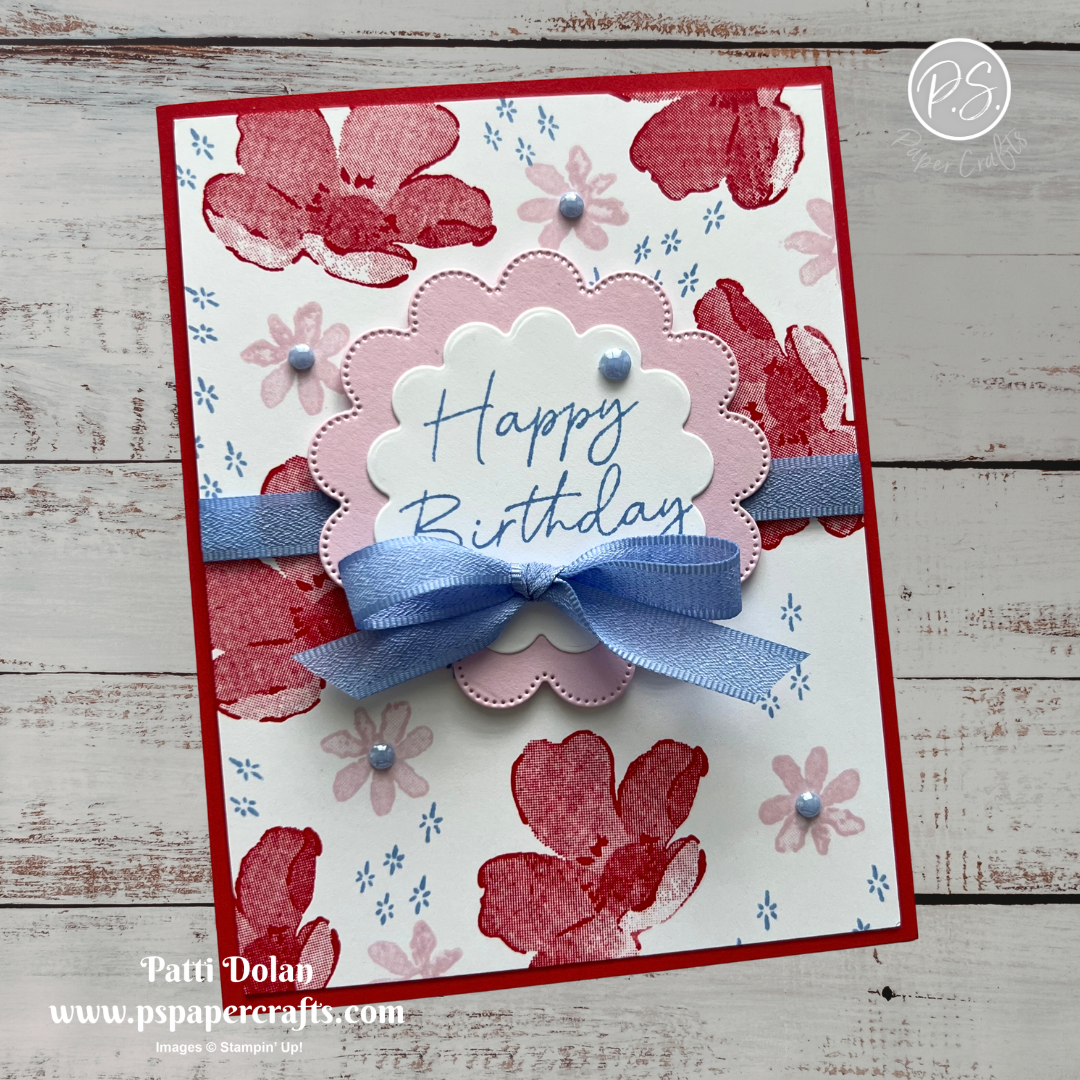
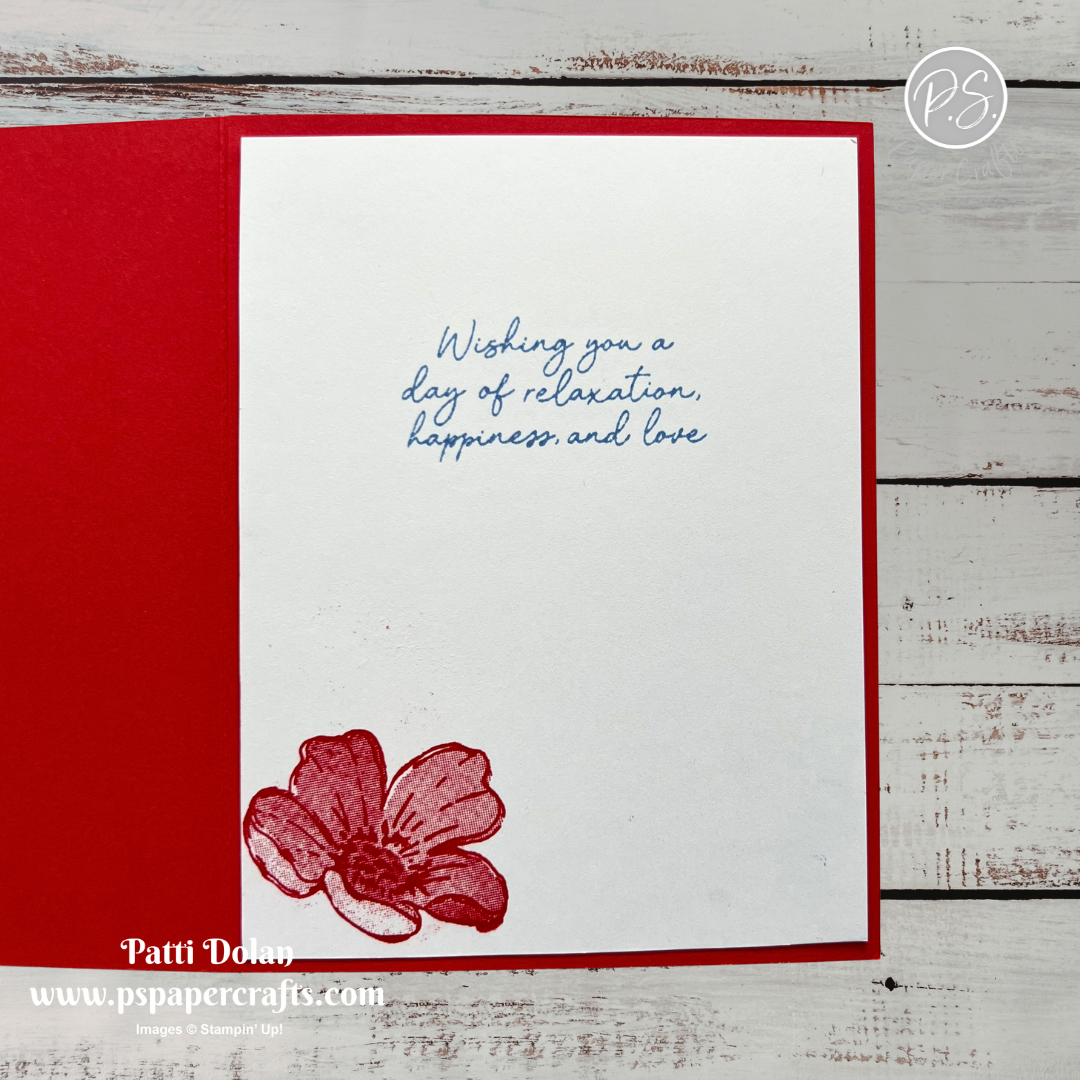
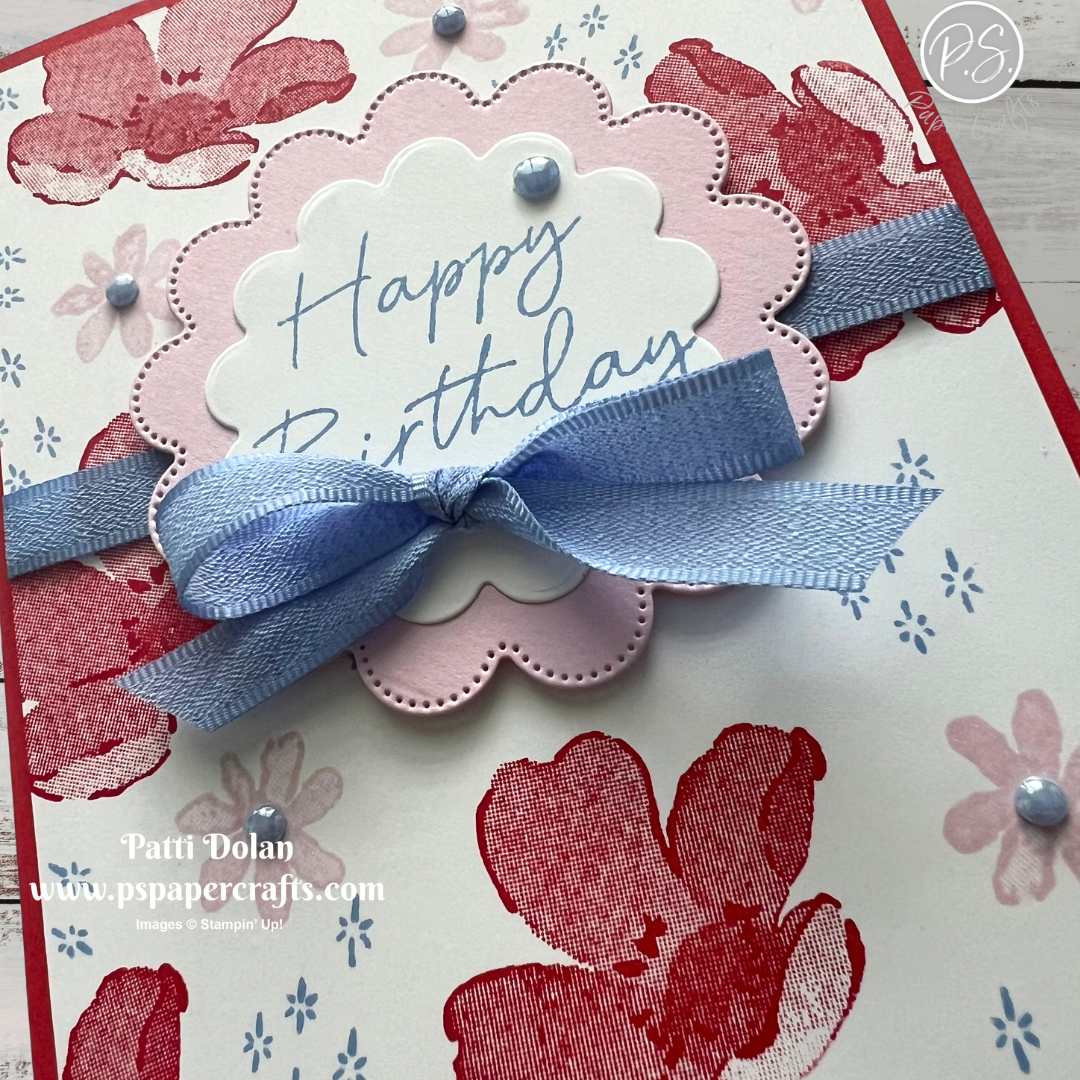
I love stamping my own background; I get to pick my images and colors. I stamped these pretty flowers using the Scalloped Blooms Stamp Set.


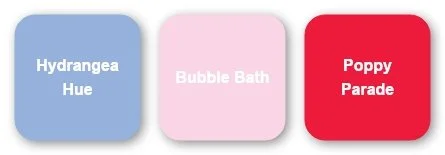
The Color Combo is from my May Inspiration Calendar - Hydrangea Hue, Bubble Bath and Poppy Parade.

You can get my calendar each month when you subscribe to my email list.


Tips & Instructions

  • Poppy Parade Card Base - 5-1/2 x 8-1/2, score at 4-1/4

  • Basic White Layer - 4 x 5-1/4.

  • Stamp the images on the white layer starting with the largest image first. I used Poppy Parade for the large flower, Bubble Bath for the small flower and Hydrangea Hue for the grouping of dots.

  • Wrap a piece of Hydrangea Hue around the layer and adhere to the back. Adhere to the card base.

  • Die cut the 3rd from smallest circle from Basic White cardstock using the Scalloped Blooms Dies and stamp the sentiment in Hydrangea Hue ink.

  • Die cut the 4th from smallest circle from Bubble Bath cardstock and adhere behind the white circle. Adhere to the card with Dimensionals.

  • Tie a bow with the ribbon and adhere with a Glue Dot.

  • Add some Hydrangea Hue Dots to the label and flower centers.


On the inside layer (4 x 5-1/4), stamp the sentiment in Hydrangea Hue ink. Stamp the flower in Poppy Parade.


I love the how bright and pretty this card is!


Supply List

You can click on the item to purchase it from my Online Store.
 

Sketch Challenge - Beautiful Ordinary Life

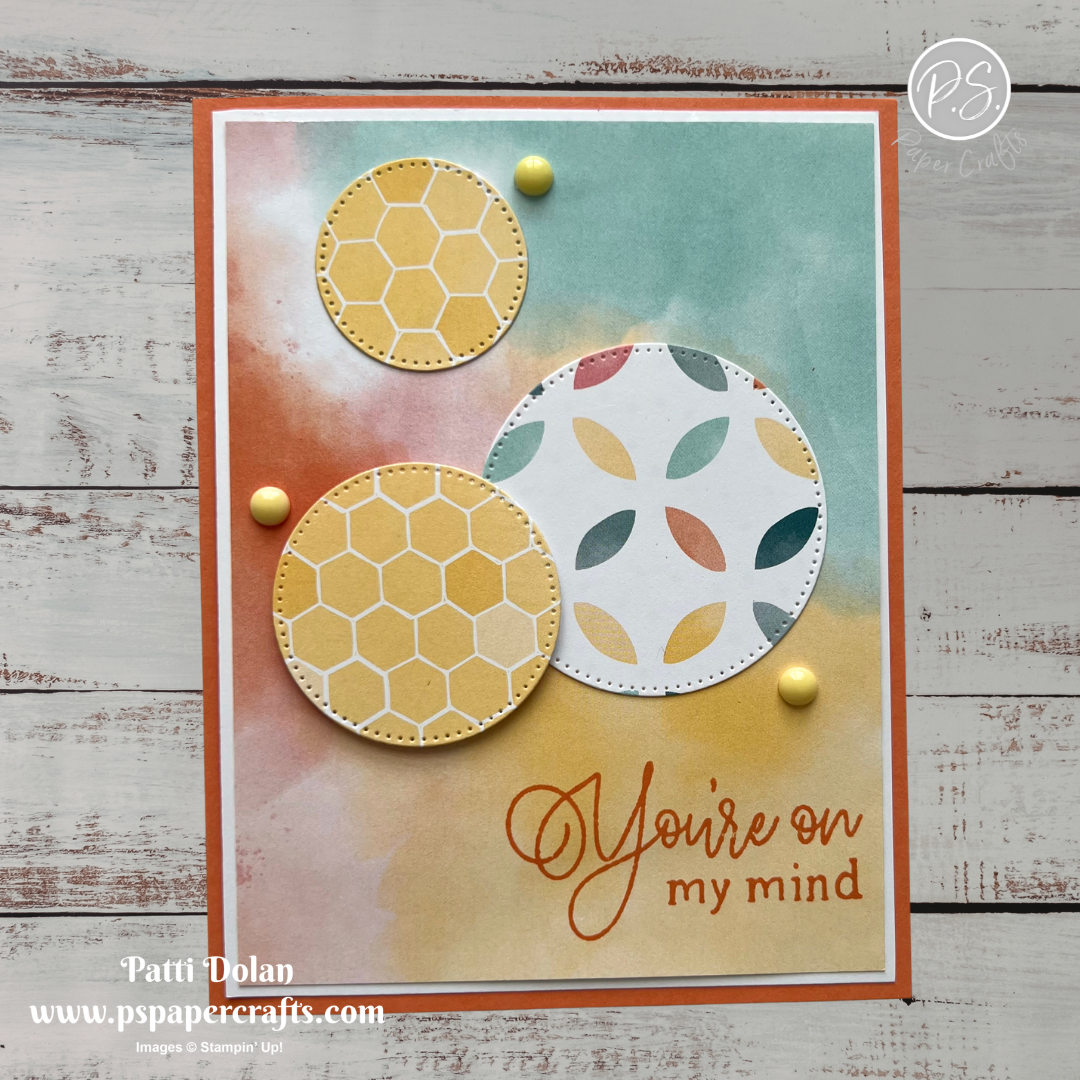
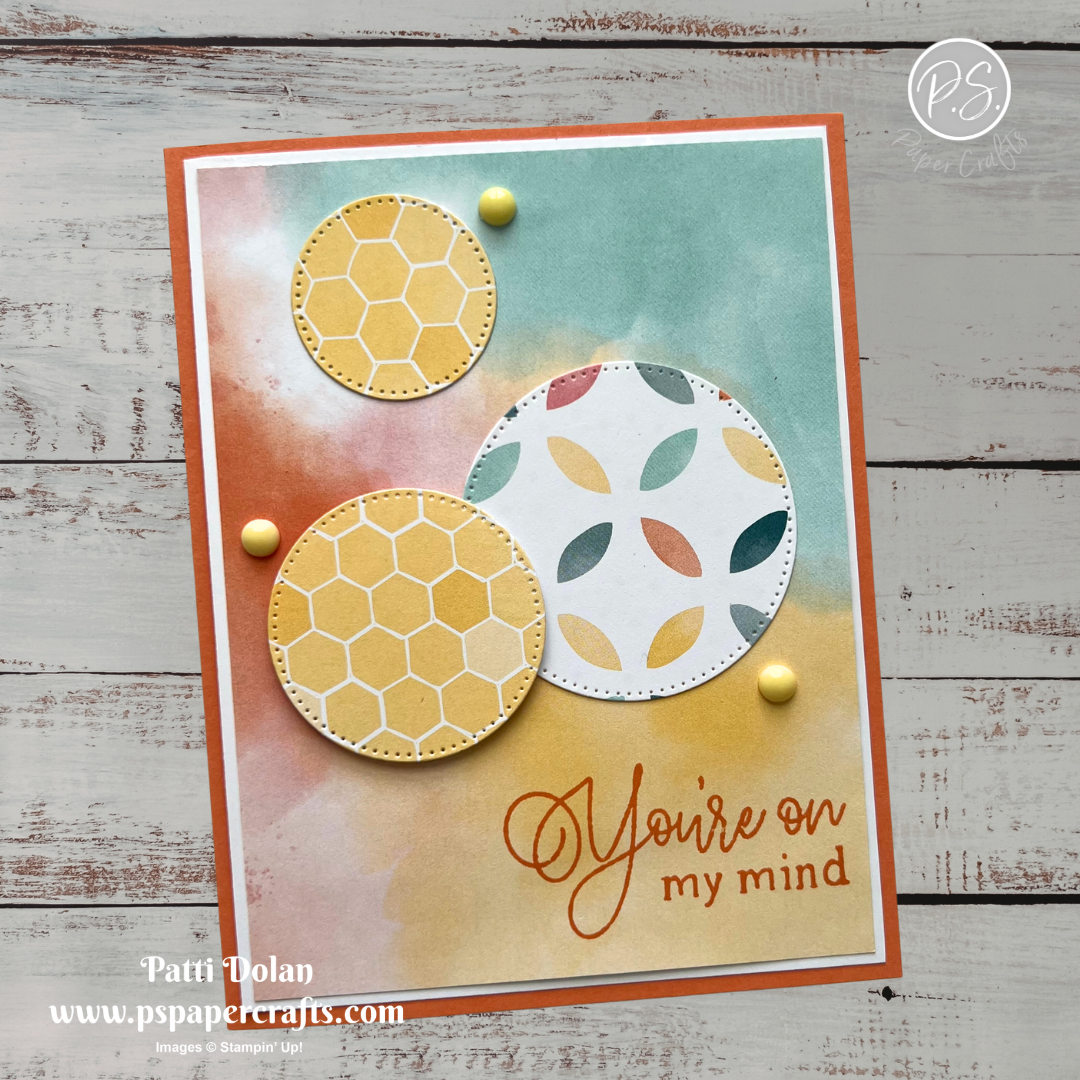
I didn’t have hexagon dies for this week’s sketch challenge so I used circles that I cut from the Beautiful Ordinary Life Designer Series Paper.


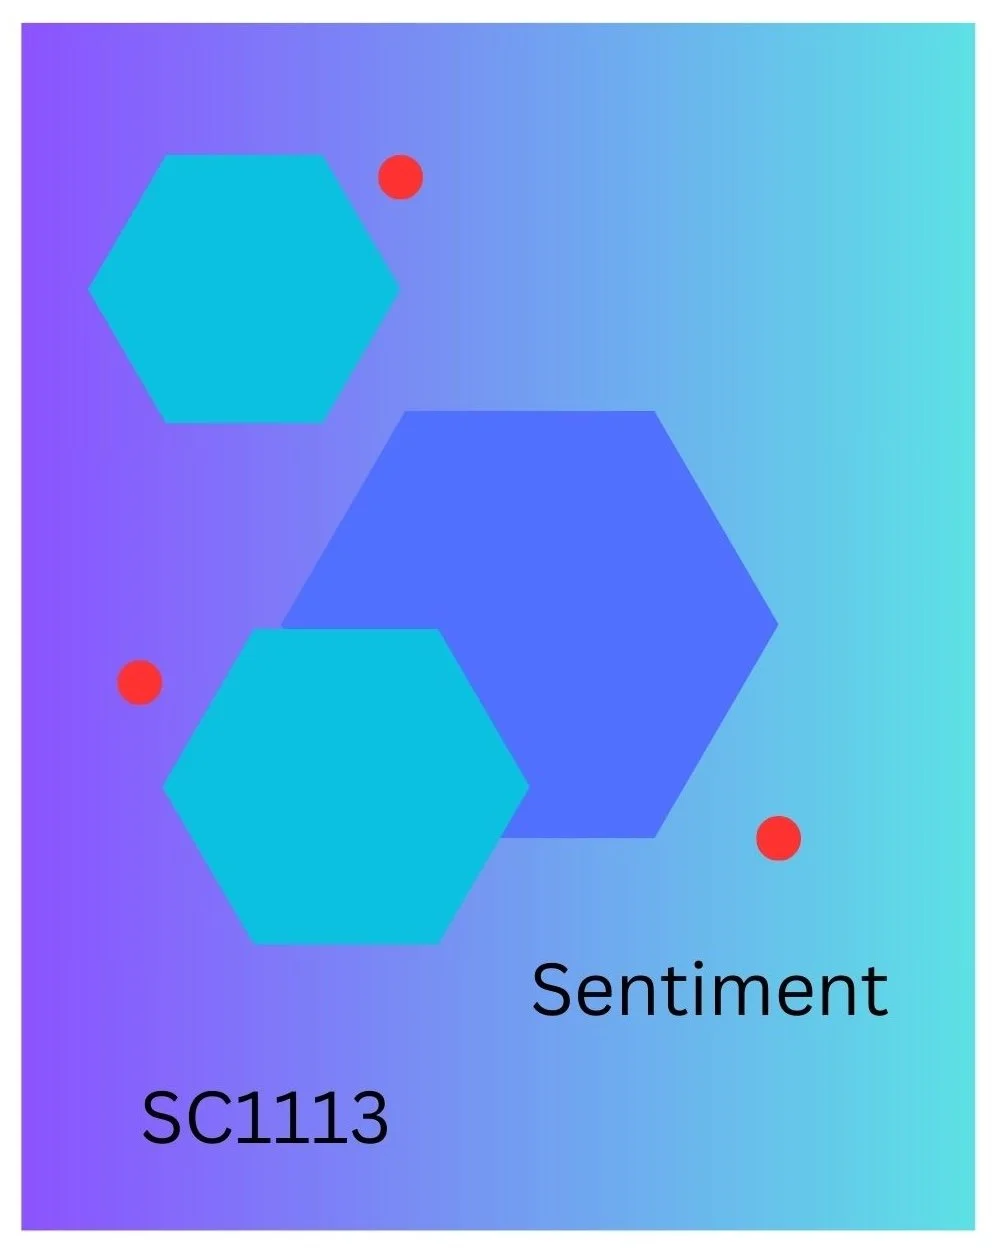
Here’s the sketch I used from the weekly Splitcoasterstampers Sketch Challenge. You can see all the projects posted for this week’s challenge by clicking on the sketch below.


Tips & Instructions

  • Timid Tiger Card Base - 5-1/2 x 8-1/2, score at 4-1/4

  • Basic White Layer - 4 x 5-1/4

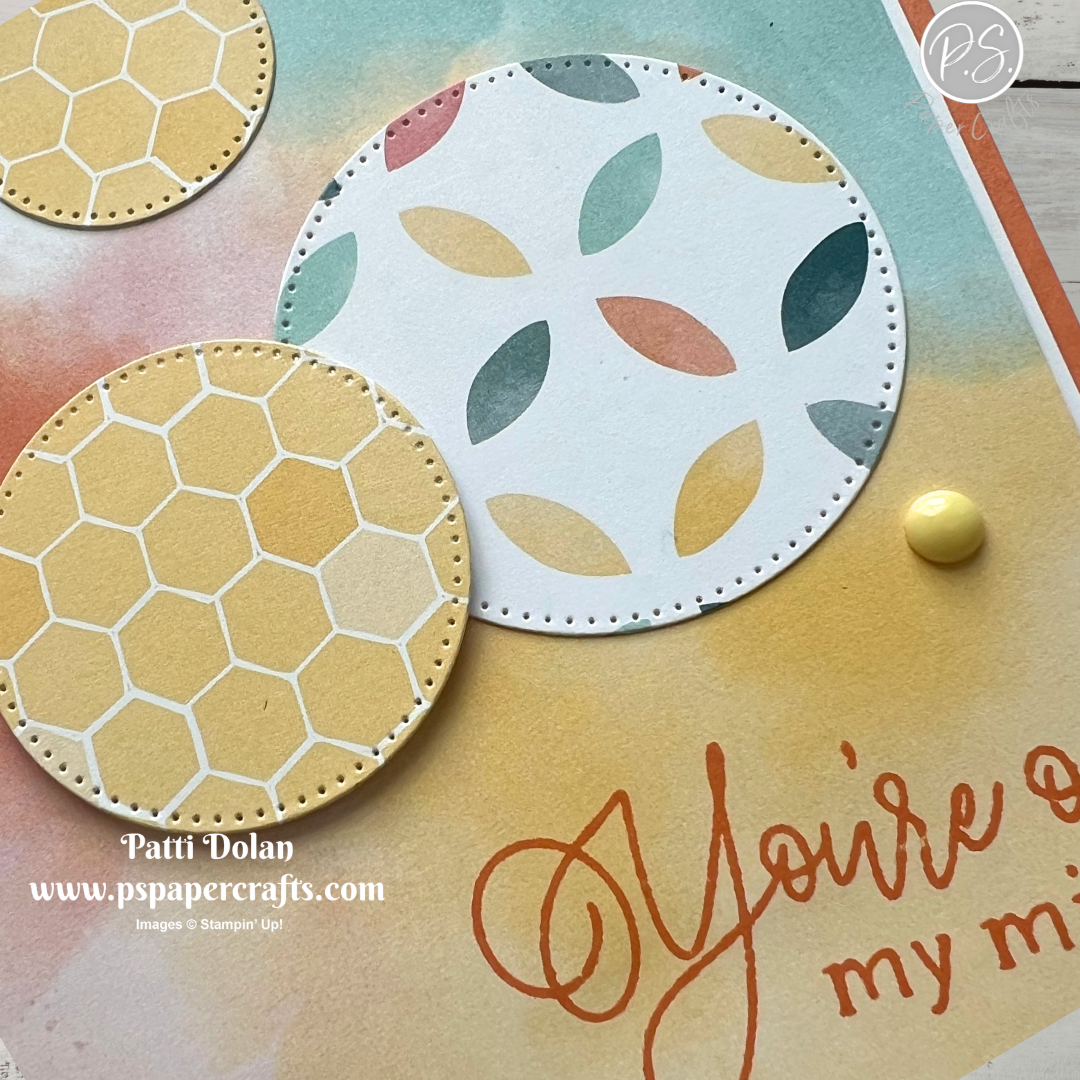
  • Beautiful Ordinary Life Designer Series Paper - 3-7/8 x 5-1/8, stamp the sentiment in Timid Tiger ink. I used the Forever Florals Stamp Set. Adhere it to the white layer and then to the card base.

  • Die cut circles from the Beautiful Ordinary Life Designer Series Paper using the Stylish Shapes Dies. I used the 2nd, 3rd & 4th from smallest dies. Adhere them to the card. I used Dimensionals on the one sitting on the larger one.

  • Add some Lemon Lolly Array of Dots to the card.


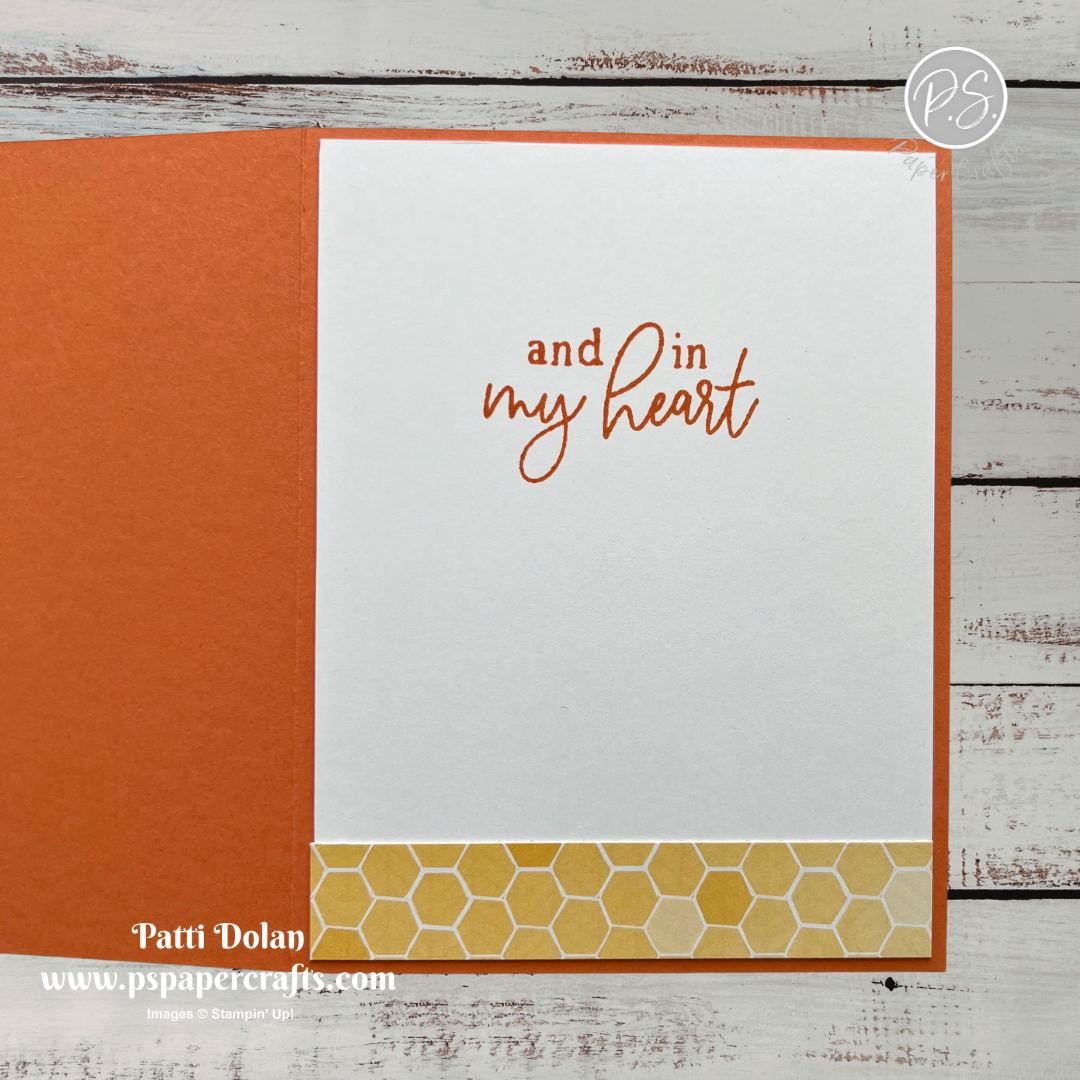
On the inside layer (4 x 5-1/4), stamp the sentiment in Timid Tiger ink and adhere a 3/4 x 4 strip of the Designer Series Paper.


I love fun patterns and watercolor look in this Designer Series Pack.


Supply List

You can click on the item to purchase it from my Online Store.
 

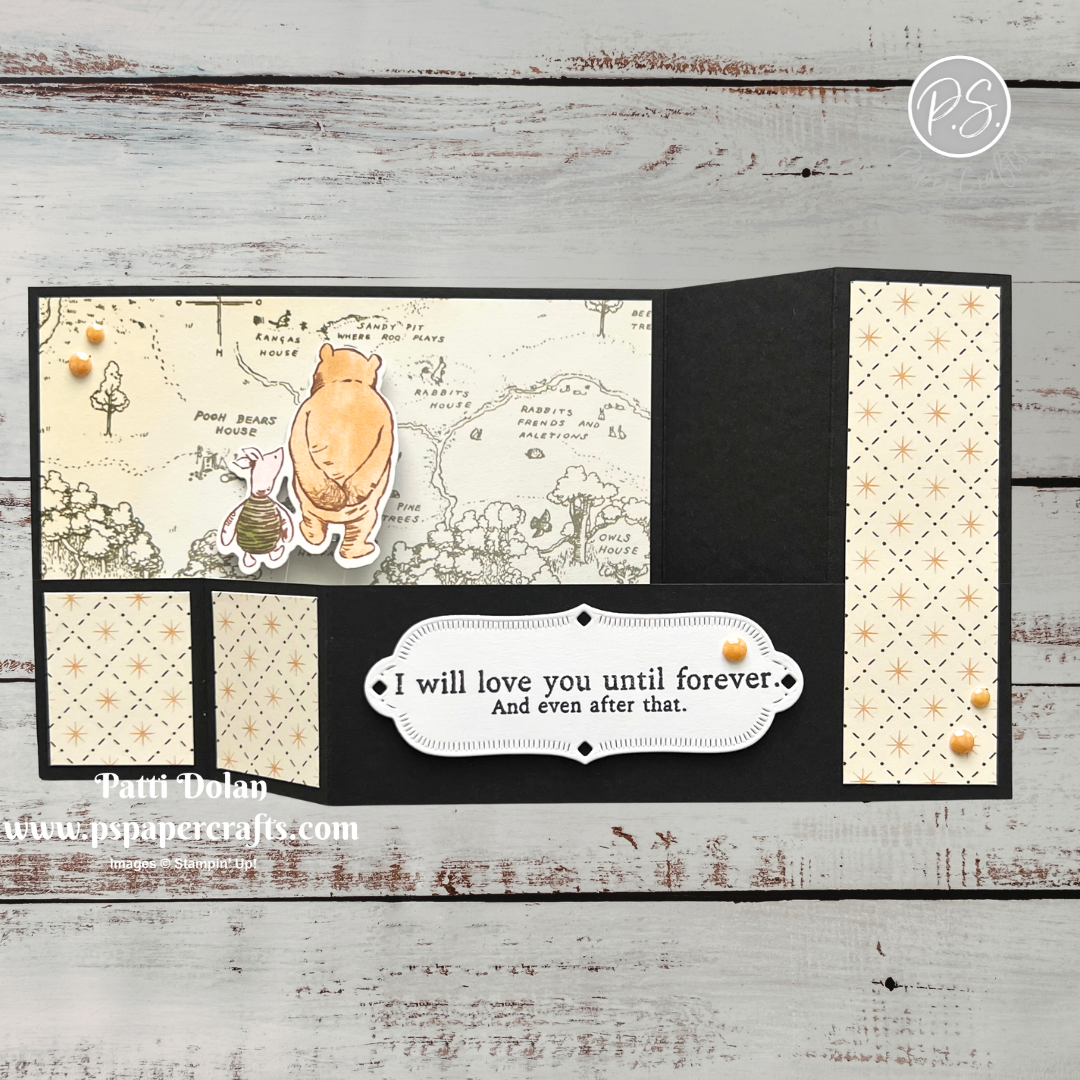
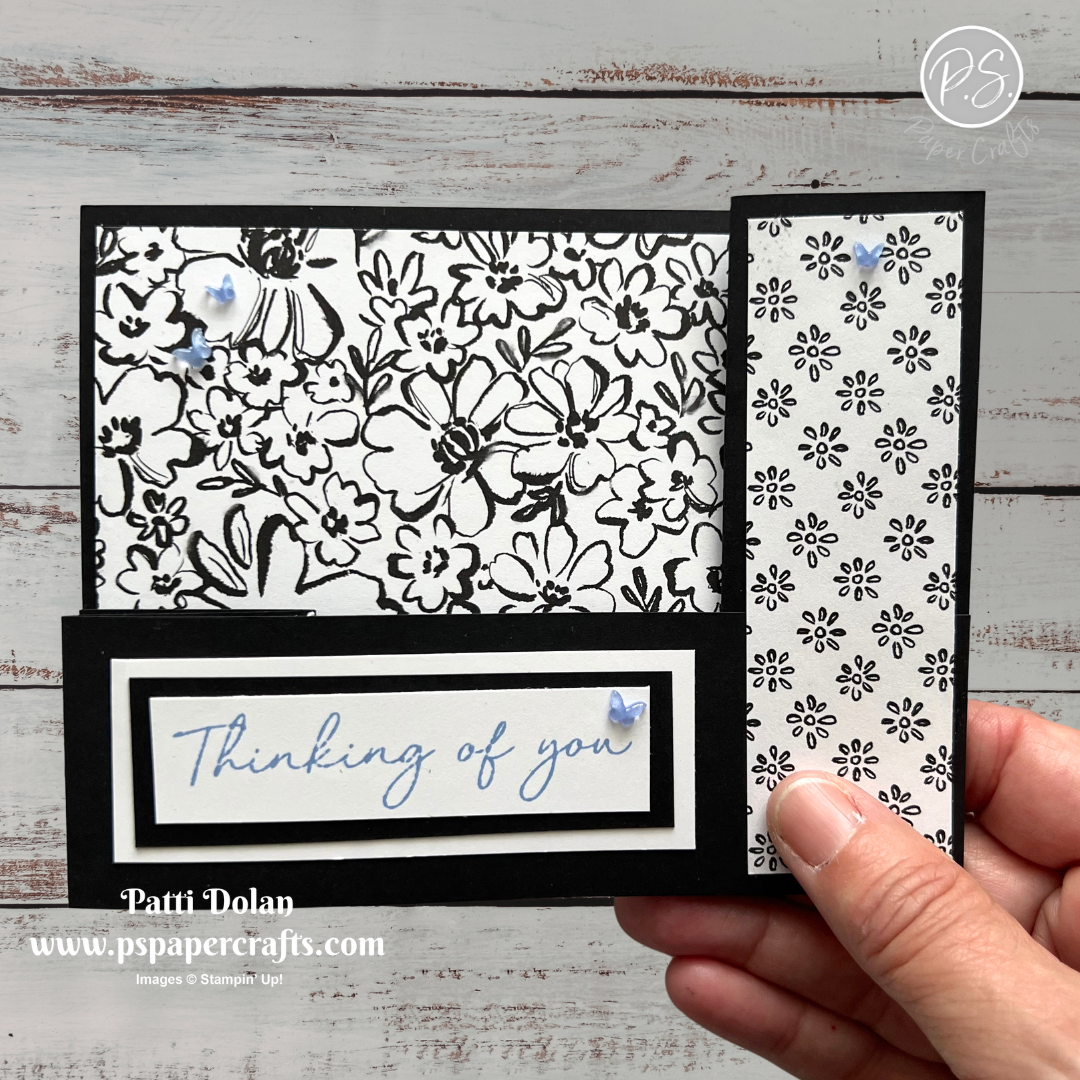
Pop Up Wiper Cards

I made these fun Pop Up Wiper Cards on my YouTube Channel today. They are so fun to open with the interactive pop up image.


Watch the video to see step by step instructions to make this design.

Click on the button below to get a printable pdf with measurements and instructions.


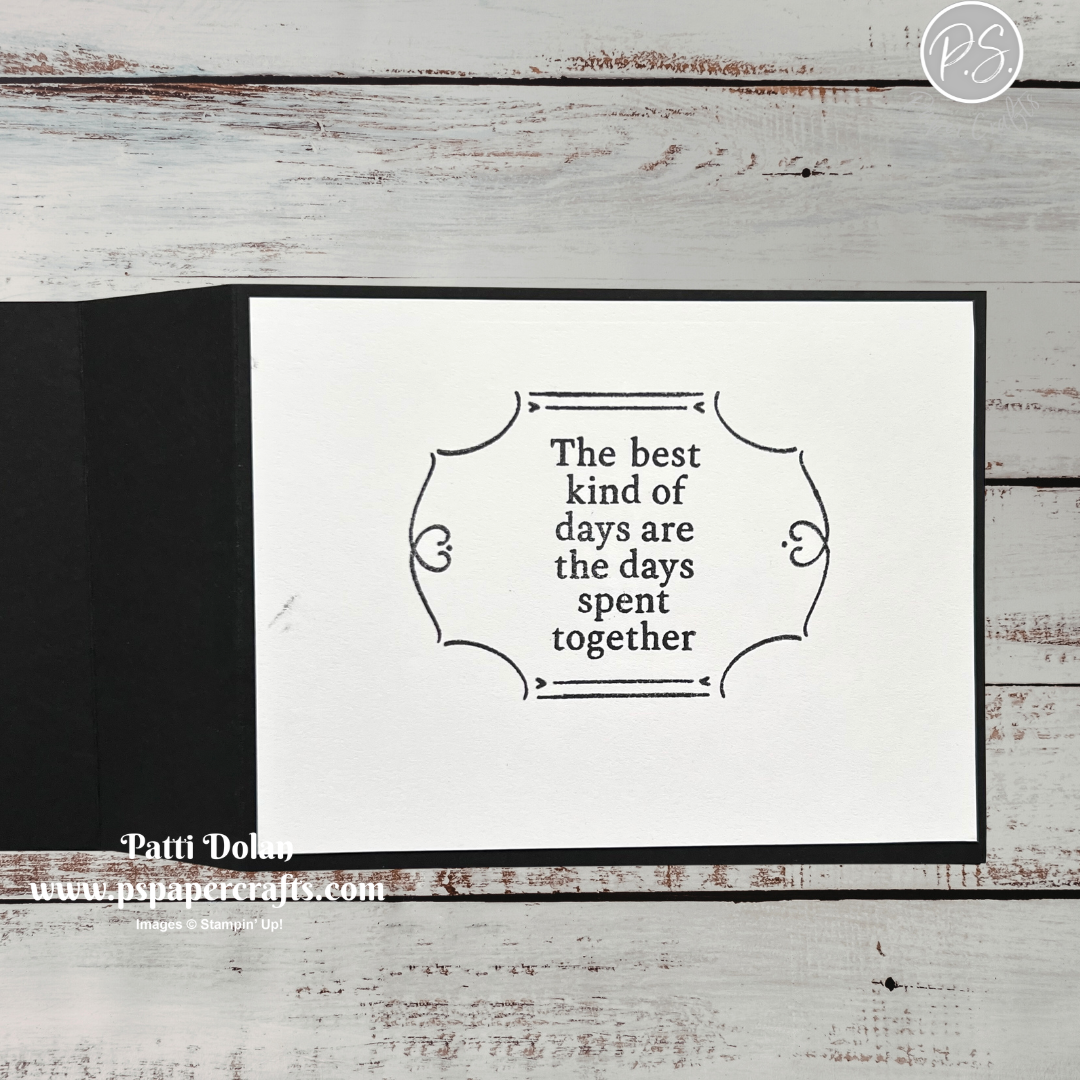
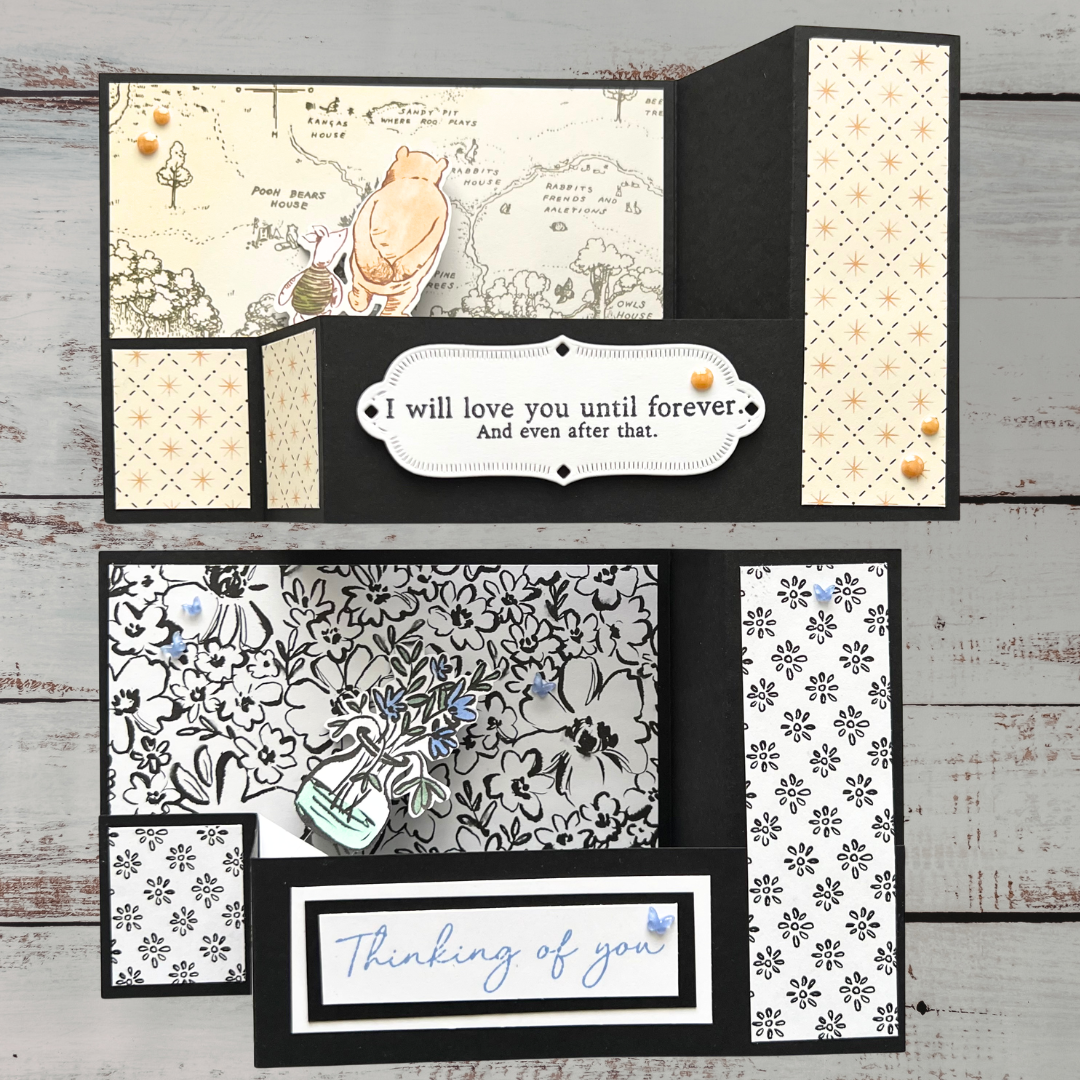
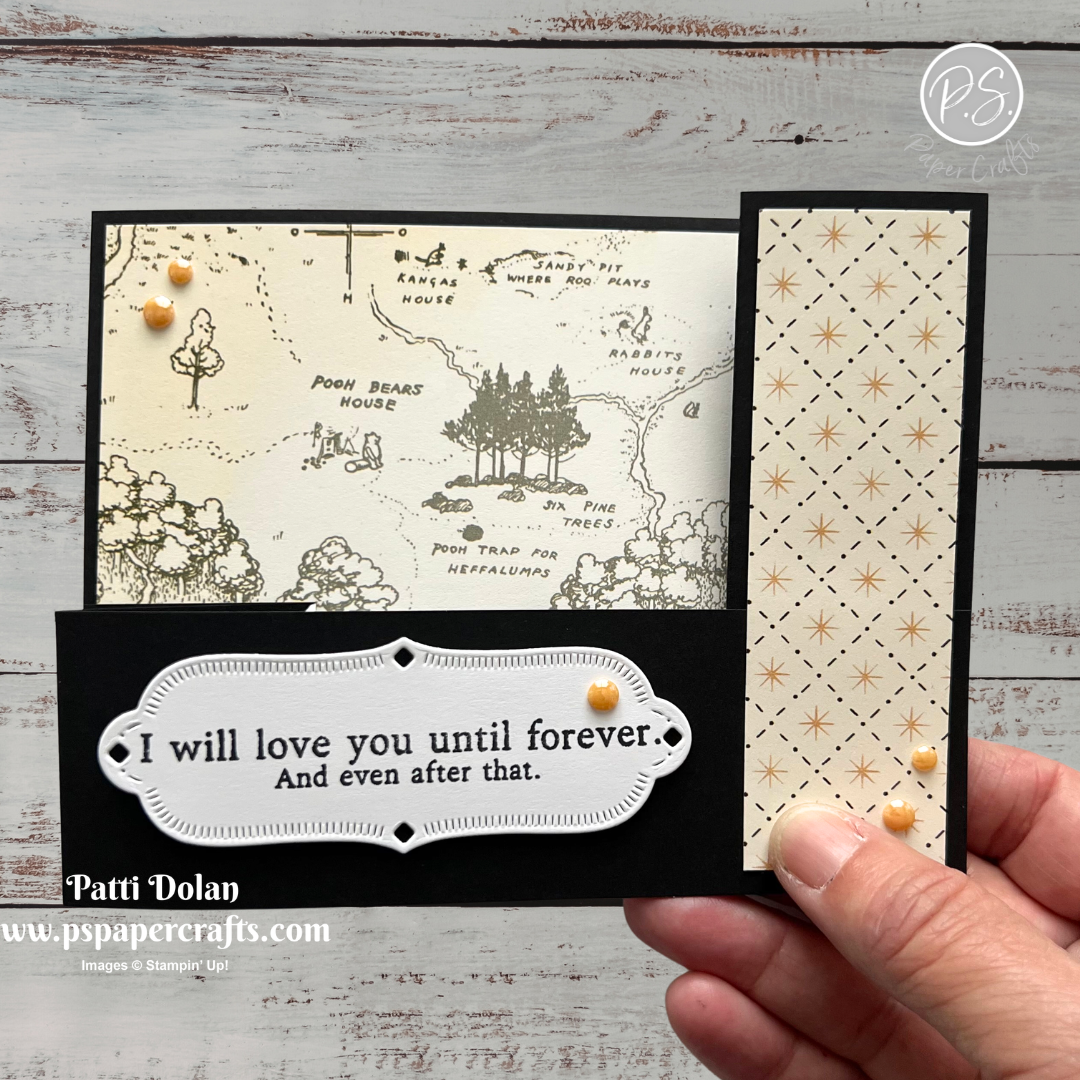
If you love Winnie The Pooh, you will love the products I used from the Silly Old Bear Suite. The Designer Series Paper has classic Winnie The Pooh scenes and characters. I used the Sweet Words & Labels Bundle for the sentiment.


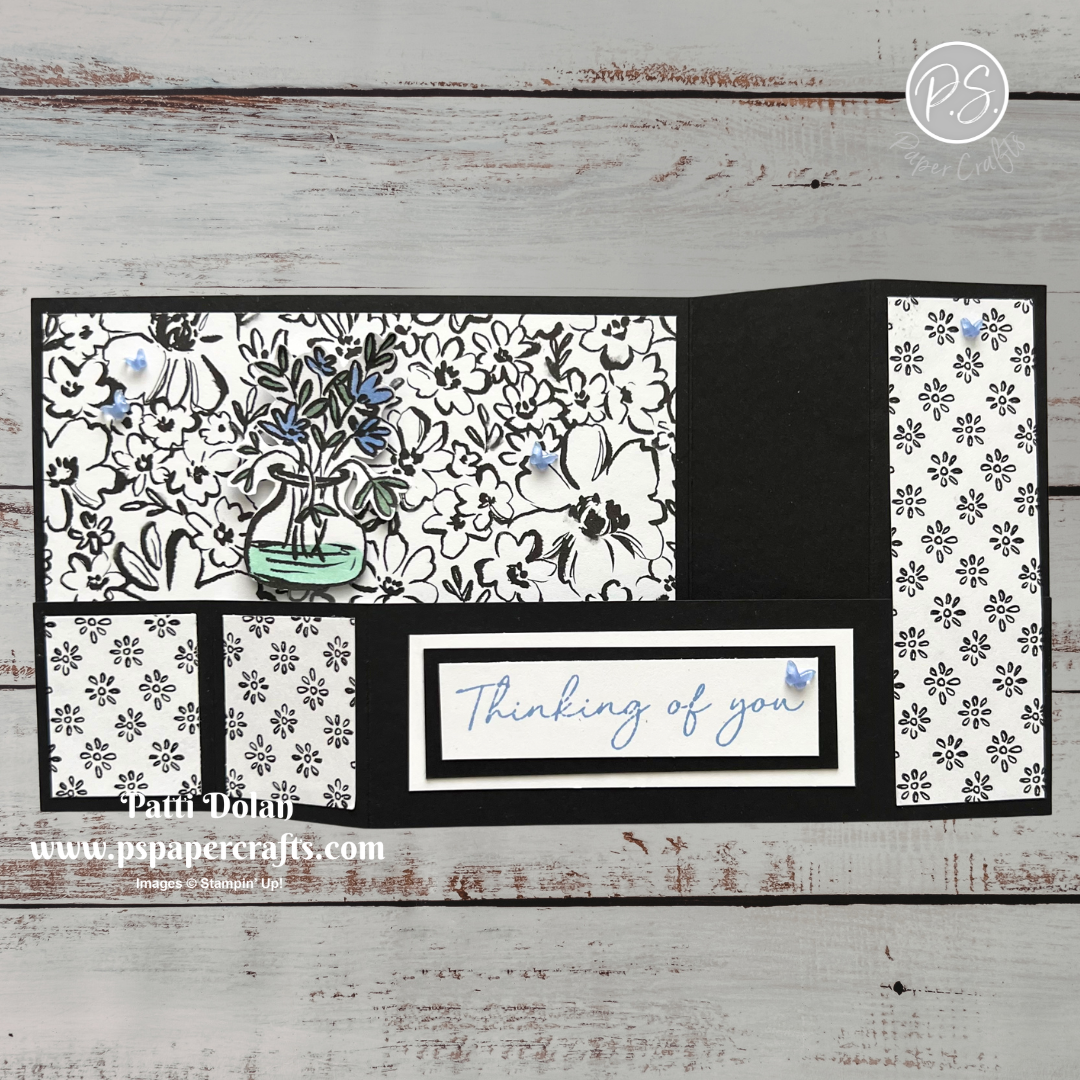
I love black & white cards and the Artisan Sketched Garden Designer Series Paper has beautiful floral patterns. The sentiment is from the Scalloped Blooms Stamp Set and I used one of the new In Colors, Hydrangea Hue to stamp the sentiment and added some sweet butterflies.


The products used to make thsee cards will be available for purchase starting May 5, 2026 when the new catalog and Online Exclusives launch.


Scalloped Wishes Color Combo

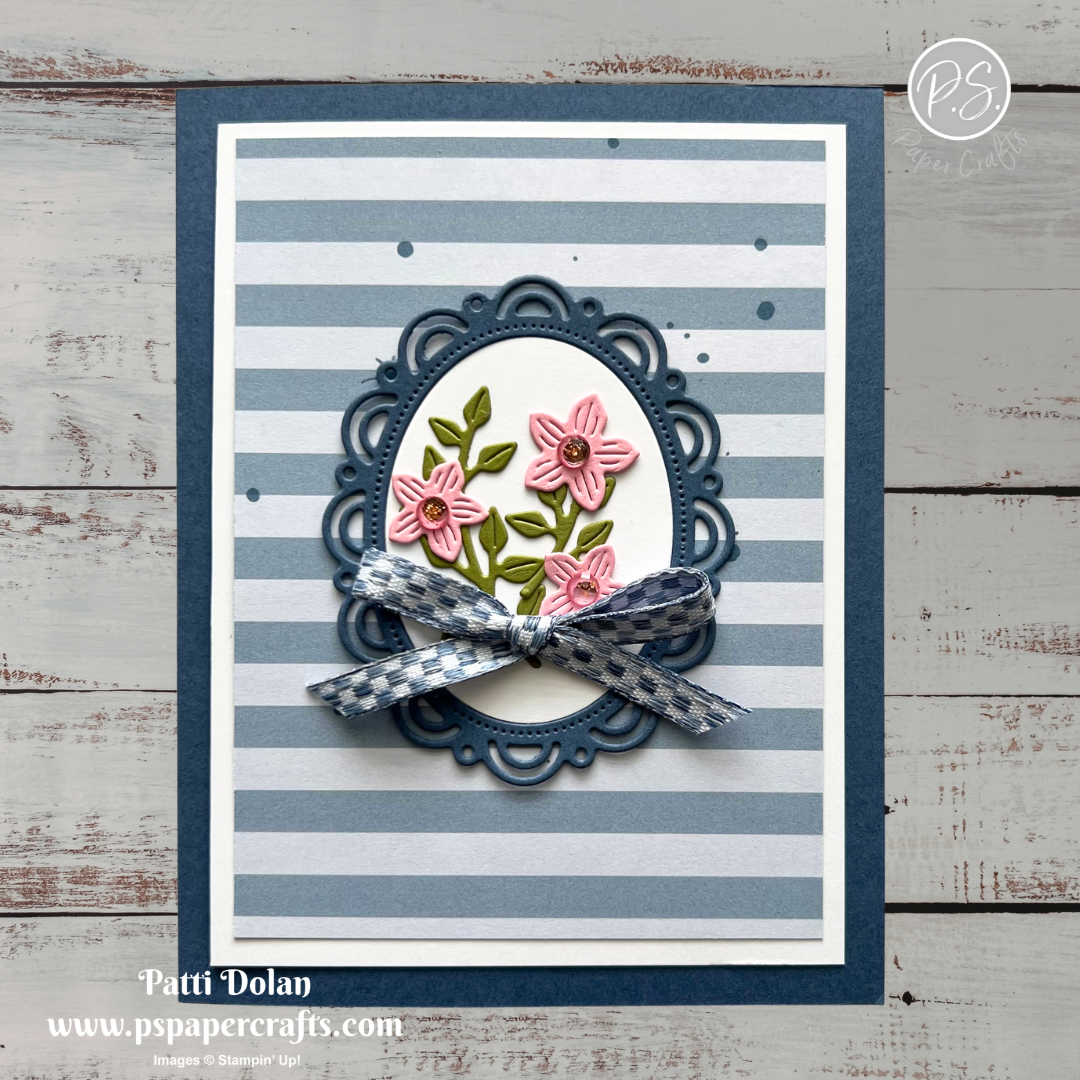
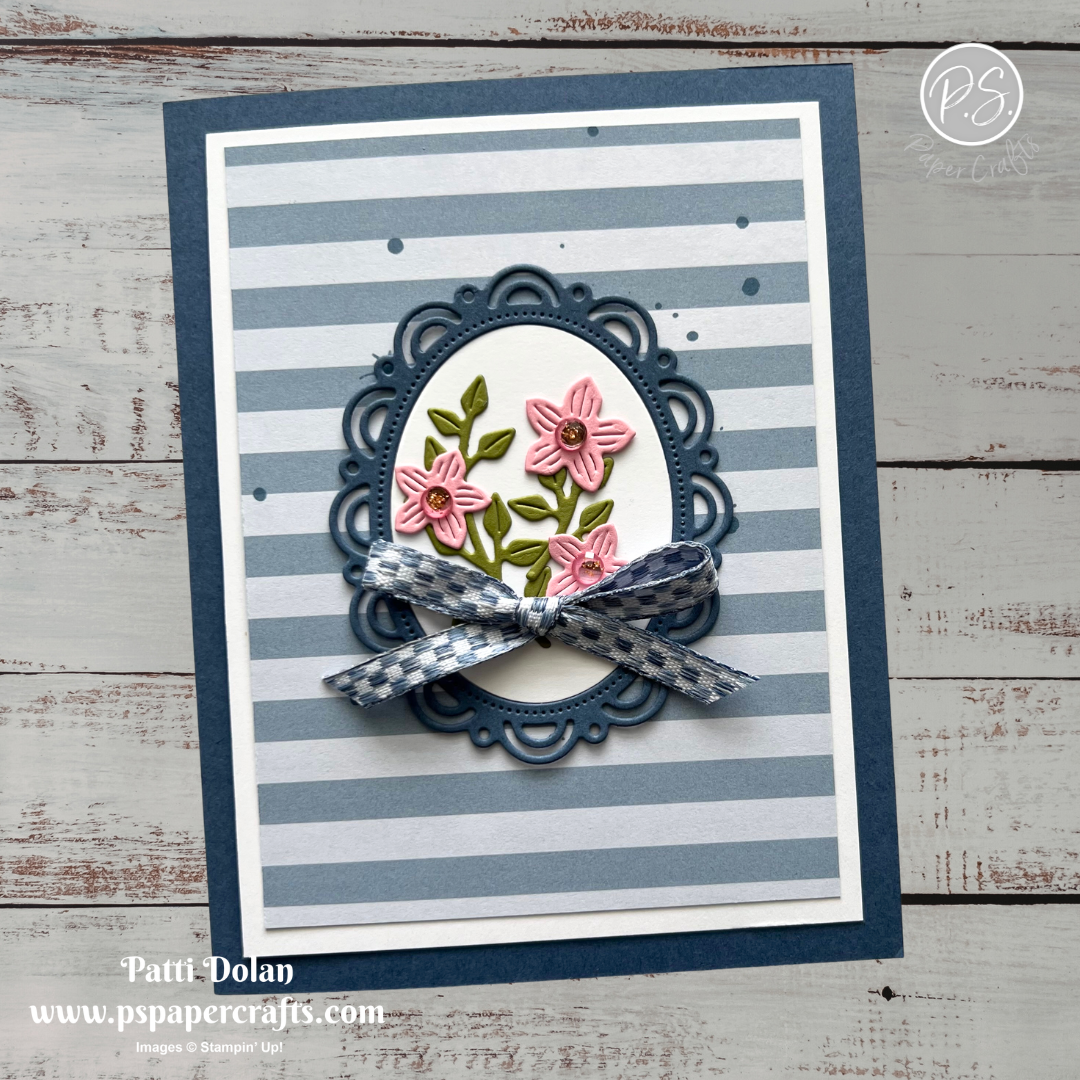
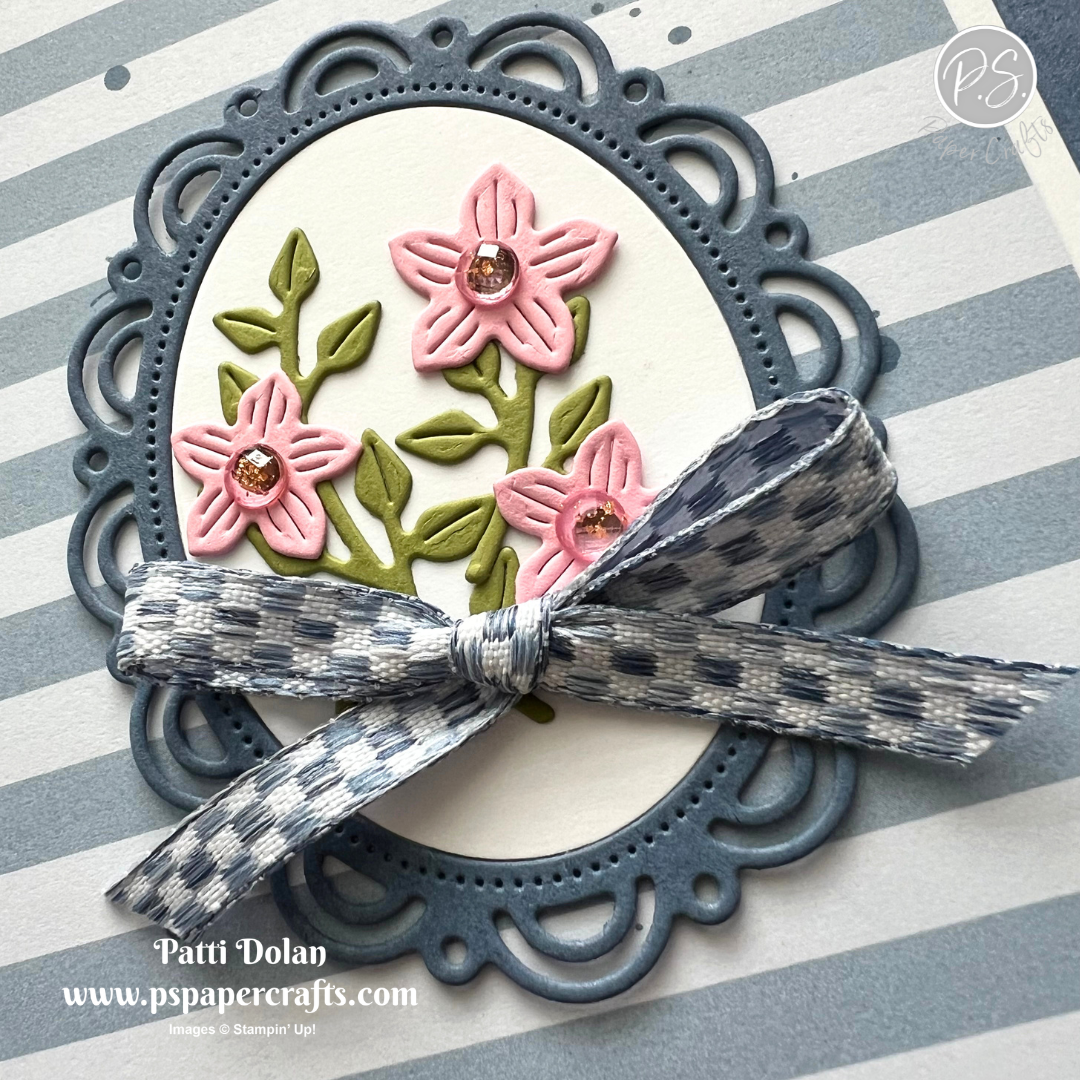
I created this card for Mother’s Day, but since there’s no sentiment on the front, it can easily work for any occasion. The beautiful oval and floral details were made using the Scalloped Wishes Dies.


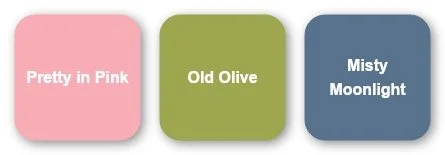
The Color Combo is from my April Inspiration Calendar - Pretty in Pink, Old Olive and Misty Moonlight. You can get my calendar each month when you subscribe to my email list.


Tips & Instructions

  • Misty Moonlight Card Base - 5-1/2 x 8-1/2, score at 4-1/4

  • Basic White - 3-3/4 x 5, adhere to the card base.

  • Everyday Essentials Designer Series Paper - 3-1/2 x 4-3/4, adhere to the card.

  • Use the scalloped oval die from the Scalloped Wishes Dies to cut ovals from Misty Moonlight and Basic White. Adhere the scalloped Misty Moonlight piece to the card with tiny dots of liquid glue. Adhere the white plain oval to the center. Keep the other pieces to use on another card.

  • Die cut the large and small branch from Old Olive and 3 flowers from Pretty in Pink.

  • Adhere the branches and flowers to the white oval.

  • Add some Pretty in Pink Pearlized Faceted Circles to the centers of the flowers.

  • Tie a bow with a piece of Misty Moonlight Checkered Trim and adhere with a Glue Dot.


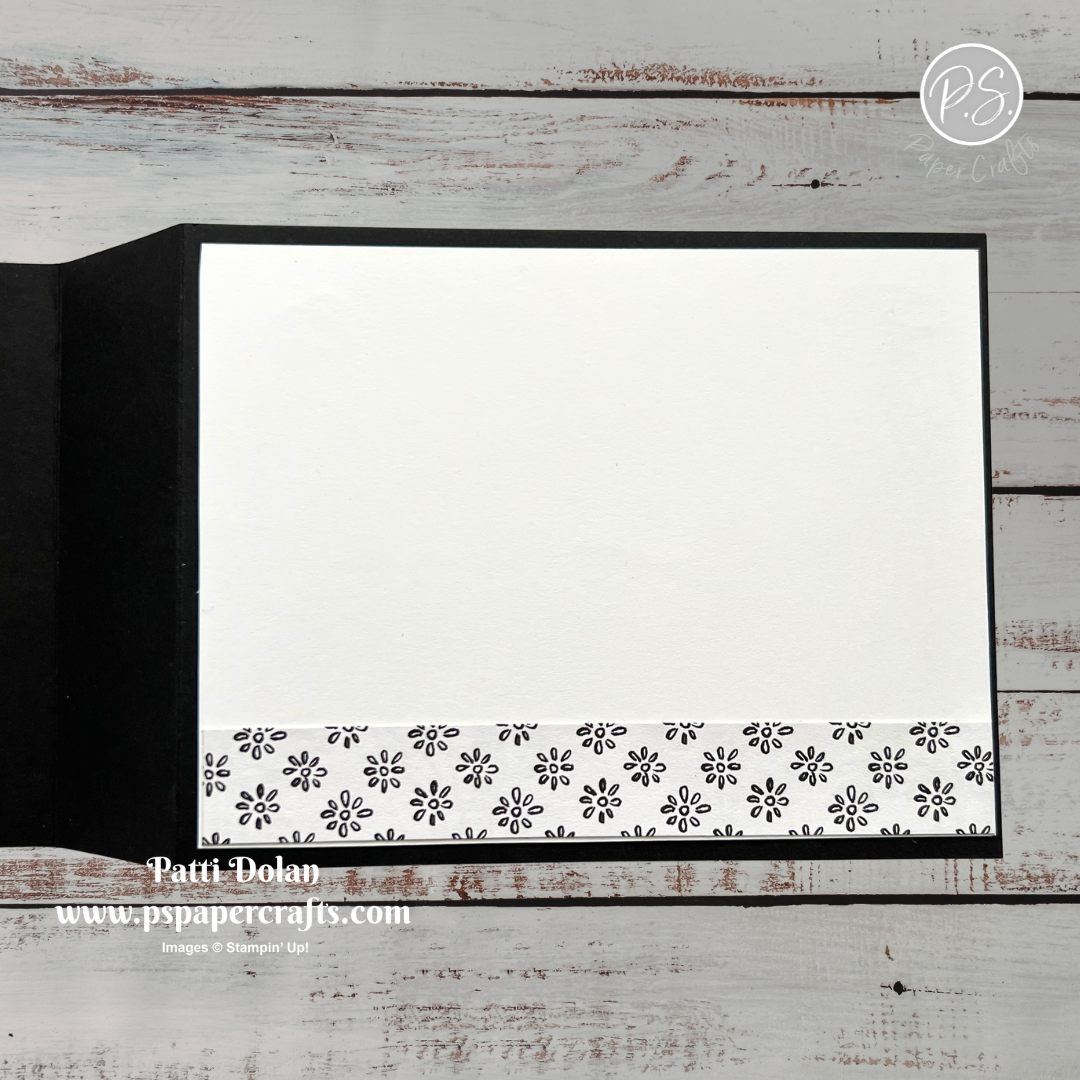
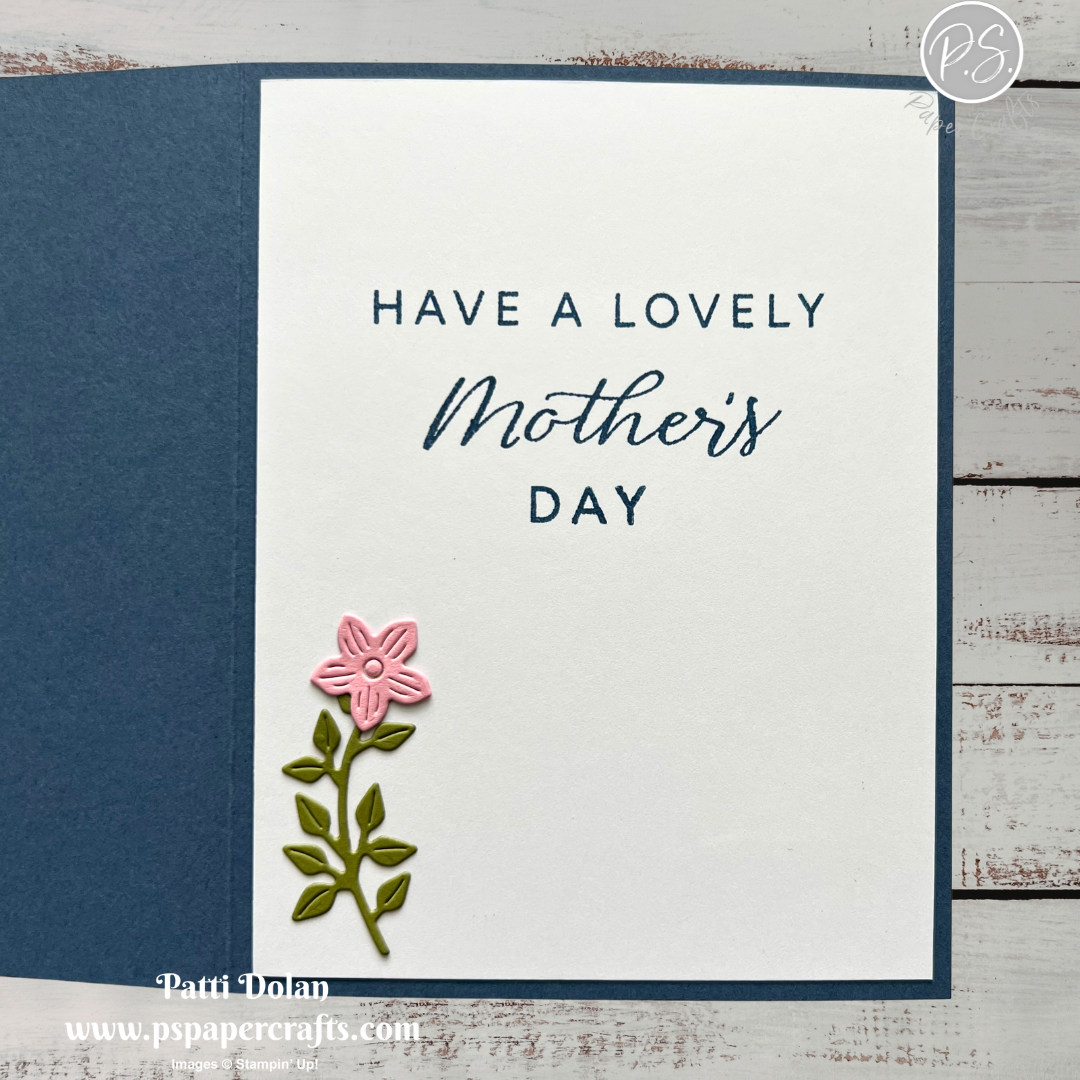
On the inside layer (4 x 5-1/4), stamp the sentiments in Misty Moonlight ink. I used the Family Ties Stamp Set which is retired. Adhere a large branch and flower.


I love the dainty scalloped oval from this die set, perfect for a Mother’s Day card!


Supply List

You can click on the item to purchase it from my Online Store.
Note - The Scalloped Wishes Dies and Everyday Essentials Designer Series Paper will be available starting May 5, 2026 when the May-August 2026 Catalog launches.


Sketch Challenge - Scalloped Blooms

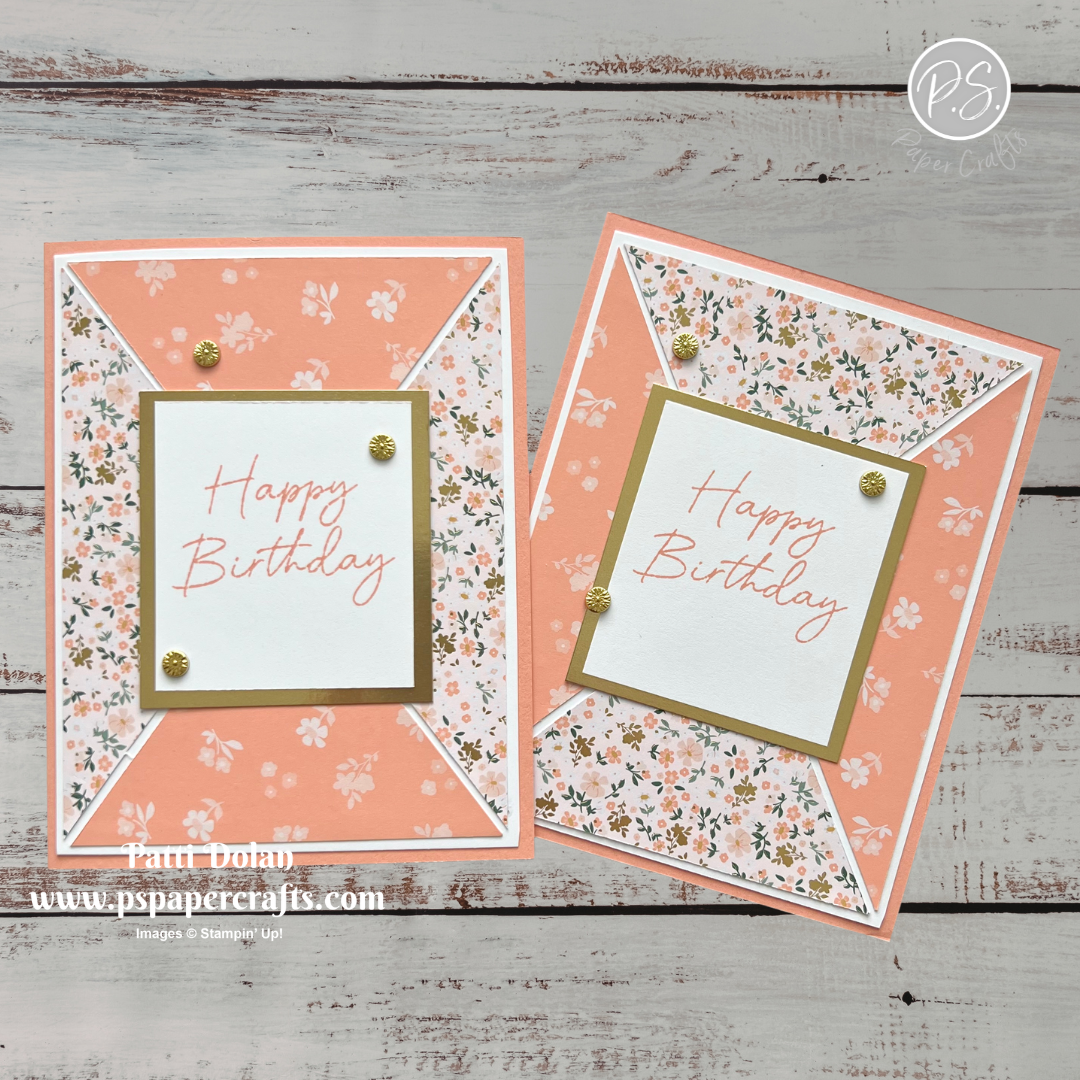
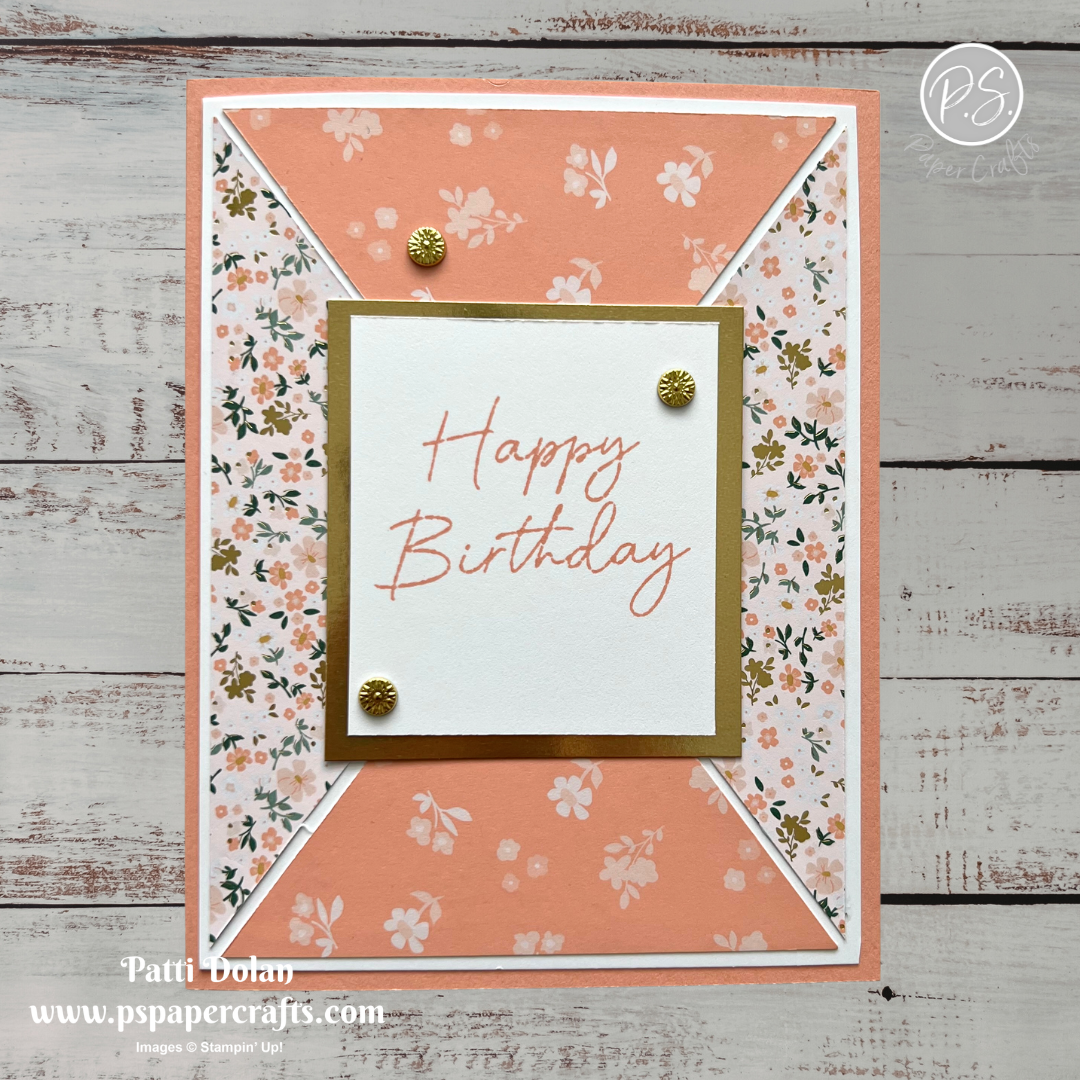
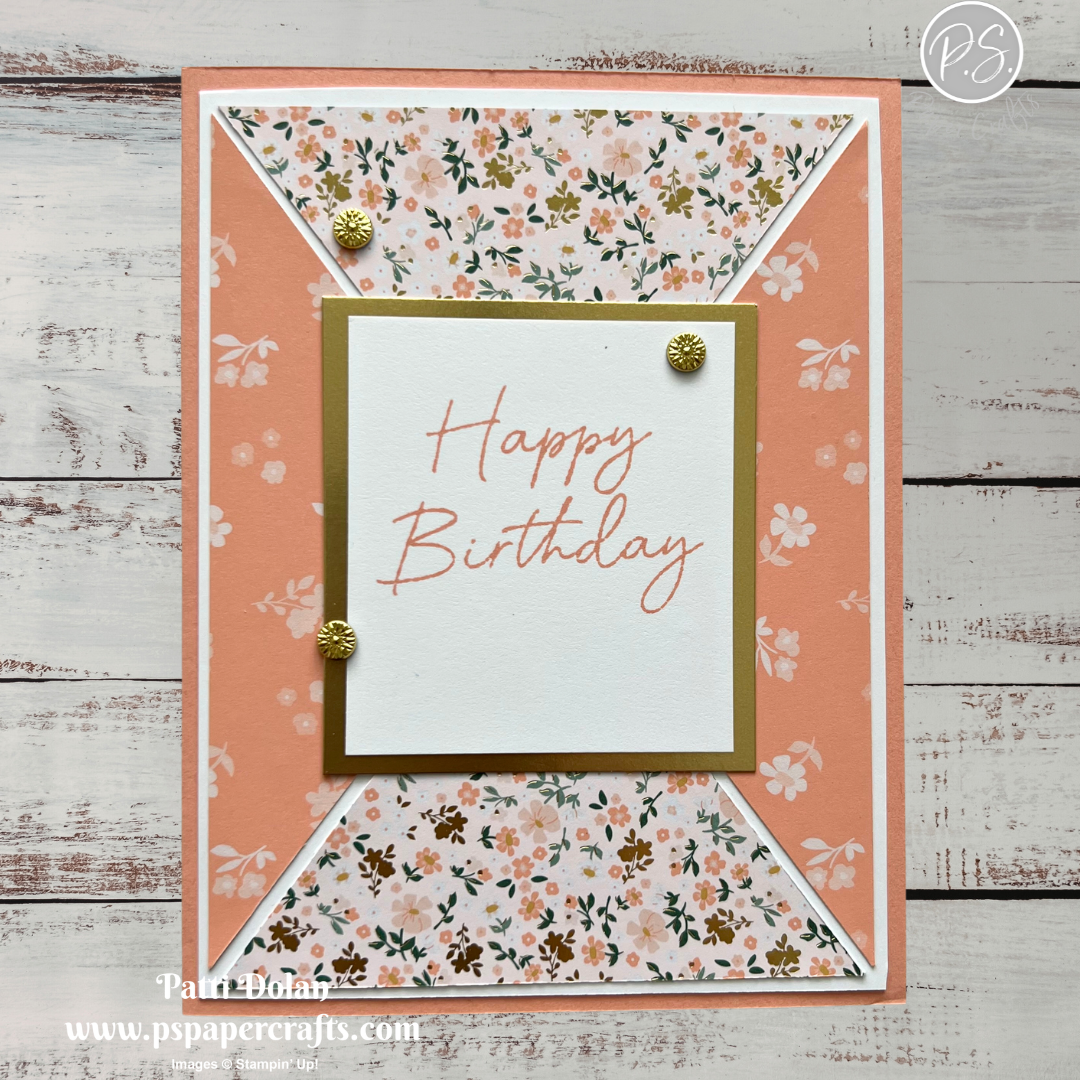
For this week’s Sketch Challenge from Splitcoaststampers I made 2 cards alternating the triangles that I cut from the Bloom Boutique Specialty Designer Series Paper.


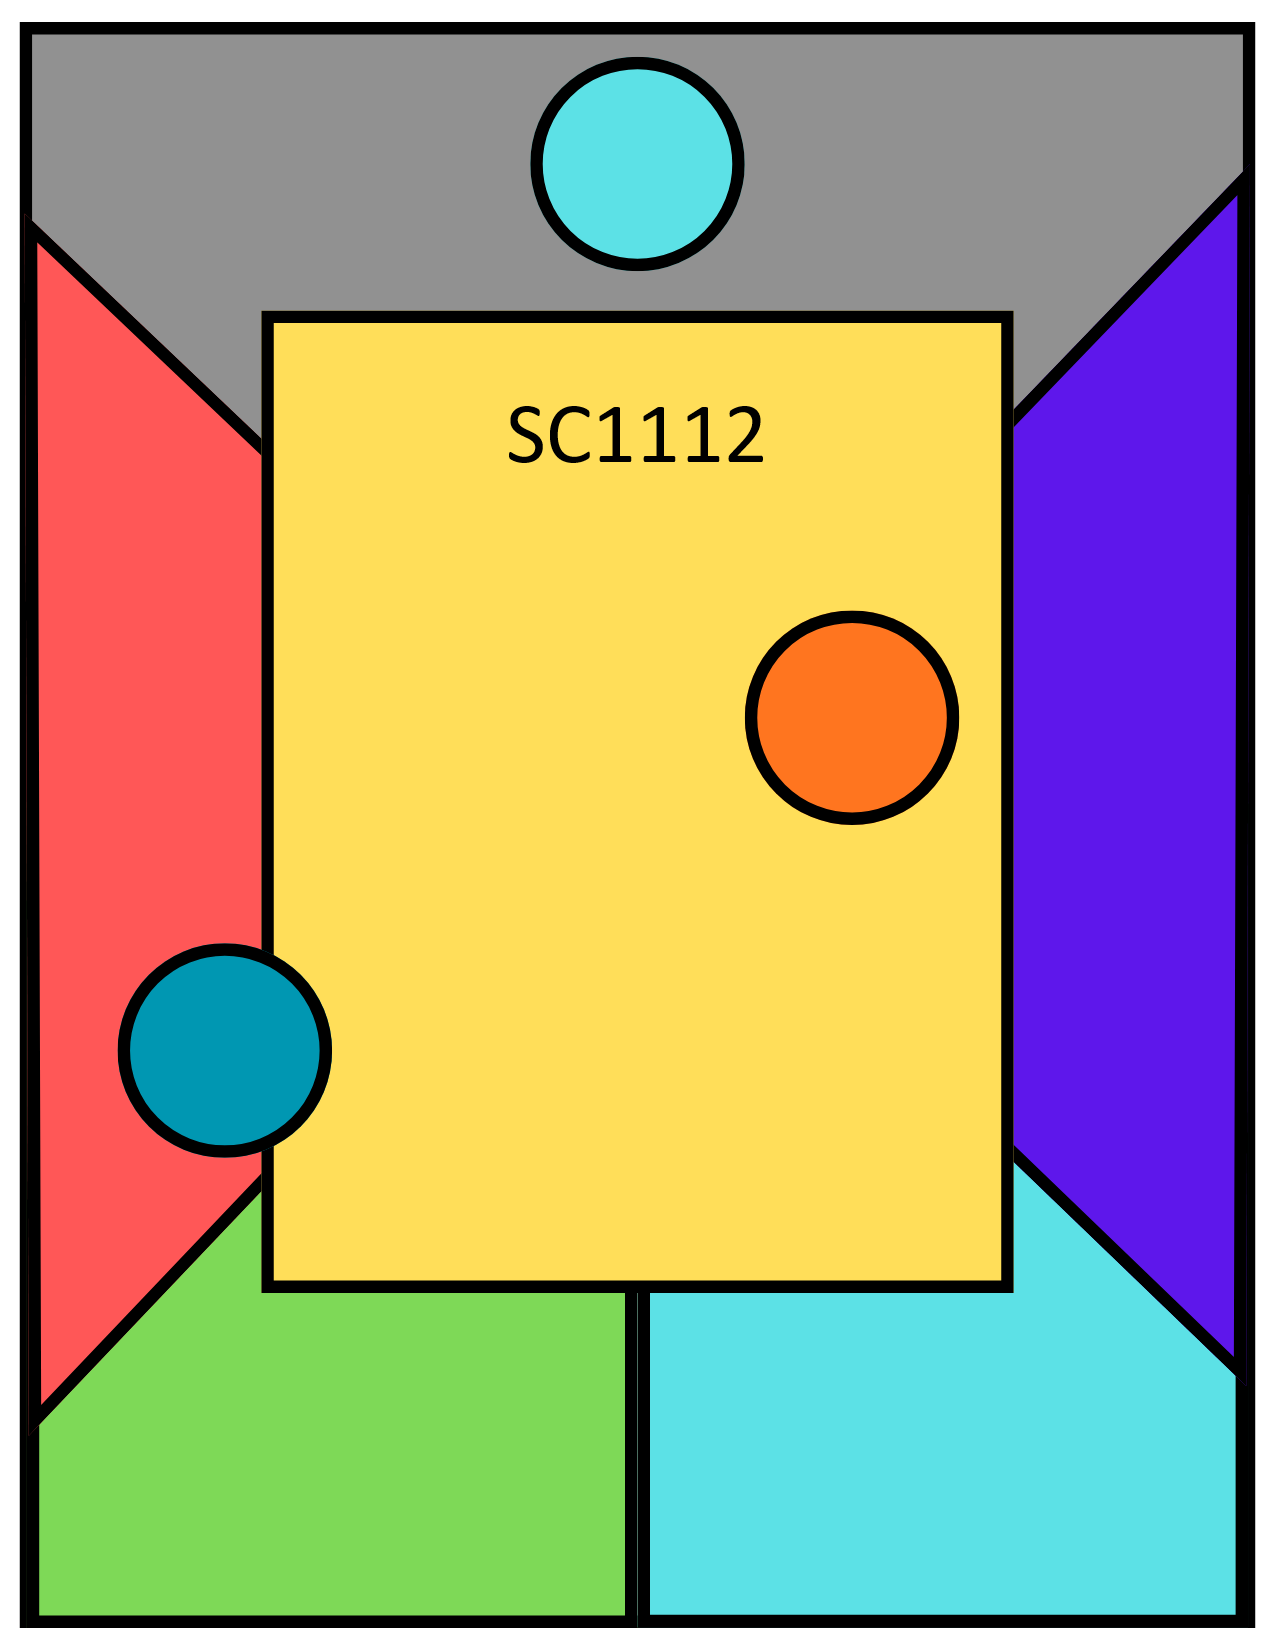
Here’s the sketch I used. You can see all the projects posted for this week’s challenge by clicking on the sketch below.


Tips & Instructions

  • Crisp Cantaloupe Card Base - 5-1/2 x 8-1/2, score at 4-1/4

  • Basic White Layer - 4 x 5-1/4

  • Bloom Boutique Specialty Designer Series Paper (2 patterns) - 3-3/4 x 5. Cut each piece in half diagonally, rotate and cut across diagonally again. This will give you 4 triangles.

  • Use the top and bottom from one pattern and the sides from the other pattern and adhere them to the white layer leaving a small border around each triangle.

  • Adhere the layer to the card base.

  • Gold Foil Mat - 2-1/2 x 2-3/4

  • Basic White - 2-1/4 x 2-1/2, stamp the sentiment from the Scalloped Blooms Stamp Set in Crisp Cantaloupe ink and adhere to the gold mat. Athere to the card.

  • Add some Flower Accents.


Cut a second set of card bases, white layers, label mat and label to create a second card using the leftover triangle pieces.


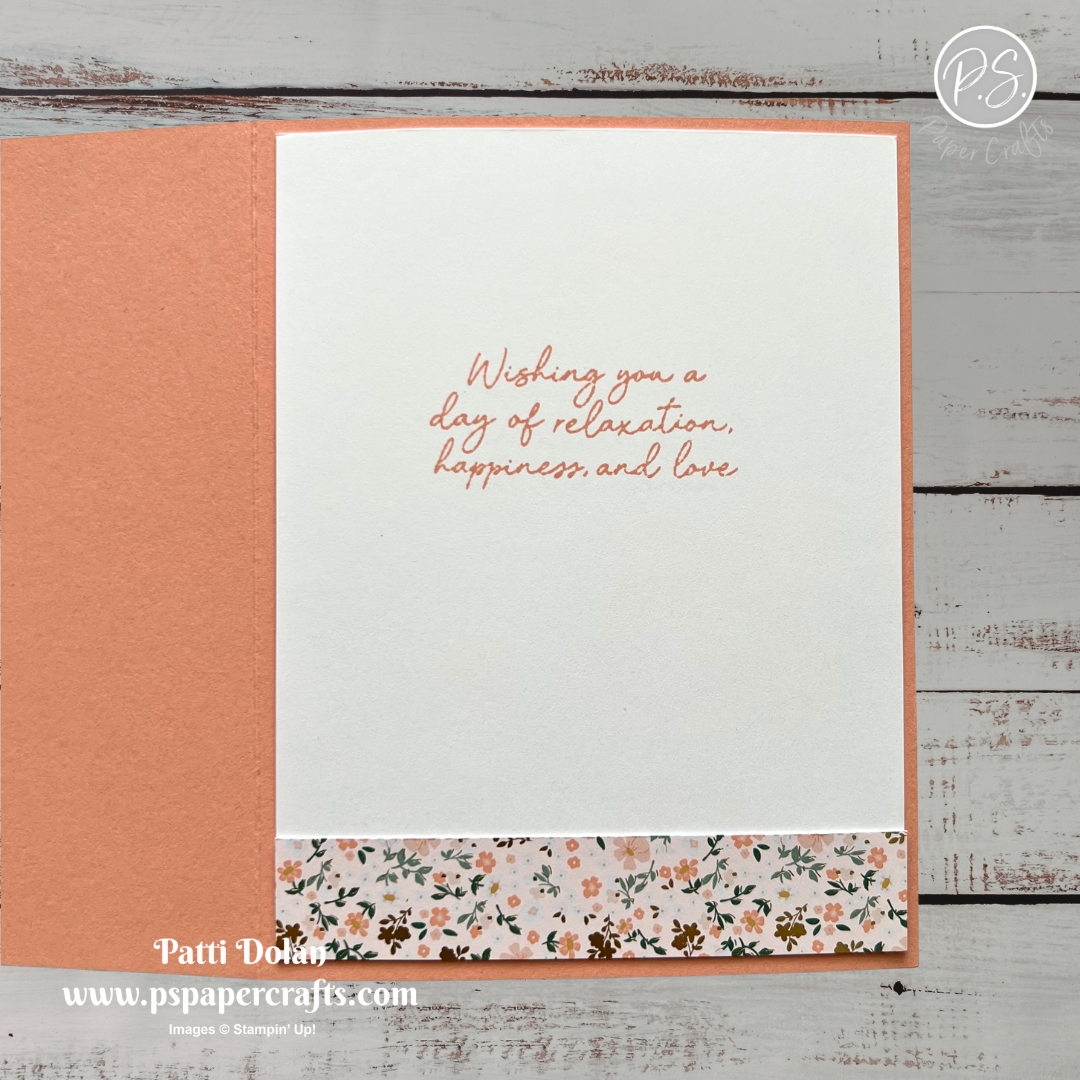
On the inside layer (4 x 5-1/4), stamp sentiment in Crisp Cantaloupe ink and add a 3/4 x 4 strip of Designer Series Paper.


The new products I used to make this card will be available starting May 5, 2026 with the launch of the May-August 2026 Catalog (Bloom Boutique Specialty Designer Series Paper, Scalloped Blooms Stamp Set, Crisp Cantaloupe cardstock and ink.


Sketch Saturday - Sweet Old Friends

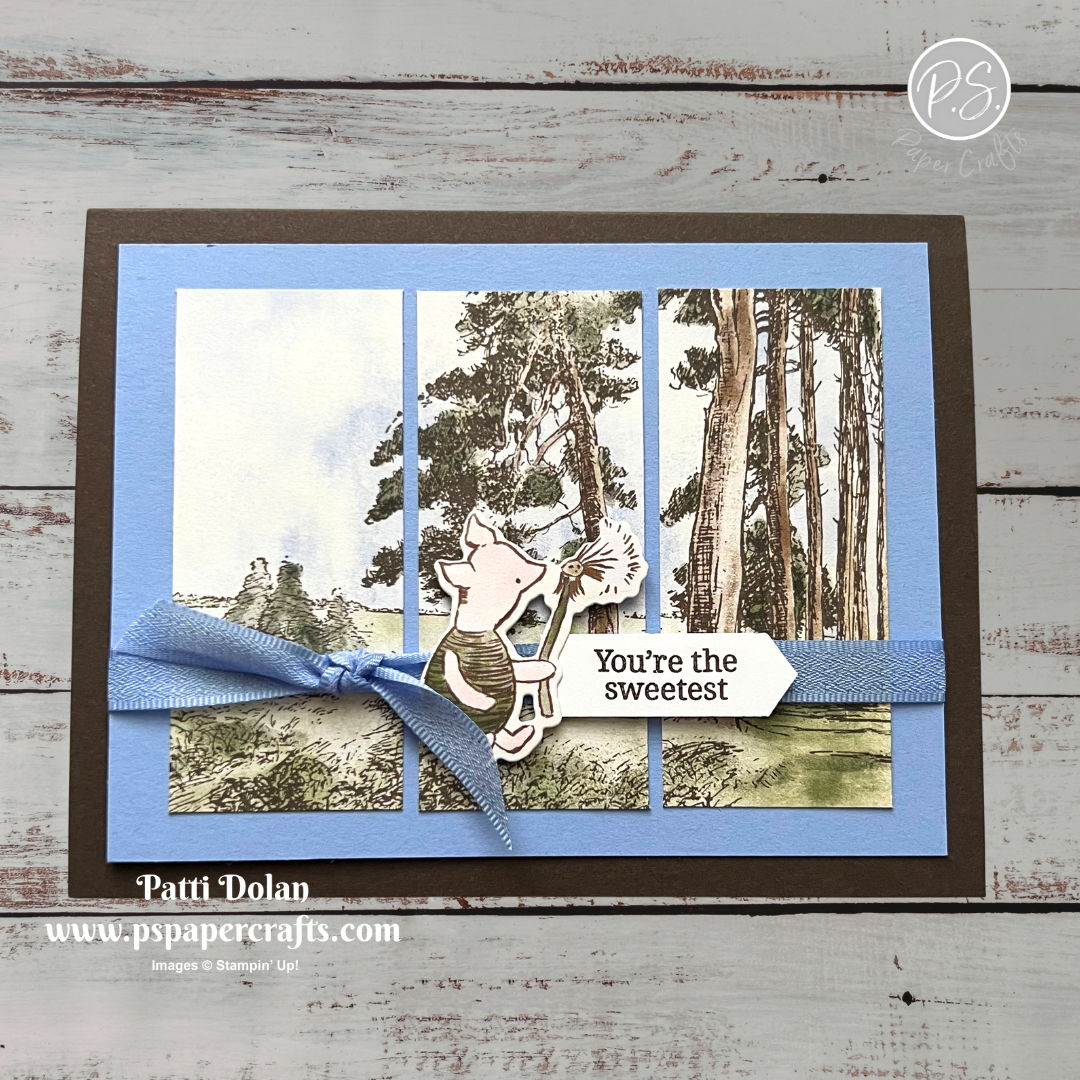
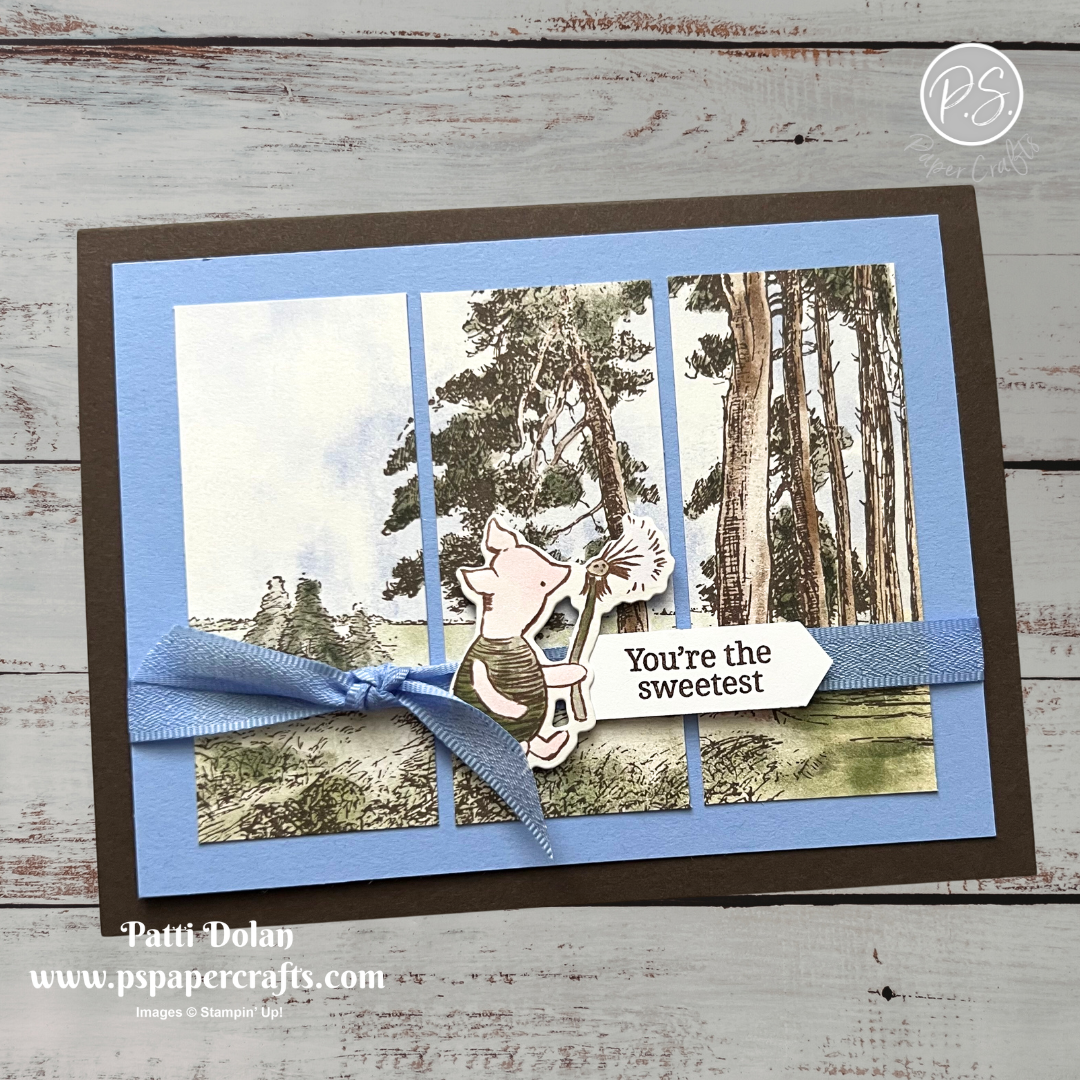
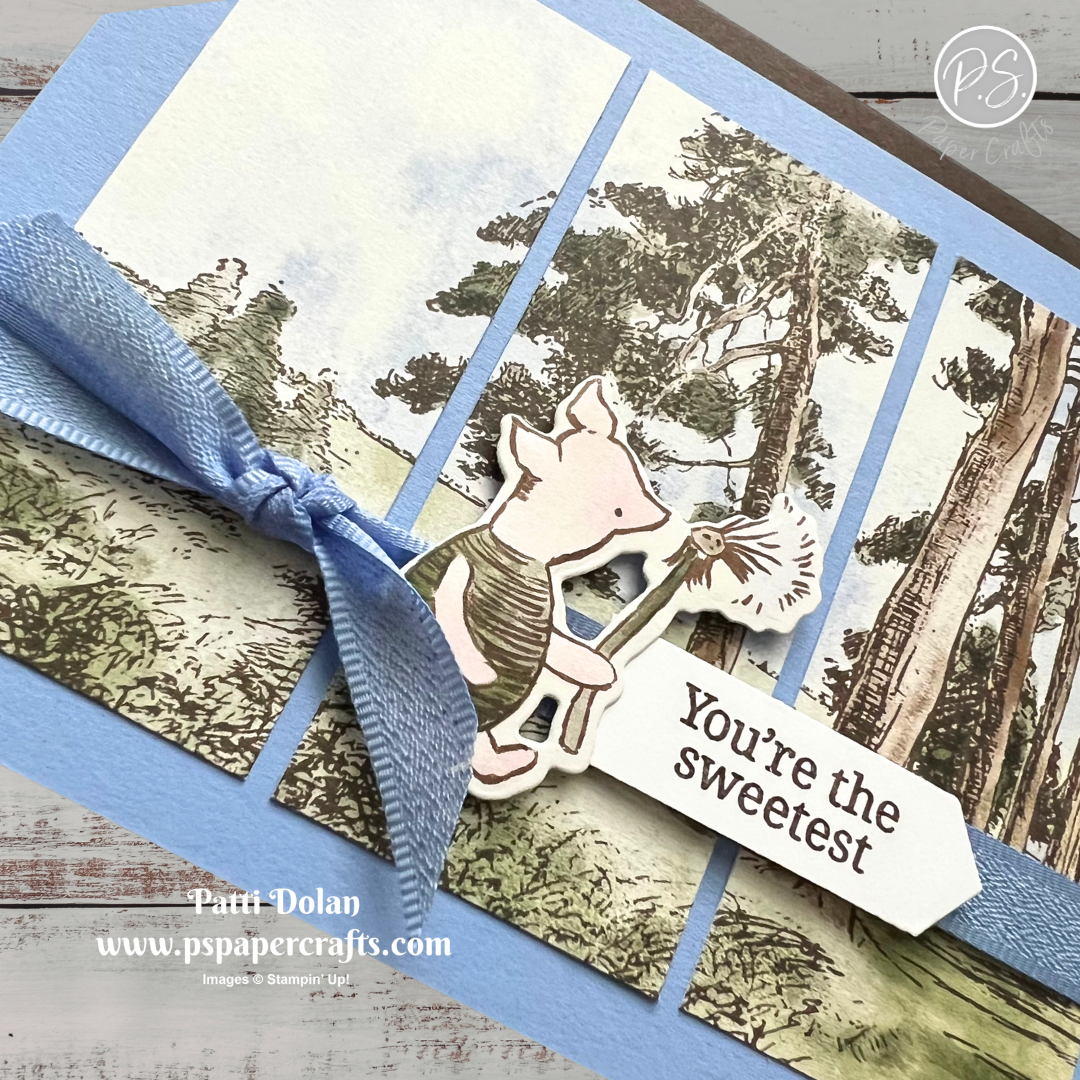
Have you checked out the new Winnie the Pooh products yet? I’m loving the classic, original artwork—such a fun throwback! For this card, I used the Silly Old Bear Designer Series Paper to create the background scene and even die-cut Piglet right from the paper. The sentiment comes from the Banner Sayings Bundle.


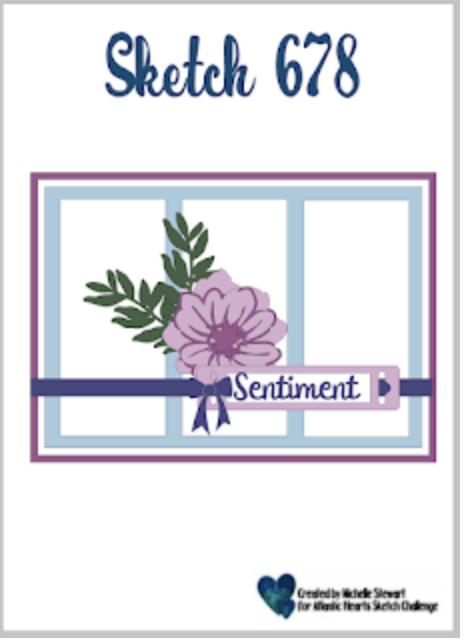
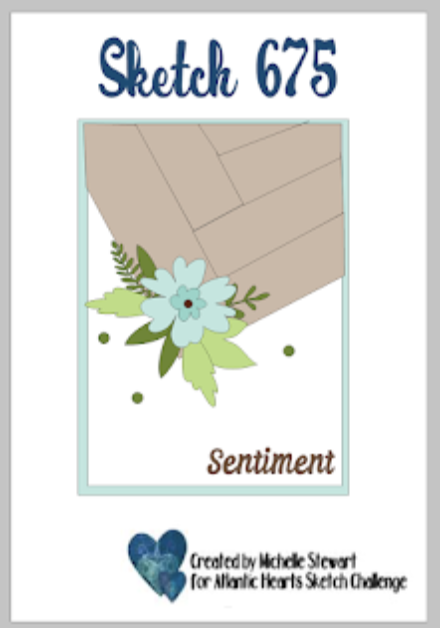
Here’s the sketch I used. It’s from the Atlantic Hearts Sketch Challenge.


Tips & Instructions

  • Early Espresso Card Base - 5-1/2 x 8-1/2, score at 4-1/4

  • Hydrangea Hue Layer - 3-3/4 x 5

  • Silly Old Bear Designer Series Paper - cut one of the scents into three 1-3/8 x 3-1/4 strips, keeping them in order.

  • Adhere the strips to the Hydrangea Hue layer.

  • Wrap a piece of Hydrangea Hue Bordered Ribbon around the layer and adhere to the back. Slip a another piece of ribbon under it and tie a knot. Adhere the layer to the card base.

  • Die cut piglet from the Designer Series Paper using the Sweet Old Friends Dies and adhere to the card with Dimensionals.

  • Stamp the sentiment from the Banner Sayings Stamp Set in Early Espresso ink and punch with the coordinating Three Banner Punch. Adhere to the card with Dimensionals.


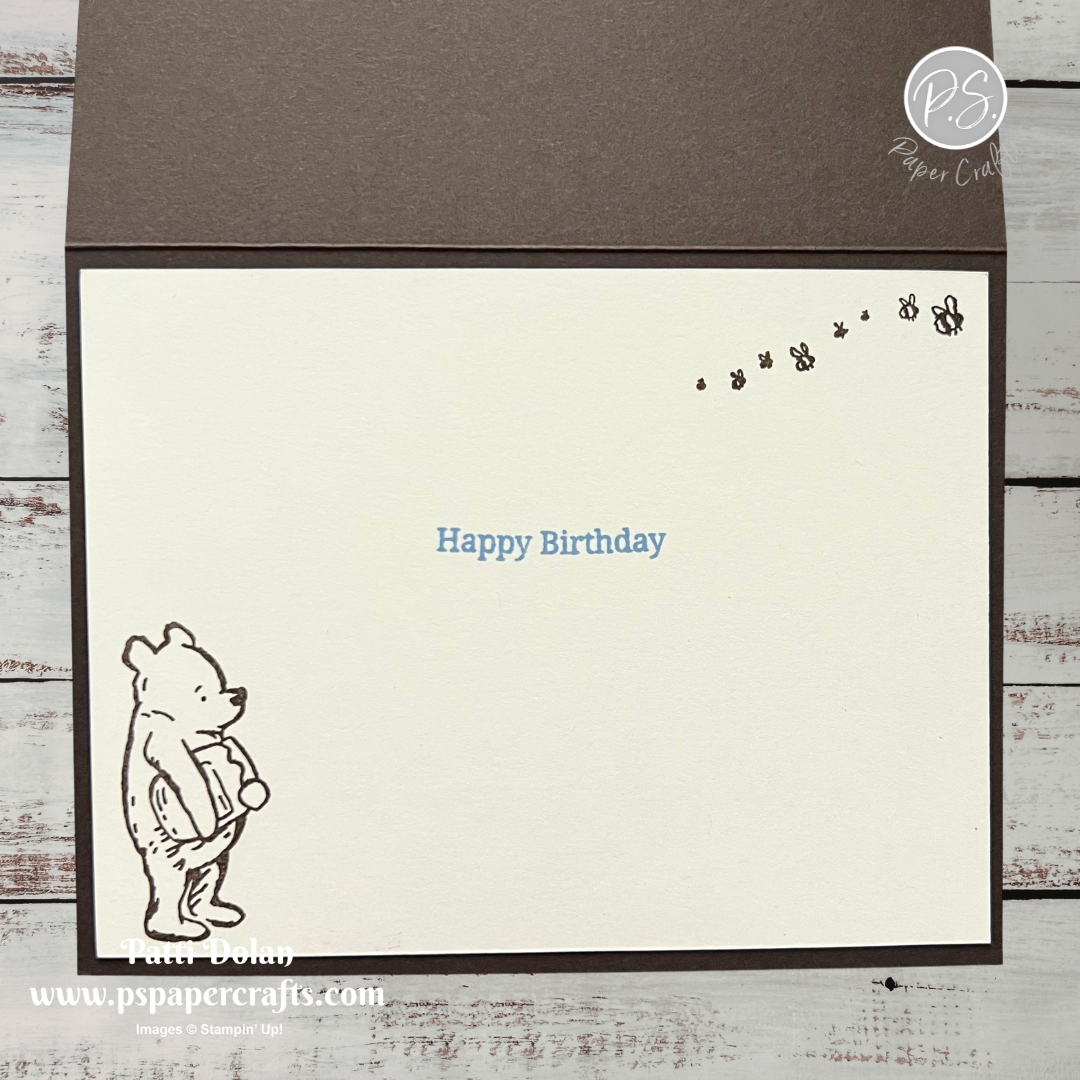
For the inside layer use a 4 x 5-1/4 layer of Very Vanilla Cardstock. Stamp the sentiment in Hydrangea Hue ink and stamp Winnie the Pooh and the bees in Early Espresso ink.


I love that you can die cut the sweet the characters from the Designer Series Paper.


The Silly Old Bear and Hydrangea Hue products will be available for purchase starting May 5, 2026 when the new catalog launches.


Box Fun Fold Cards

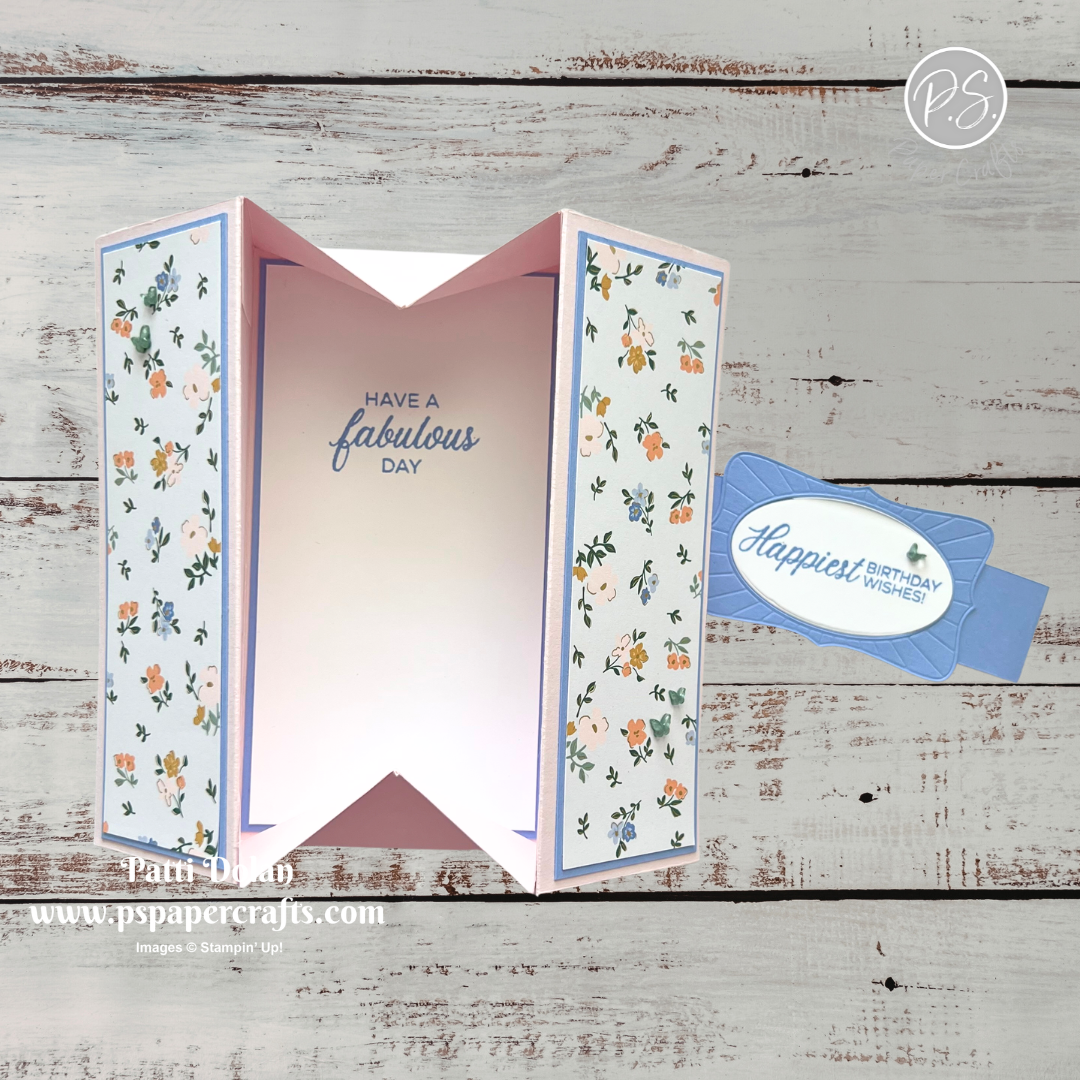
These Box Fun Fold Cards are so much fun! They open into a little box—perfect for tucking in cash or a gift card. They may look complicated, but if you take it step by step and follow along with the video, you’ll be able to make them with ease.


Watch the video to see step by step instructions to make this design.

Click on the button below to get a printable pdf with measurements and instructions.


I used the Bloom Boutique Specialty Designer Series Paper for this card. It has lots of gold accents and all the new In Colors. The sentiment and label are from the Phrases & Frames Bundle and I added some new In Color Butterflies.


This card was made with Peaceful Pines, one of the new In Colors. I used the gorgeous Velvet Meadow Specialty Designer Series Paper. It has velvet accents on one side of each sheet, so pretty! The sentiment and label are from the Phrases & Frames Bundle and I added some new In Color Dots.


The products used to create these cards are from the new May-August 2026 Catalog and will be available starting May 5, 2026.


Words & Wishes Color Combo

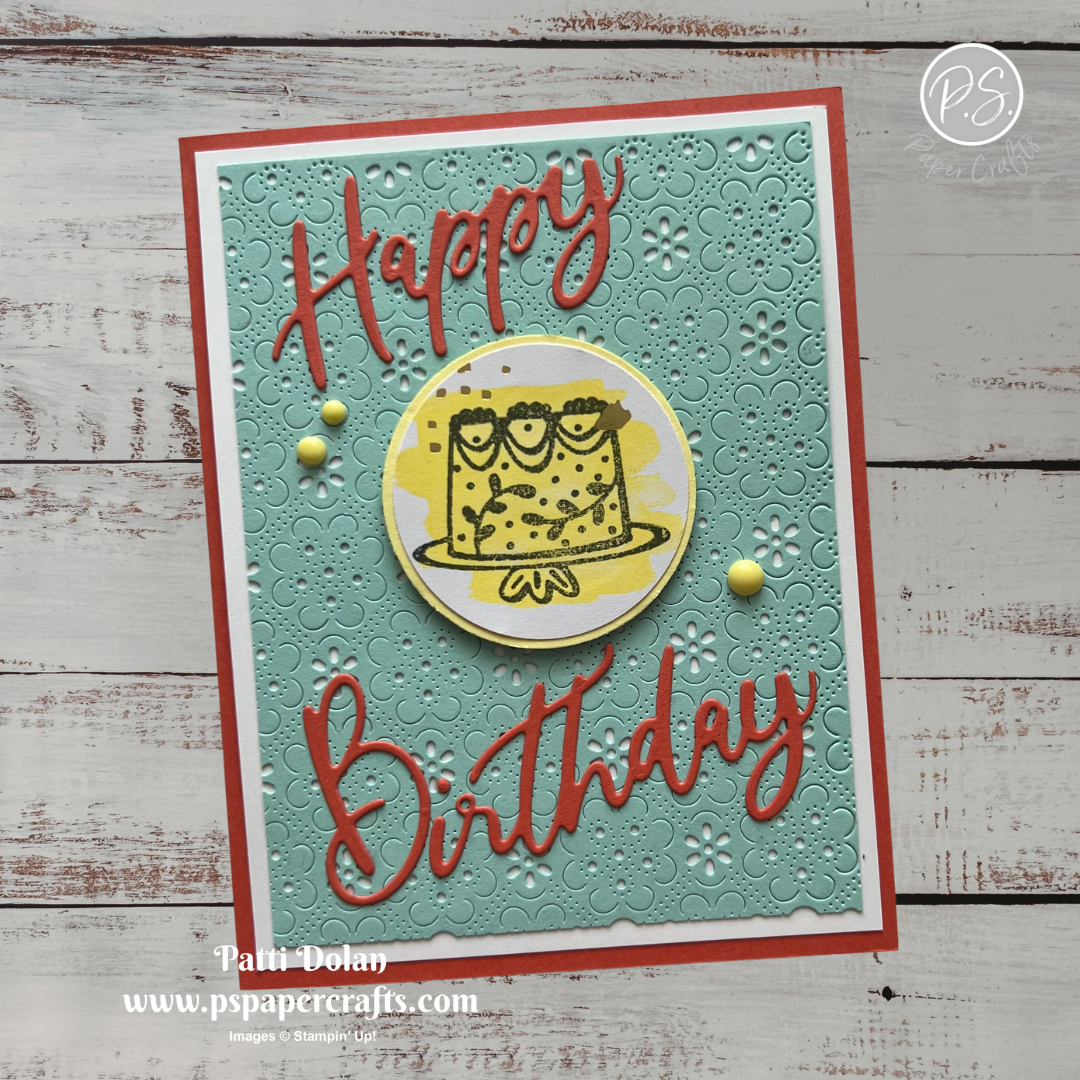
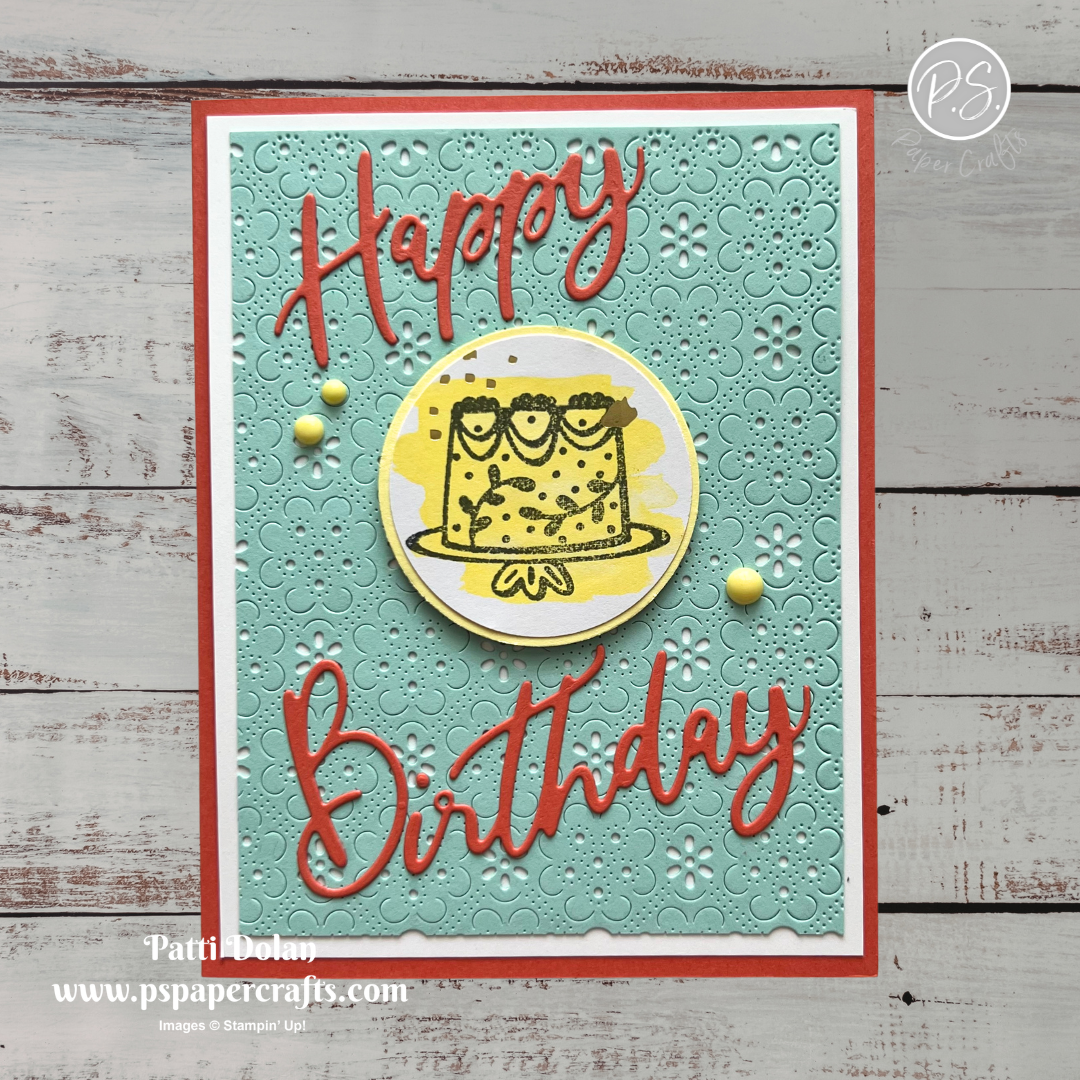
Here’s a fun birthday card I created using the new Words & Wishes Bundle from the upcoming catalog. The stamp set and dies are full of playful, celebratory sentiments—perfect for so many occasions! I used the Eyelet Blooms Die to create that pretty background layer. And even better—it’s this month’s Product of the Month, available for just $5 with a $75 purchase!


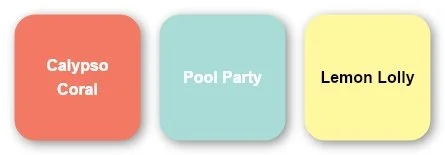
The Color Combo is from my April Inspiration Calendar - Calypso Coral, Pool Party and Lemon Lolly. You can get my calendar each month when you subscribe to my email list.


Tips & Instructions

  • Calypso Coral Card Base - 5-1/2 x 8-1/2, score at 4-1/4

  • Basic White Layer - 4 x 5-1/4

  • Pool Party Layer - 3-3/4 x 5, die cut using the Eyelet Blooms Die.
    TIP - Since this is an intricate die, I like to run it through my die cutting machine with the sandwich upside down. Start with your #1 and #2 plates, then your cutting plate, then the die with the cutting edge facing up, then your cardstock and then your cutting plate.

  • Adhere the Pool Party layer to the white layer with tiny dots of glue and then adhere to the card base.

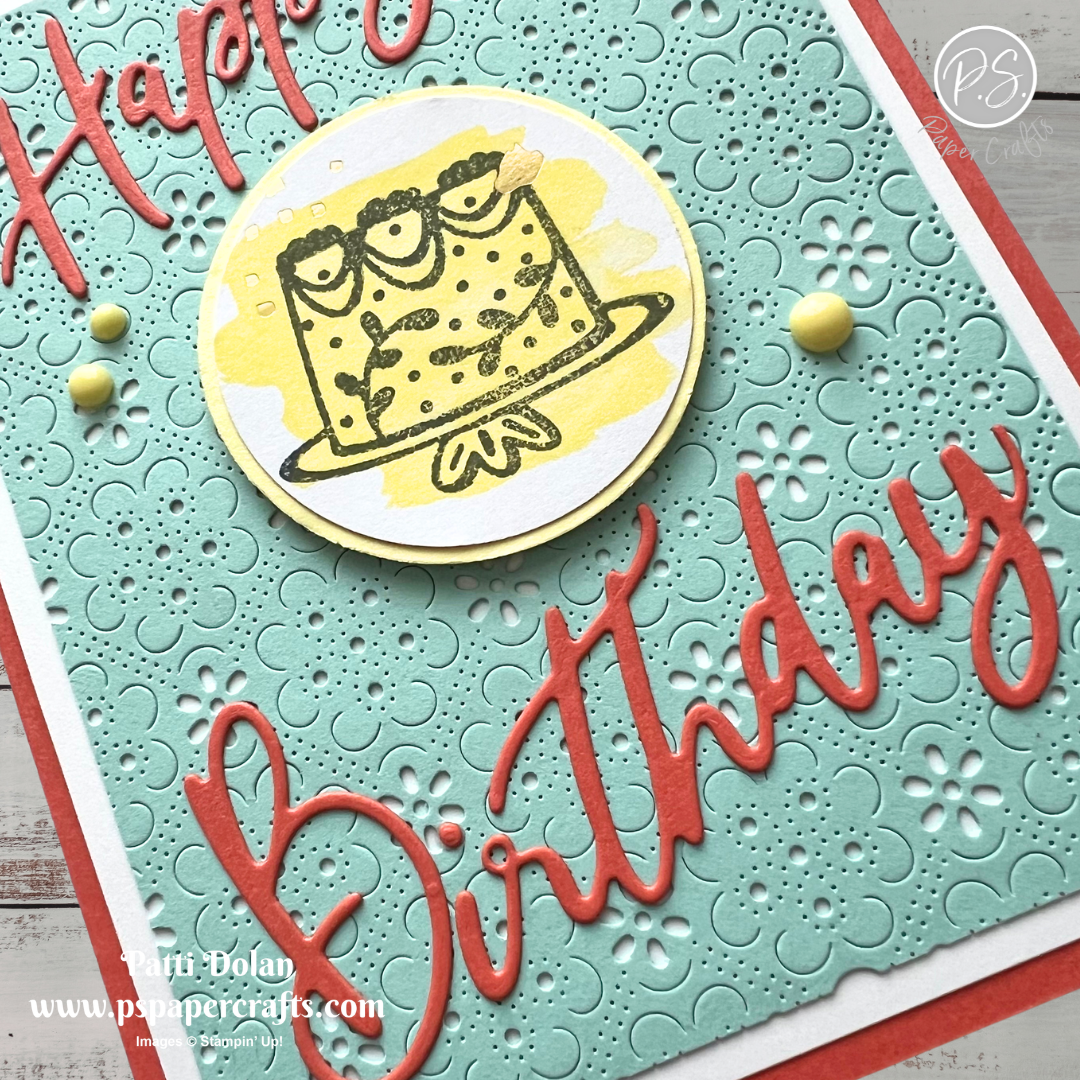
  • Use the 1-7/8 Circle Punch to punch out a Lemon Lolly pattern from the Splash of Sparkles Designer Series Paper. Stamp the cake in Black Memento ink on the circle.

  • Use the 2” Circle Punch to punch a piece of Lemon Lolly Cardstock. Adhere the circles together.

  • Die cut the Happy and Birthday sentiments from Calypso Coral Cardstock using the Words & Wishes Dies.

  • Adhere the sentiments to the card front with tiny dots of glue and the circles with Dimensionals.

  • Add some Array of Dots to finish the card.


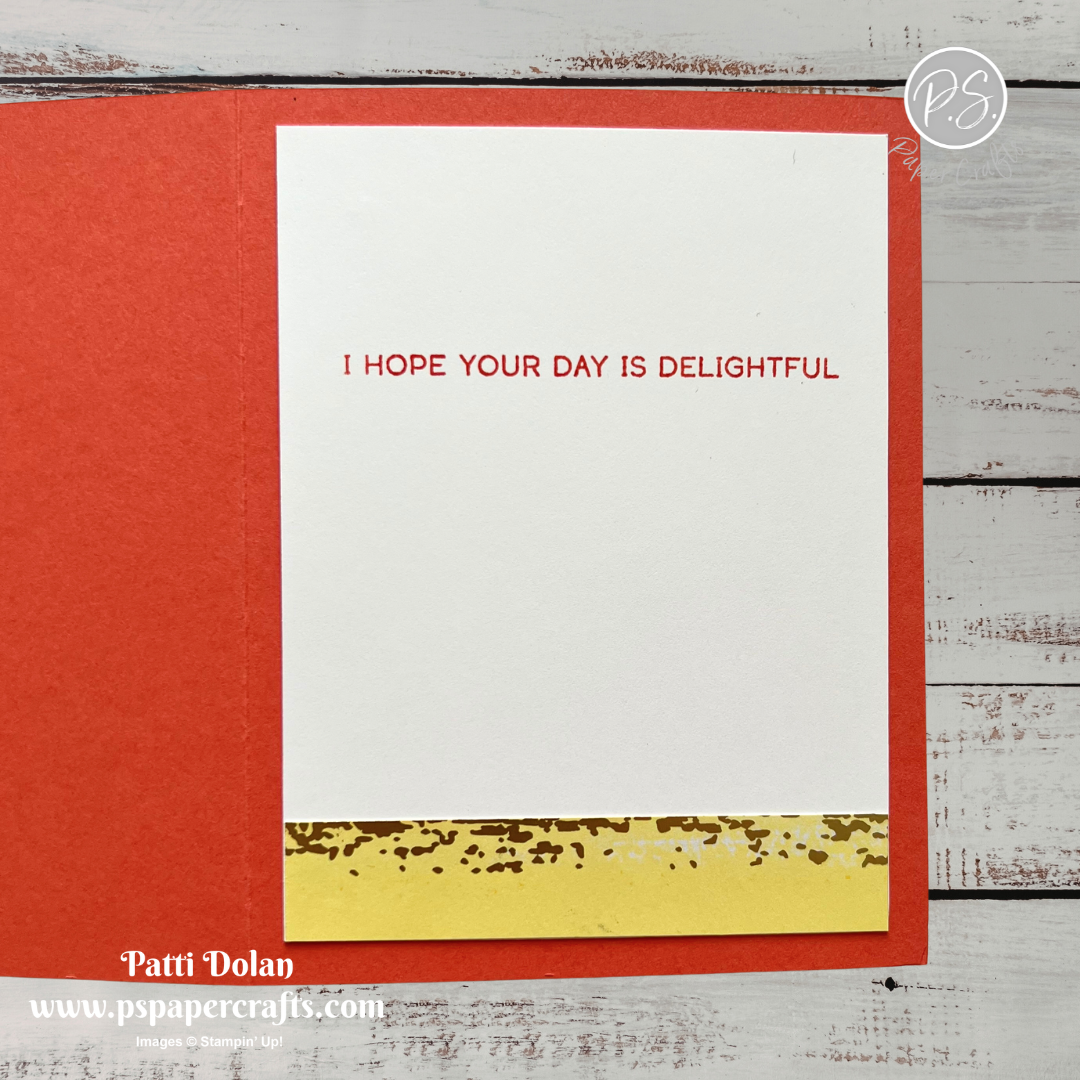
On the inside layer (4 x 5-1/4), stamp the sentiment in Calypso Coral ink and add a 3/4 x 4 strip of the Designer Series Paper to the bottom.


I love the big bold Happy Birthday sentiment!


Supply List

You can click on the item to purchase it from my Online Store.
Note - the Words & Wishes Bundle and Array of Dots will be available for purchase starting May 5, 2026.


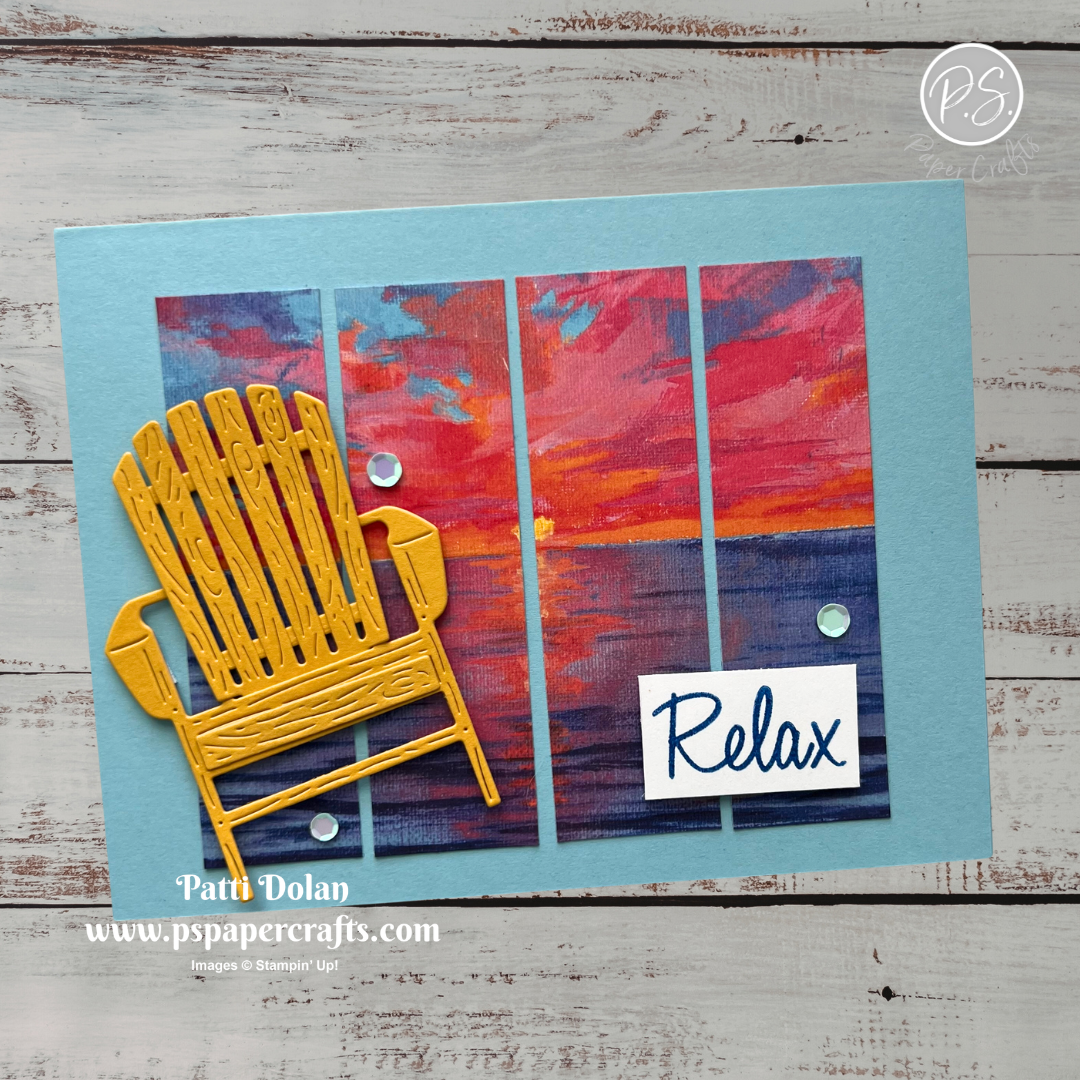
Sketch Challenge - Relaxing Waterside

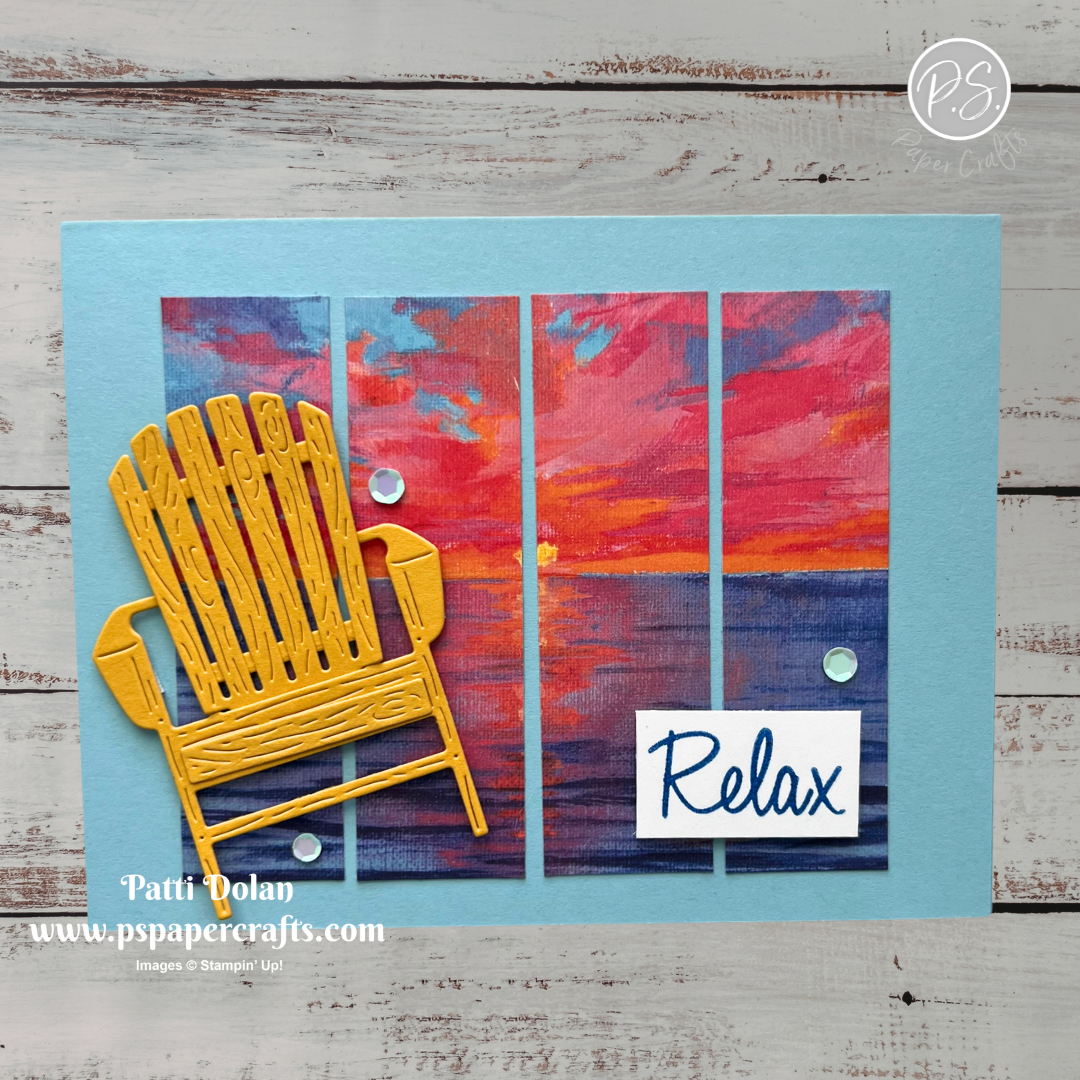
I used some new products from the upcoming catalog for this week’s Splitcoaststampers Sketch Challenge. The Scenic Coast Designer Series Paper pairs beautifully with the Relaxing Waterside Bundle to create such a calm, peaceful design.


Here’s the sketch I used. You can see all the projects posted for this week’s challenge by clicking on the sketch below.


Tips & Instructions

  • Balmy Blue Card Base - 5-1/2 x 8-1/2, score at 4-1/4

  • Four strips of Scenic Coast Specialty Designer Series Paper - 1 x 3-1/2. To get the center part of the scene, I cut the 6 x 6 paper to 4 x 3-1/2 by cutting 1-1/4 from the top and bottom and then 1” from each side.

  • Adhere the strips to the card front leaving a little space between then.

  • Die cut the 2 parts of the Adirondack chair from Crushed Curry Cardstock using the Relaxing Waterside Die. Adhere the pieces together and then adhere the chair to the card with Dimensionals.

  • Stamp the sentiment on a 3/4” strip of Basic White Cardstock in Blueberry Bushel ink. Adhere to the card with Dimensionals.

  • Add some Sunset Sparkle Sequins.


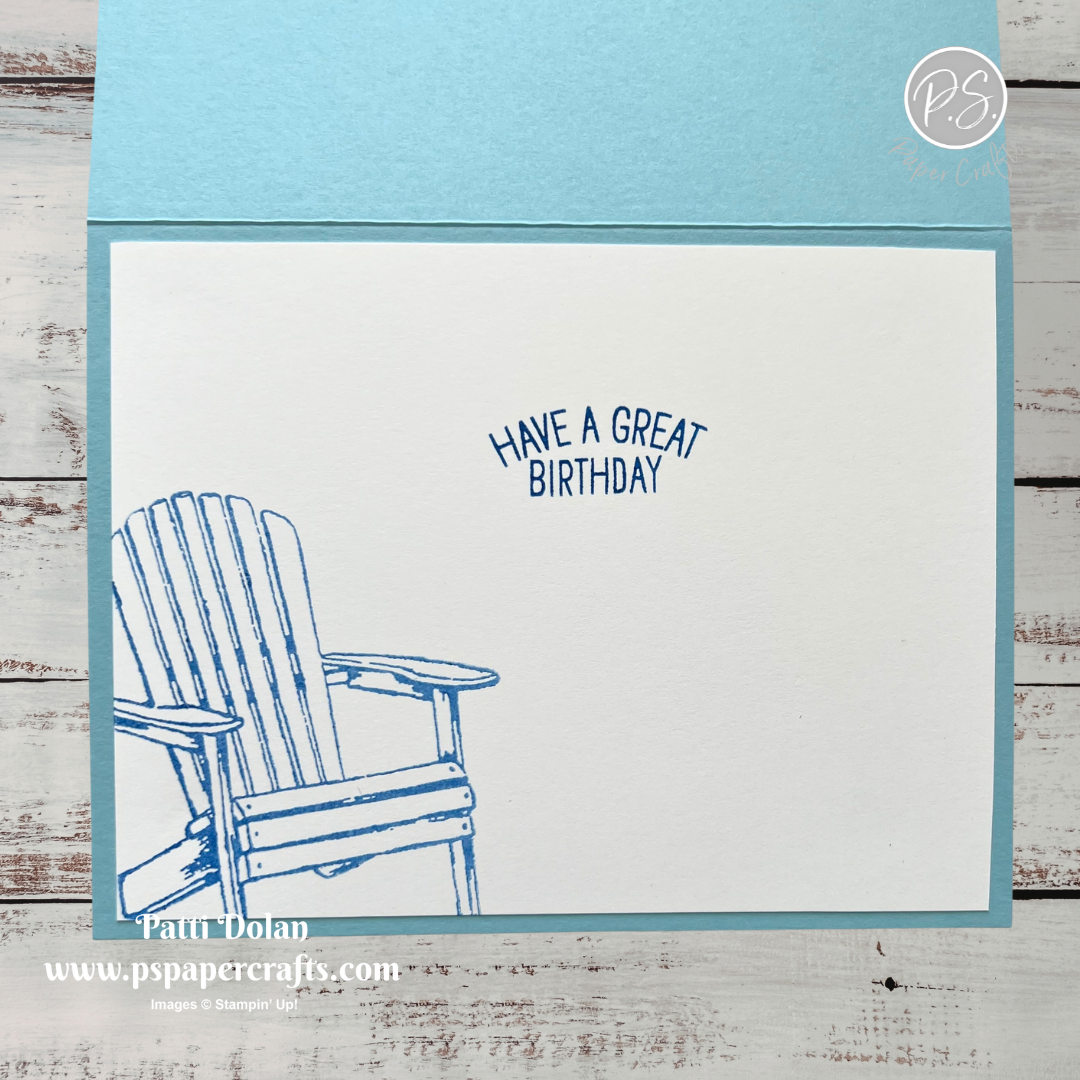
On the inside layer (4 x 5-1/4), stamp the sentiment in Blueberry Bushel ink. Stamp the chair in Blueberry ink but stamp off first to get a lighter shade.


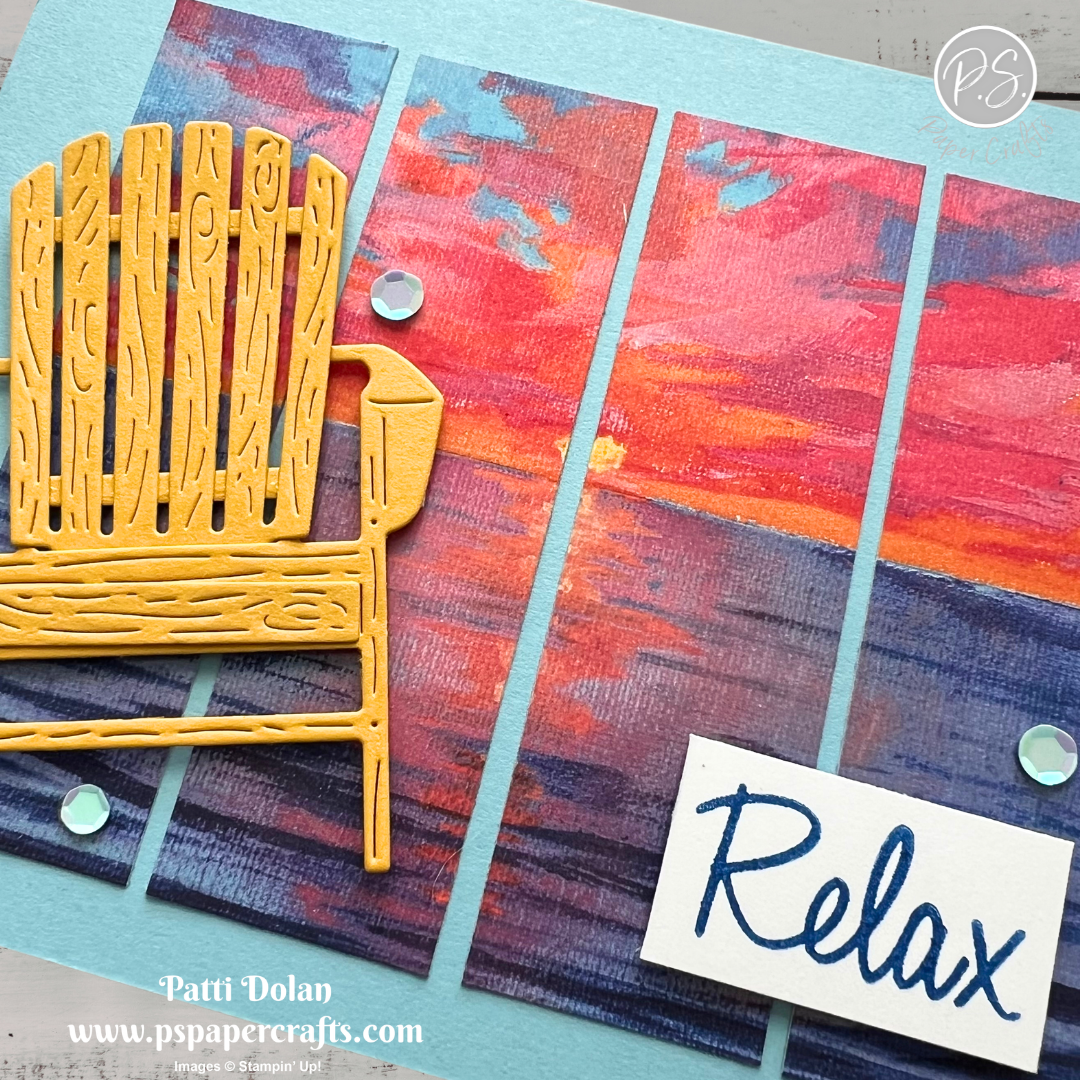
I love the beautiful sunset in the background. The water on the paper has iridescent details to give it a beautiful shine.


The Relaxing Waterside Bundle, Scenic Coast Specialty Designer Series Paper and Sunset Sparkle Sequins will be available for purchase starting May 5, 2026 with the launch of the new May-August 2026 Catalog.


All Aflutter Color Combo

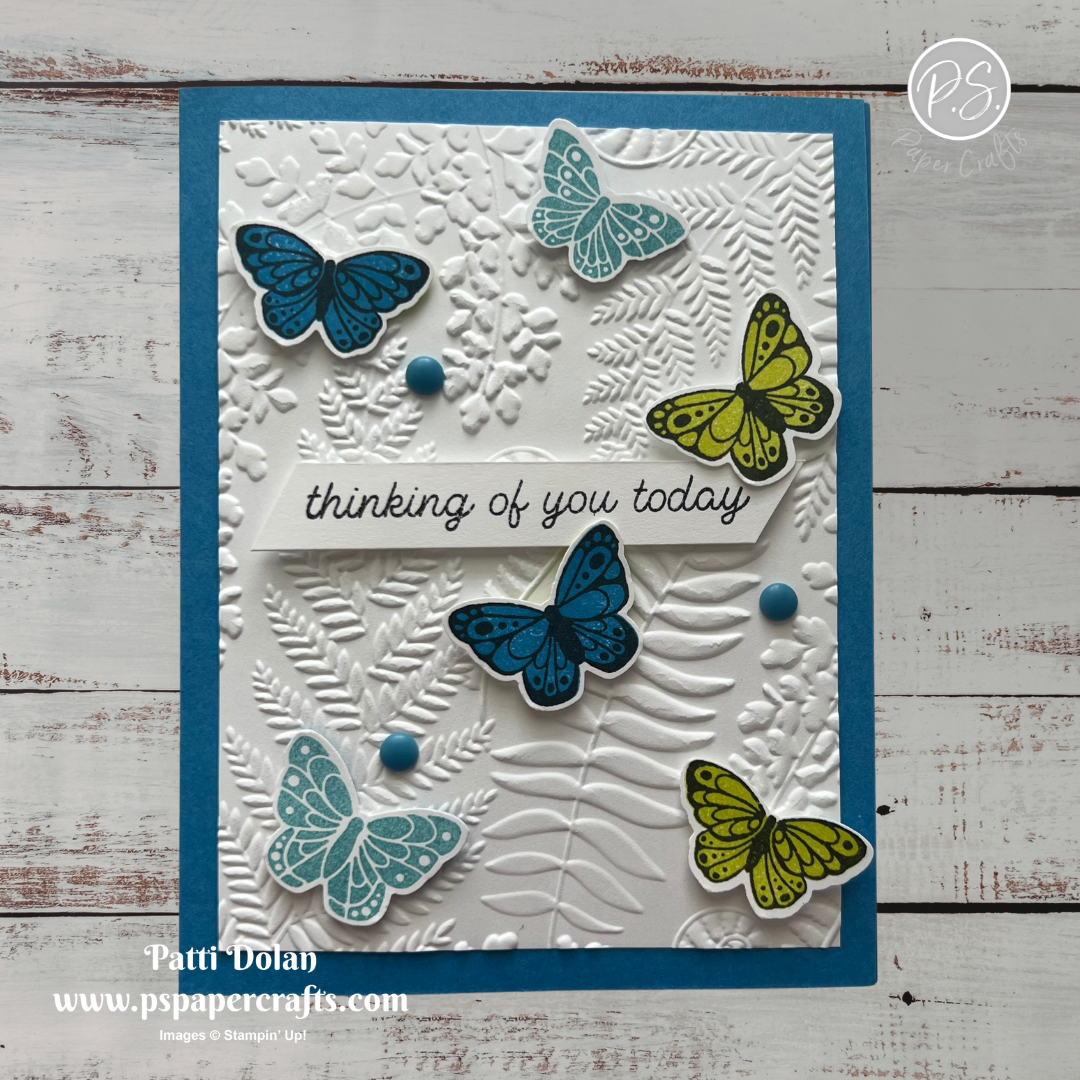
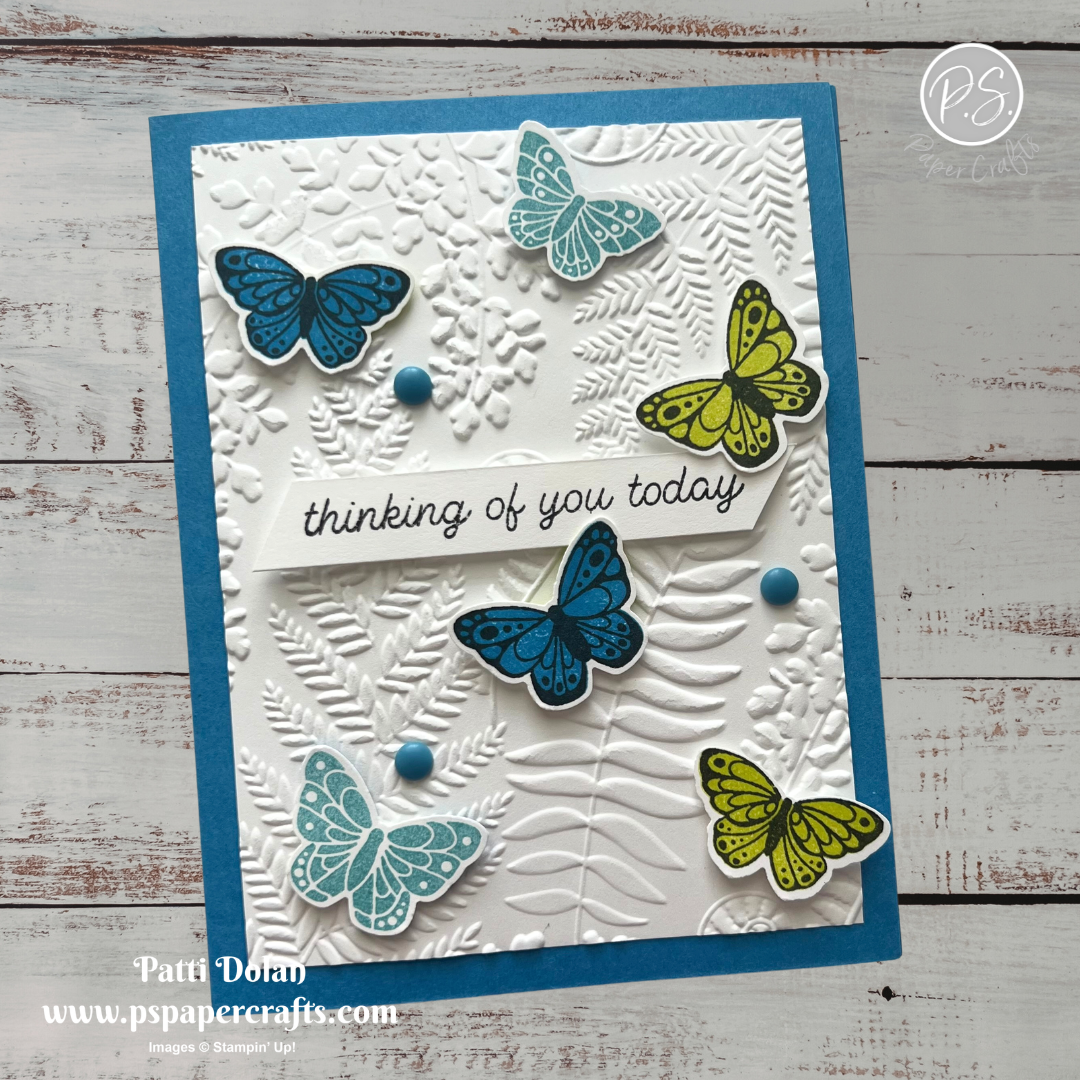
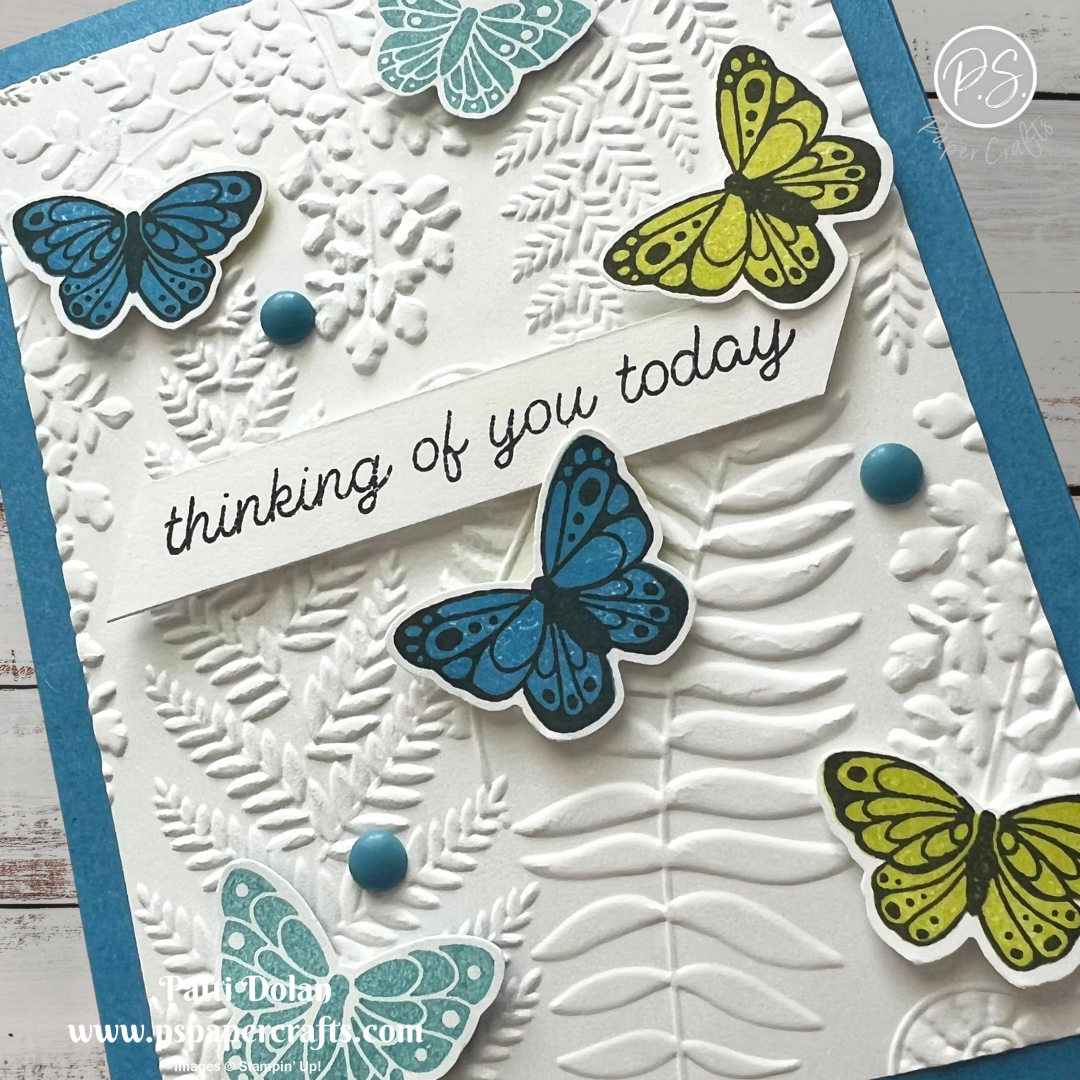
The All Aflutter Bundle is brand new and available starting May 5th with the new catalog. It has a great grouping of 3 butterflies that you can stamp and punch. I used the new Fern & Flora 3D Embossing folder on the background….can’t wait for the new catalog!


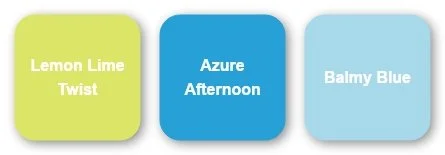
I used the Color Combo from my April Inspiration Calendar - Lemon Lime Twist, Azure Afternoon and Balmy Blue.


Tips & Instructions

  • Azure Afternoon Card Base - 5-1/2 x 8-1/2, score at 4-1/4

  • Basic White Layer - 4 x 5-1/4, emboss using the Fern & Flora 3D Embossing Folder and adhere to the card base.

  • Stamp 3 sets of butterflies on Basic White and punch with the coordinating All Aflutter Punch. I stamped the intricate pattern first in Black Memento ink and then the filler pattern in Azure Afternoon and Lemon Lime Twist. Stamp the 3rd set in Balmy Blue without using the black ink.

  • Stamp the sentiment in Black Memento ink on a 1/2 strip of Basic White and cut both ends on an angle.

  • Adhere the sentiment and butterflies to the card with Dimensionals.

  • Add some Azure Afternoon Rainbow Adhesive-Backed Dots to the card.


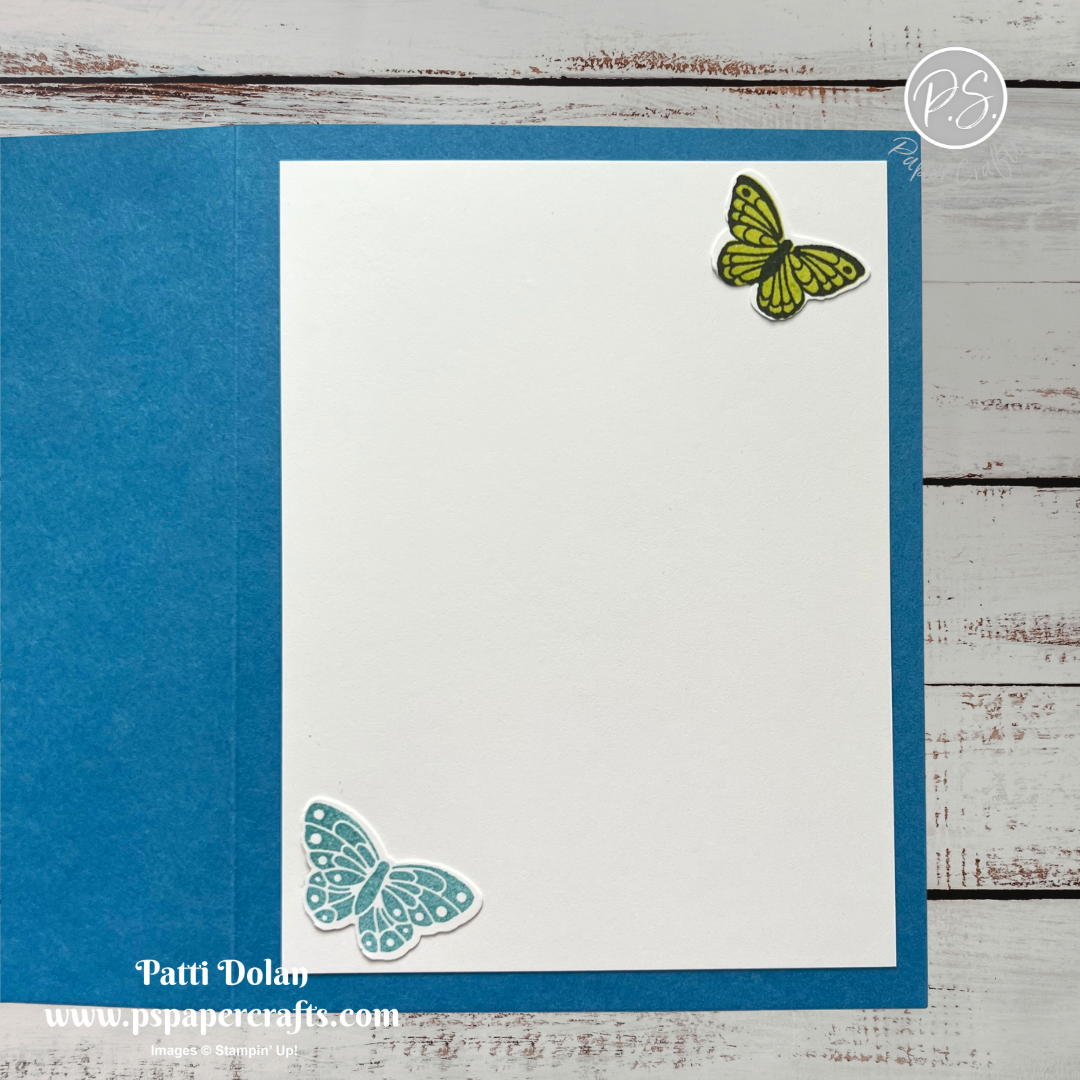
On the inside layer (4 x 5-1/4), adhere 2 butterflies.


I love the butterflies fluttering around on the embossed fern layer.


The new products, All Aflutter Bundle (stamp set & punch) and Fern & Flora 3D Embossing Folder will be available for purchase starting May 5, 2025.


Sketch Challenge - Nature's Symphony

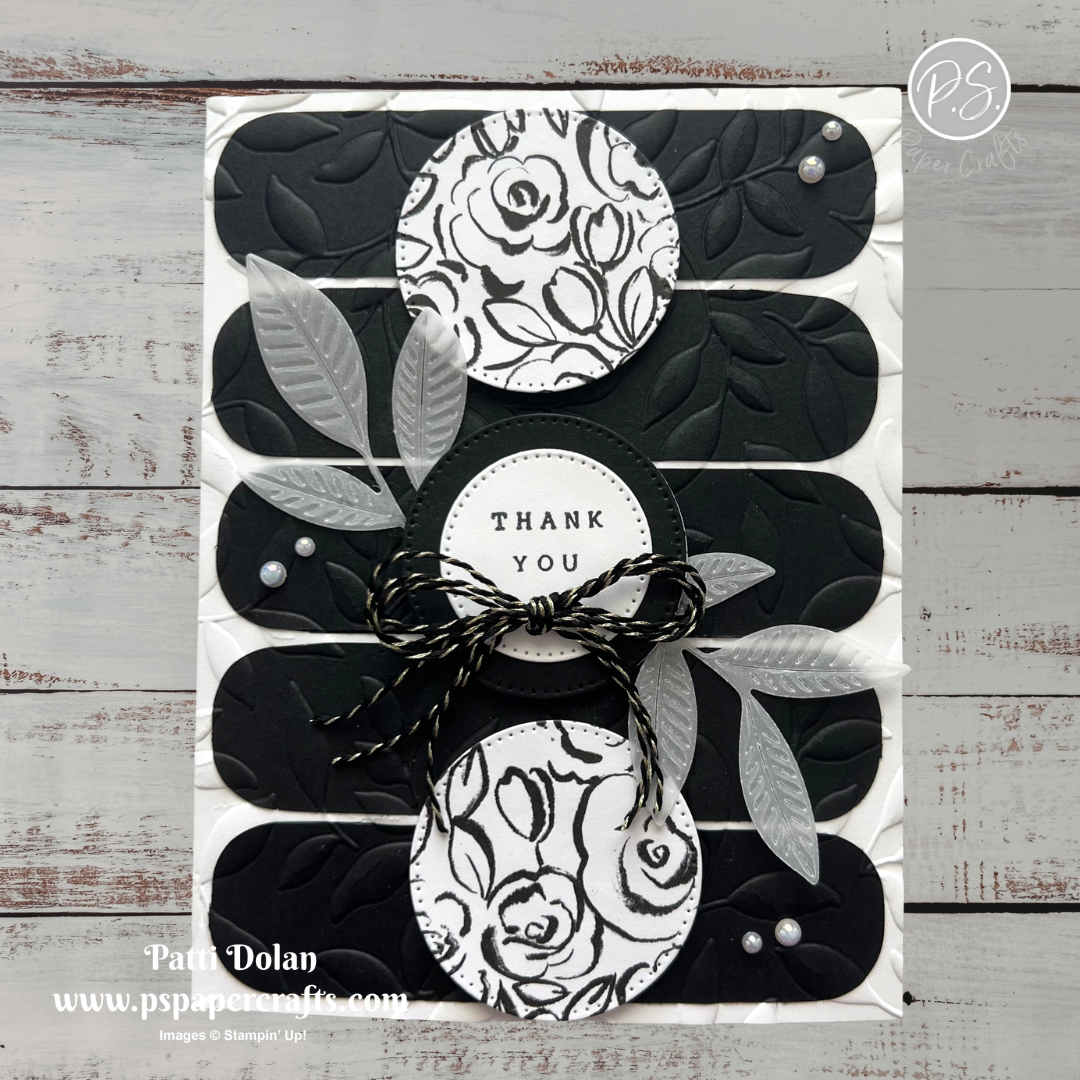
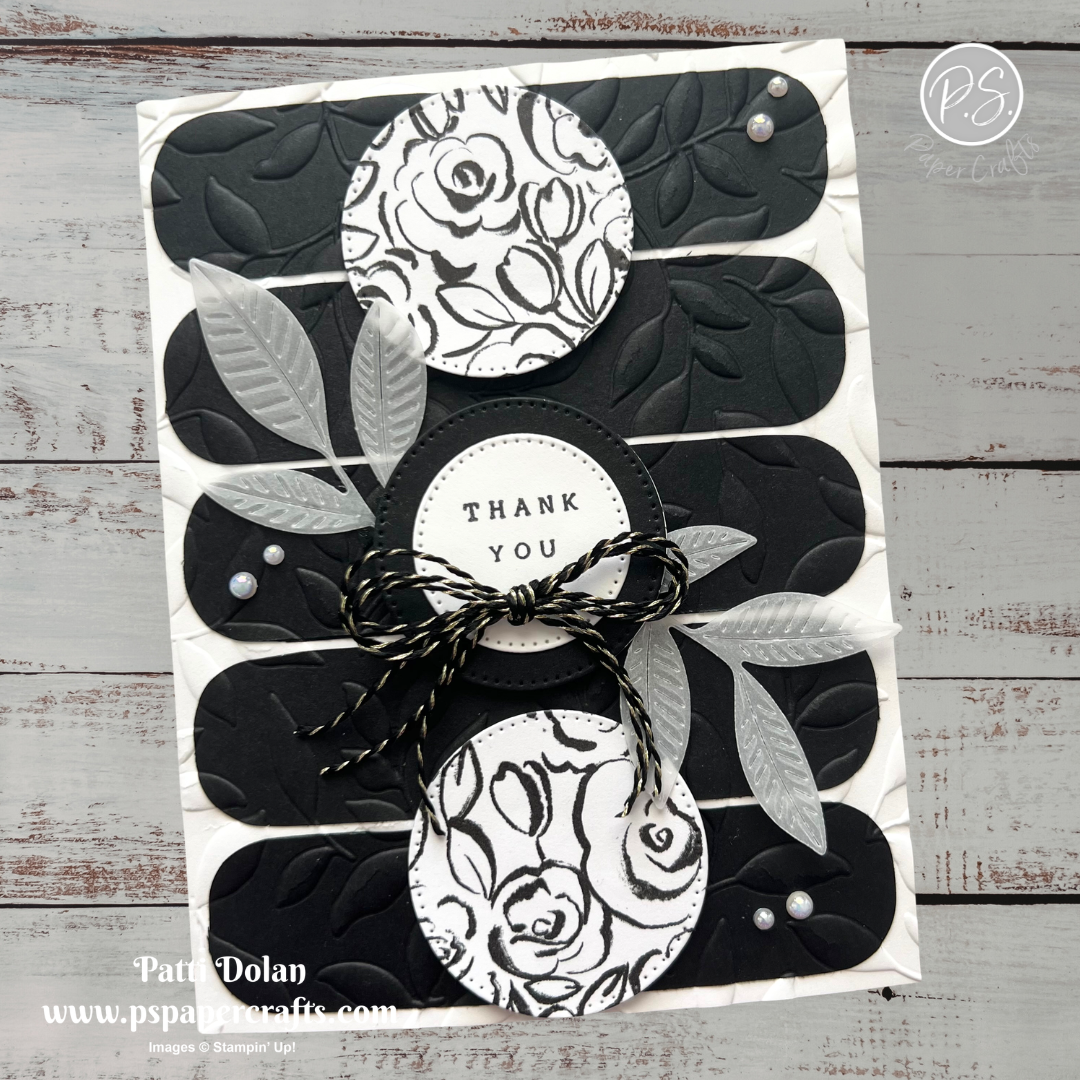
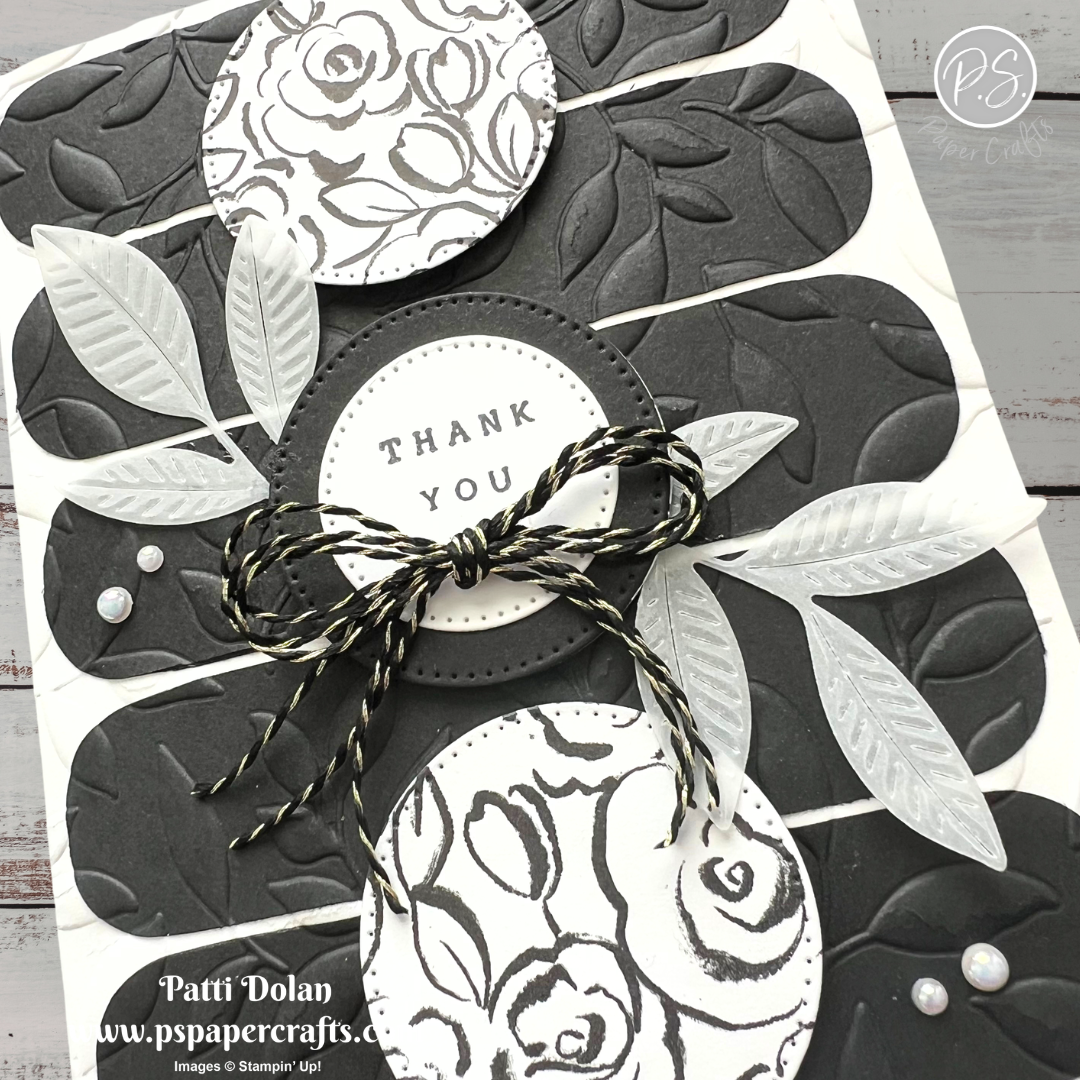
This week’s Sketch Challenge from Splitcoaststampers was a real challenge for me. I went with a Black & White card and at first I didn’t really like how it looked. Then I decided to emboss the front and added some vellum leaves and think it turned out good in the end.


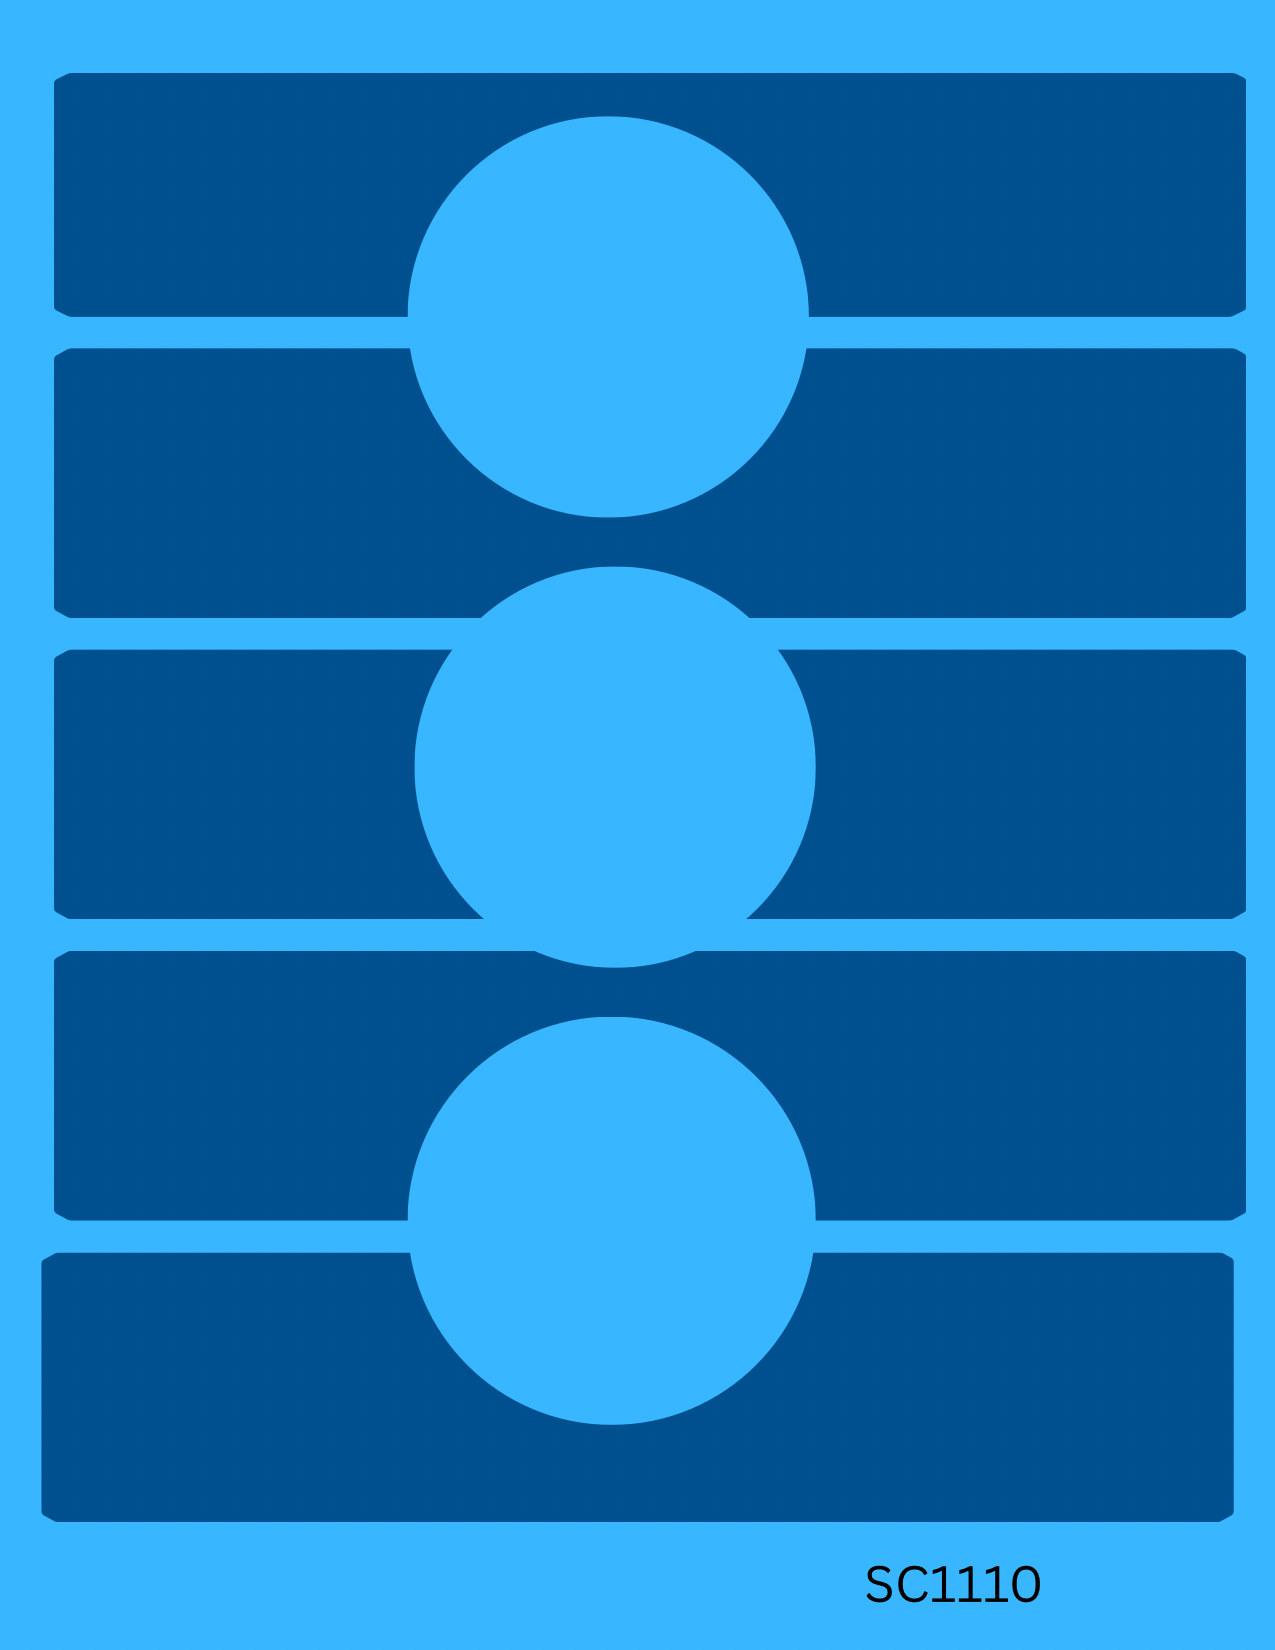
Here’s the sketch I used. You can see all the projects posted for this week’s challenge by clicking on the sketch below.


Tips & Instructions

  • Thick Basic White Card Base - 5-1/2 x 8-1/2, score at 4-1/4

  • 5 Strips of Basic Black - 1 x 4, round the corners and adhere to the card front.

  • Emboss the card front using the Paradise Garden Hybrid Embossing Folder.

  • Die cut 2 circles from the new Artisan Sketch Garden Designer Series Paper (available starting May 5, 2026) using the Stylish Shapes Dies.

  • Die cut 1 circle from Basic Black and 1 (next size down) from Basic White using the Stylish Shapes Dies.

  • Stamp the sentiment on the white circle in Black Memento ink using the Nature’s Symphony Stamp Set. Adhere to the black circle.

  • Adhere the 3 circles to the card using Dimensionals.

  • Die cut the large branch from Vellum using the Nature’s Symphony Bundle. Cut it apart and adhere 2 pieces to the card front.

  • Tie a bow with 3 strands of Black & Gold Baker’s Twine and adhere to the label with a Glue Dot.

  • Add some Iridescent Pearls to the card.


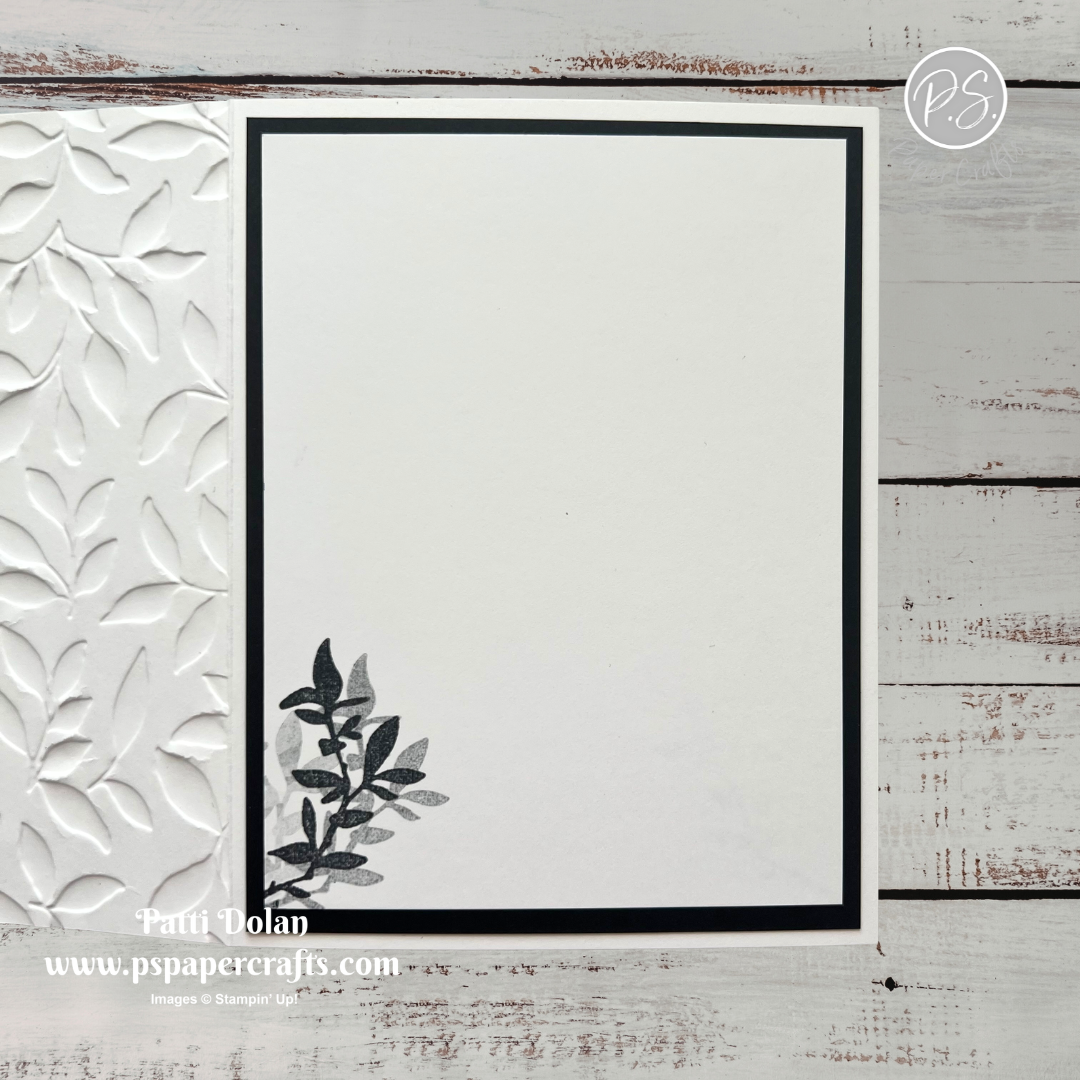
Adhere a 4 x 5-1/4 Basic Black layer to the inside. Cut a Basic White layer at 3-3/4 x 5 and stamp the branch image repeating without re-inking. Adhere to the black layer.


I love the embossing on the black strips and white card base along with the vellum leaves.


Supply List

You can click on the item to purchase it from my Online Store.
 

Sketch Saturday - Splash of Sparkles

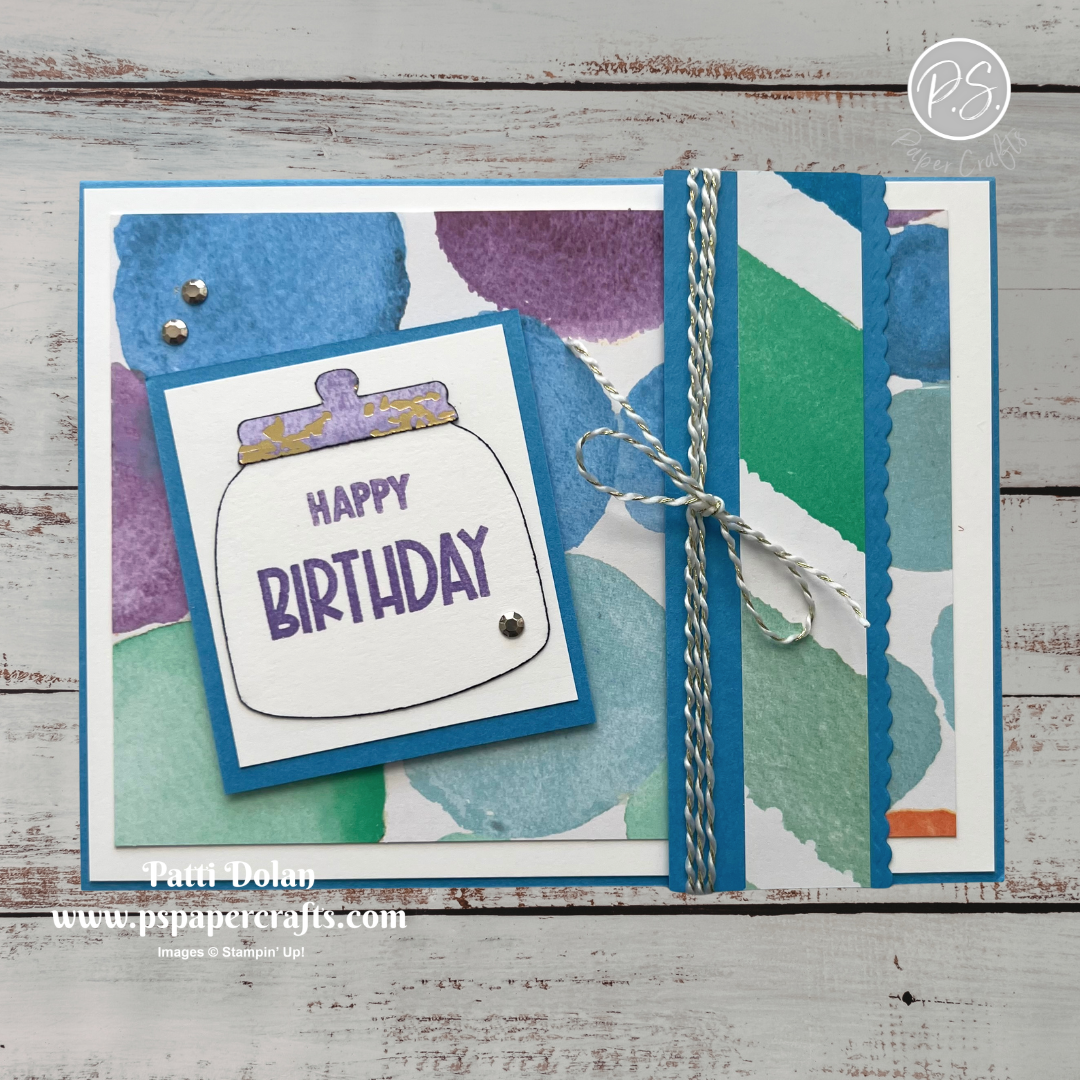
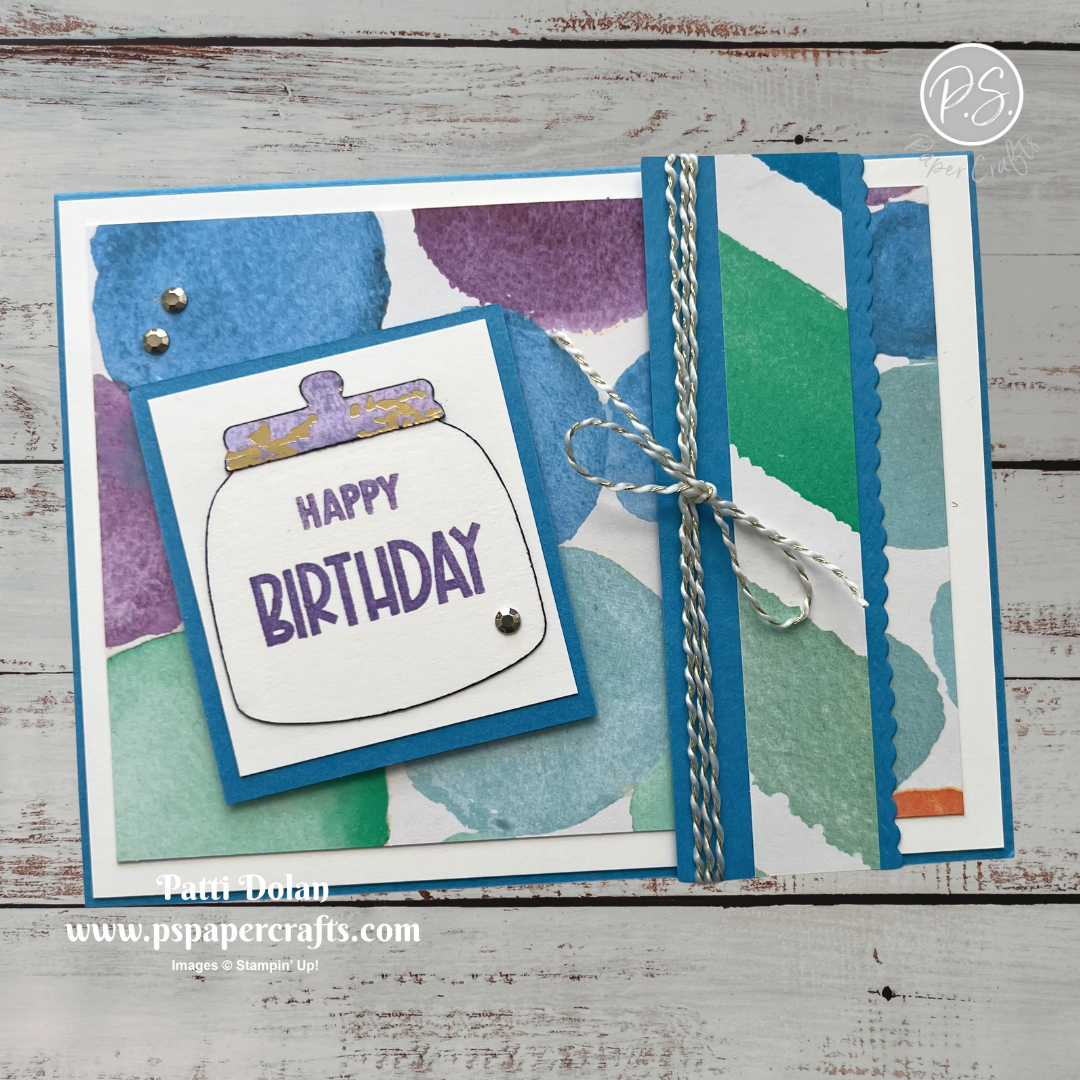
The Splash of Sparkles Specialty Designer Series Paper is so bright and fun! I love the vibrant patterns and the beautiful gold accents—it has such a lovely watercolor feel.


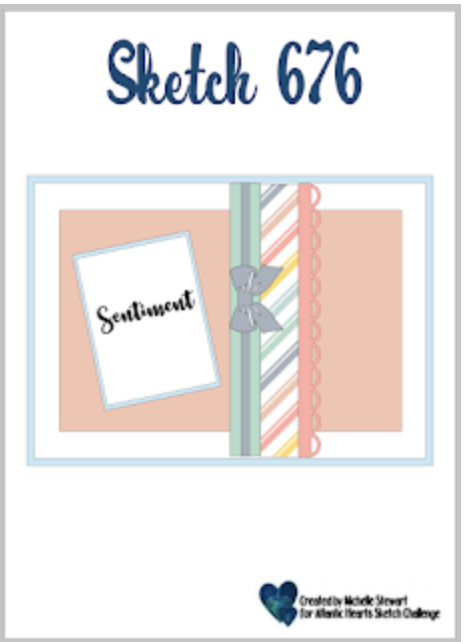
I made this card for the weekly Atlantic Hearts Sketch Challenge. Here’s the sketch that I used.


Tips & Instructions

  • Azure Afternoon Card Base - 5-1/2 x 8-1/2, score at 4-1/4

  • Basic White Layer - 4-1/8 x 5-3/8, adhere to the card base.

  • Splash of Sparkles Specialty Designer Series Paper - 3-3/4 x 5, adhere to the card.

  • Azure Afternoon Strip - 1-1/2 x 4-1/4, die cut the right edge using the new Bordered In Beauty Dies (will be available for purchase starting May 5, 2026)

  • Splash of Sparkles Strip - 3/4 x 4-1/4, adhere to the Azure Afternoon strip.

  • Wrap a piece of White & Gold Baker’s Twine around the left side of the strip 3 times and adhere to the back. Feed a piece of the baker’s twine under and tie a bow.

  • Adhere the strip to the right side of the card.

  • Azure Afternoon - 2-1/4 x 2-1/2

  • Basic White - 2 x 2-1/4

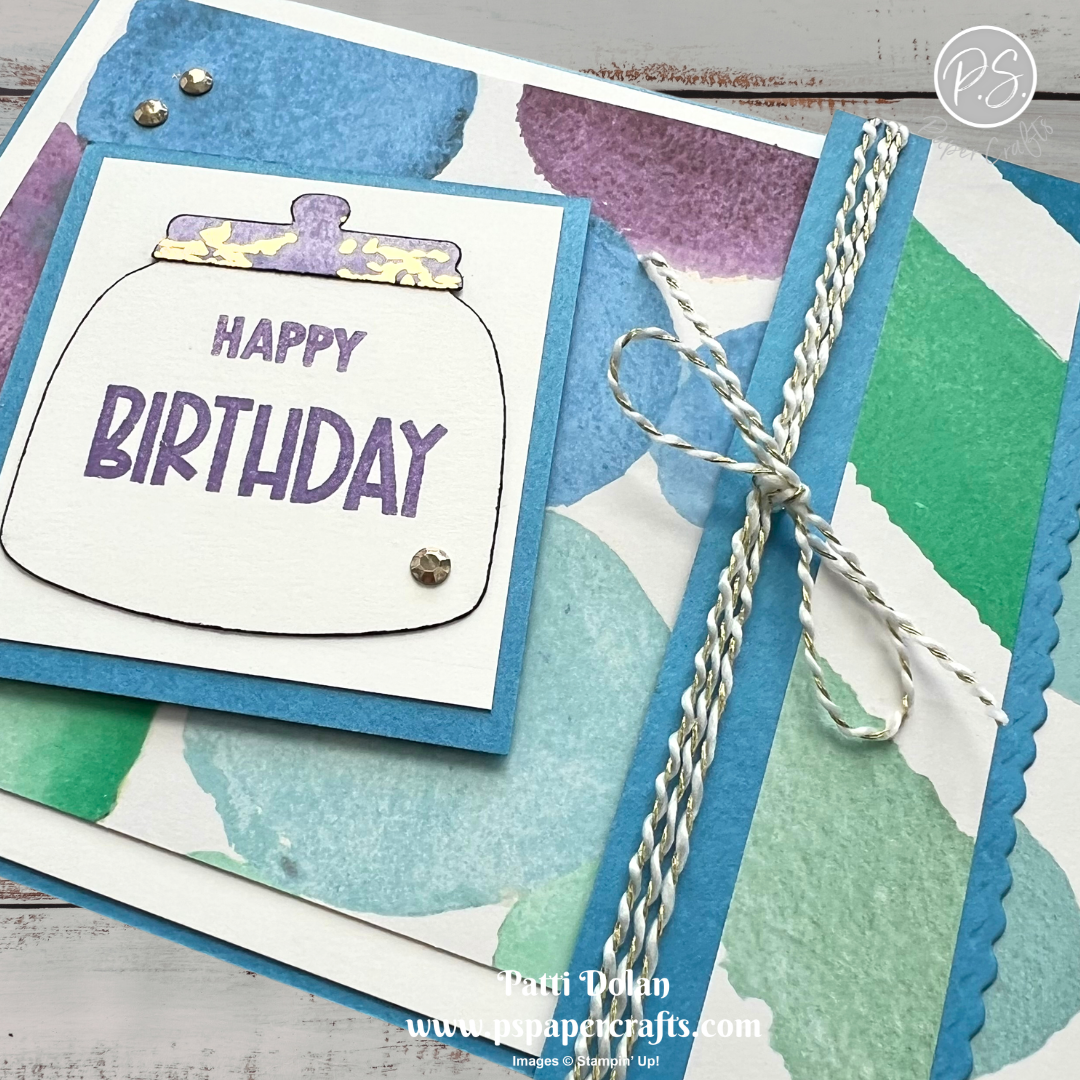
  • Scrap of white - punch using the Sweet Jar Builder Punch. Use a Basic Black Stampin’ Blends Marker to outline the jar. Do this by rubbing the marker on just the edge of the jar. Stamp the sentiment in Highland Heather using the Reason To Celebrate Stamp Set.

  • Scrap of the Highland Heather and Gold pattern of the Designer Series Paper. Punch the top part of the jar. Outline the top with a black marker.

  • Adhere the jar and top to the white piece, then adhere to the Azure Afternoon piece. Adhere to the card with Dimensionals.

  • Add some Adhesive-Backed Metallic Gems


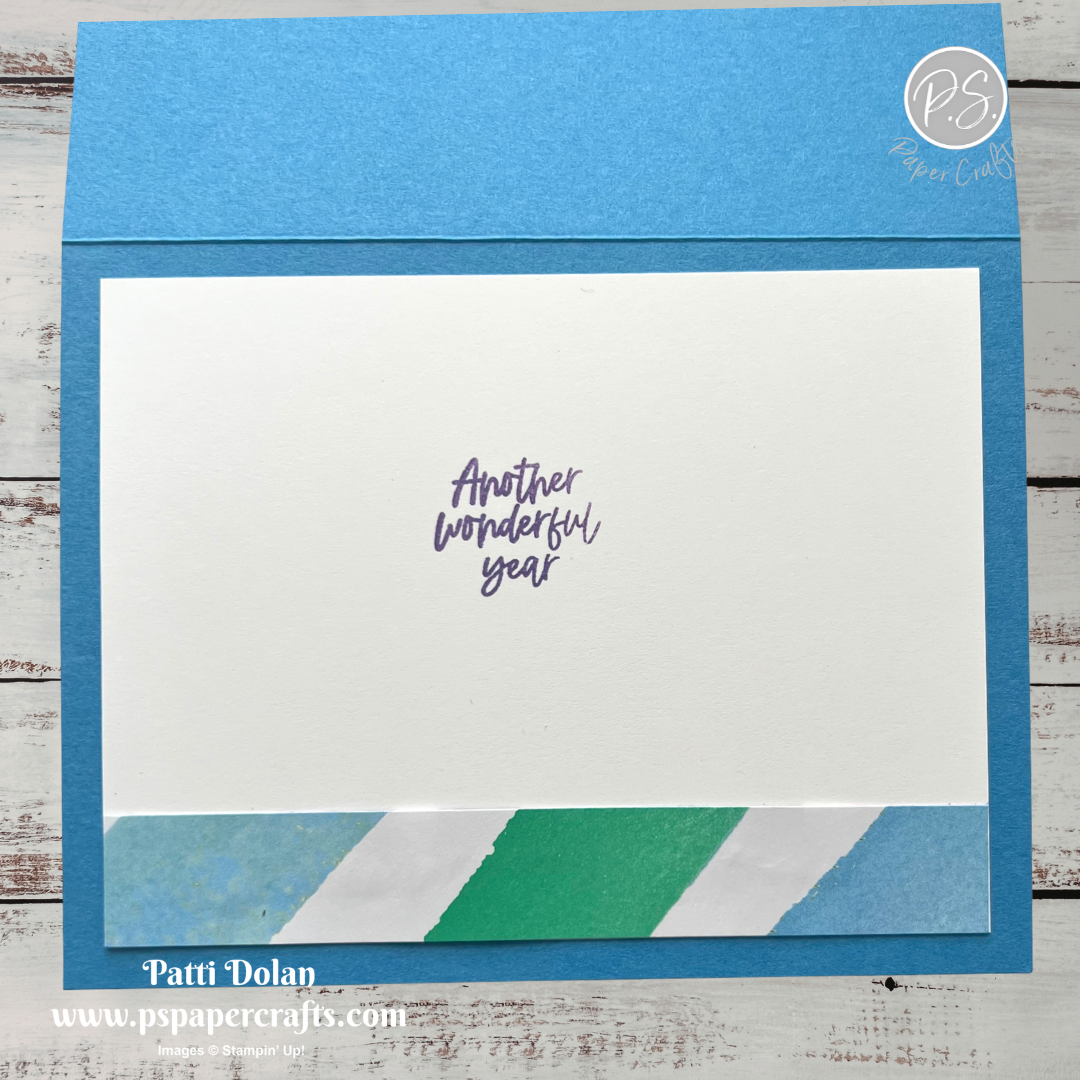
On the inside layer (3-3/4 x 5), stamp the sentiment in Highland Heather and add a 3/4 x 5 strip of the Designer Series Paper to the bottom.


I love the watercolor look of this paper, it’s so pretty.


Supply List

You can click on the item to purchase it from my Online Store.
 

Fun Pillar Pyramid Cards

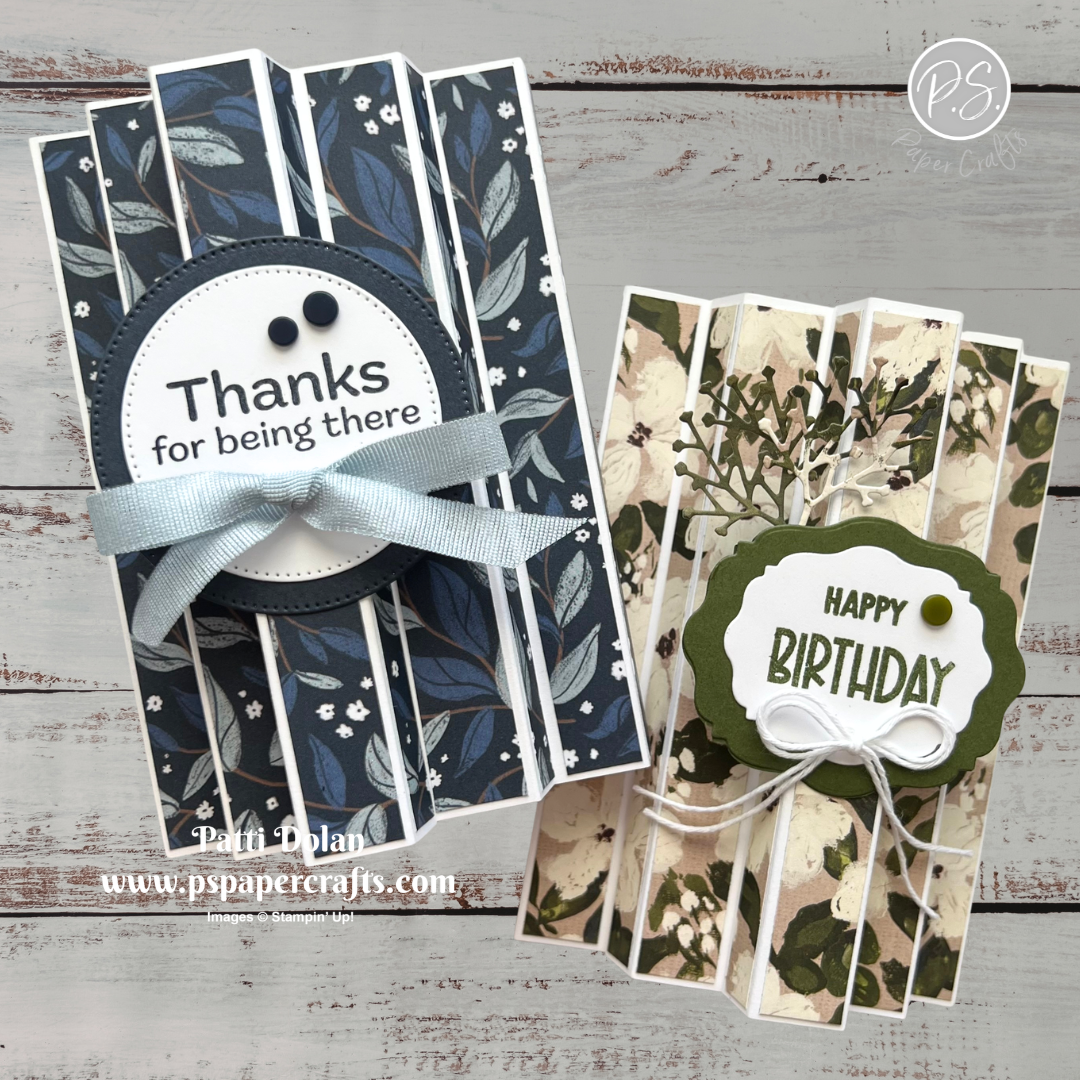
I spotted the Pillar Pyramid design on Rachel Tessman’s YouTube channel and just had to give it a try. They stand up beautifully and turn out so pretty!


Watch the video to see step by step instructions to make this design.

Click on the button below to get a printable pdf with measurements and instructions.


This card was made using the Peaceful Garden Designer Series Paper. The sentiment is from the Pop-Up Petals Stamp Set.


I used the Brushed With Beauty Designer Series Paper for this card. The sentiment was stamped using the Reason To Celebrate Stamp Set and the label was die cut using the Beautifully Celebrated Dies.


Supply List

You can click on the item to purchase it from my Online Store.
 

Layers of Beauty Color Combo

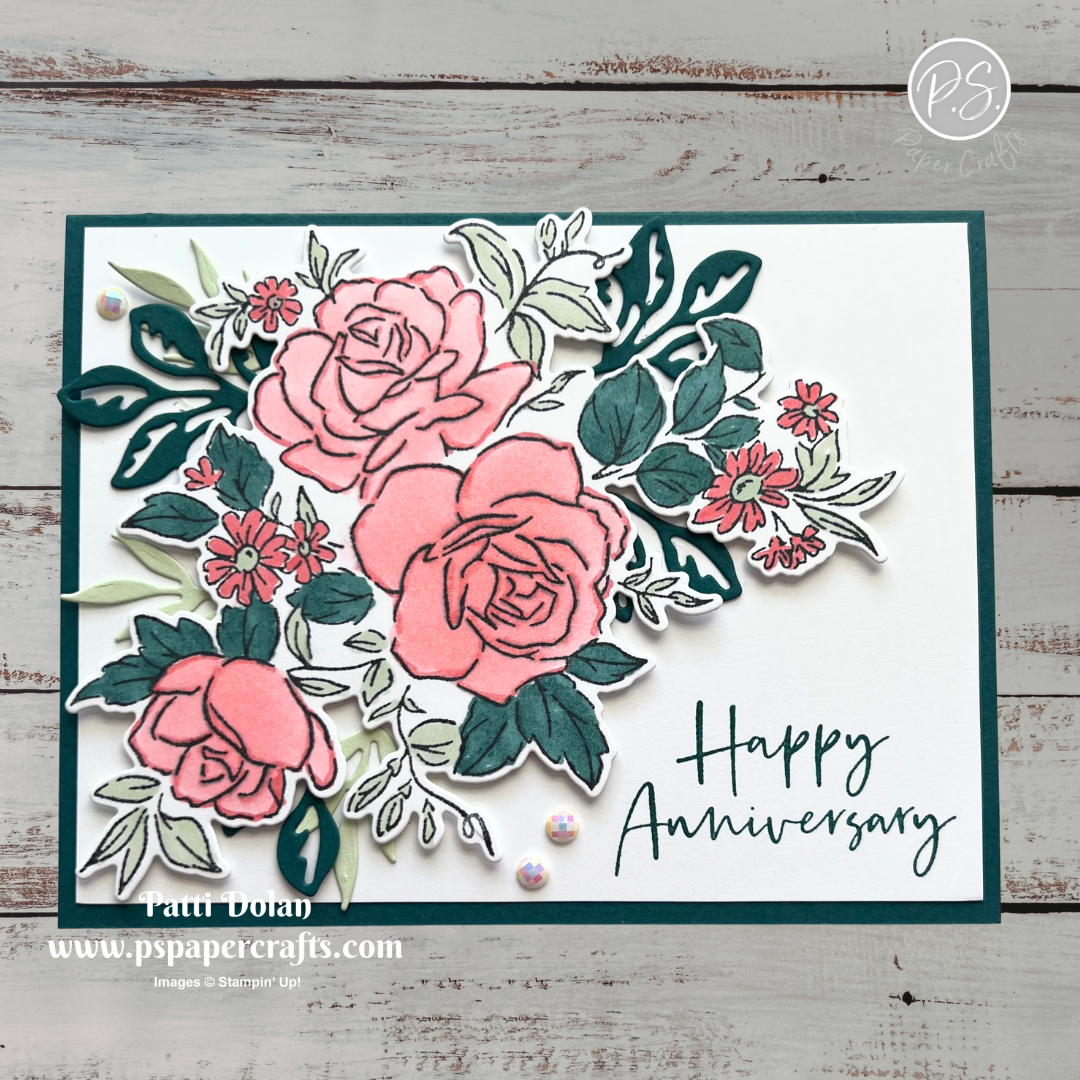
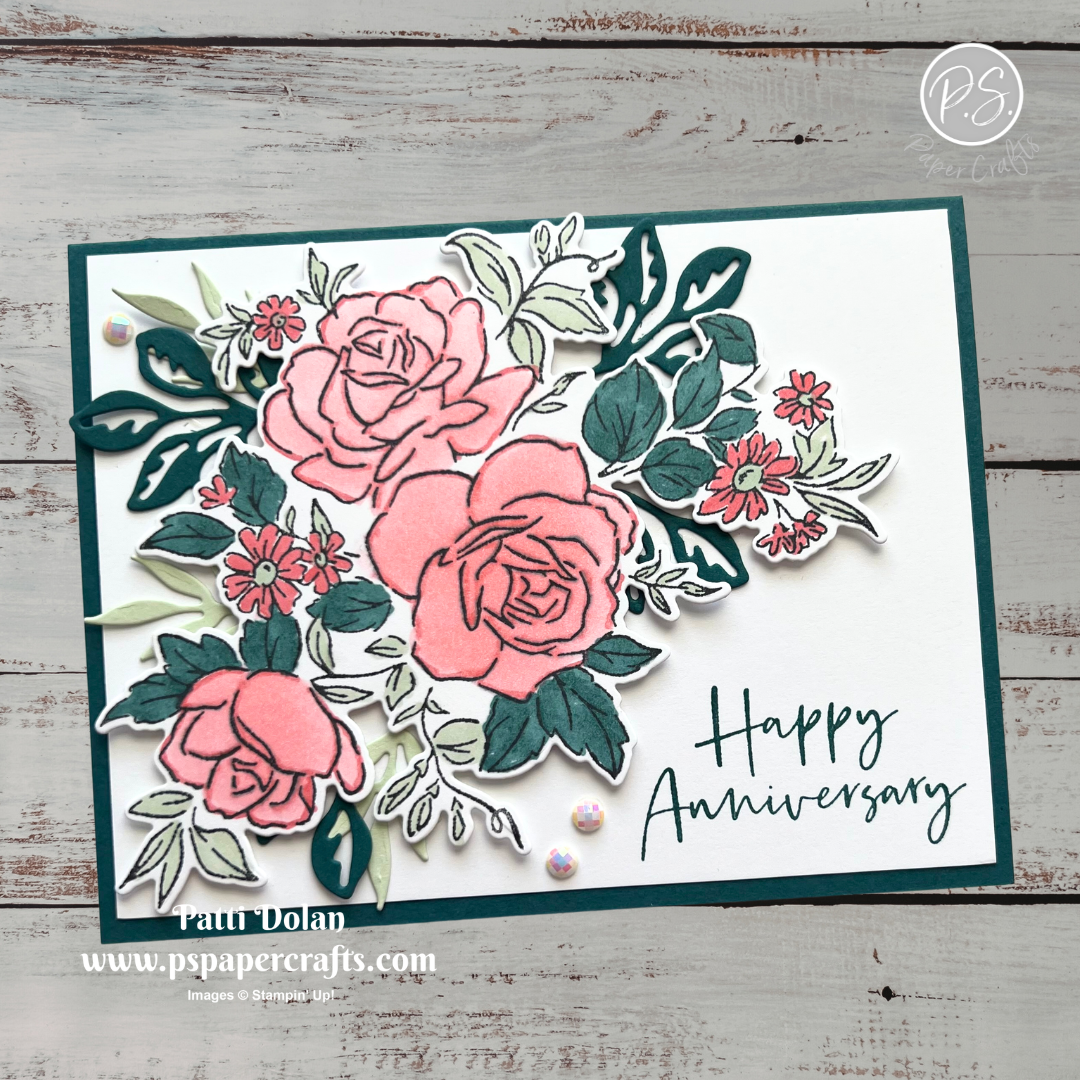
The Layers of Beauty Bundle is just gorgeous and I can’t believe that it’s on the Last Chance list and marked down. I used it for todays Color Combo Challenge.


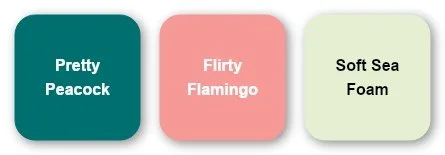
The Color Combo is from my April Calendar - Pretty Peacock, Flirty Flamingo and Soft Sea Foam.


Tips & Instructions

  • Pretty Peacock Card Base - 5-1/2 x 8-1/2, score at 4-1/4

  • Basic White Layer - 4 x 5-1/4, stamp the sentiment on the bottom, right corner in Pretty Peacock ink and adhere to the card base.

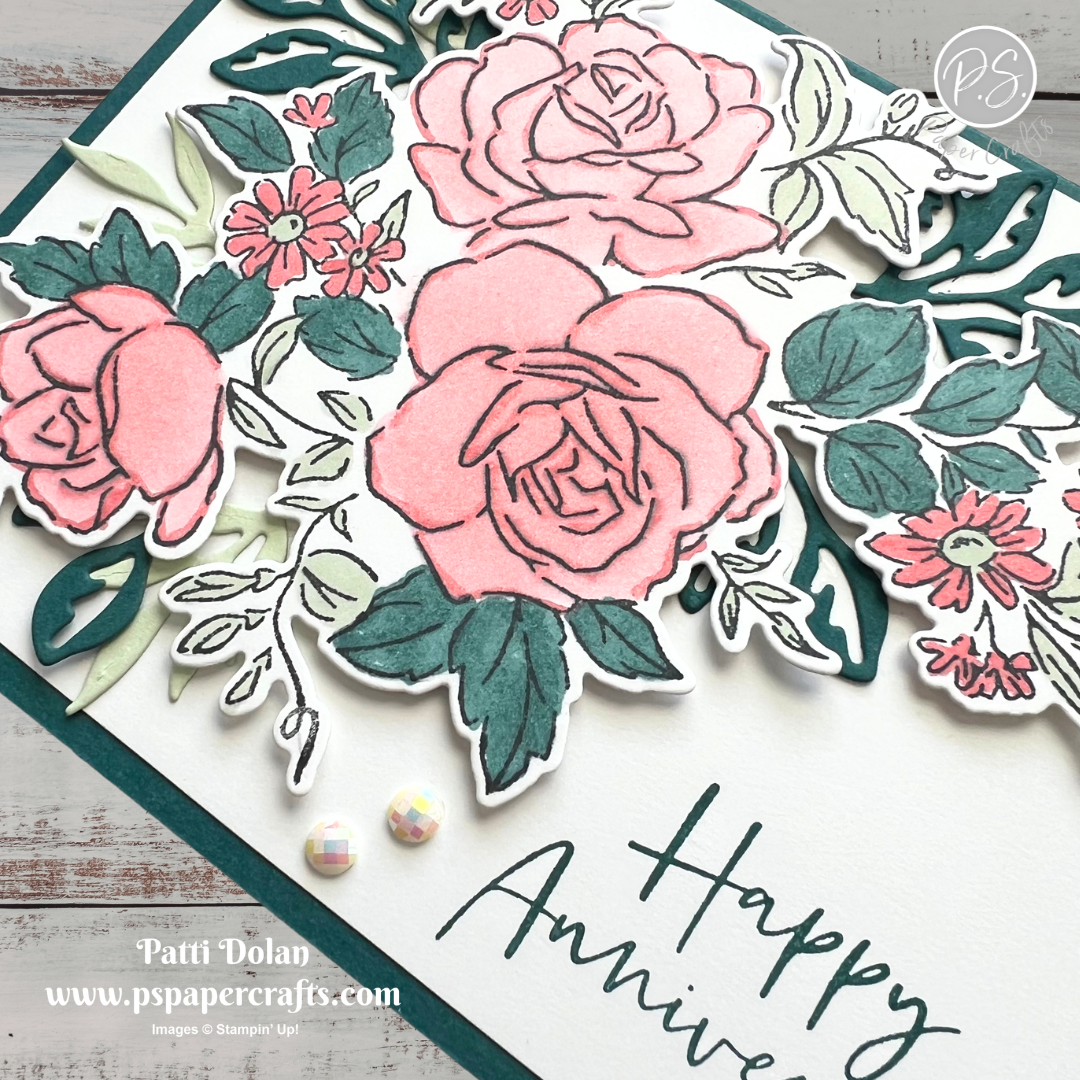
  • Stamp the large floral image on a piece of Basic White in Black Memento ink. Color with Stampin’ Blends Markers. I used Flirty Flamingo, Light Pretty Peacock and Soft Sea Foam.

  • Die cut the floral image with the coordinating die and adhere to the card with Dimensionals.

  • Die cut some of the leaves from Pretty Peacock and Soft Sea Foam Cardstock. Adhere them behind the floral image.

  • Add some Pearlized Faceted Circles.


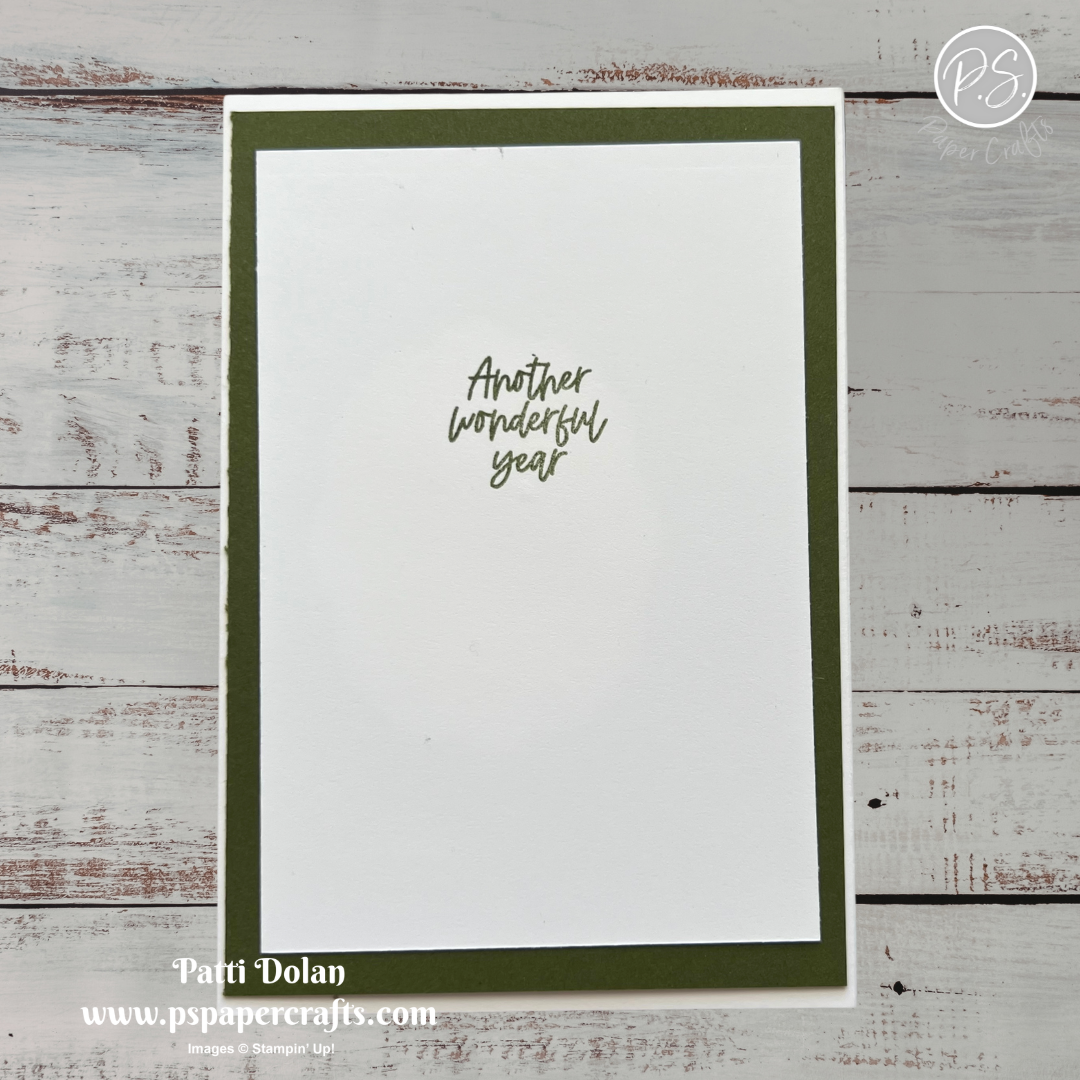
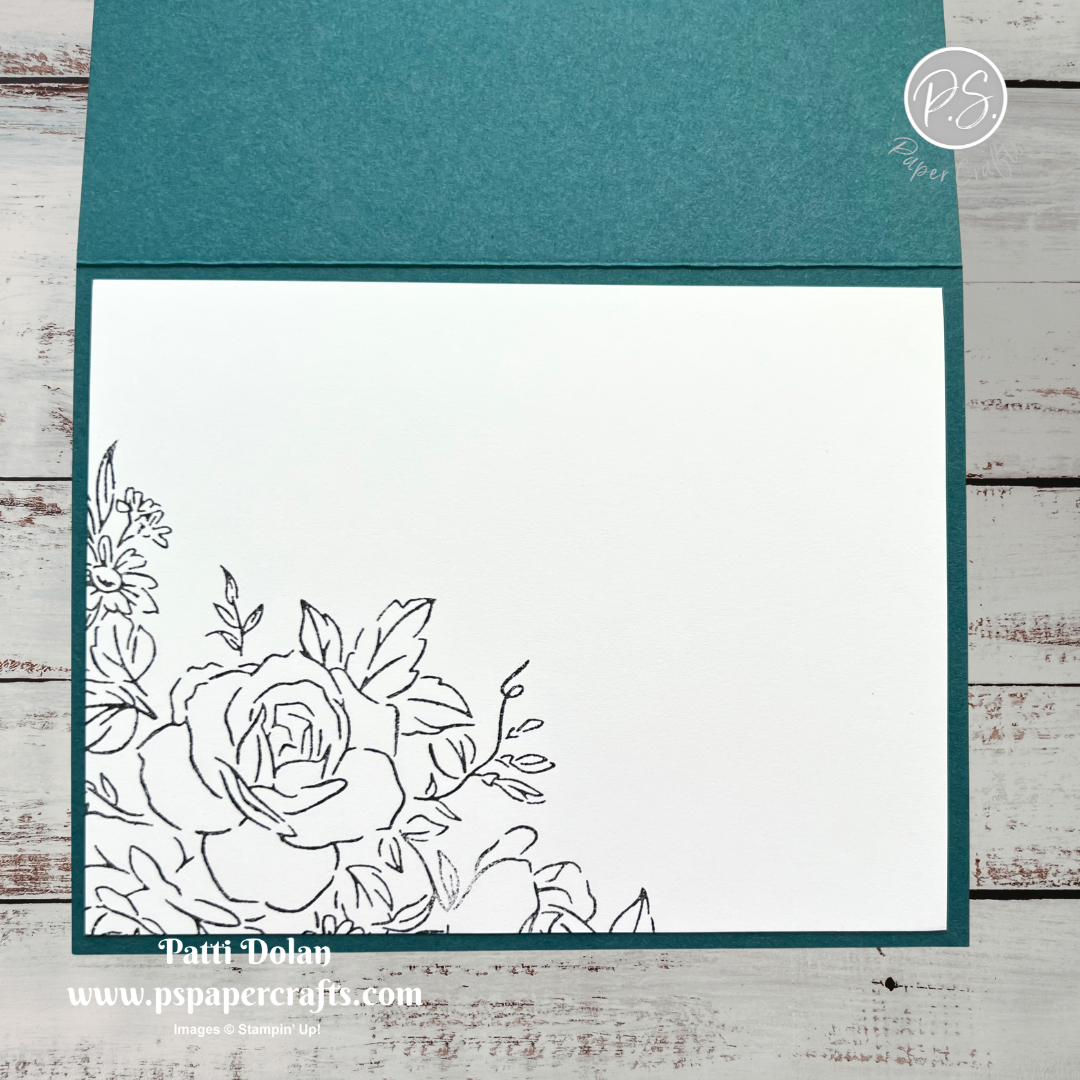
On the inside layer (4 x 5-1/4), stamp the floral image in Black Memento ink and adhere the layer to the inside of the card.


I love the watercolor look of this paper, it’s so bright and fun.


Supply List

You can click on the item to purchase it from my Online Store.
 

Sketch Challenge - Friendly Foliage

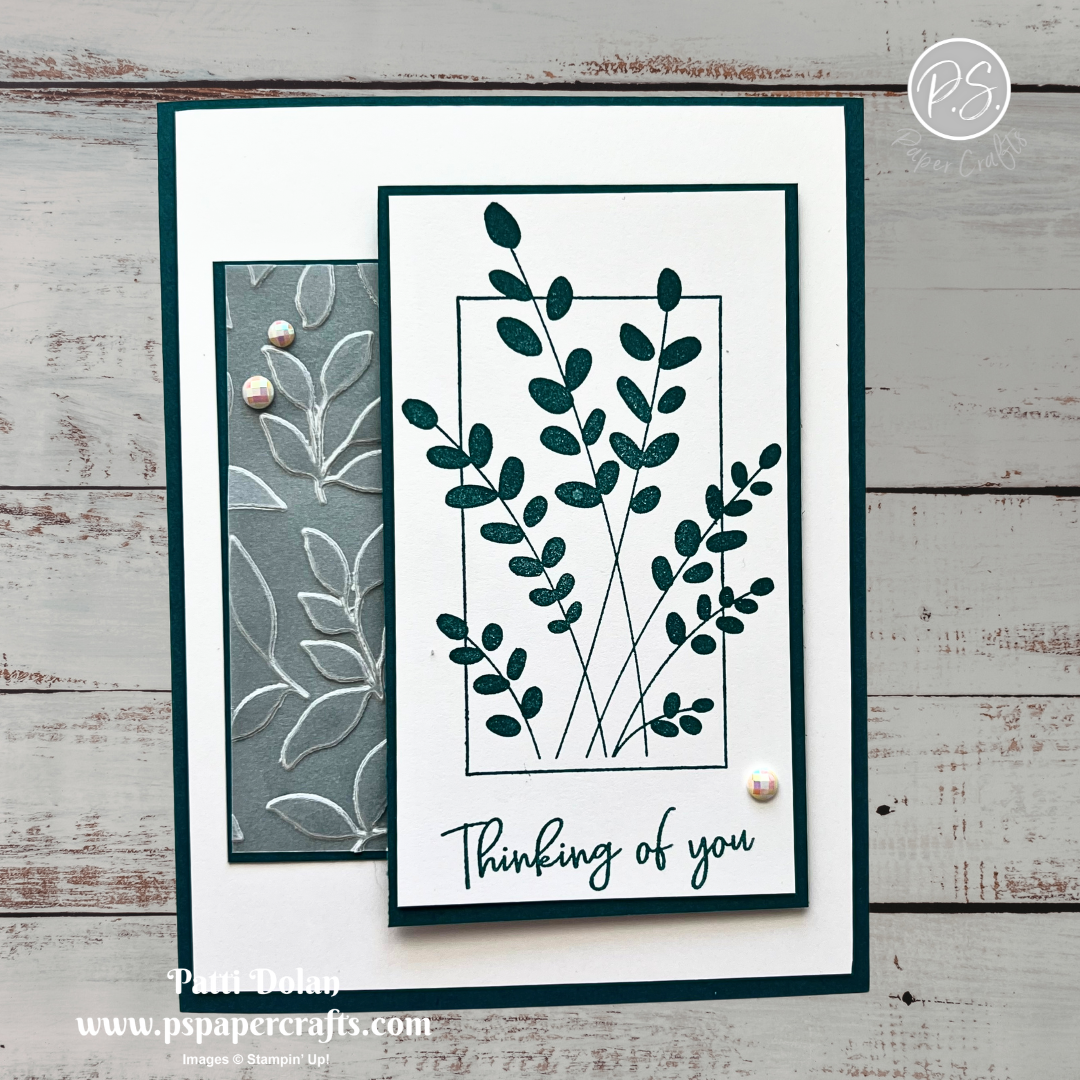
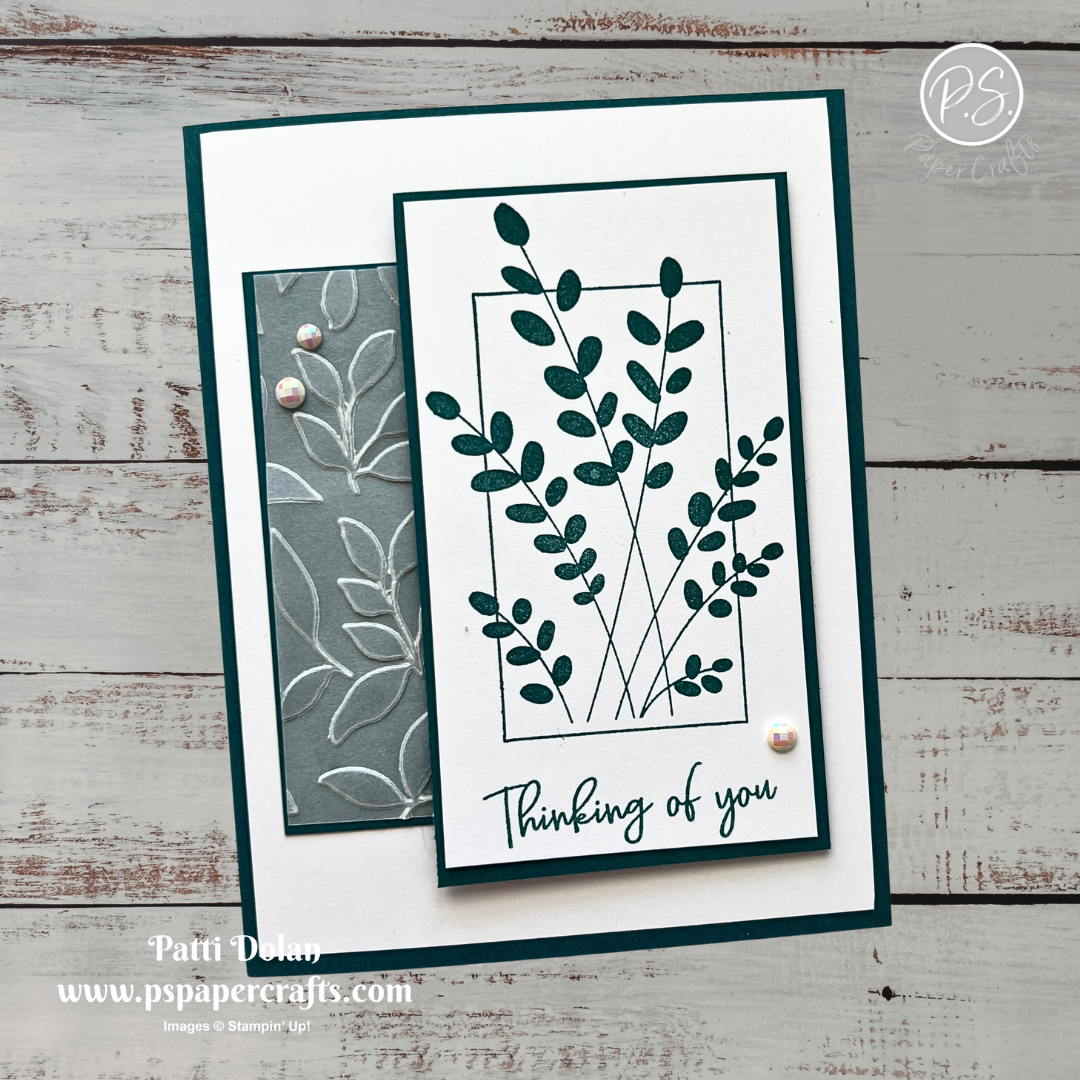
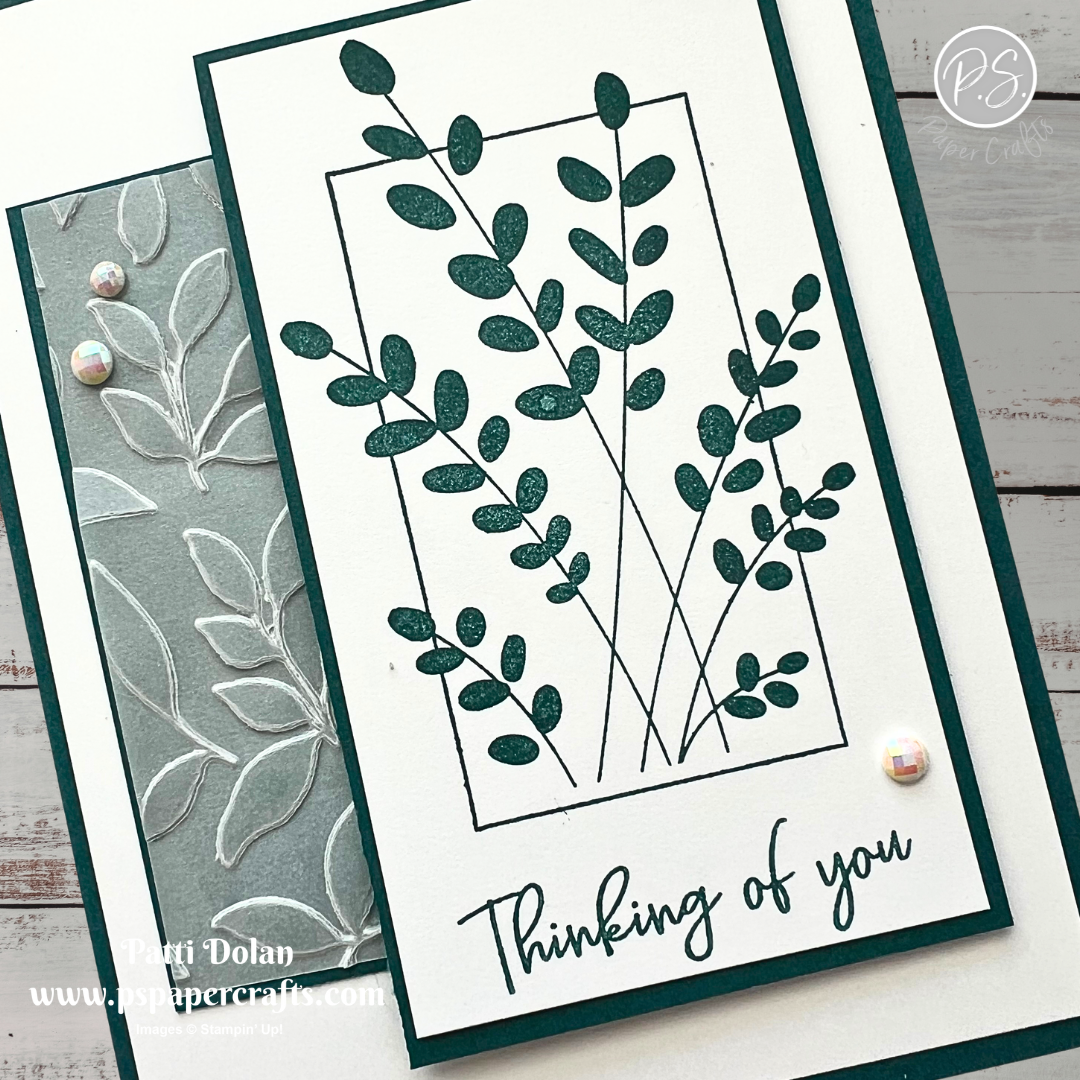
I love the delicate look of the leafy image from the Friendly Foliage Stamp Set. I paired it with an embossed piece of vellum, and the result is soft and pretty!


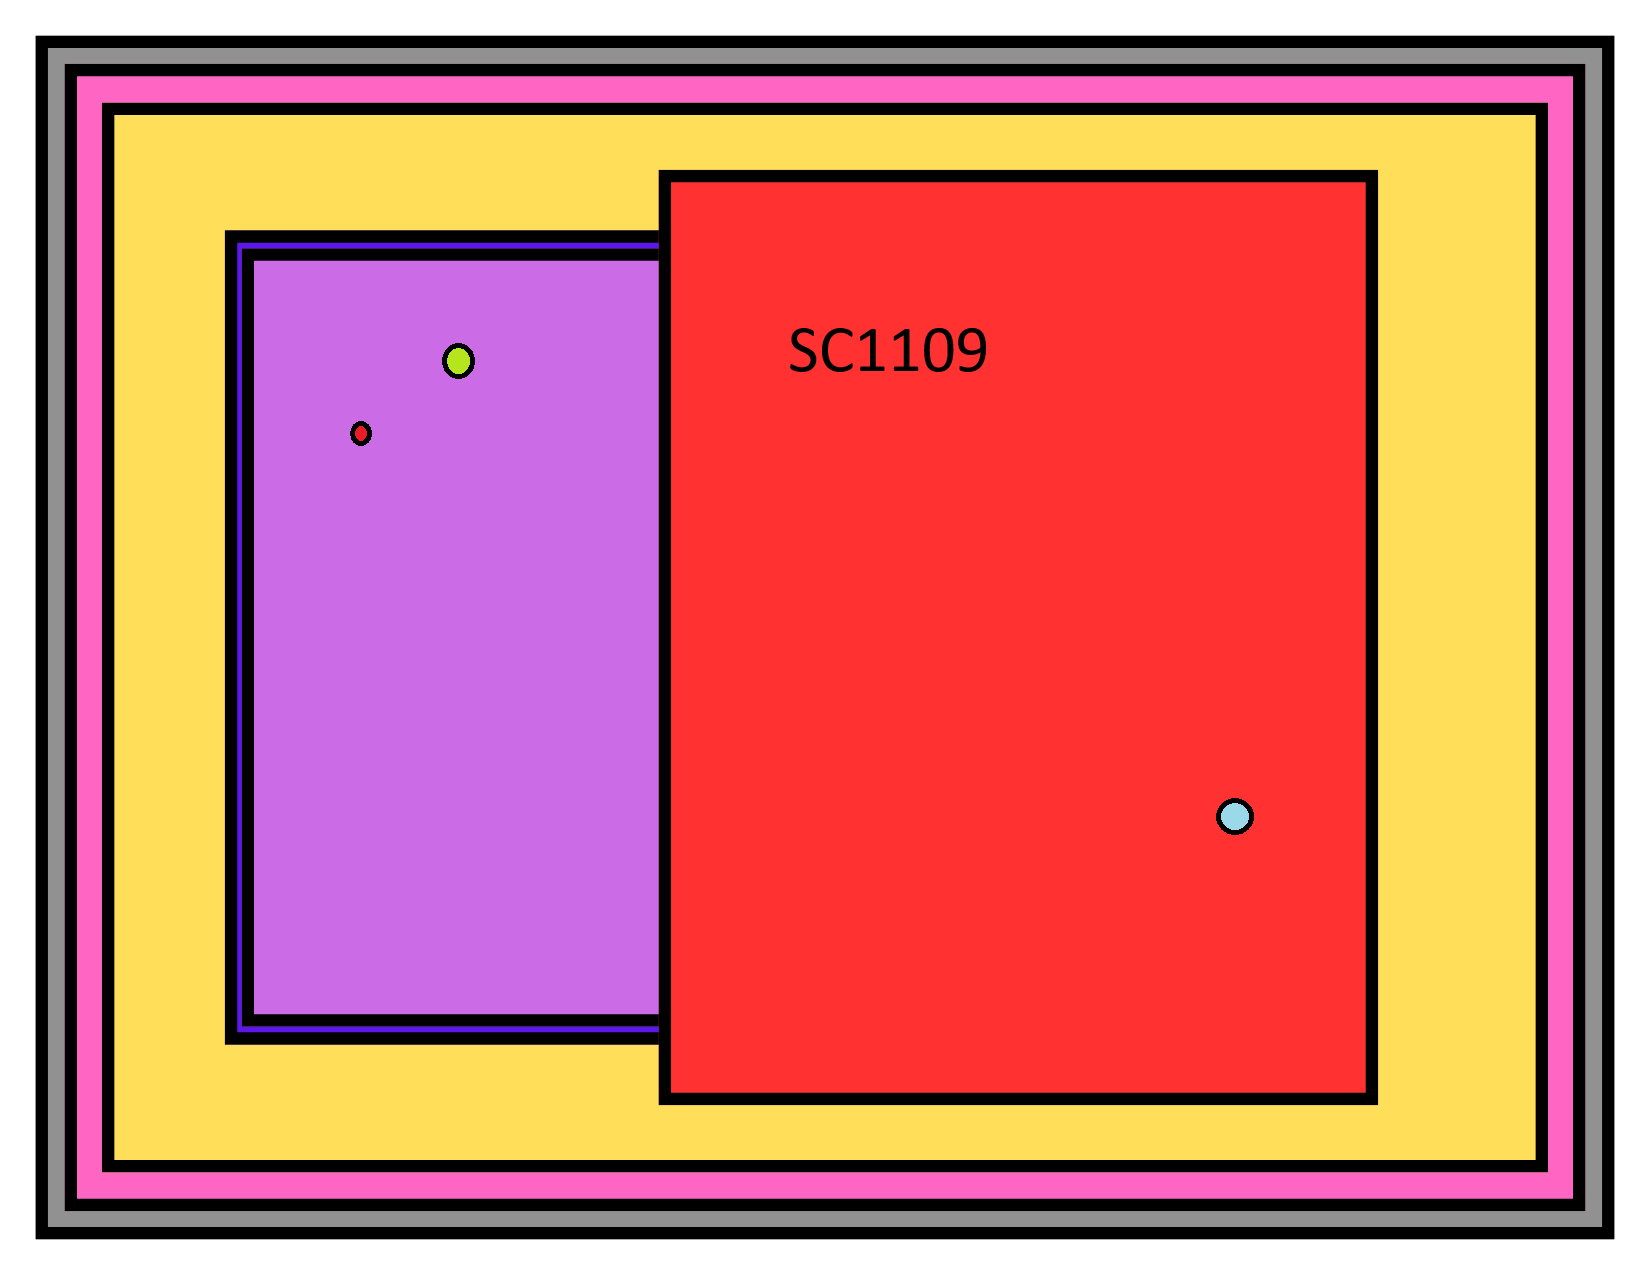
Here’s the sketch I used from the weekly Splitcoaststampers Sketch Challenge. You can see all the projects posted for this week’s challenge by clicking on the sketch below.


Tips & Instructions

  • Pretty Peacock Card Base - 5-1/2 x 8-1/2, score at 4-1/4

  • Basic White Layer - 4 x 5-1/4, adhere to the card base.

  • Vellum - 1-1/2 x 3-3/8, emboss using the Paradise Garden Hybrid Embossing Folder. Adhere to a piece of Pretty Peacock cut at 1-5/8 x 3-1/2.

  • Basic White - 2-3/8 x 4-1/8, stamp the sentiment and image in Pretty Peacock ink. Adhere to a piece of Pretty Peacock cut at 2-1/2 x 4-3/8 .

  • Adhere the embossed piece to the card and then adhere the stamped piece to the card using Dimensionals.

  • Add some Pearlized Faceted Circles.


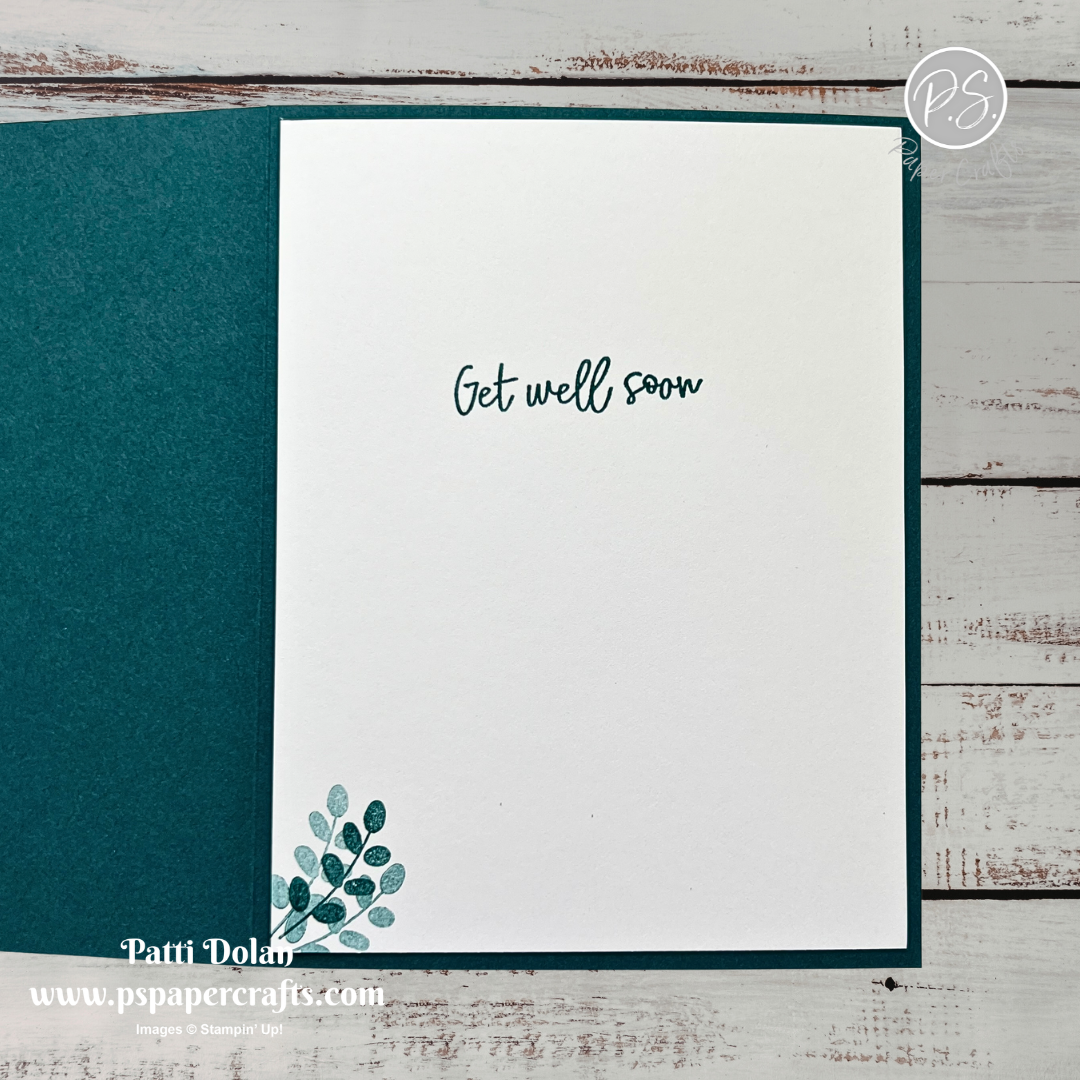
On the inside layer (4 x 5-1/4), stamp the sentiment in Pretty Peacock ink. Stamp the small branch, then stamp a second time without re-inking. Ink up the stamp and stamp on scrap, then stamp the third branch on the layer.


I love how simple this card is, so sweet to let someone know you’re thinking of them.


Supply List

You can click on the item to purchase it from my Online Store.
 

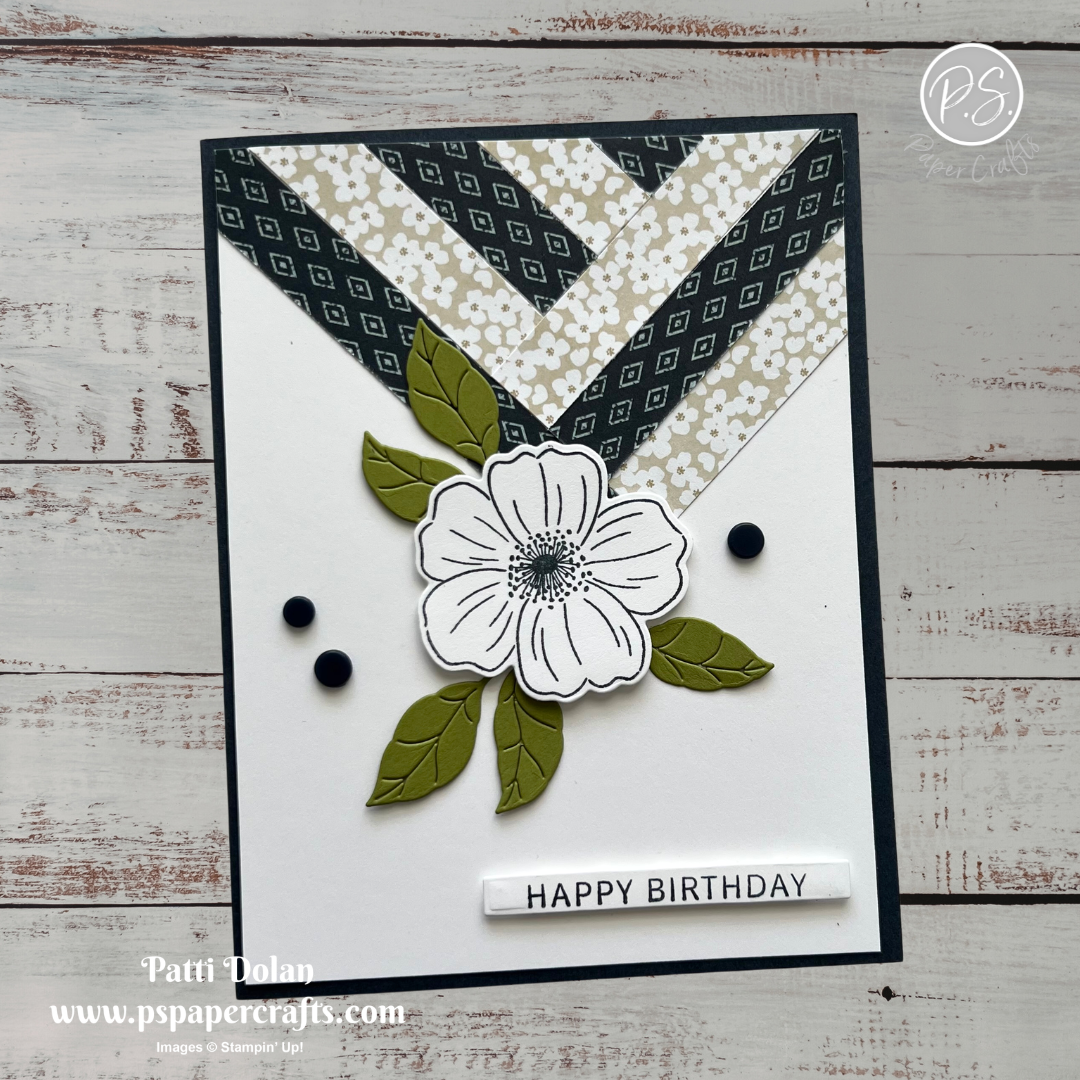
Sketch Saturday - Lovely Arrangements

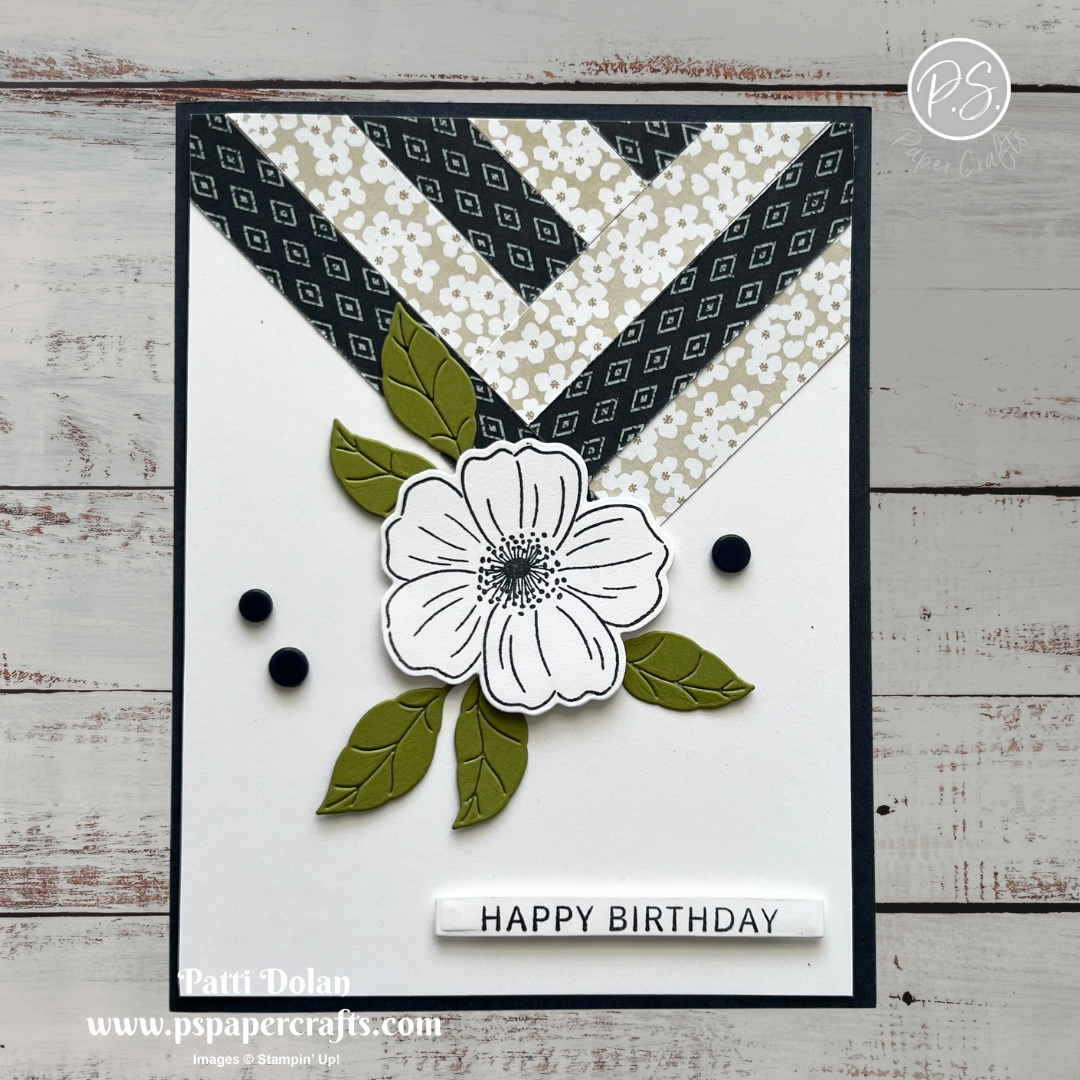
I made this card for the weekly sketch challenge using products from the Lovely Blossoms Suite.


Here’s the sketch I used from the Atlantic Hearts Sketch Challenge.


Tips & Instructions

  • Secret Sea Card Base - 5-1/2 x 8-1/2, score at 4-1/4

  • Basic White Layer - 4 x 5-1/4

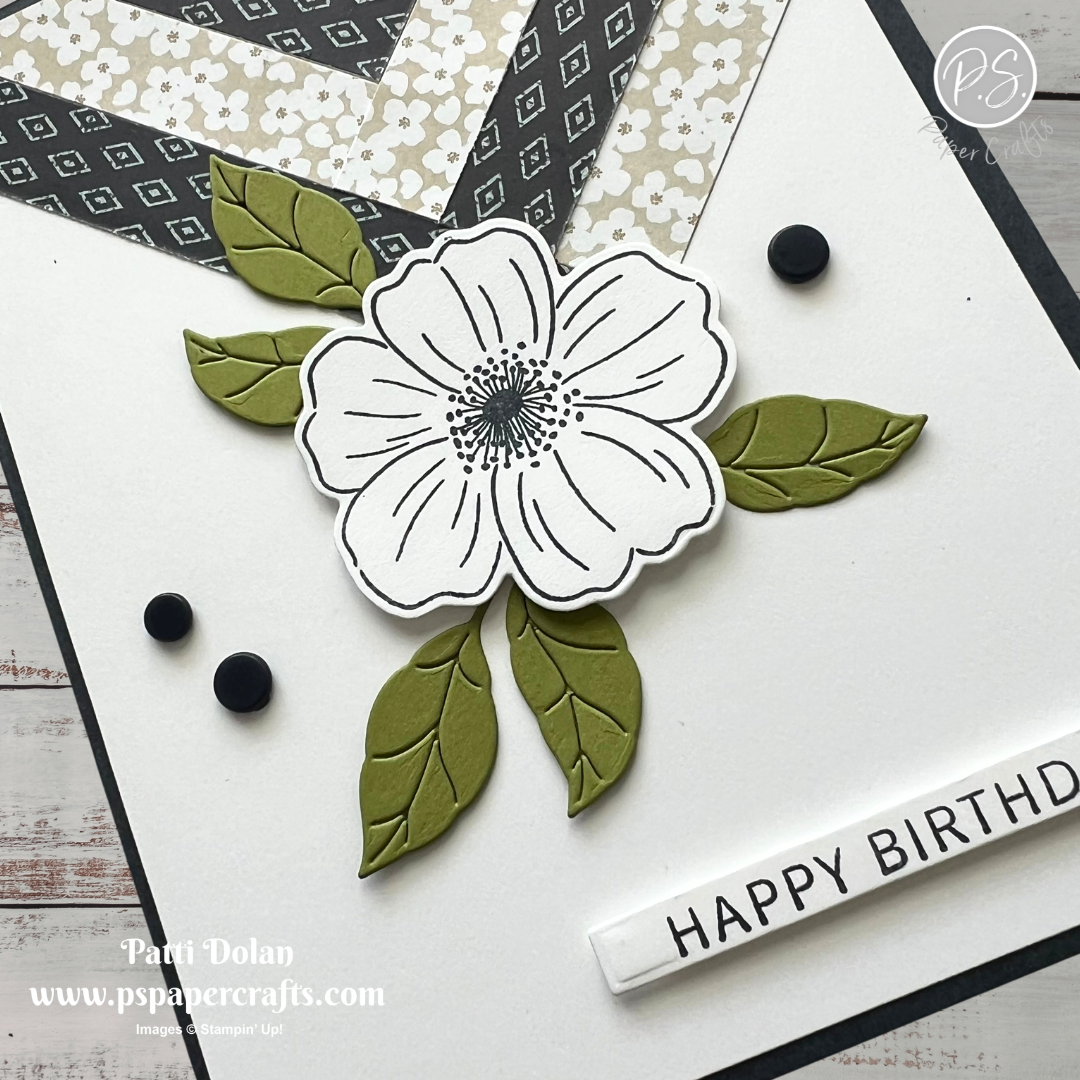
  • Cut 1/2” strips from the Lovely Blossoms Designer Series Paper and adhere in a pattern at the top of the card.

  • Stamp the flower on a scrap of Basic White in Secret Sea ink and die cut using the Lovely Arrangements Bundle.

  • Die cut some leave from Old Olive Cardstock.

  • Adhere the flower to the card with a Dimensional in the center.

  • Adhere the leaves behind the flower.

  • Stamp the sentiment on a scrap of Basic White in Secret Sea ink and die cut with the small label die. Adhere with bits of Dimensionals.

  • Add some Natural Matte Dots


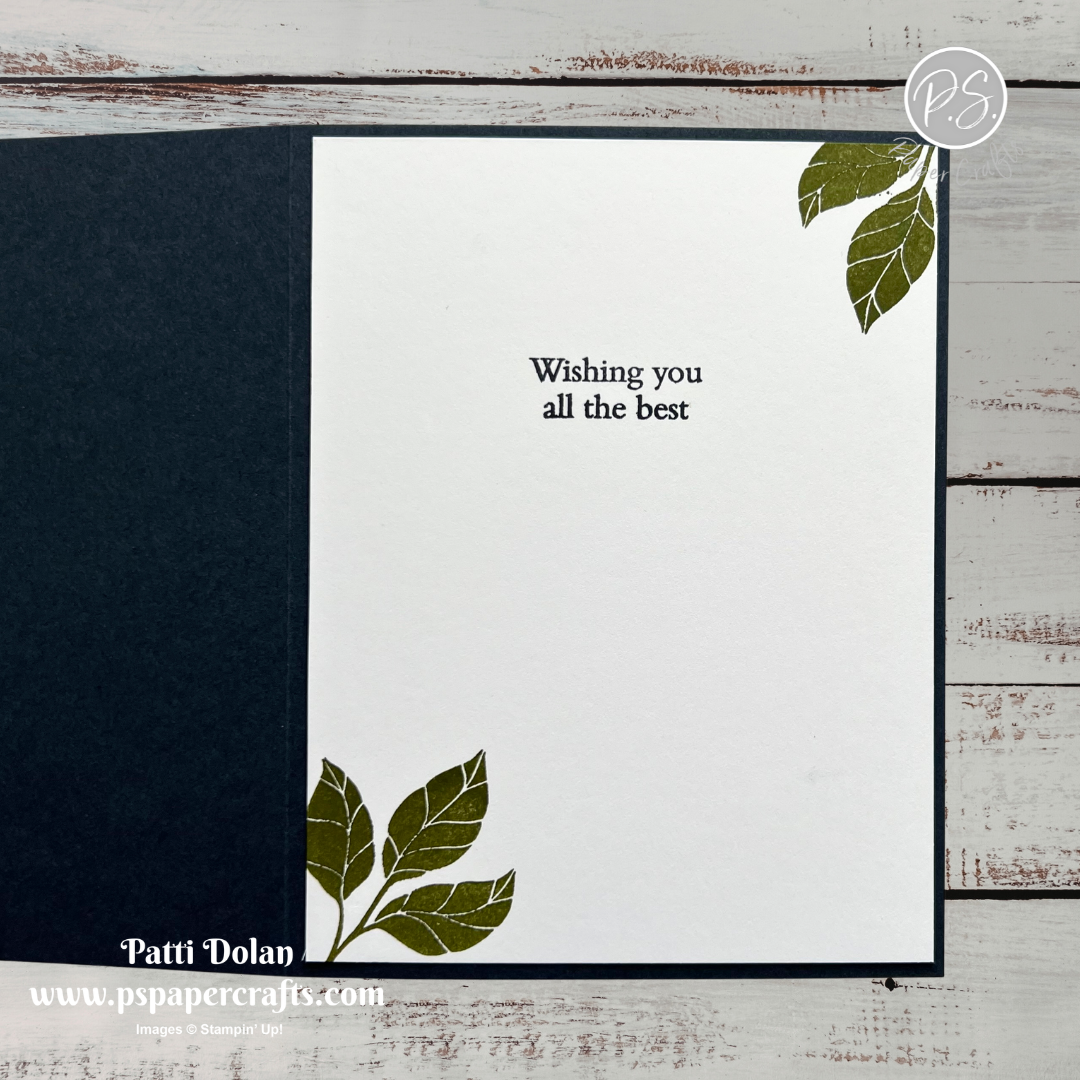
On the inside layer (4 x 5-1/4), stamp the sentiment Secret Sea ink and the leaves in Old Olive ink. The inside sentiment is from the Friendly Foliage Stamp Set.


I love the contrast of the dark and light patterned strips on this card.


Supply List

You can click on the item to purchase it from my Online Store.
 

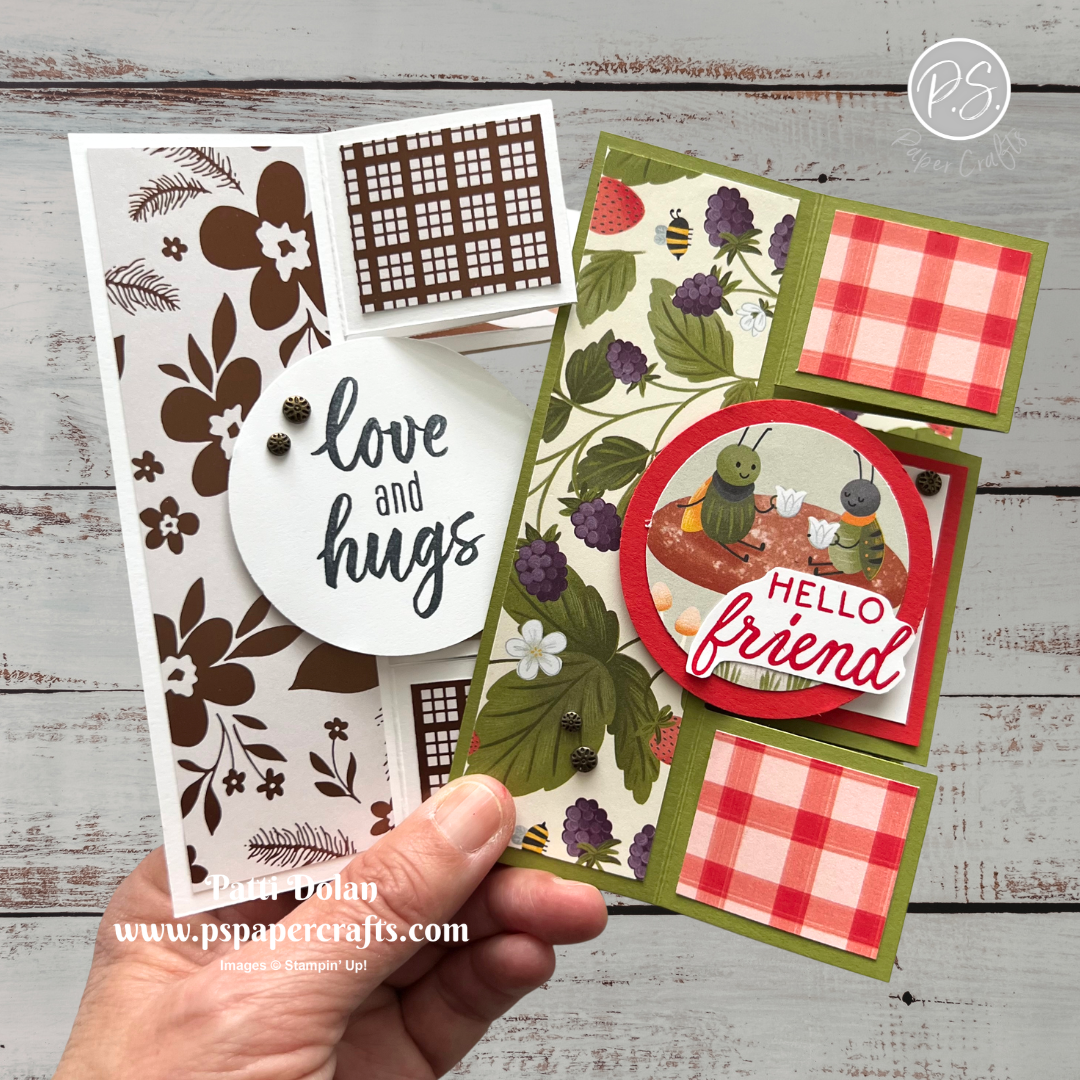
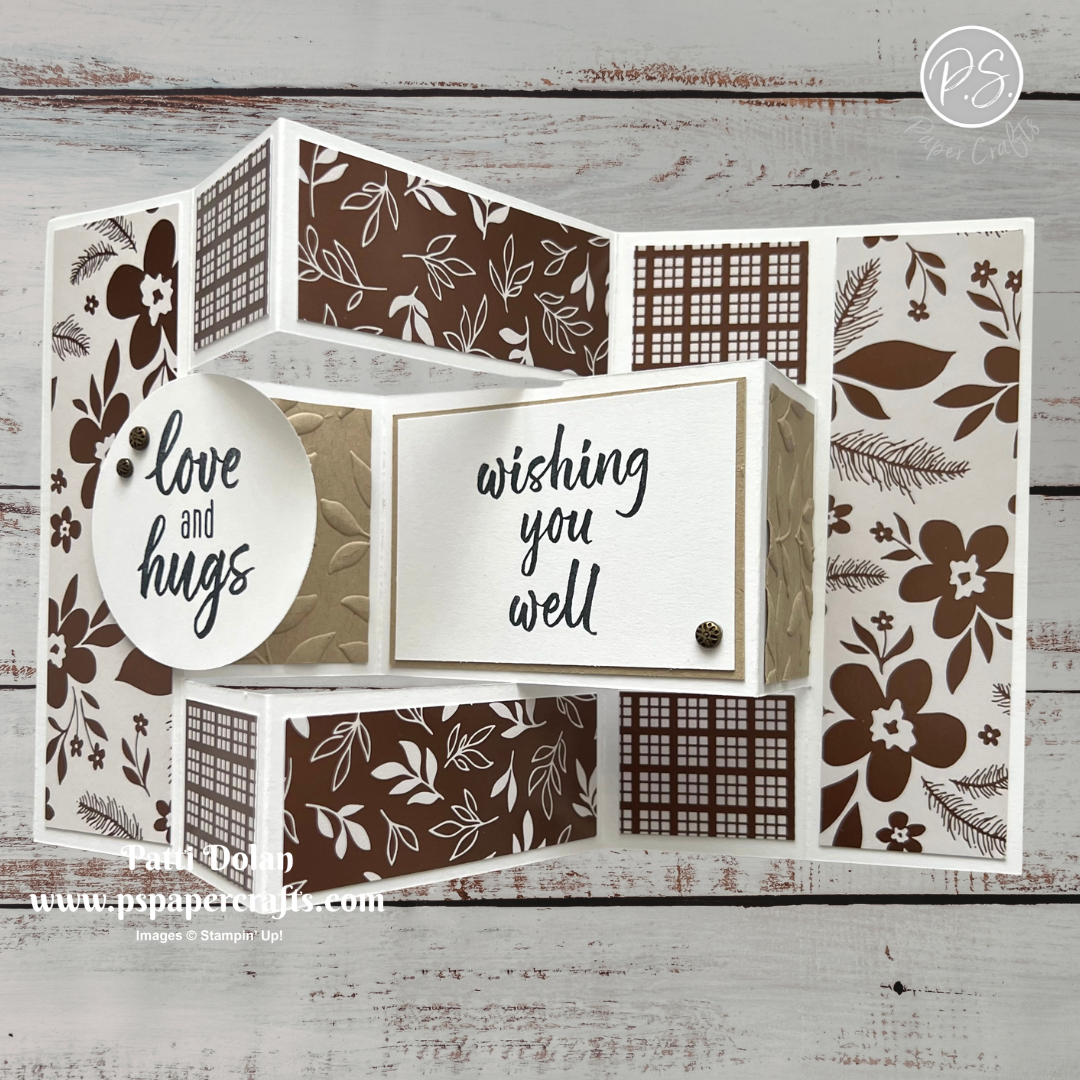
Tri-Fold Shutter Fold Cards

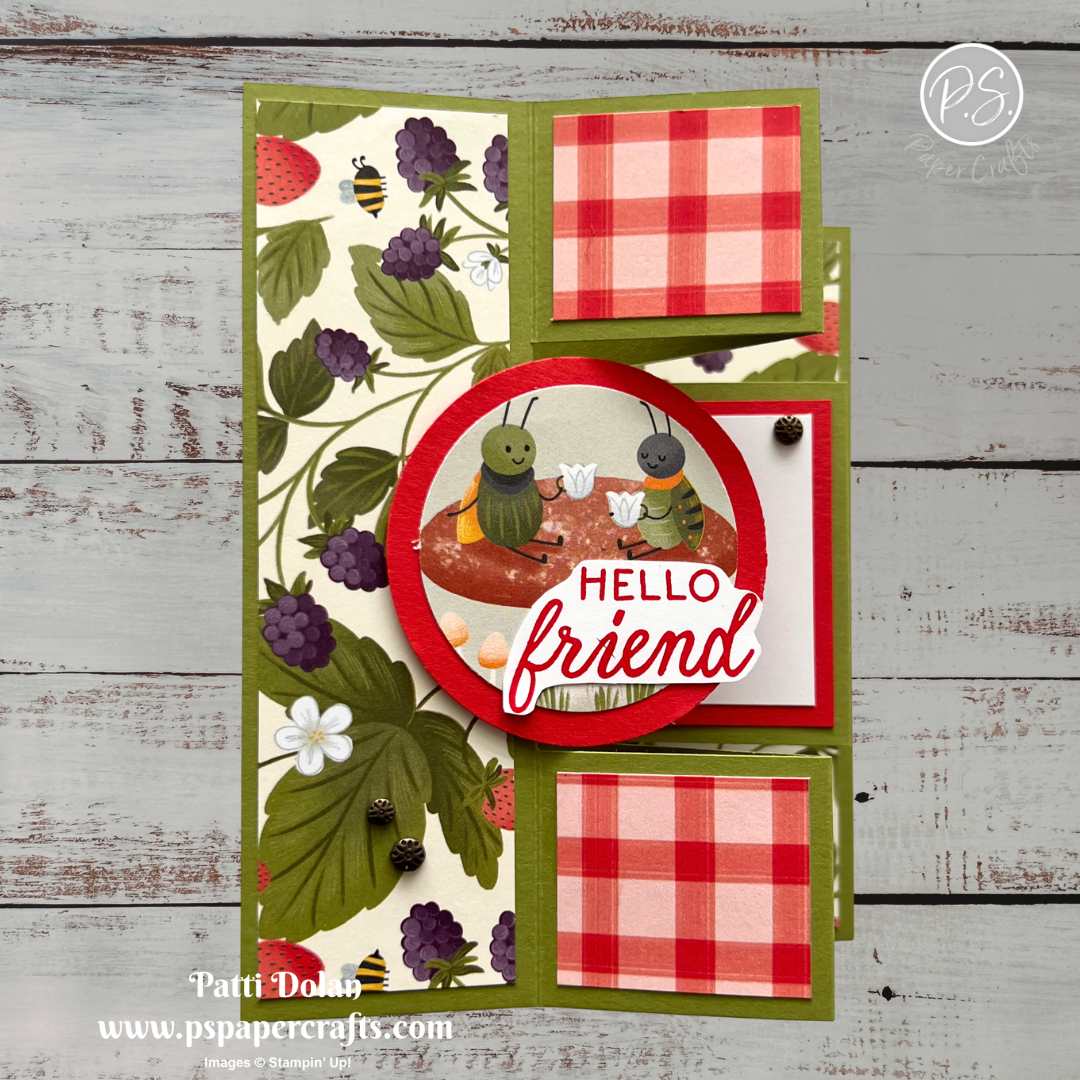
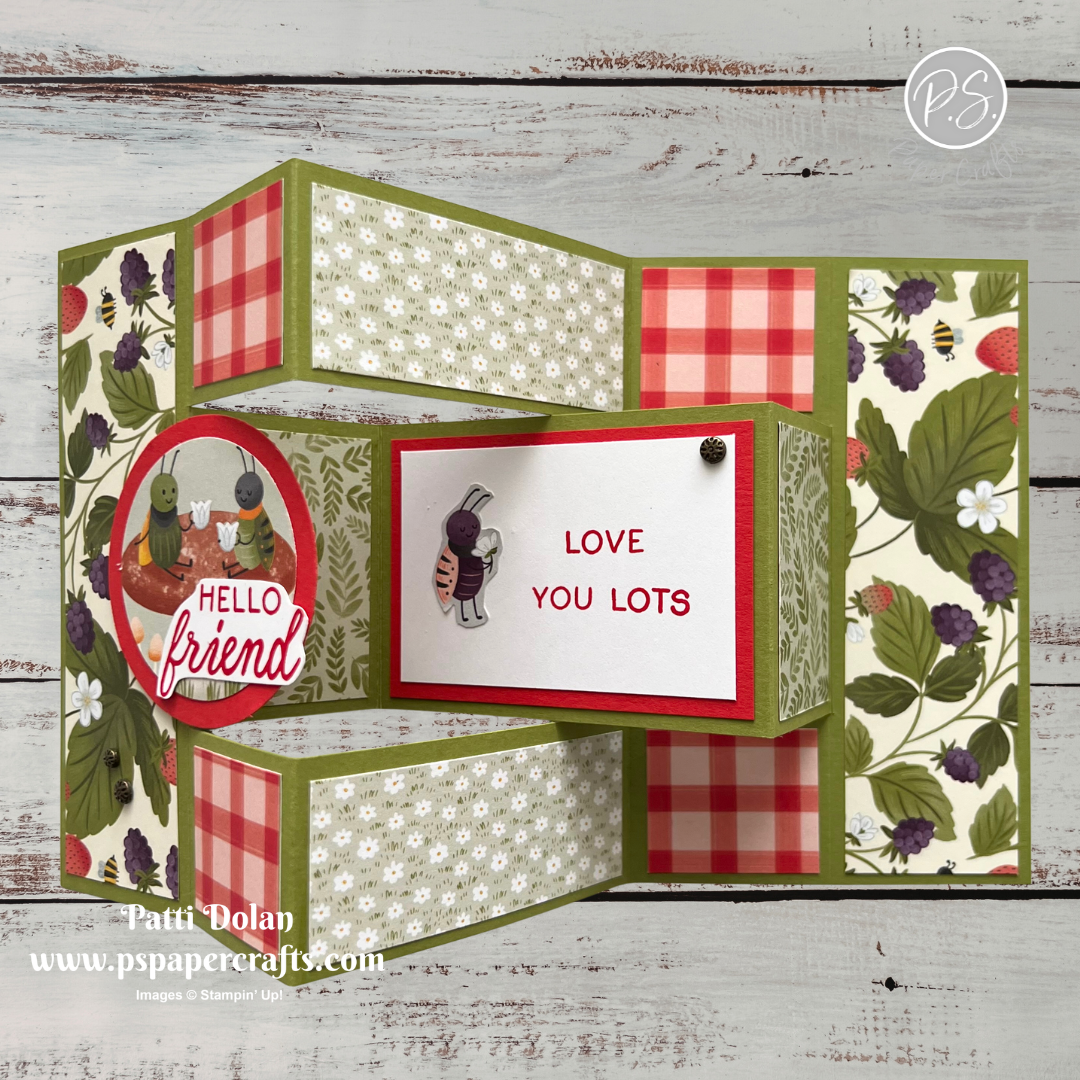
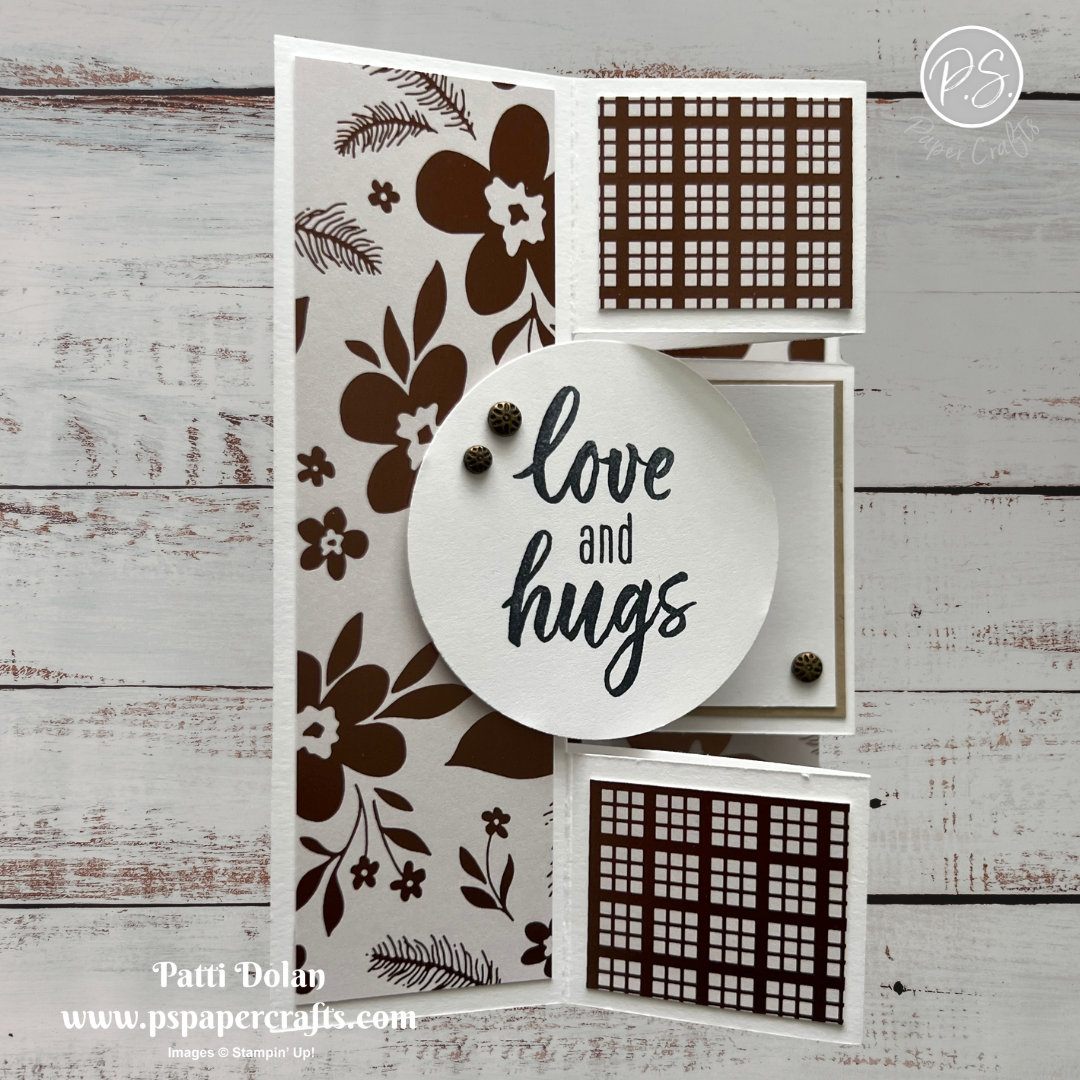
I was pleasantly surprised at how easy these Tri-Fold Shutter Cards are to make! They may look complicated with all the cuts and folds, but after watching Julie from The Paper Pixie’s video, I realized just how simple they really are.


Watch the video to see step by step instructions to make this design.

Click on the button below to get a printable pdf with measurements and instructions.


I looked through my paper stash to find patterns that would work for this design, you need 4 different patterns. I found great patterns in the Cute As A Bug Designer Series Pack and used the Sweet Bugs Stamp Set to go with it.


The Delicate Designs Specialty Designer Series Paper is just gorgeous! I paired it with the Greenery Lane Stamp Set and love how it turned out.


Supply List

You can click on the item to purchase it from my Online Store.
 

Help Me Grow Color Combo

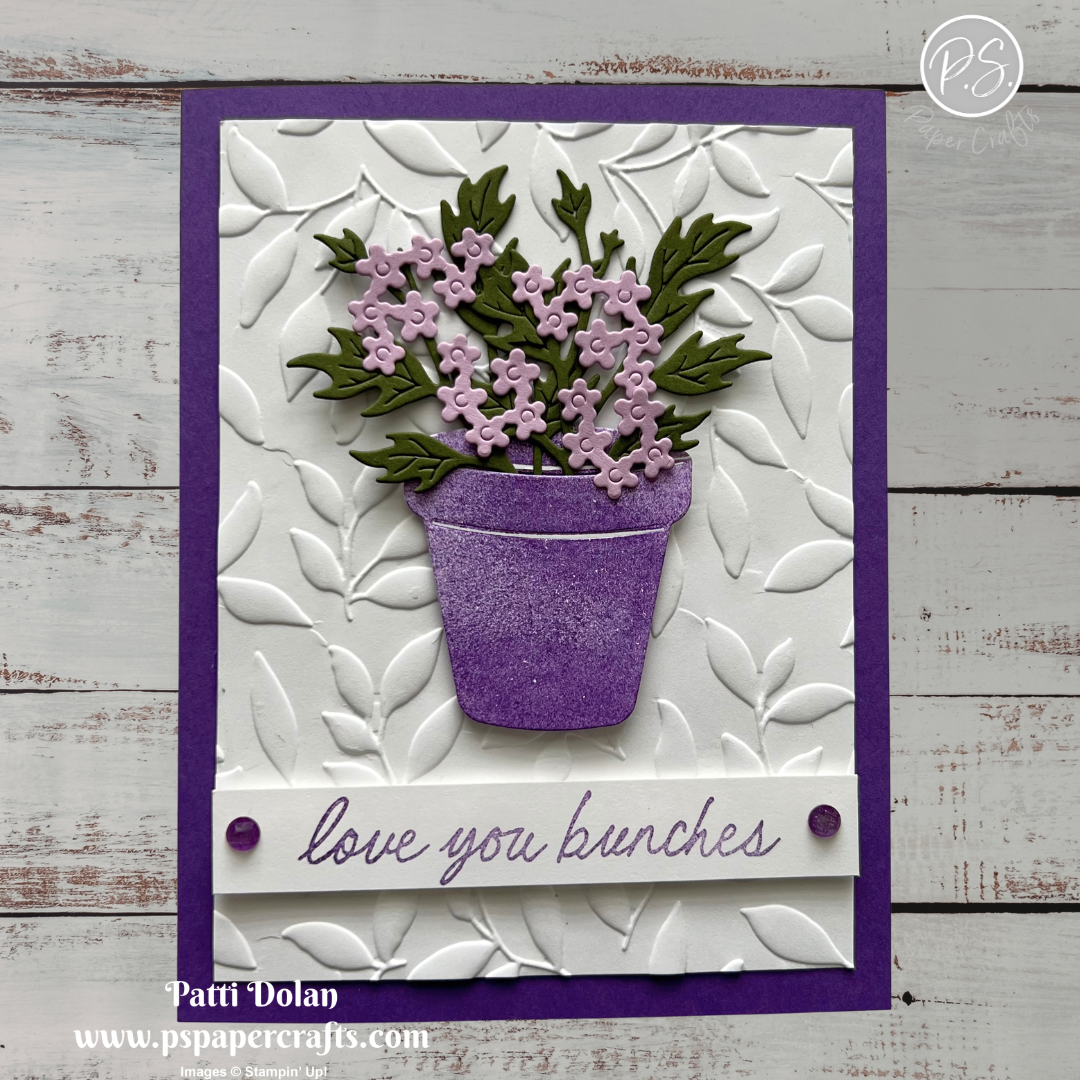
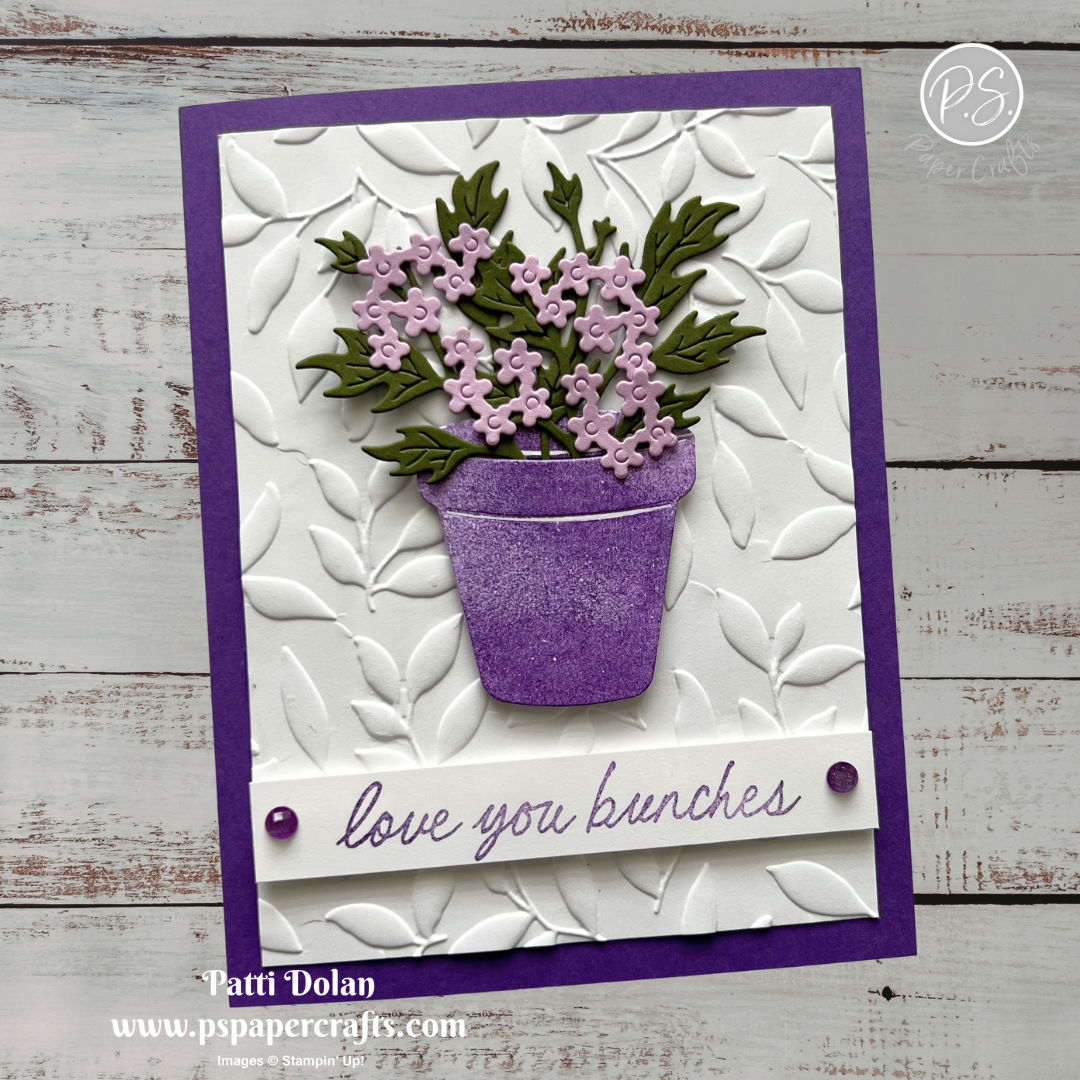
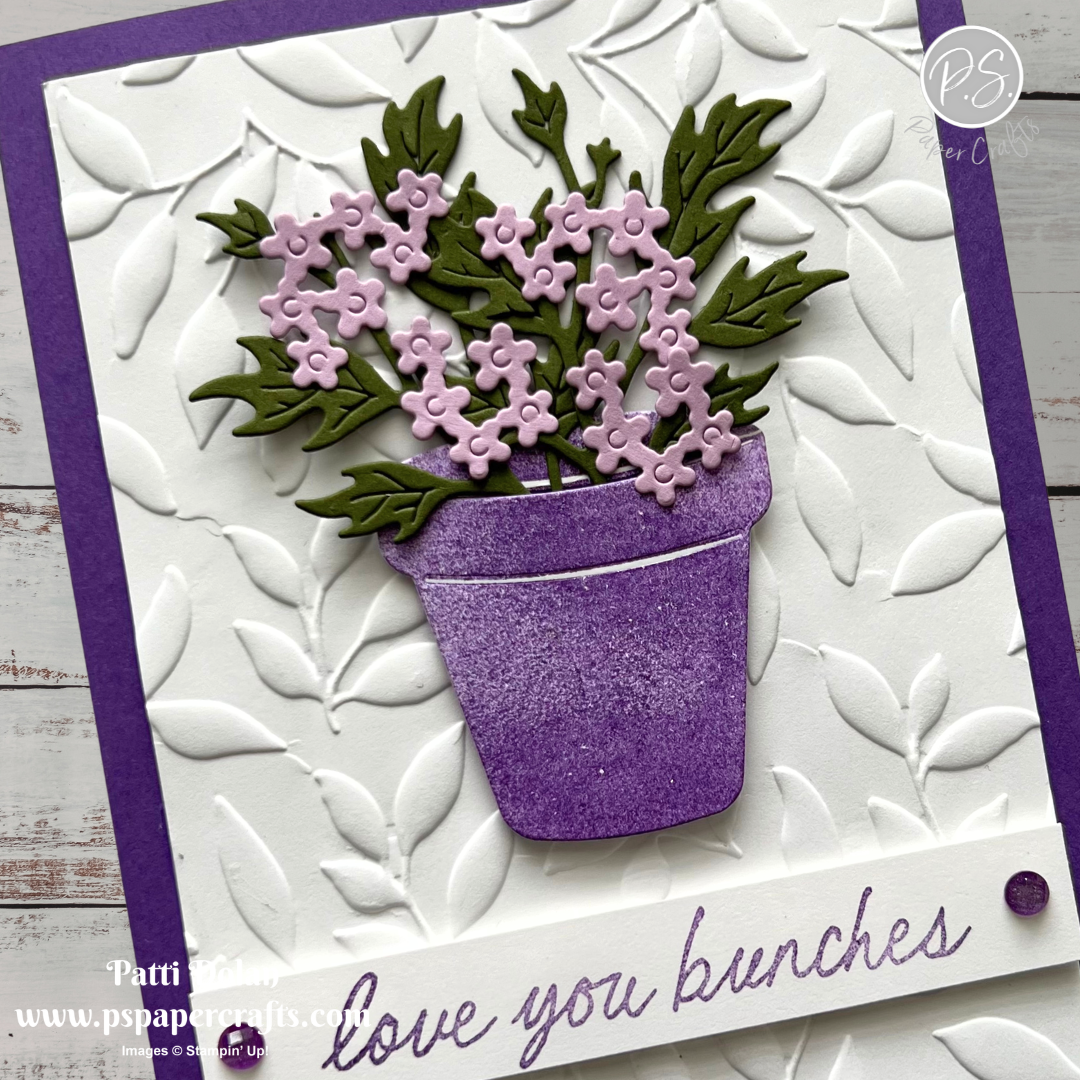
I’m loving the Help Me Grow Bundle—it has so many great images and dies for creating beautiful potted flowers! For the background, I used the Paradise Garden Hybrid Embossing Folder, which includes a large leafy die that cuts into the embossed layer. Such a cool effect!


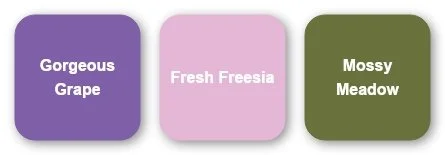
I used the Color Combo from my April Inspiration Calendar - Gorgeous Grape, Fresh Freesia and Mossy Meadow.

You can get my calendar each month when you subscribe to my email list.


Tips & Instructions

  • Gorgeous Grape Card Base - 5-1/2 x 8-1/2, score at 4-1/4

  • Basic White Layer - 3-3/4 x 5, emboss using the Paradise Garden Hybrid Embossing Folder and adhere to the card base.

  • Die cut 2 branches from Mossy Meadow and some flowers from Fresh Freesia Cardstock using the Help Me Grow Dies.

  • Stamp the pot on Basic White in Gorgeous Grape ink and die cut using the smaller pot.

  • Feed the bottom of the branches into the slit on the pot and adhere in the back. I used tape to do this. Adhere the pot to the card with Dimensionals.

  • Adhere the flowers to the pot.

  • Stamp the sentiment on a 5/8 x 3-3/4 strip of Basic White in Gorgeous Grape ink and adhere to the card with Dimensionals.

  • Add some Purple Fine Shimmer Gems.


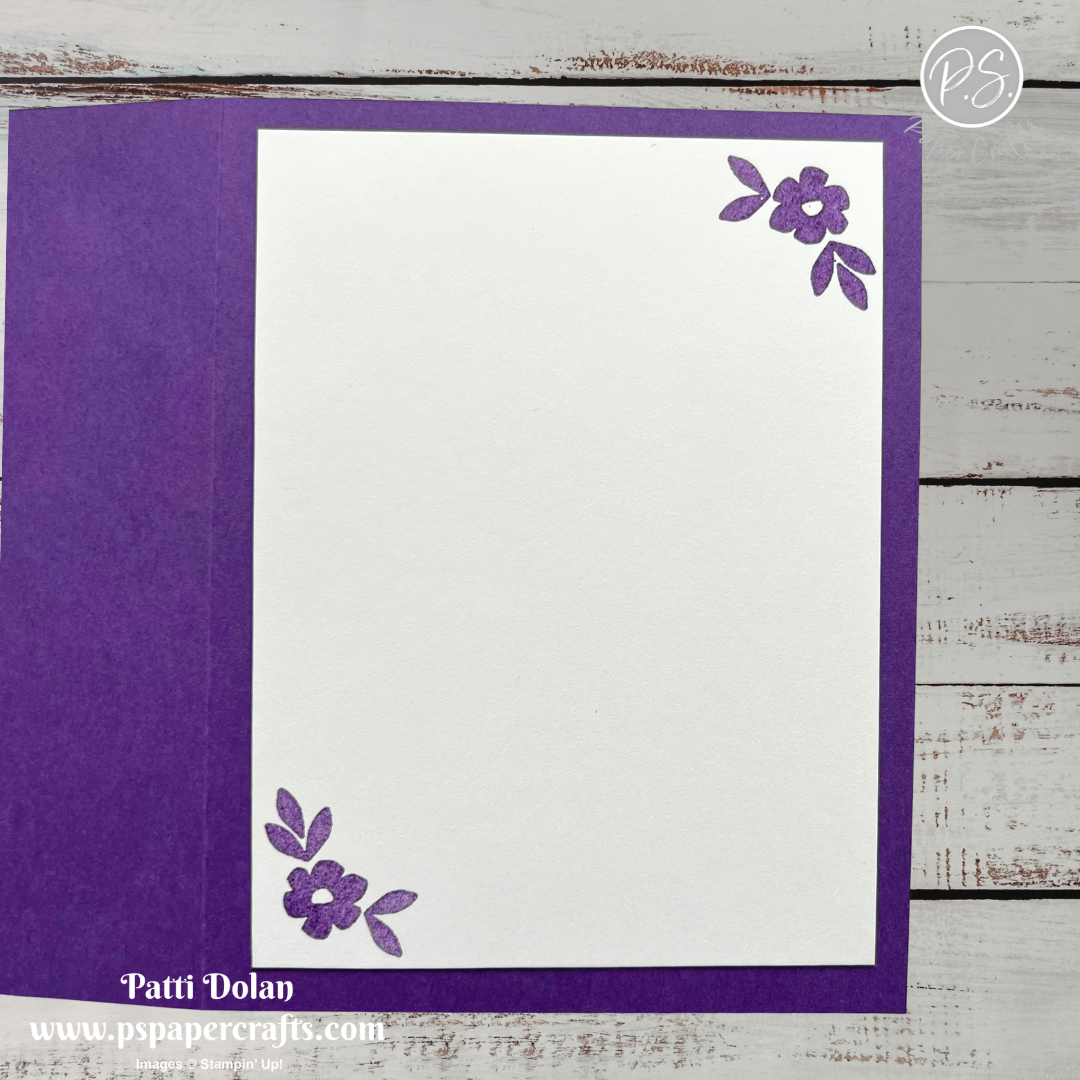
On the inside layer (4 x 5-1/4), stamp two flowers in Gorgeous Grape ink.


I love the texture in the pot, it looks realistic. You can use just about any color!


Supply List

You can click on the item to purchase it from my Online Store.
 

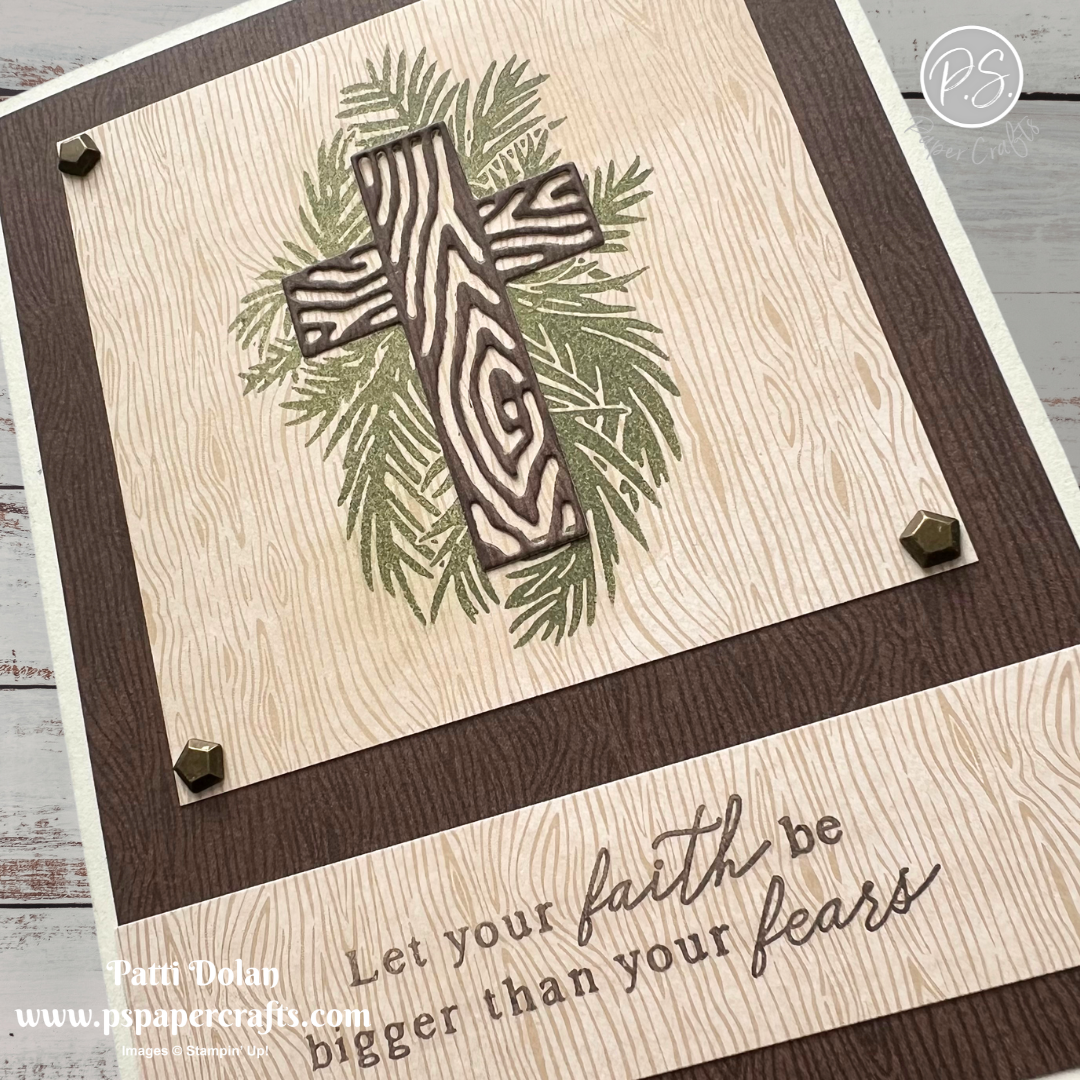
Sketch Challenge - Faith Collection

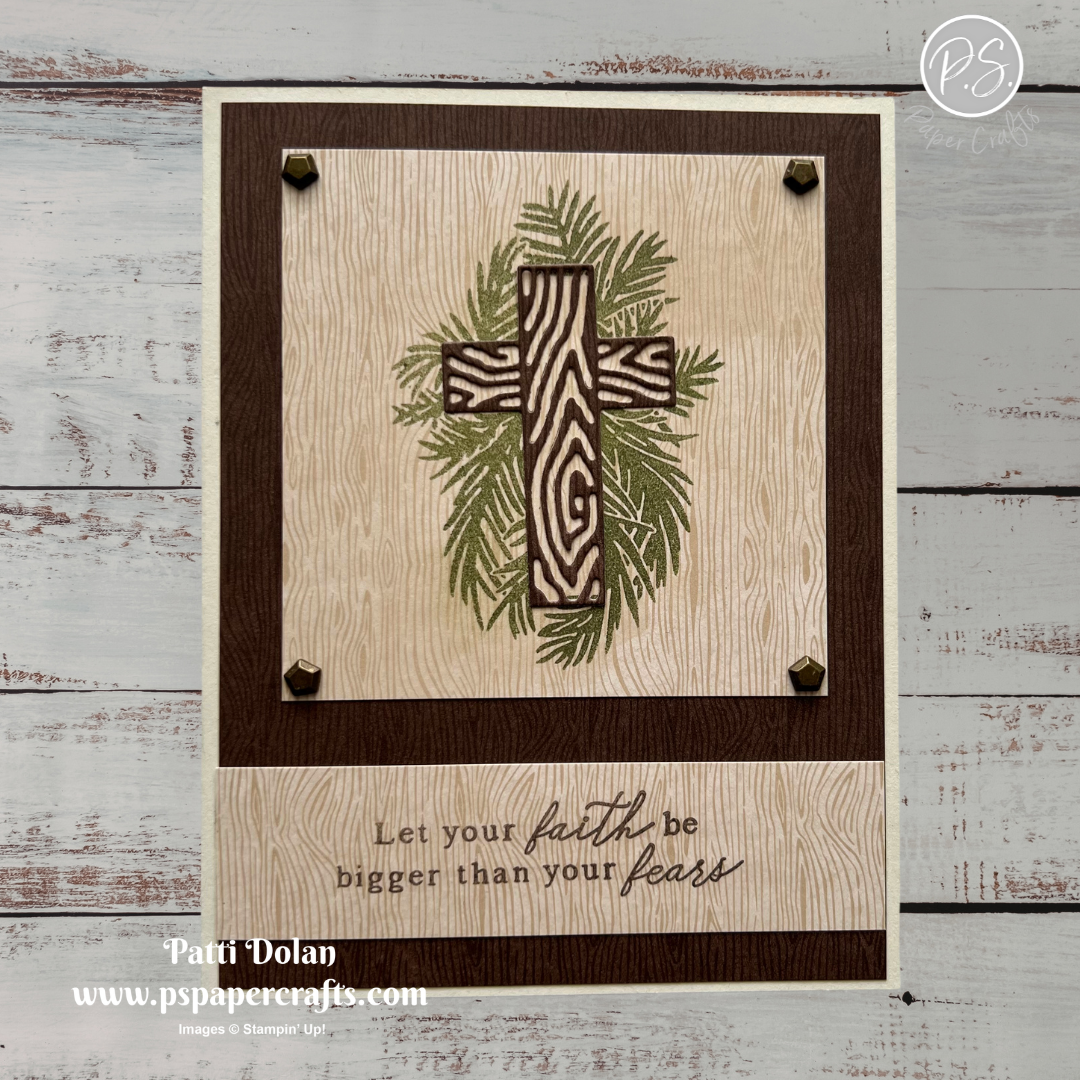
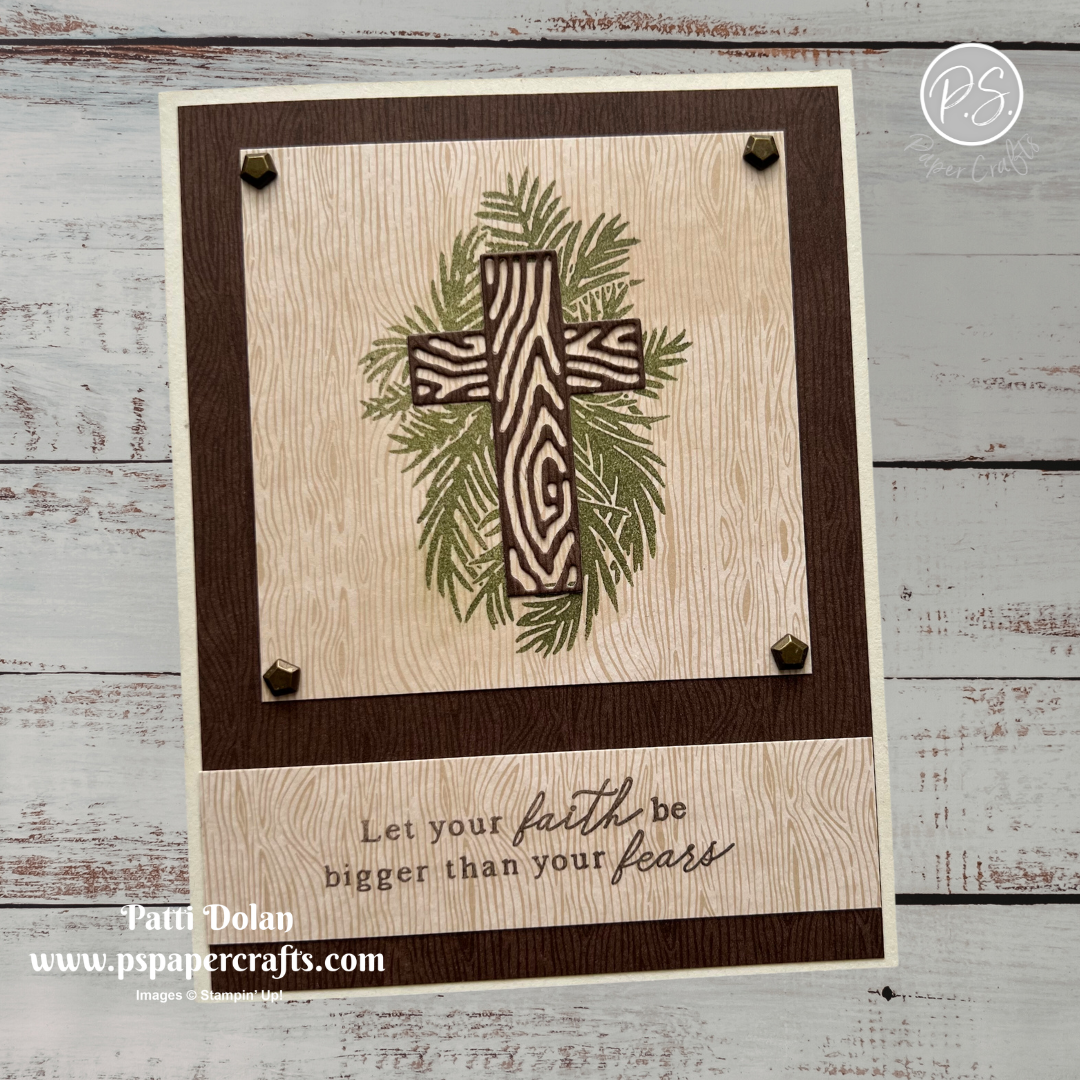
Here’s my final Easter card for the season. I used the Faith Collection Stamp Set and Dies for this week’s Splitcoaststampers Sketch Challenge. I love the sentiment, so true!


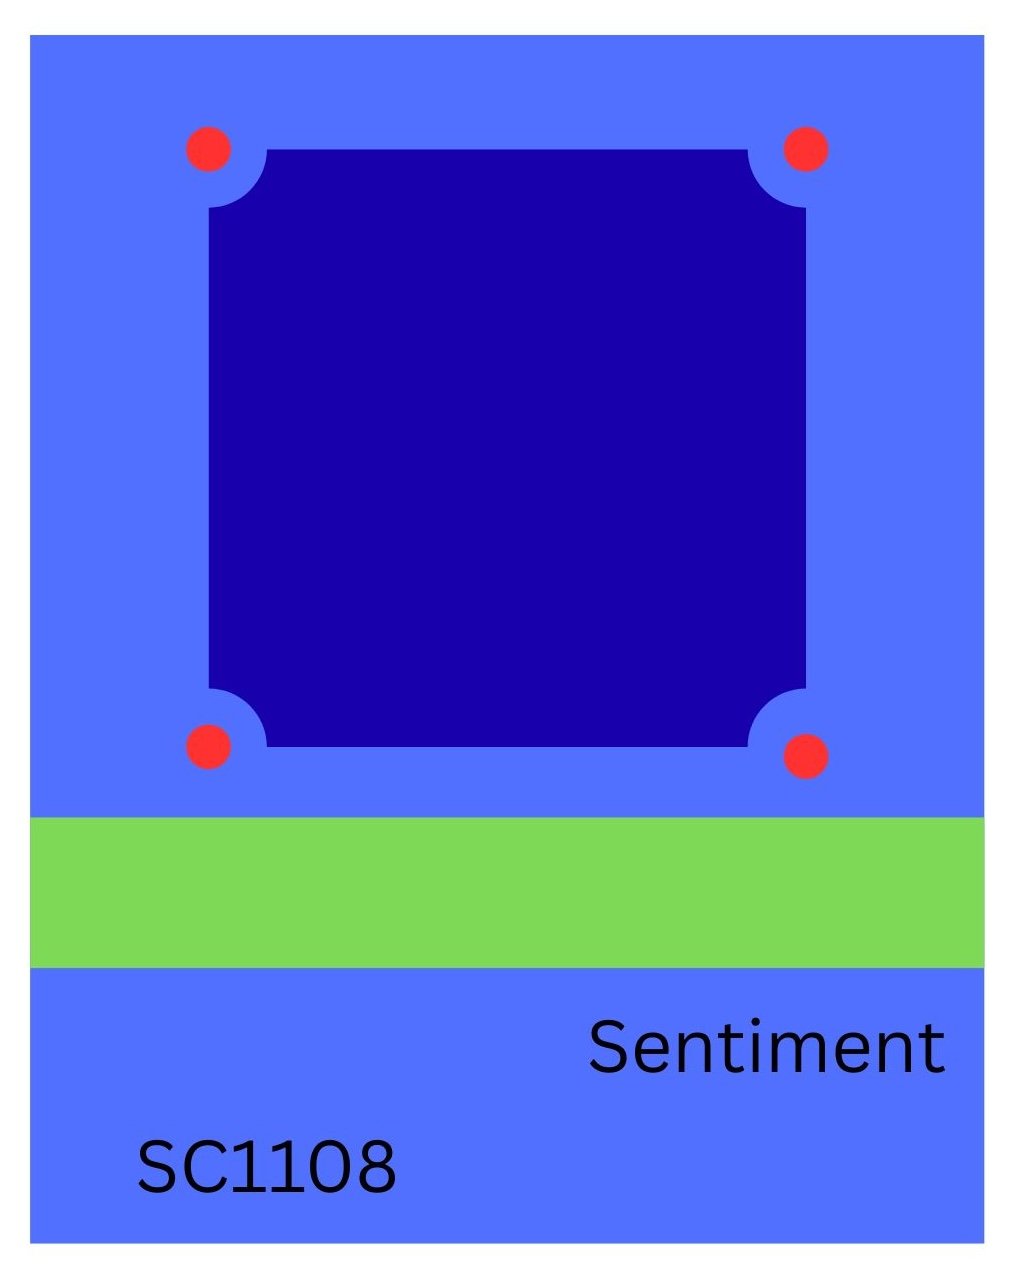
Here’s the sketch I used. You can see all the projects posted for this week’s challenge by clicking on the sketch below.


Tips & Instructions

  • Basic Beige Card Base - 5-1/2 x 8-1/2, score at 4-1/4

  • Wood Grain Wonders Designer Series Paper (dark pattern) - 4 x 5-1/4, adhere to the card base.

  • Wood Grain Wonders Designer Series Paper (light pattern) - 3-1/4 x 3-1/4 square and 1 x 4 strip.

  • Stamp the palm branch outline on the square in Old Olive ink.

  • Adhesive sheet - 1-3/4 x 2-1/2, adhere to a 1-3/4 x 2-1/2 piece of Early Espresso, removing the release paper from just one side. You can skip this and just glue the cross to the square. Use this to die cut the cross with the wood grain using the Faith Collection Dies.
  • Remove the adhesive from the back of the cross and adhere it in place on the palm branches.

  • Stamp the sentiment on the strip in Early Espresso ink.

  • Adhere the square and strip to the card.

  • Add some Faux Bronze Pentagons to the corners.


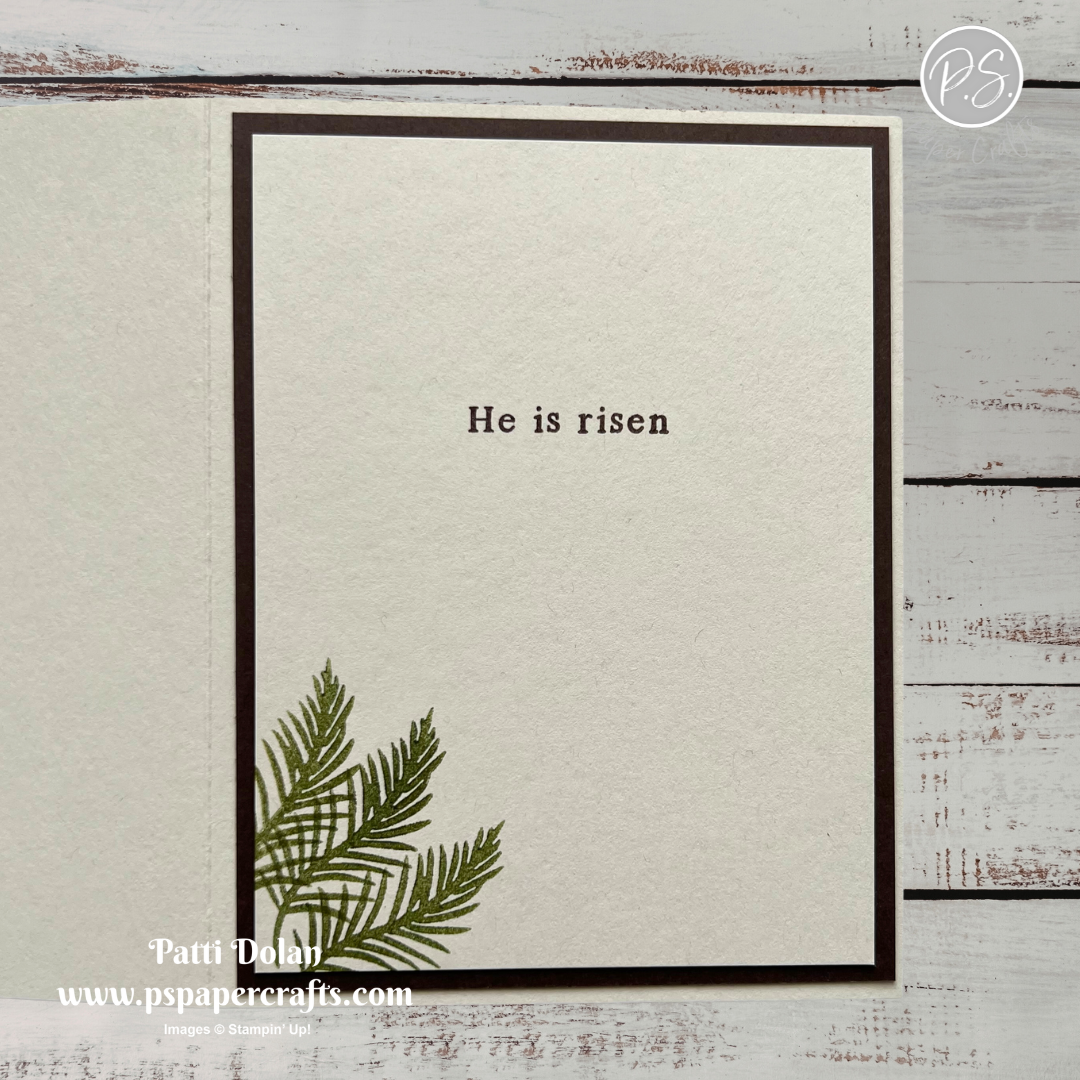
Adhere a 4 x 5-1/4 layer of Early Espresso Cardstock on the inside. Stamp the sentiment in Early Espresso ink and some palm branches in Old Olive ink on a 3-3/4 x 5 piece of Basic Beige Cardstock and adhere to the inside.


I love all the wood grain patterns on this card, especially on the cross.


Supply List

You can click on the item to purchase it from my Online Store.