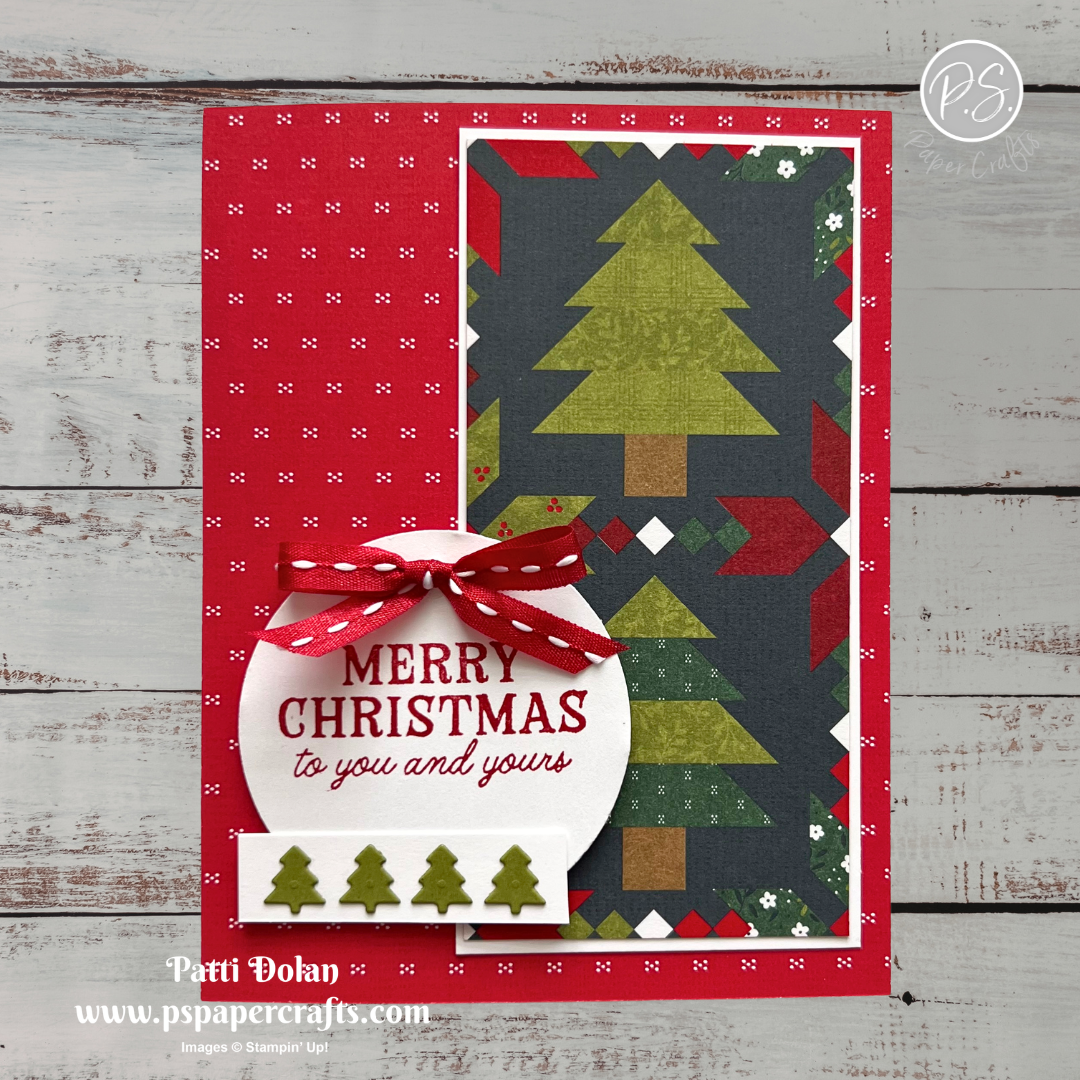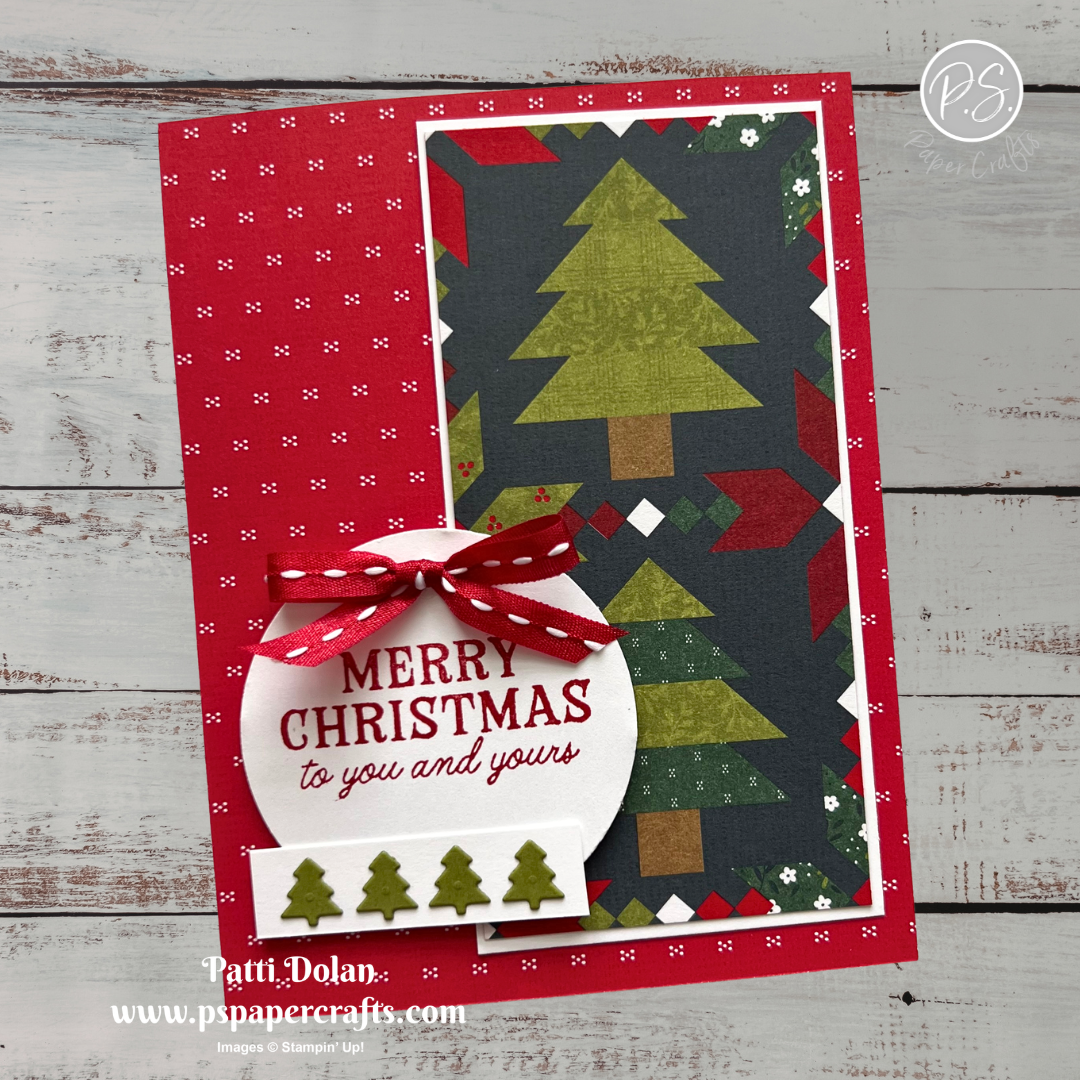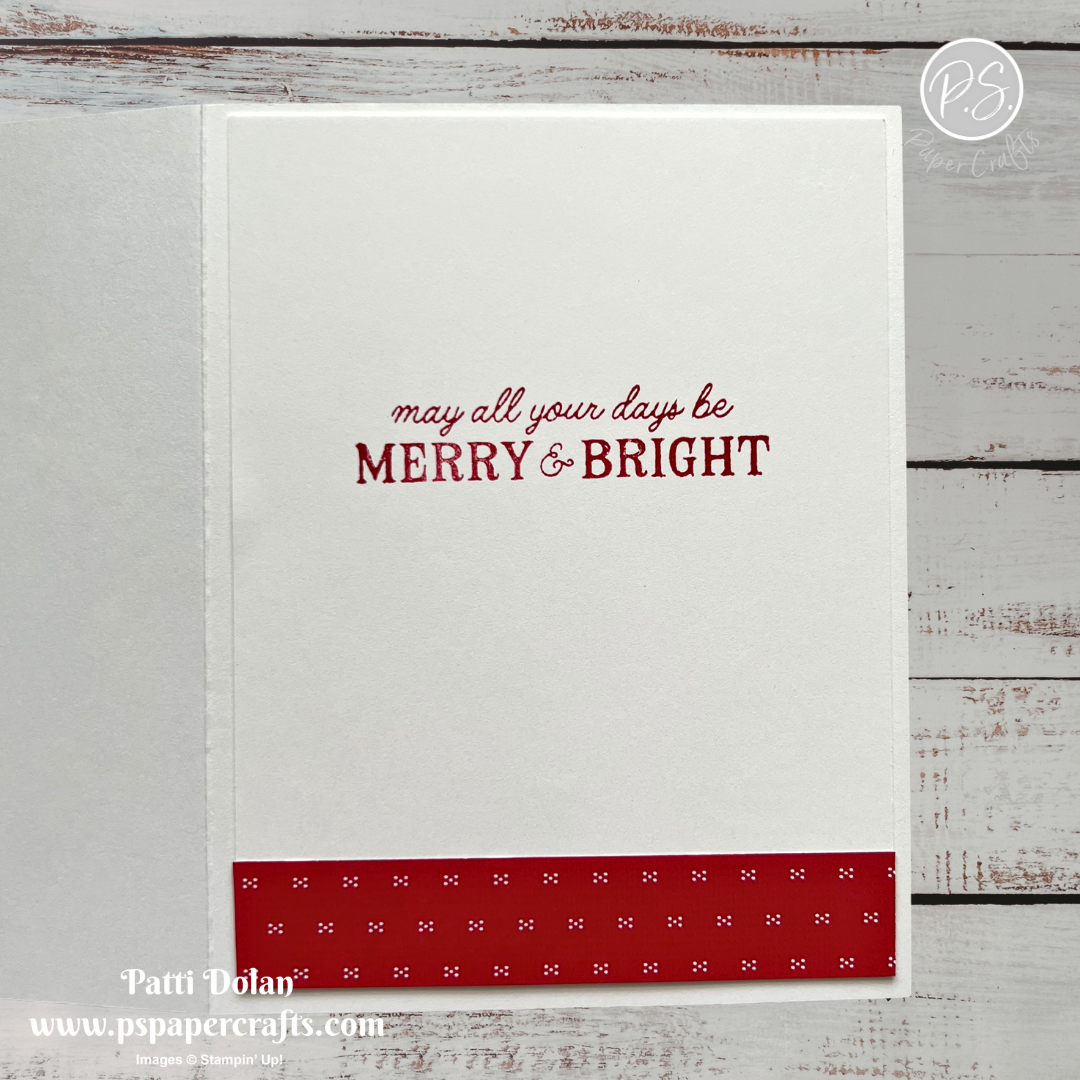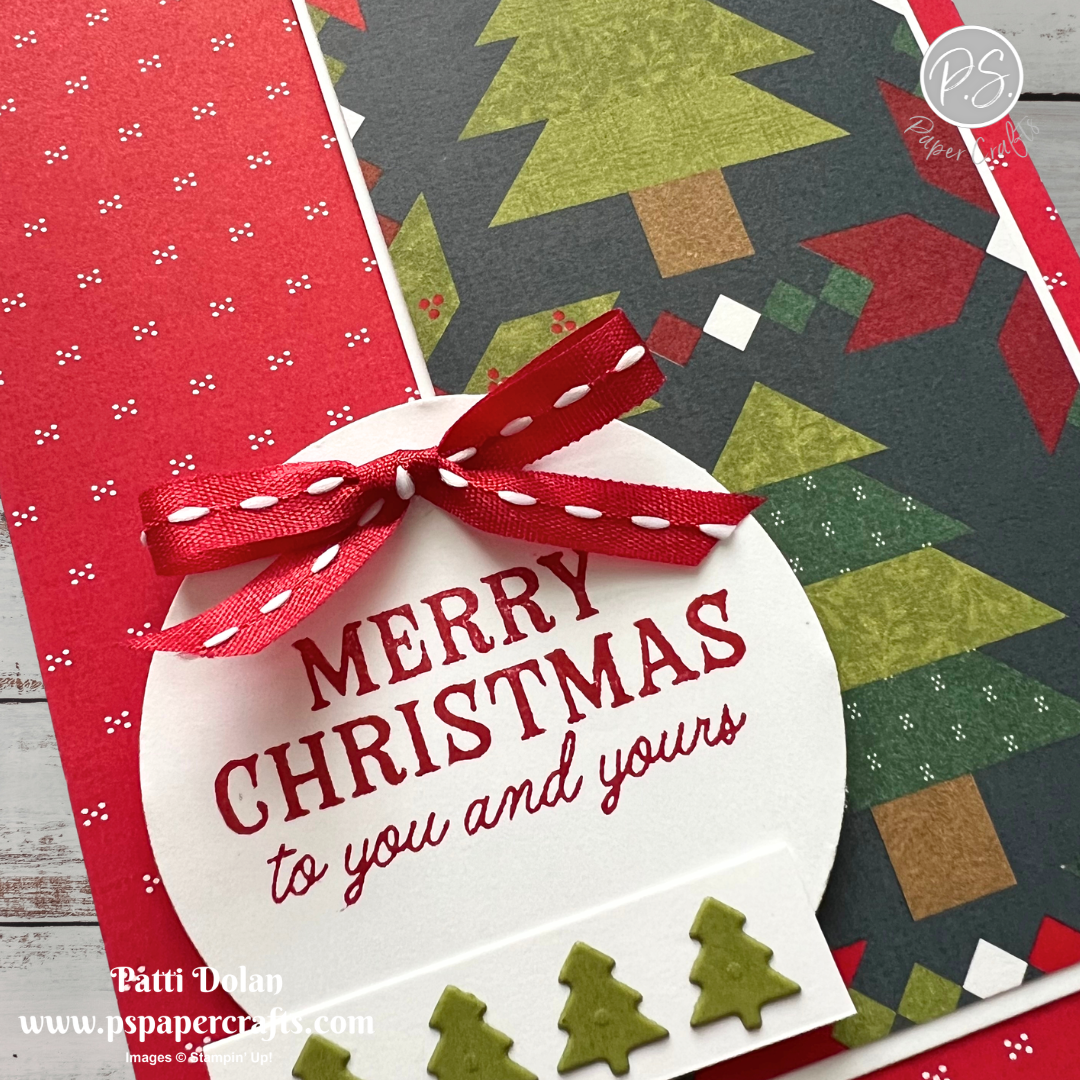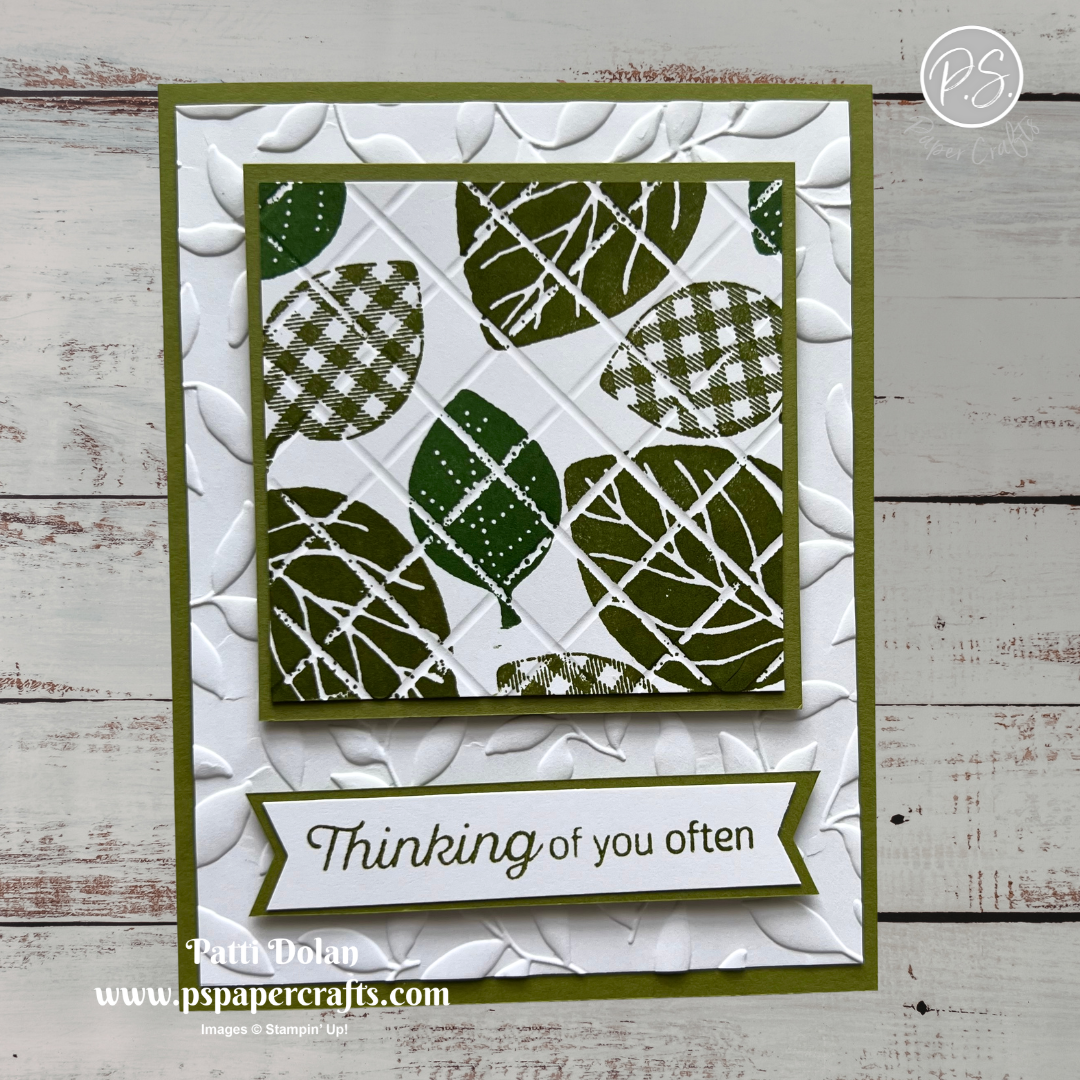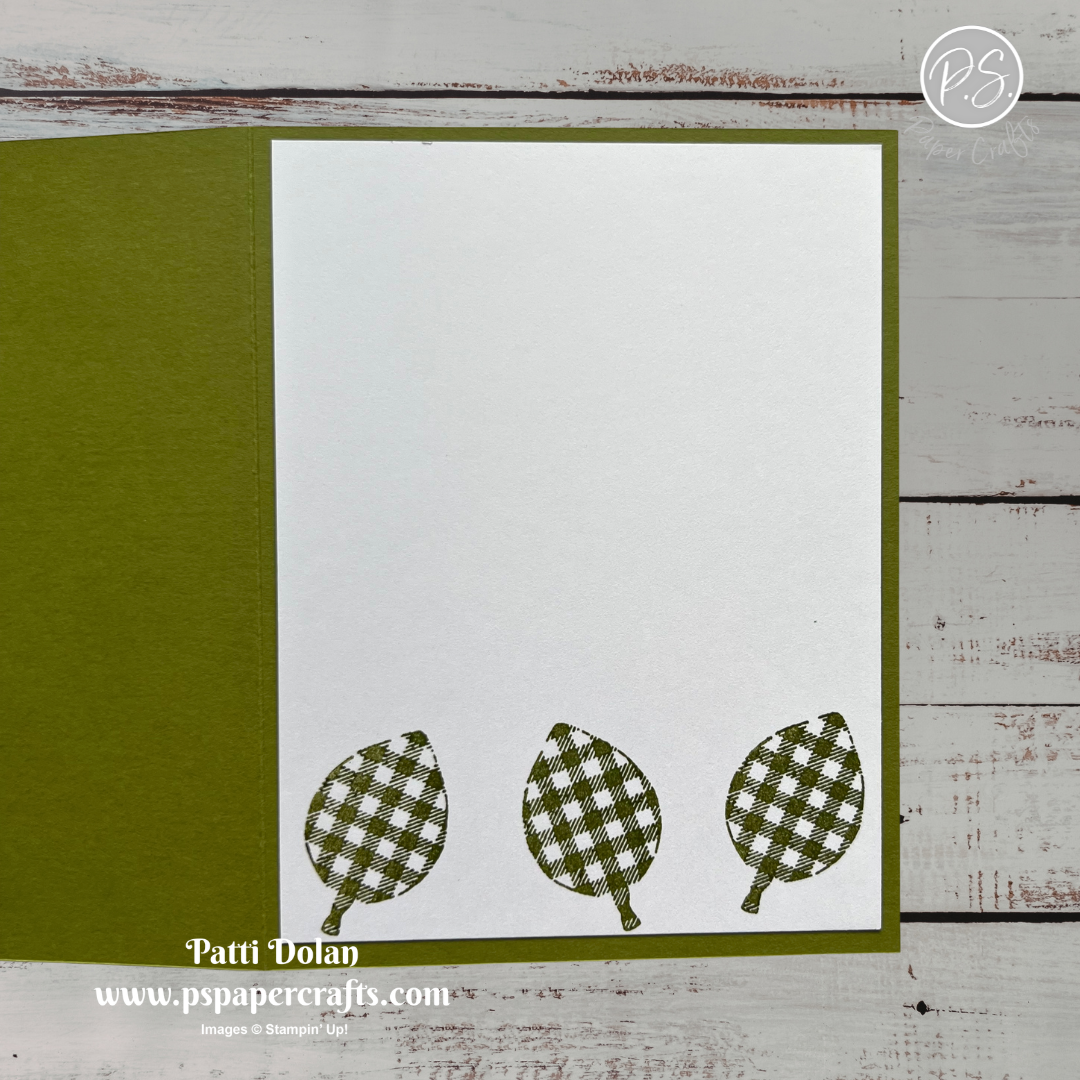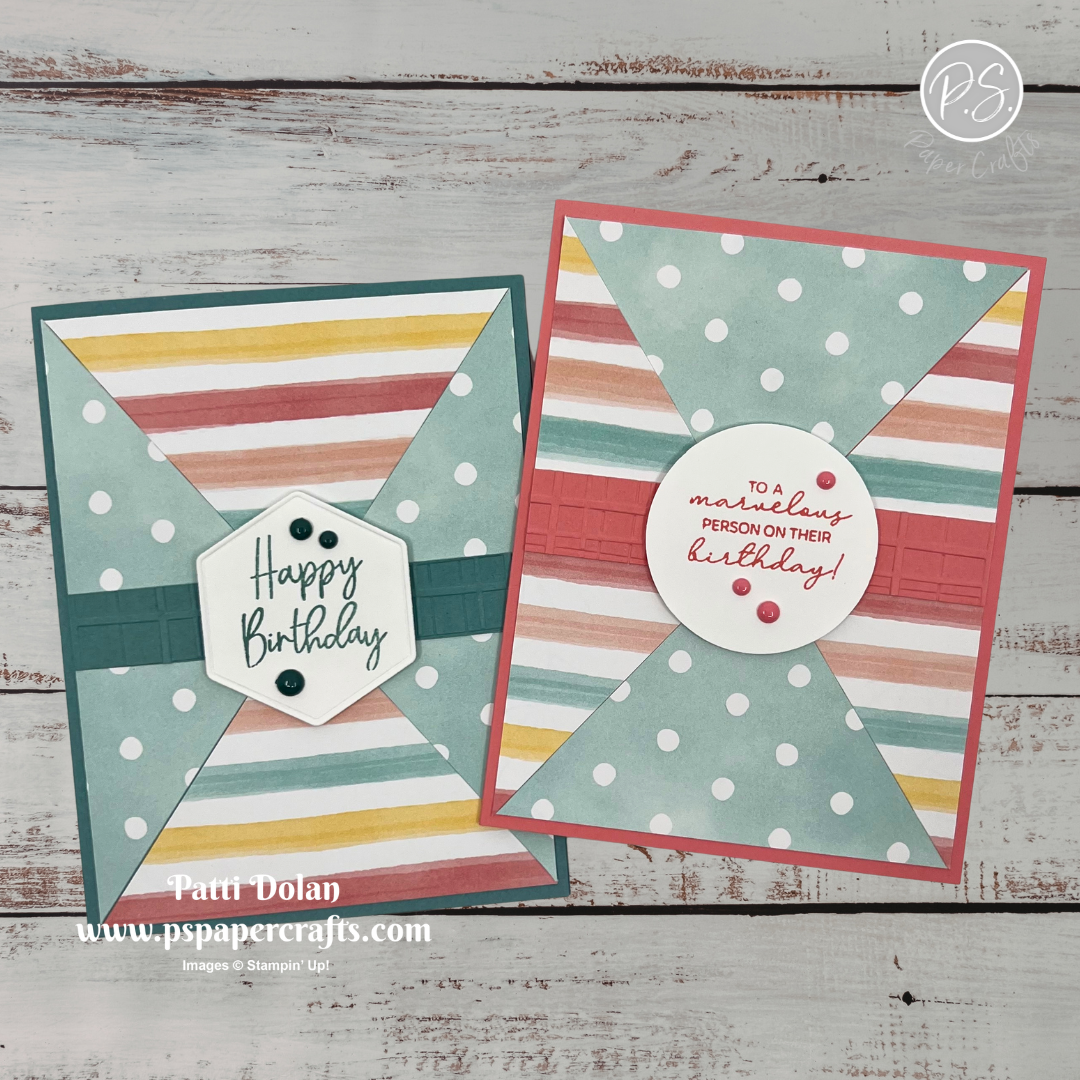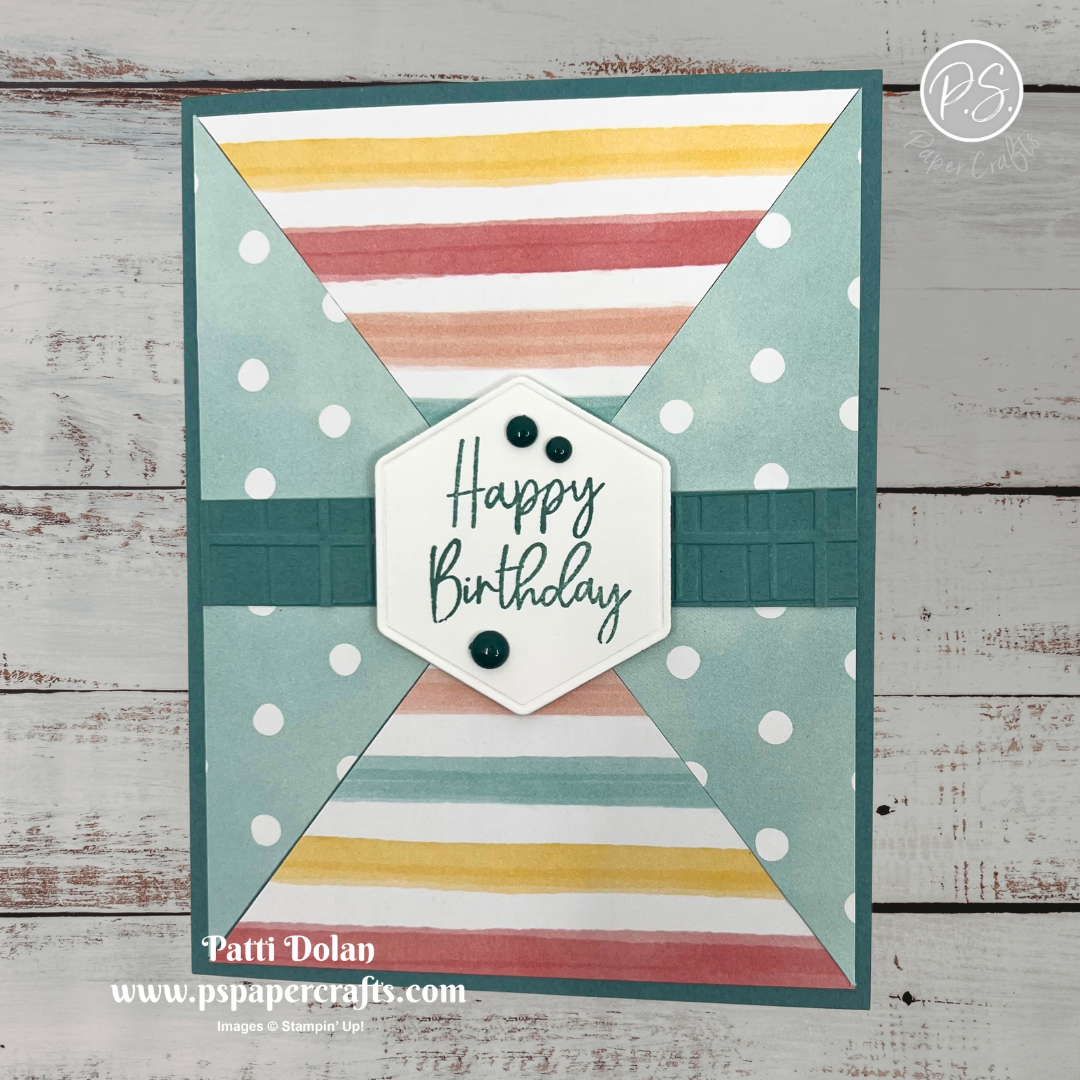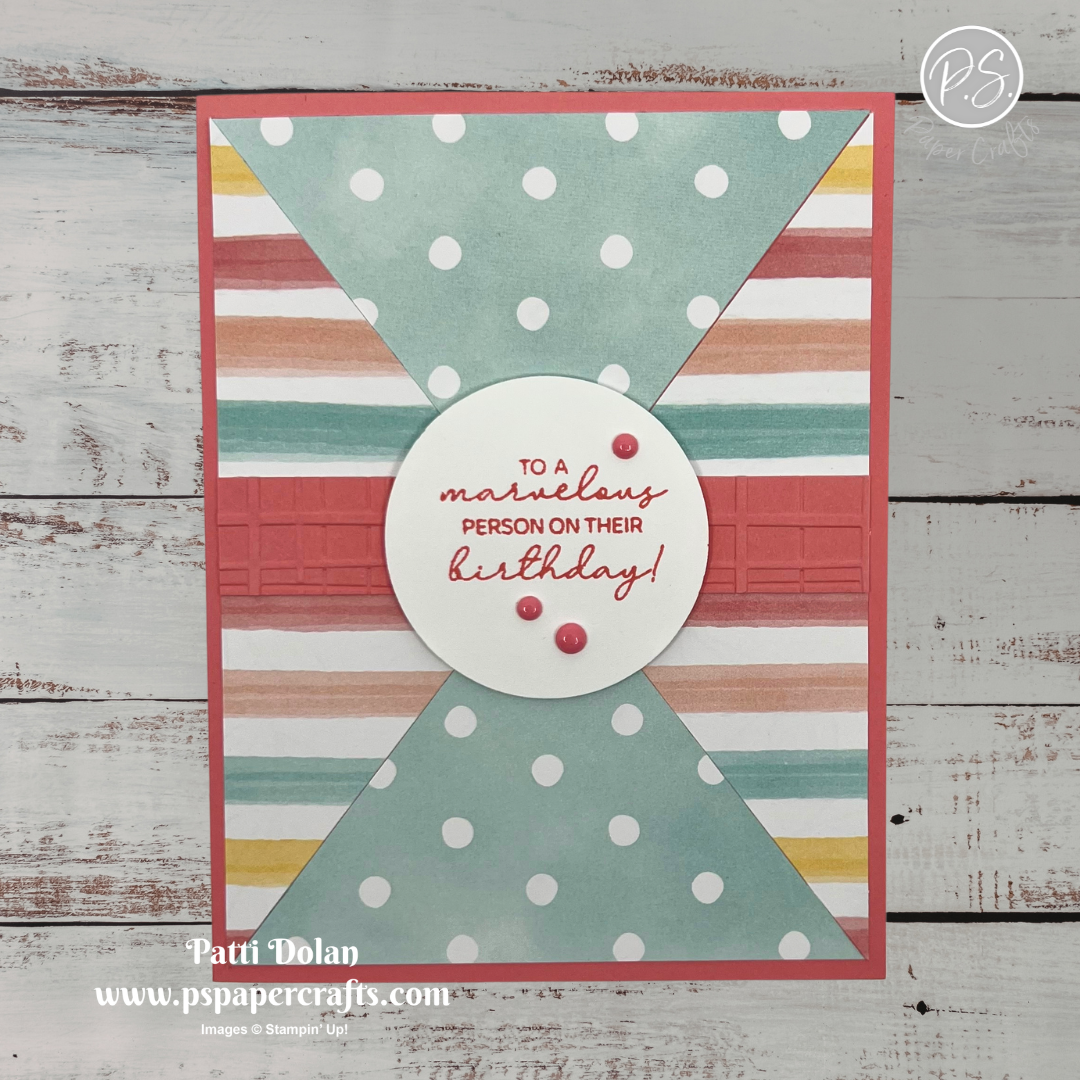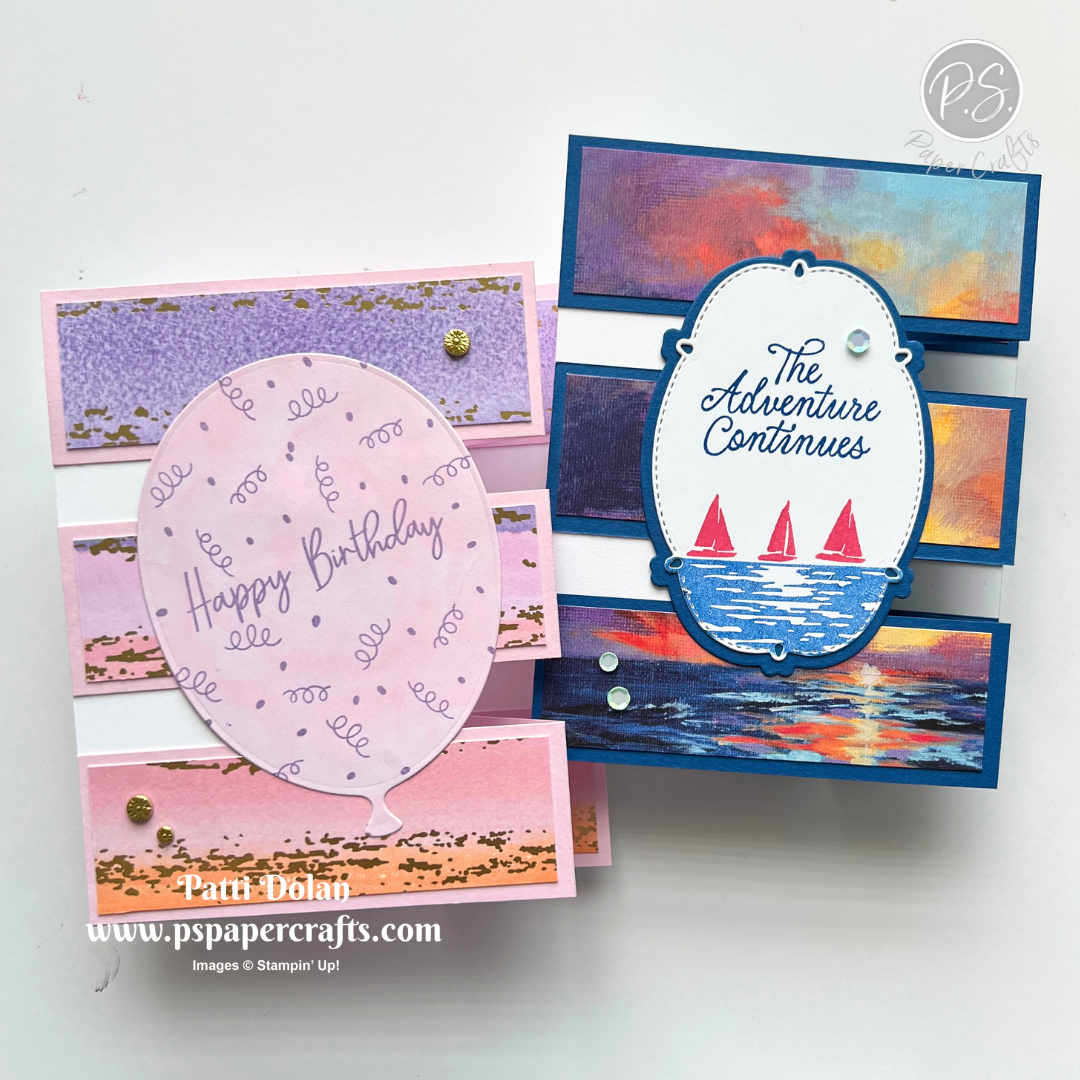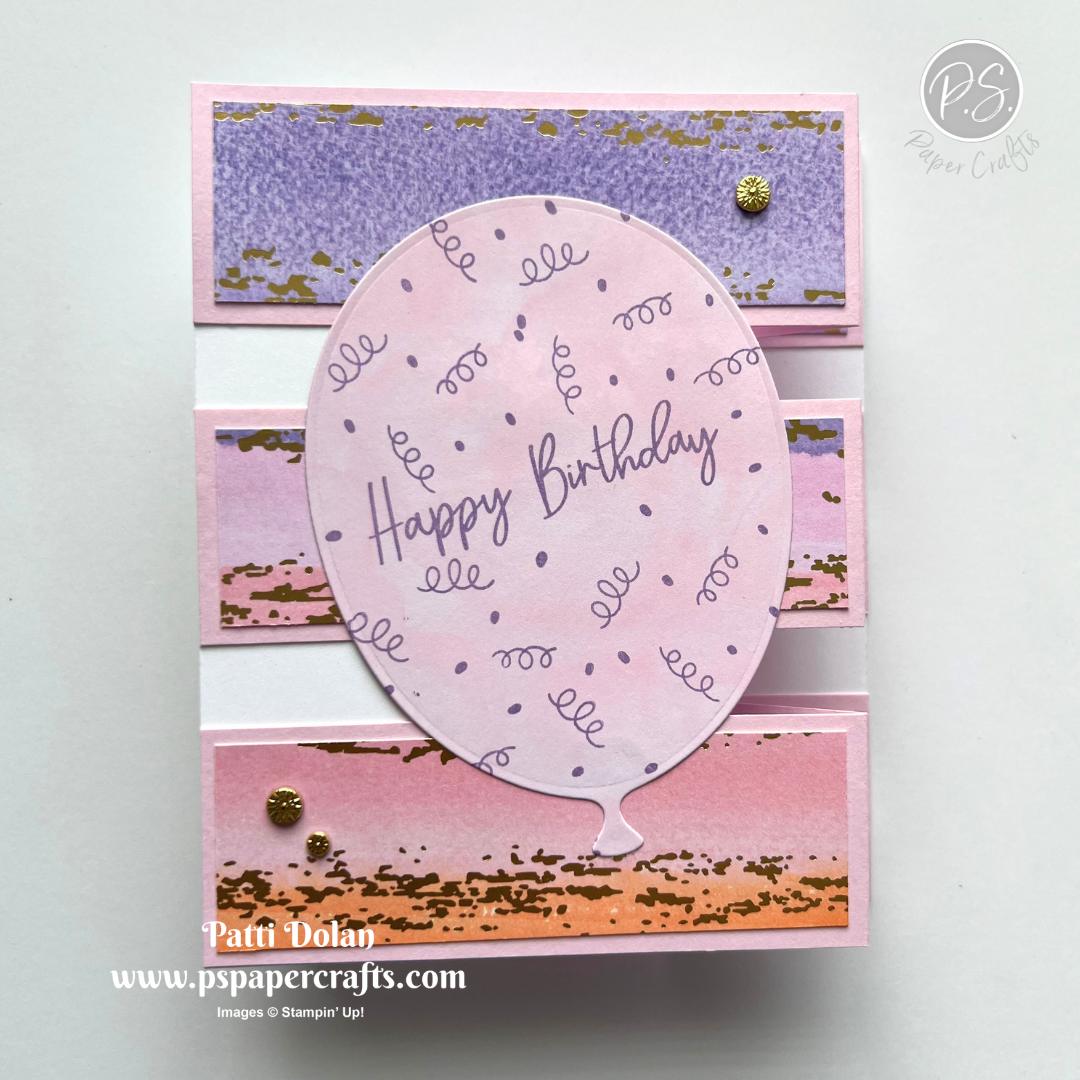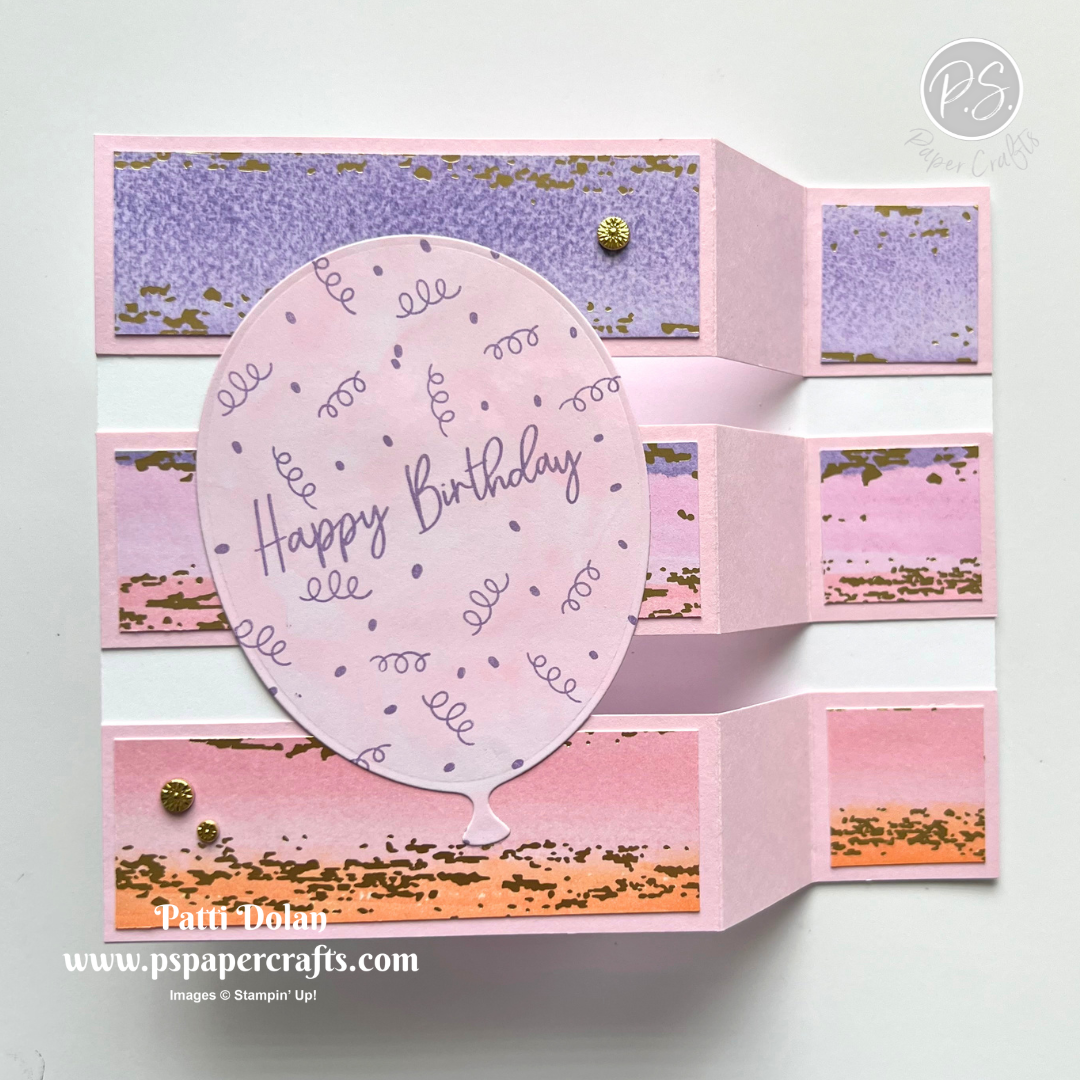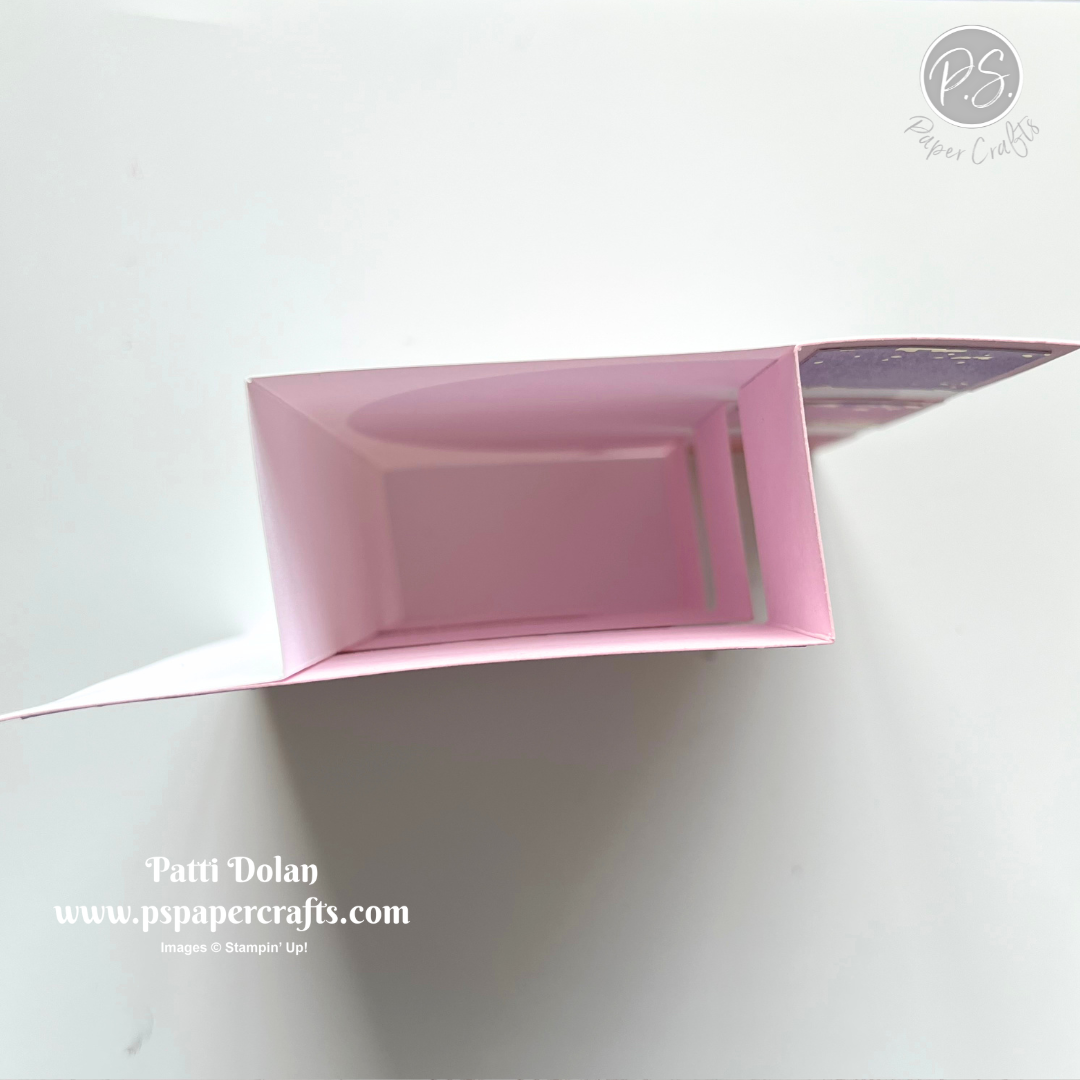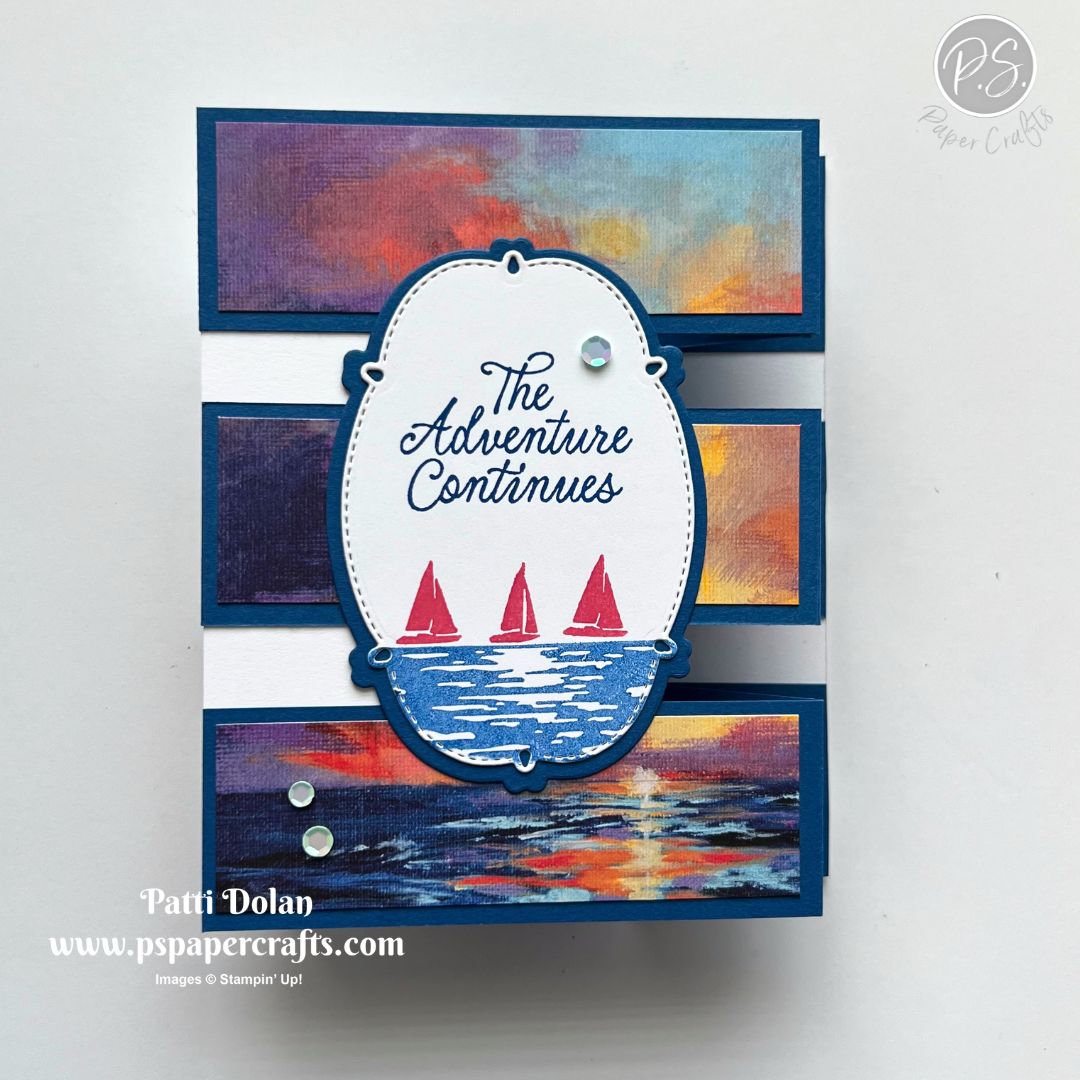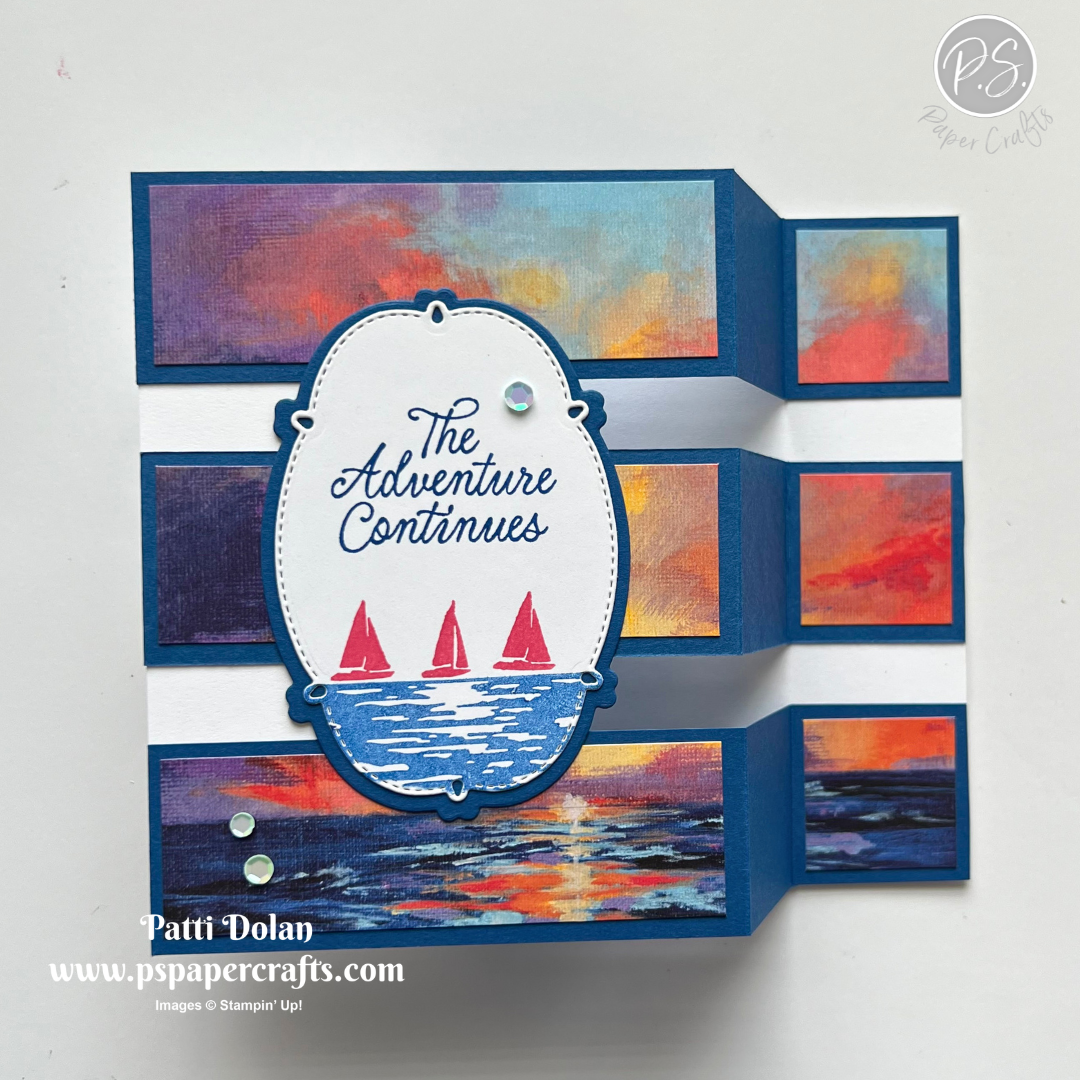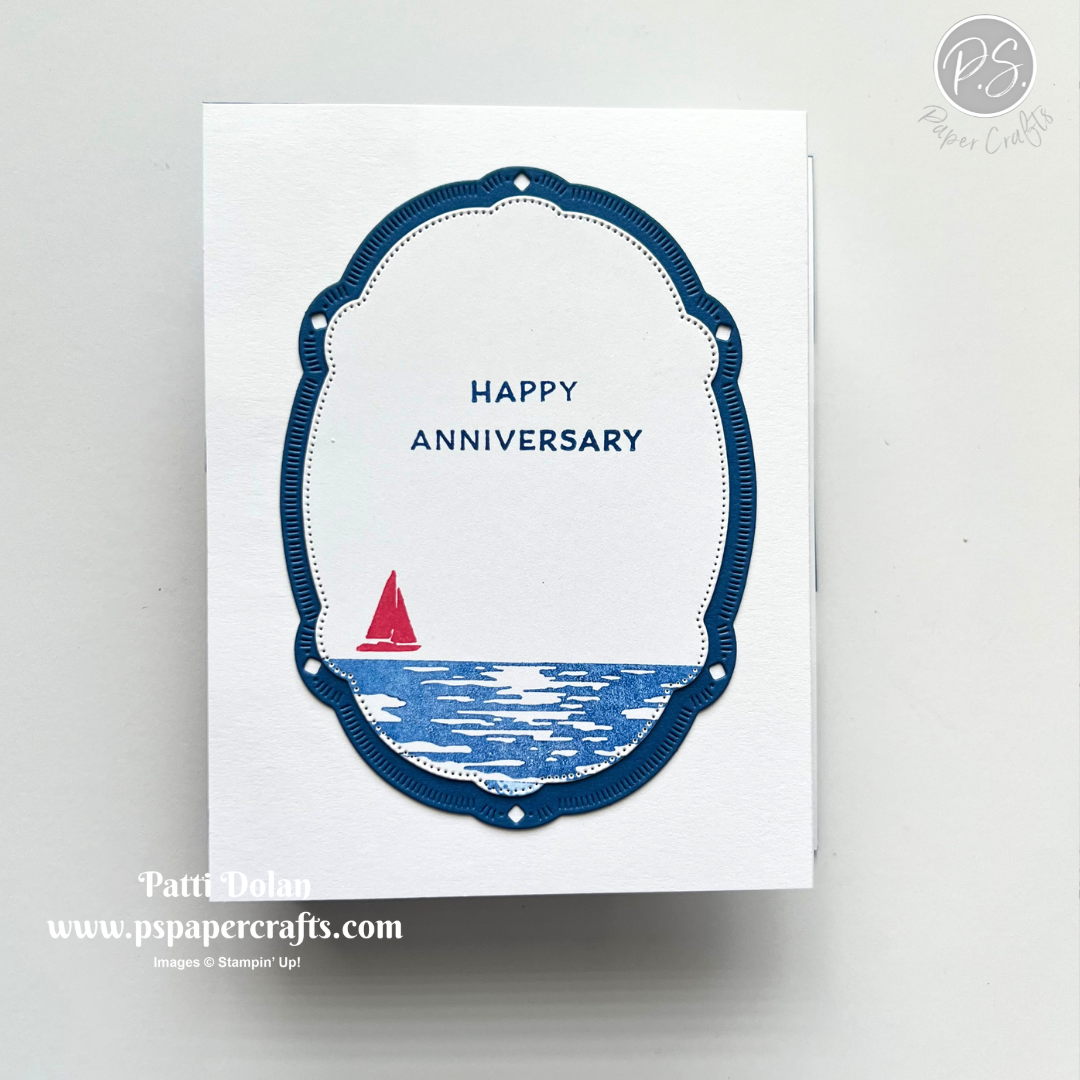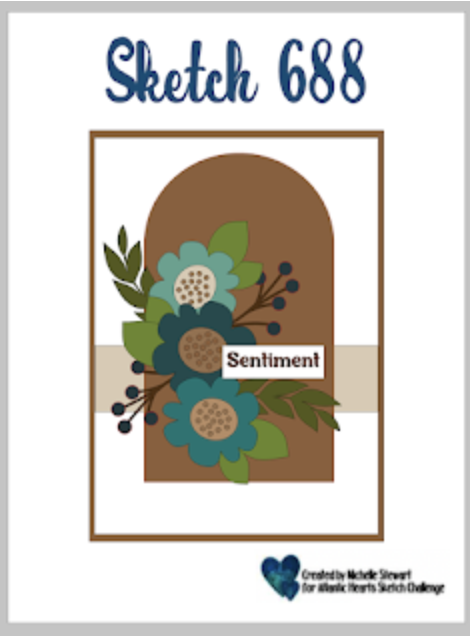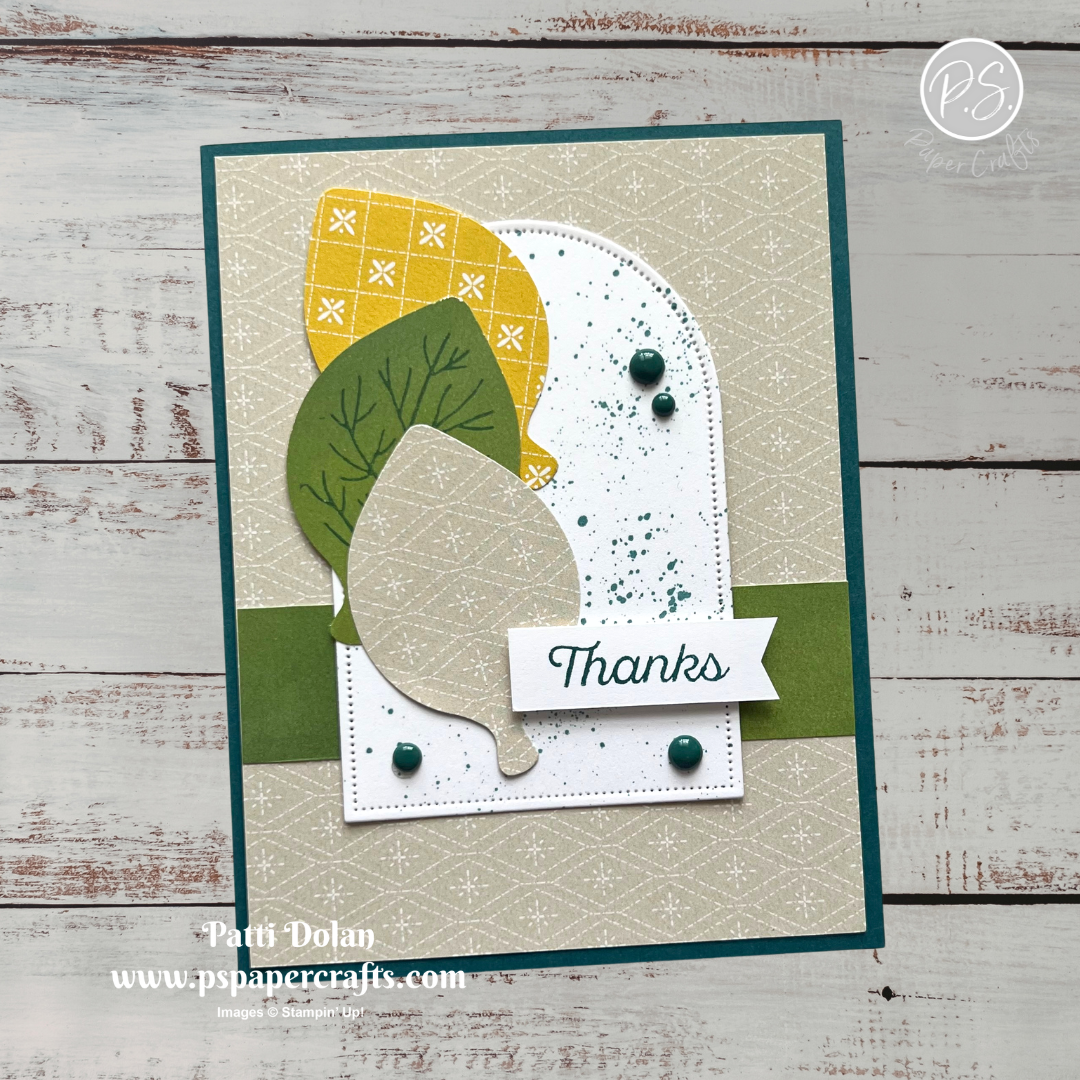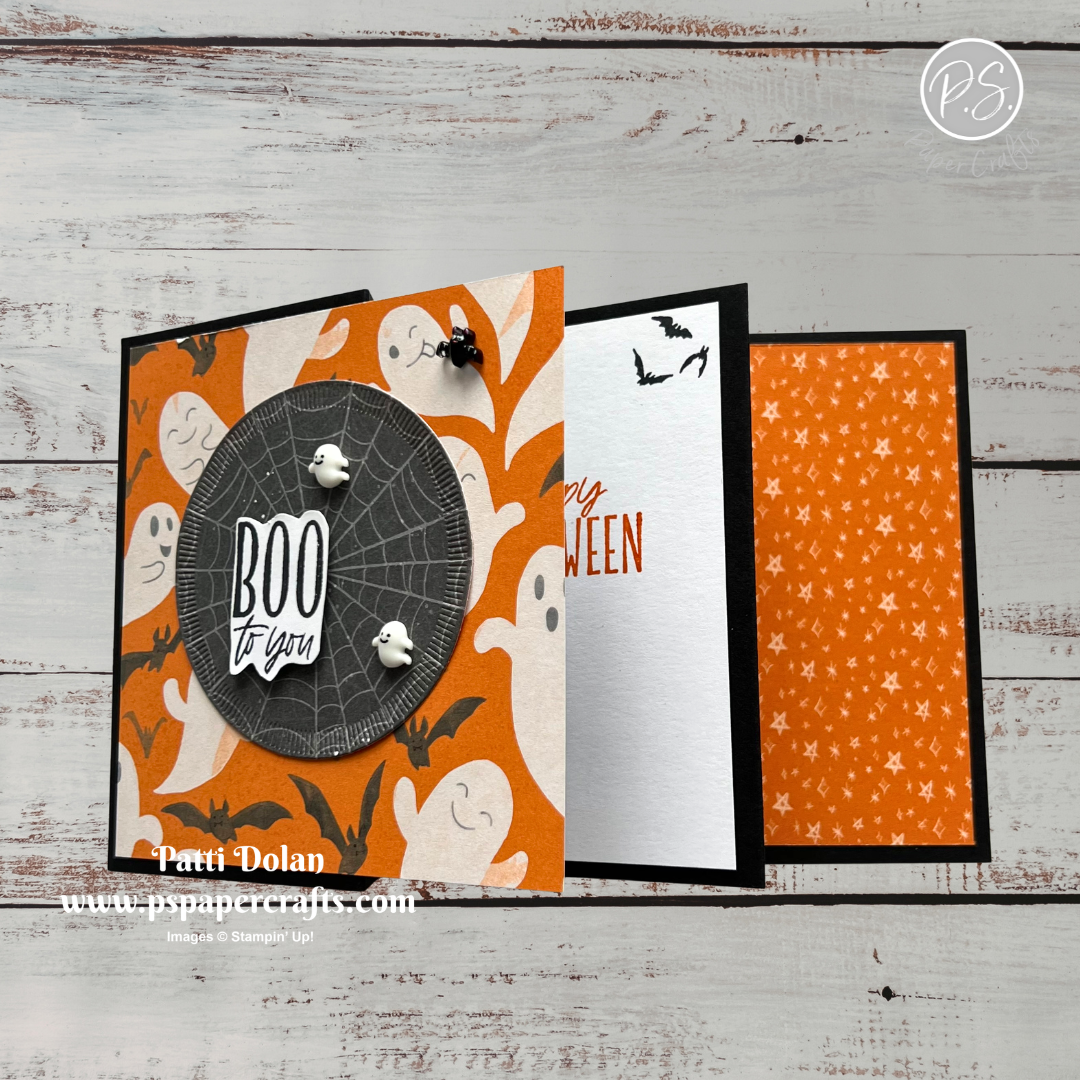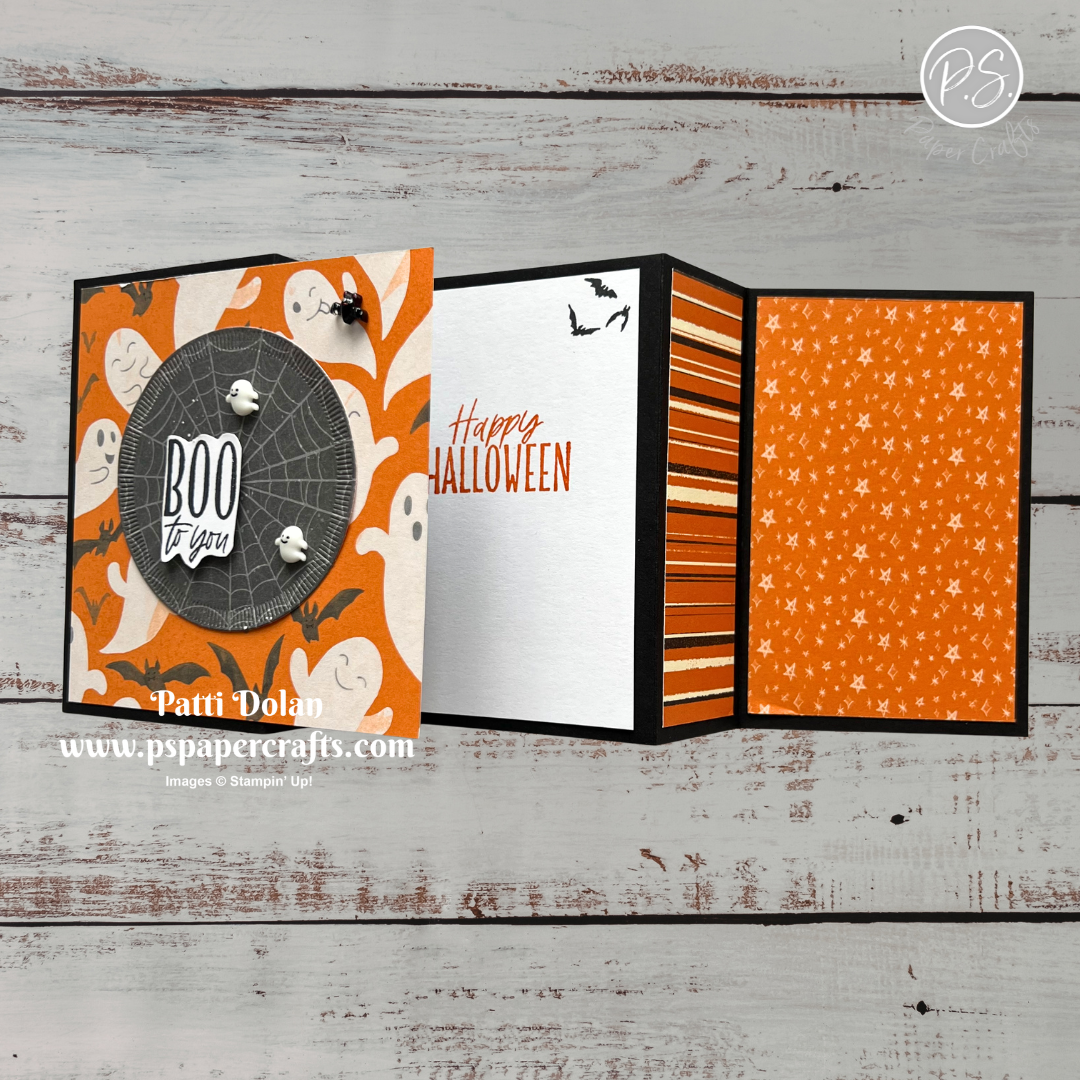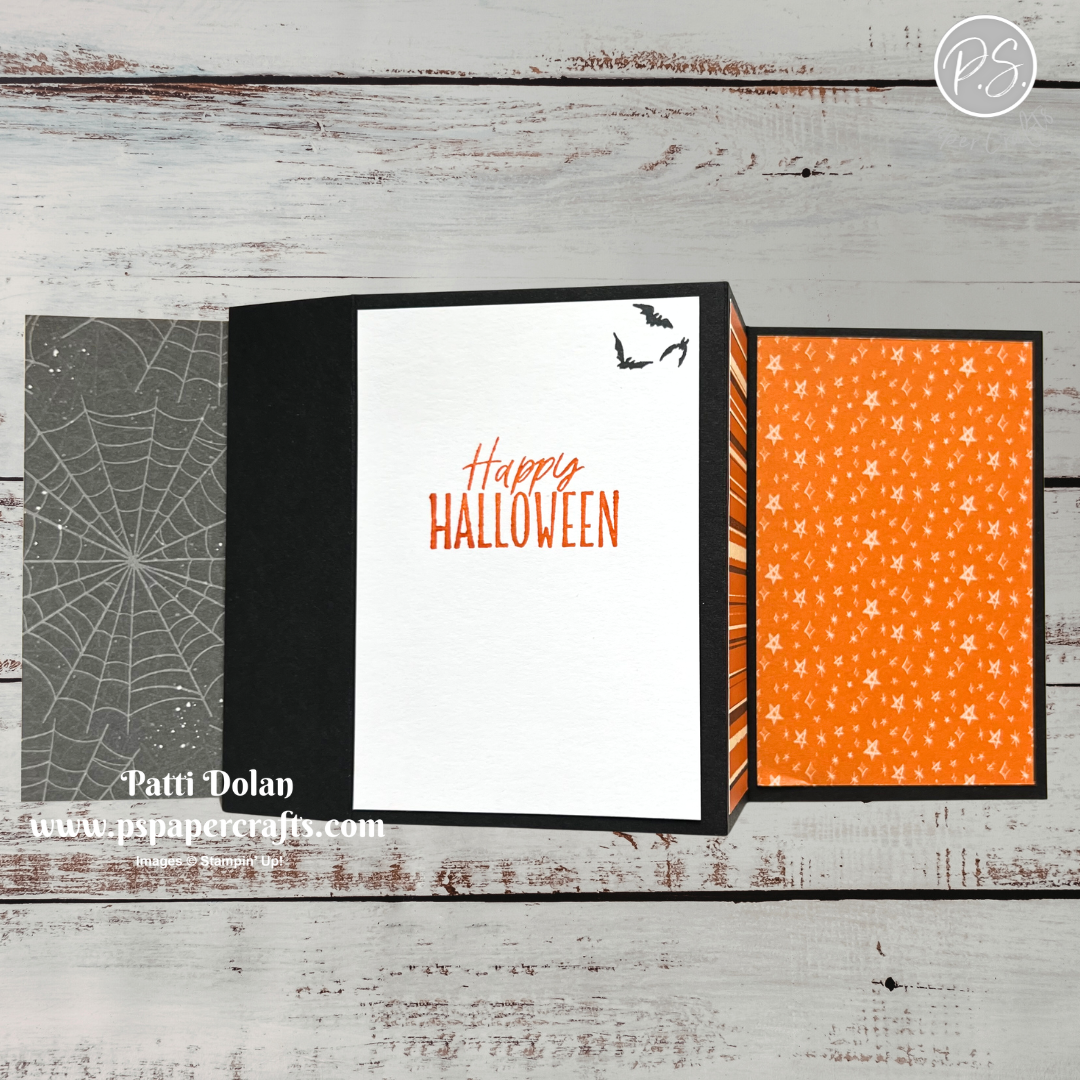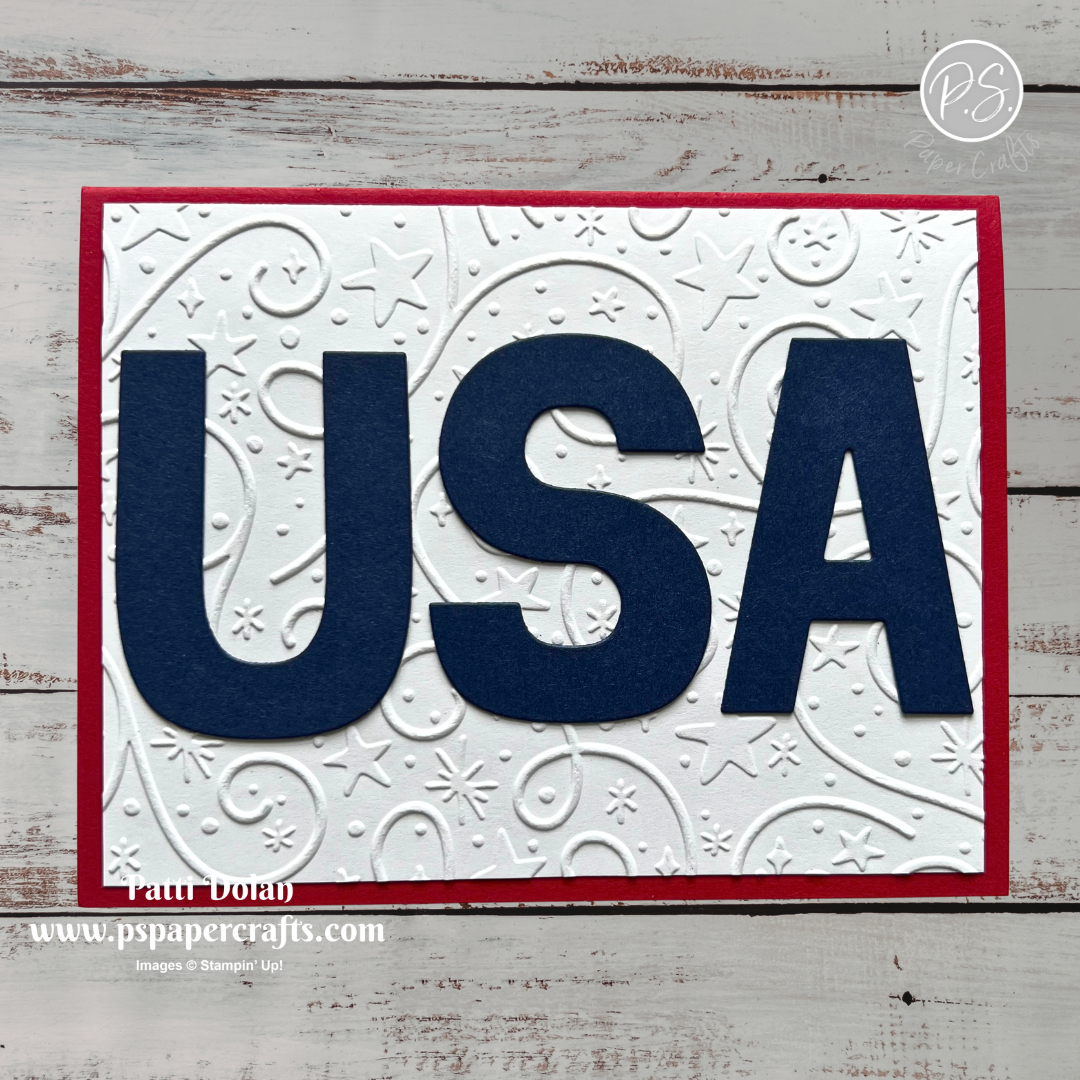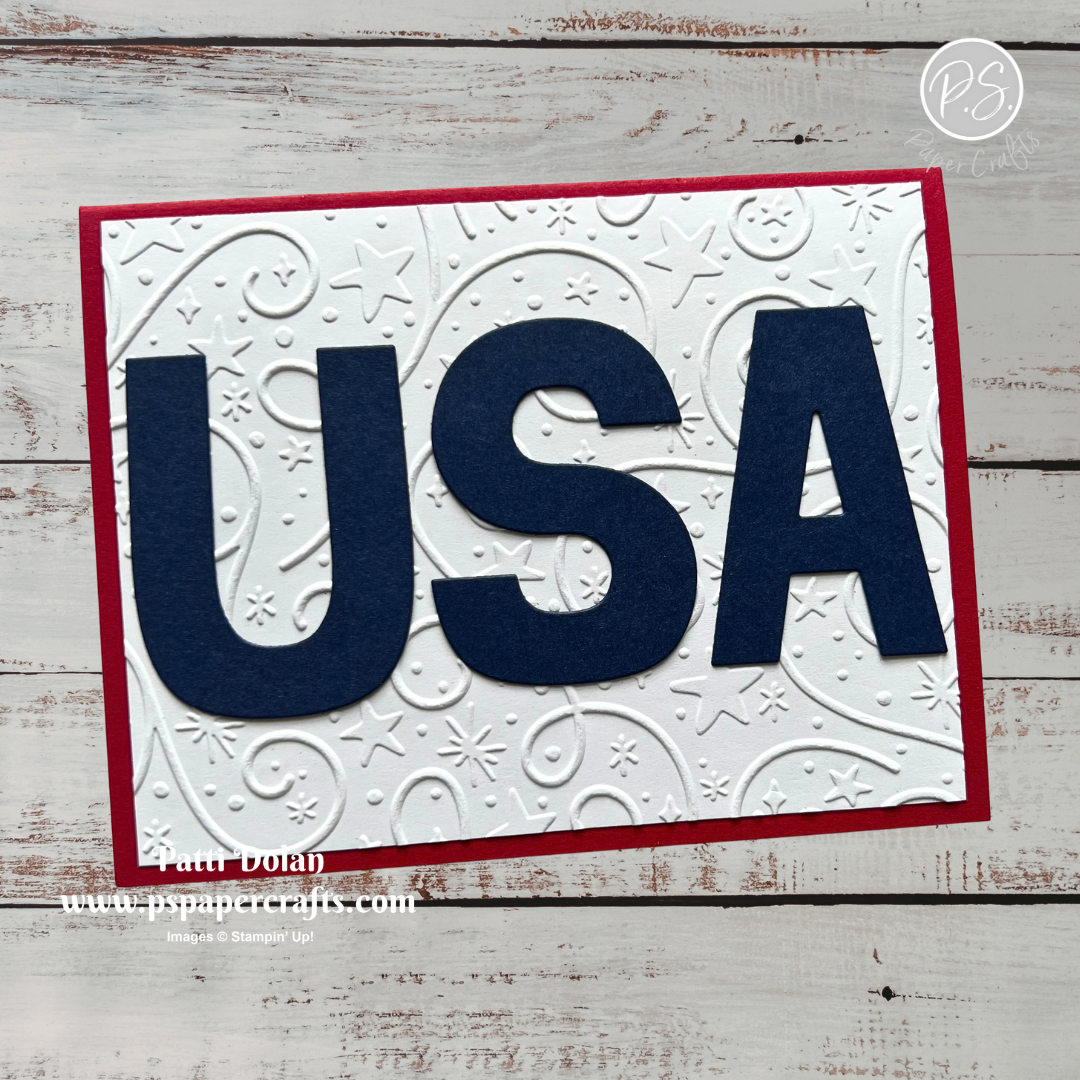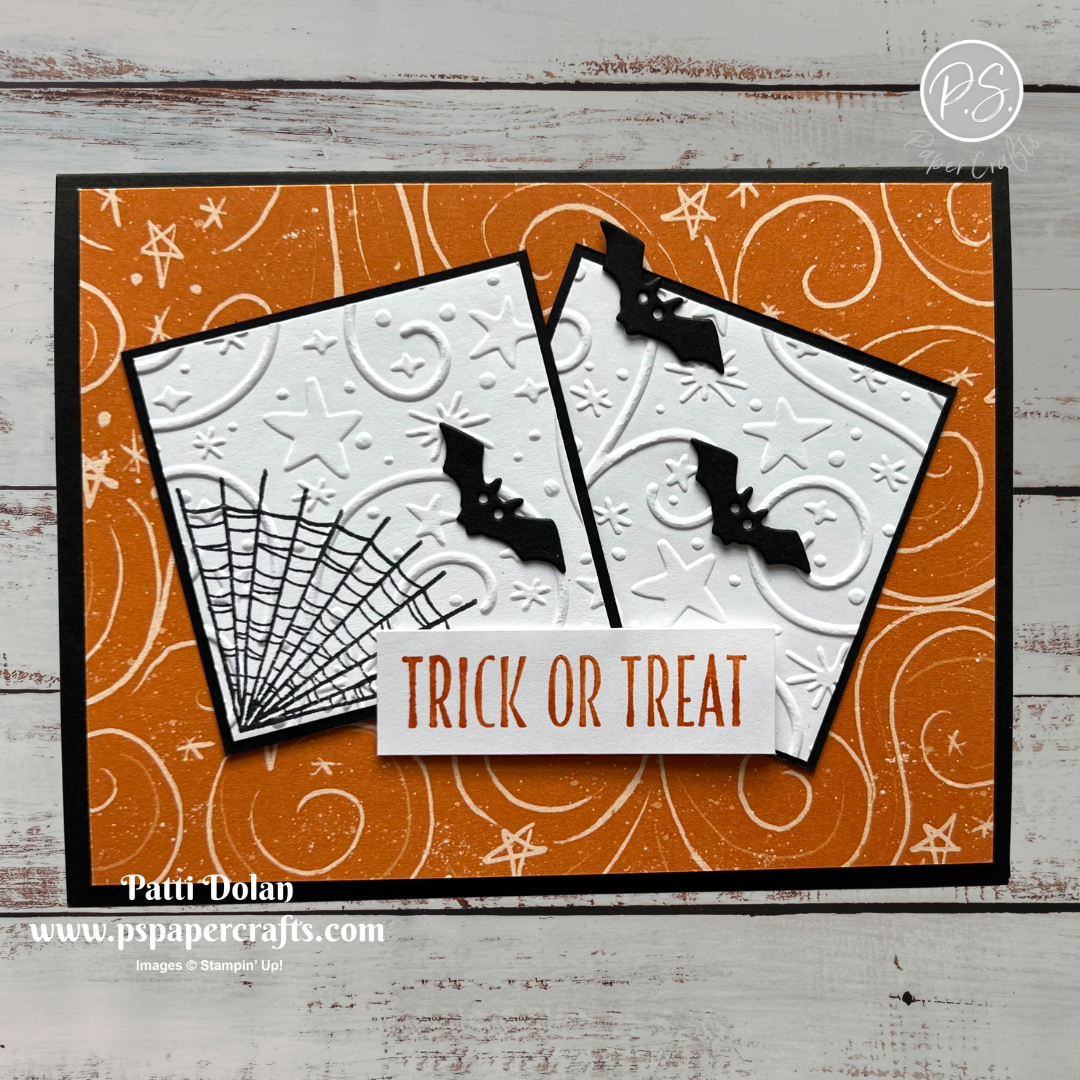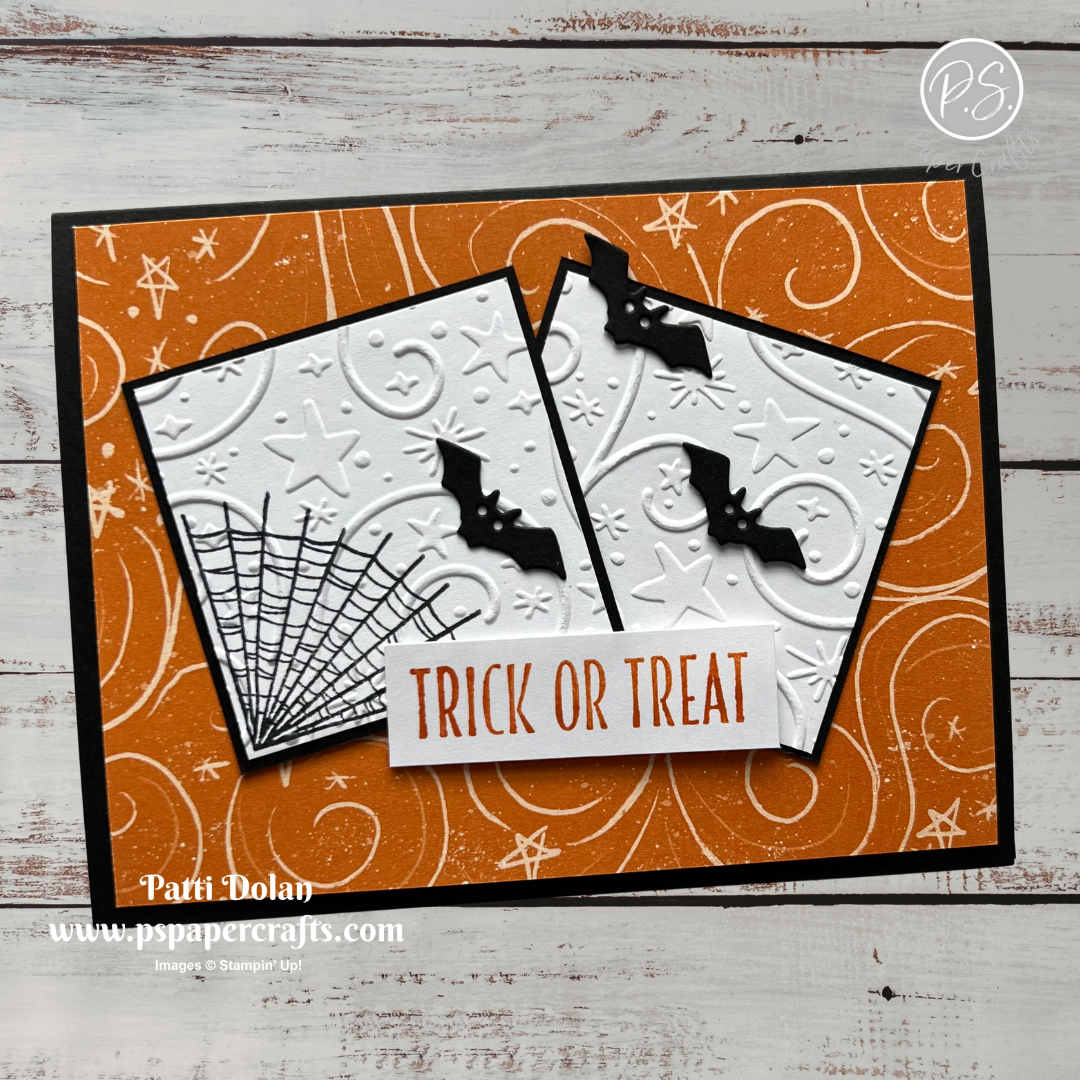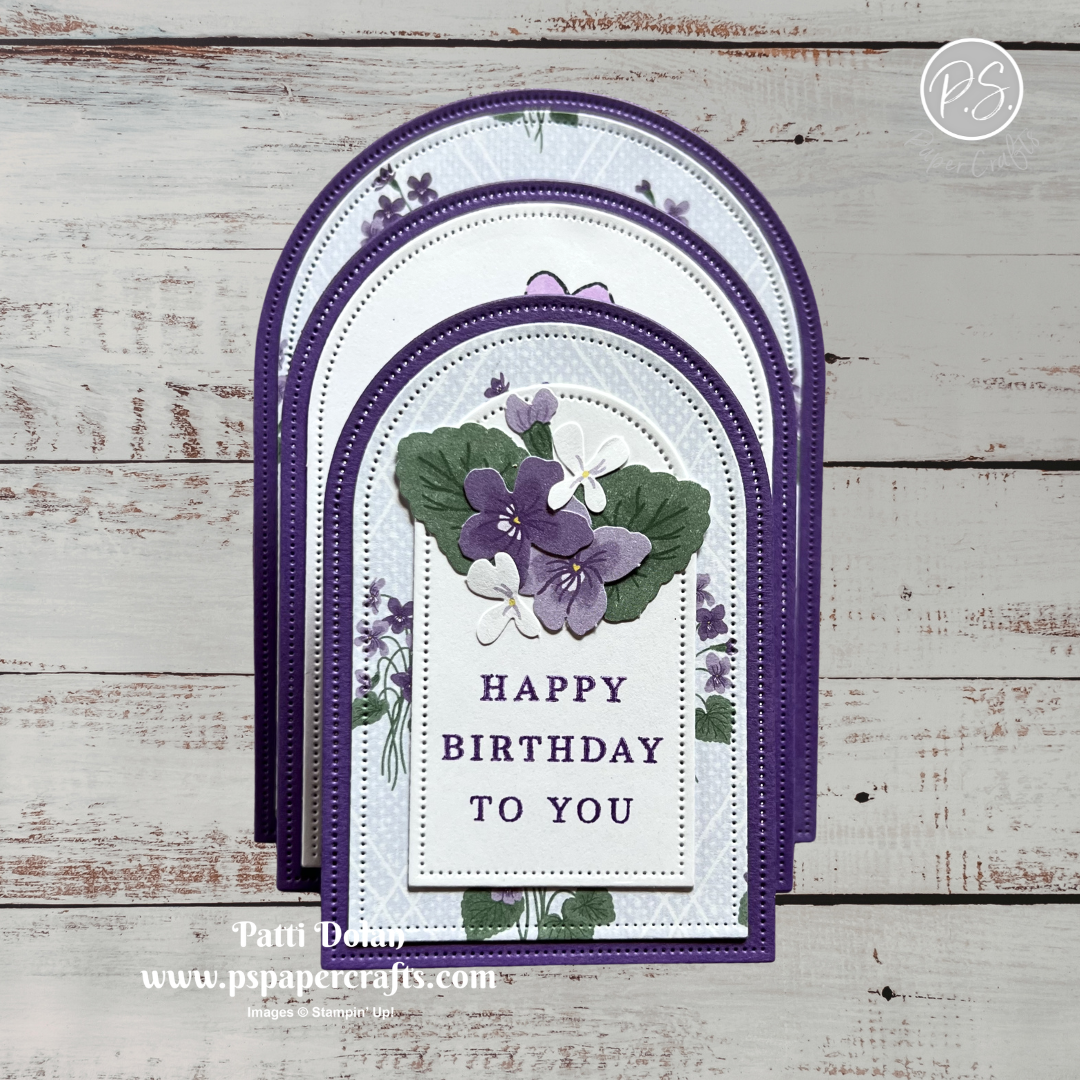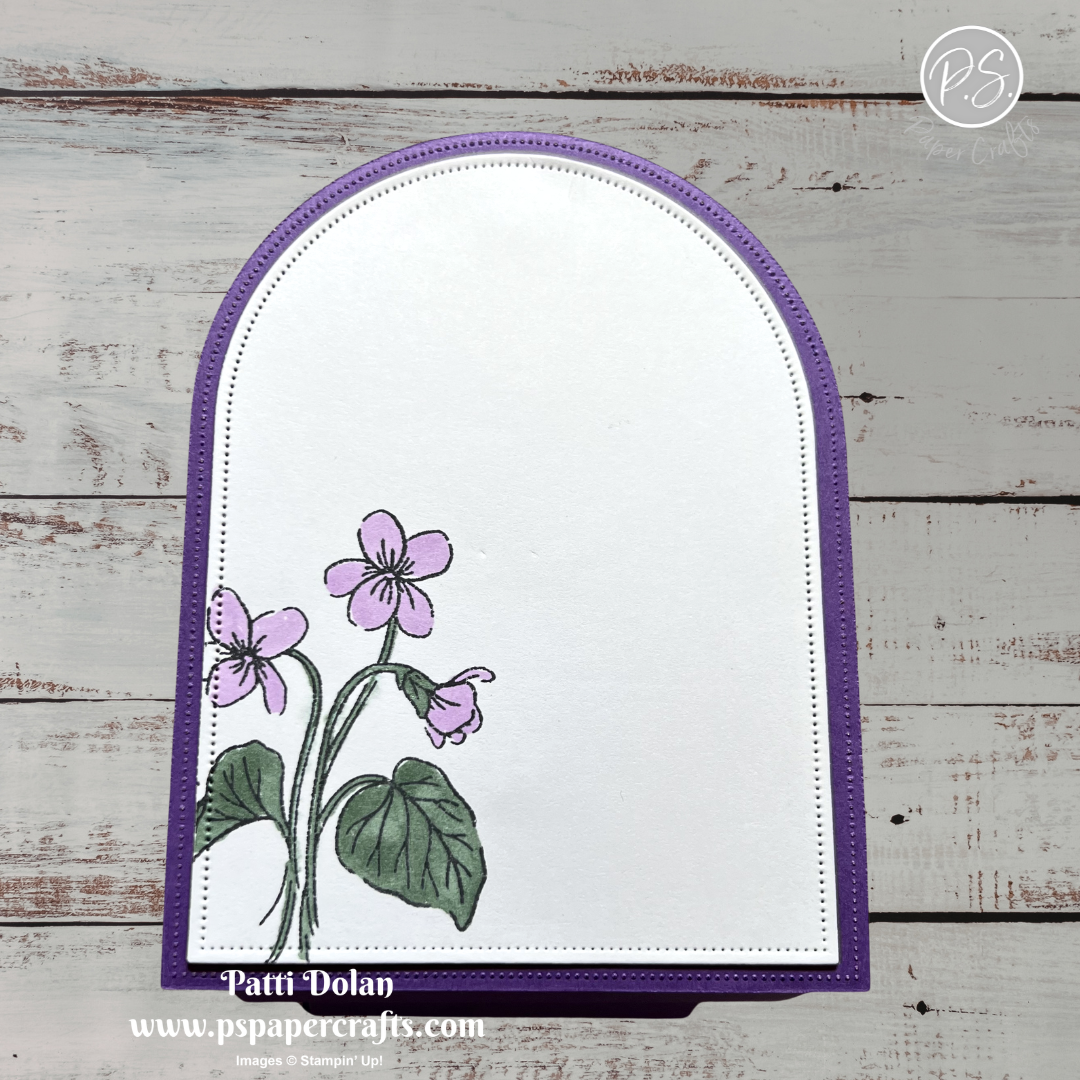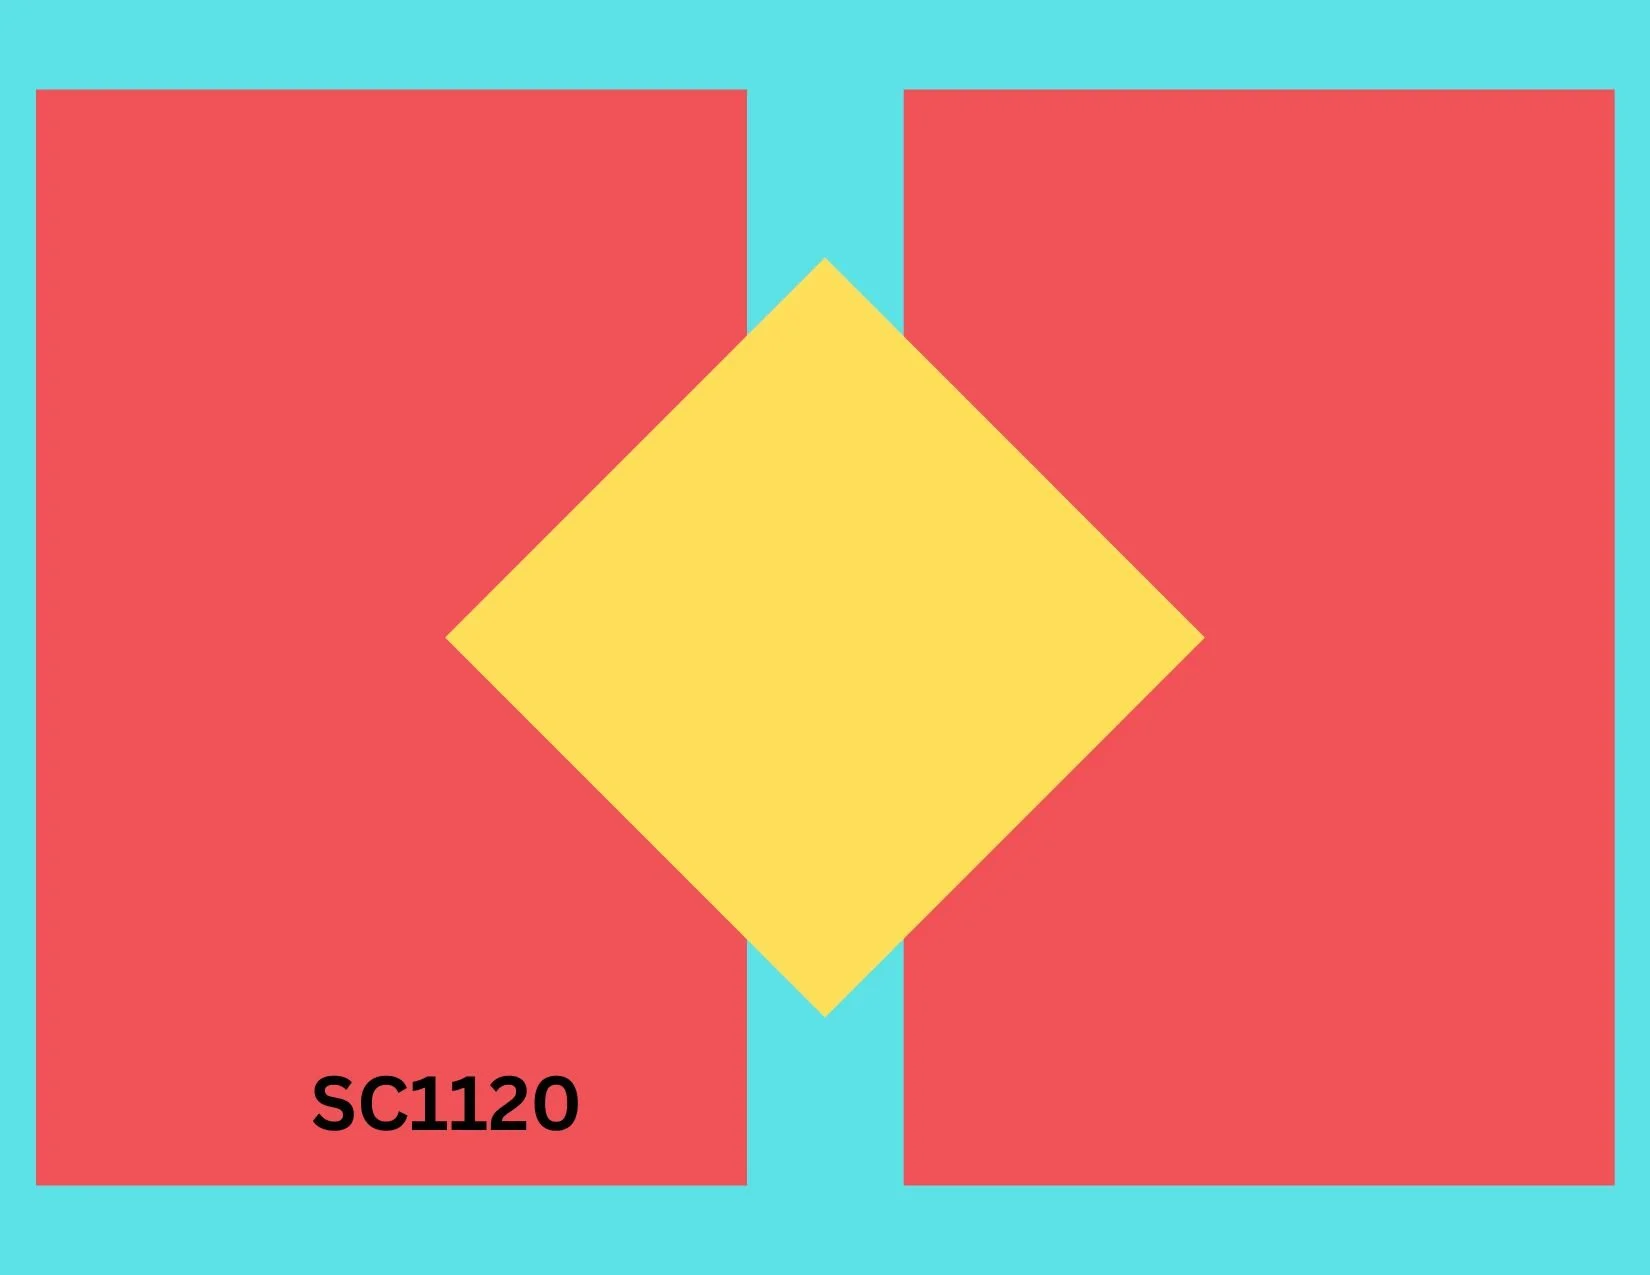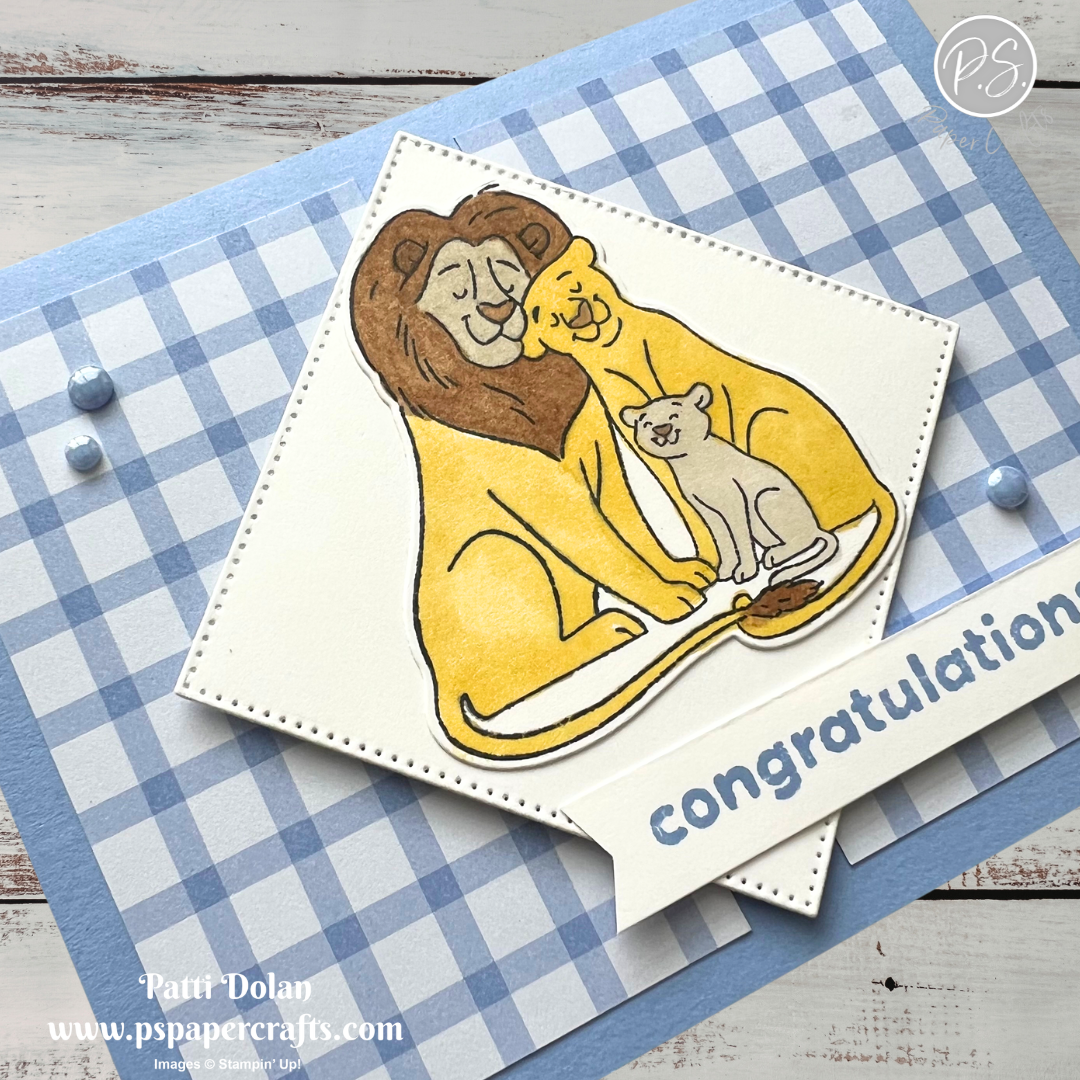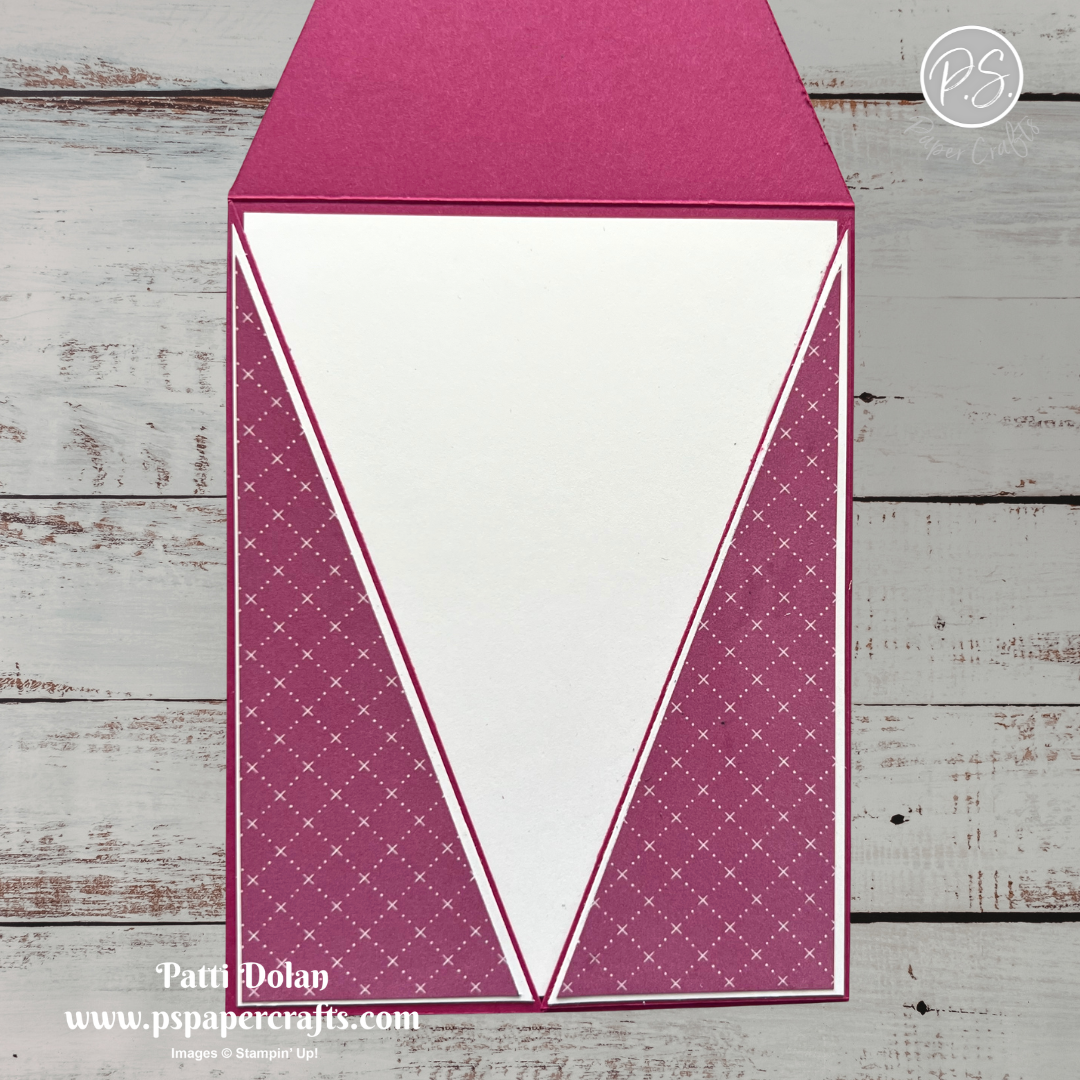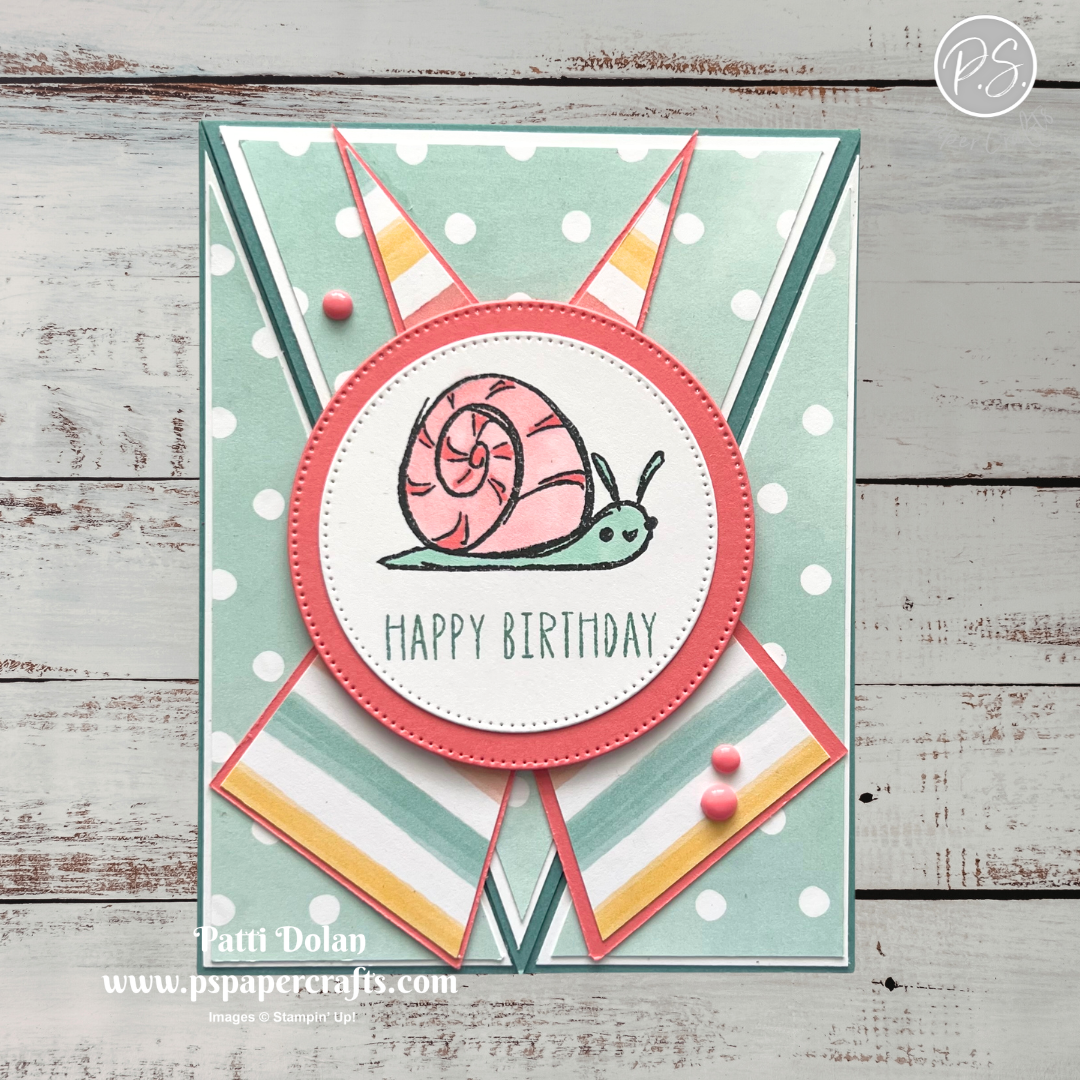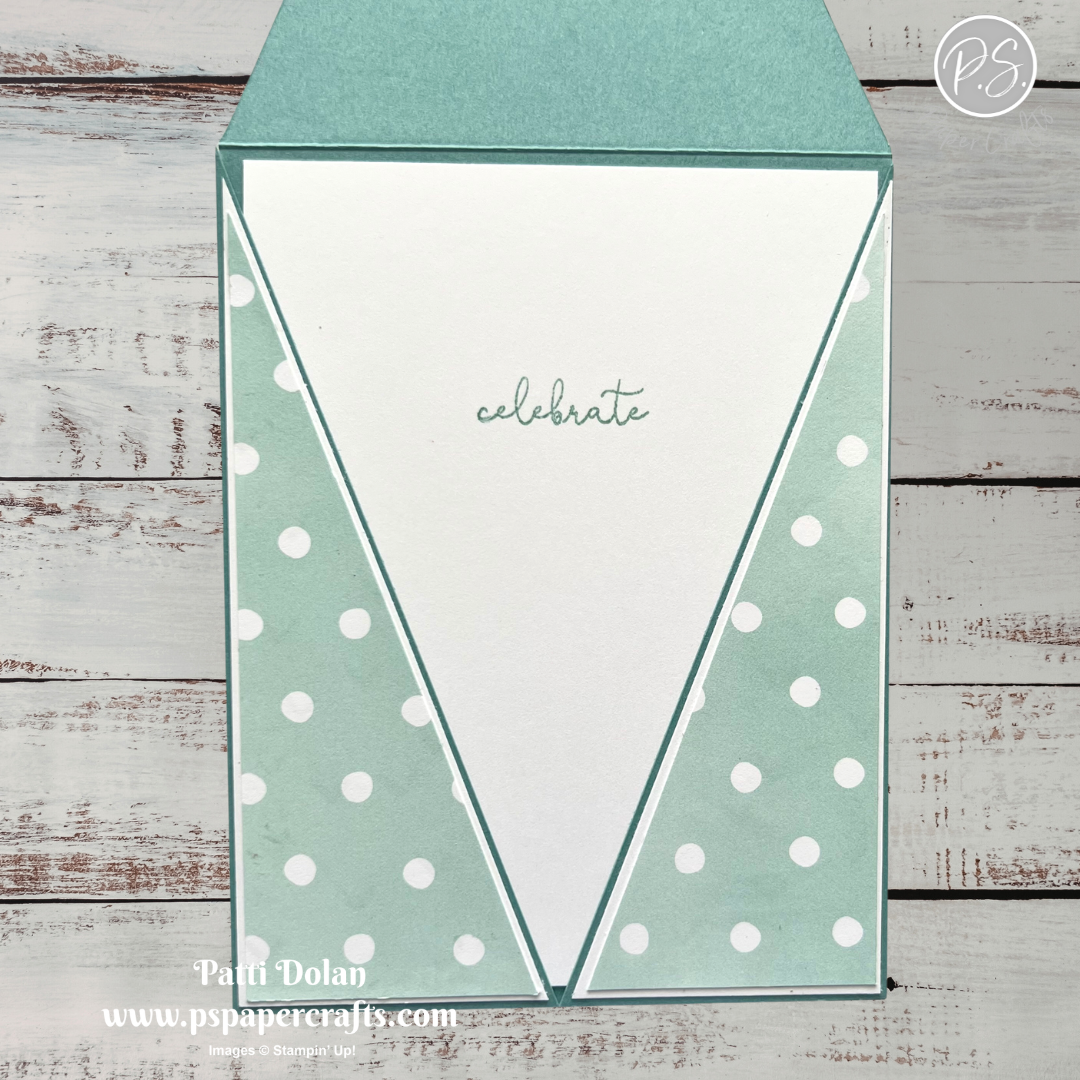

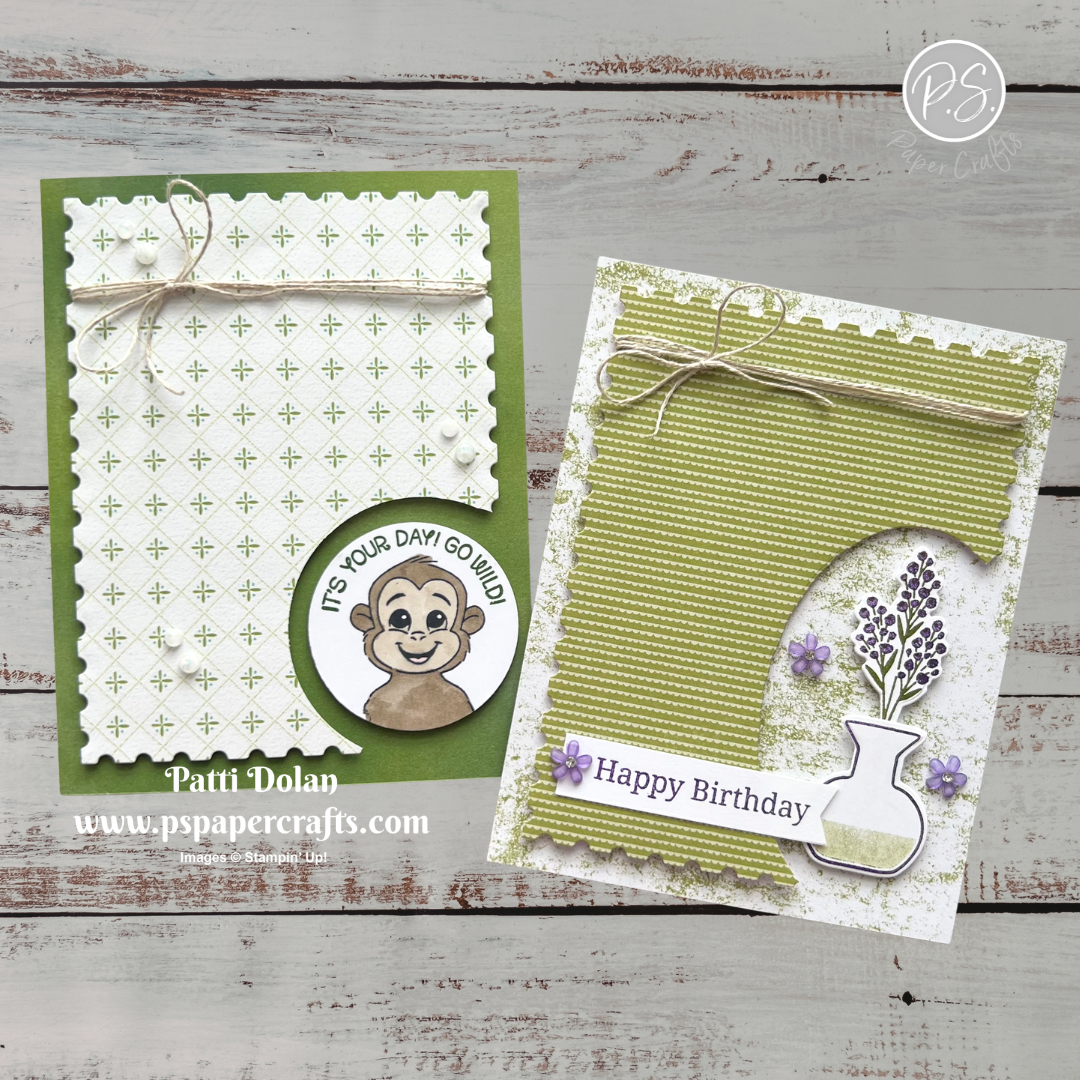
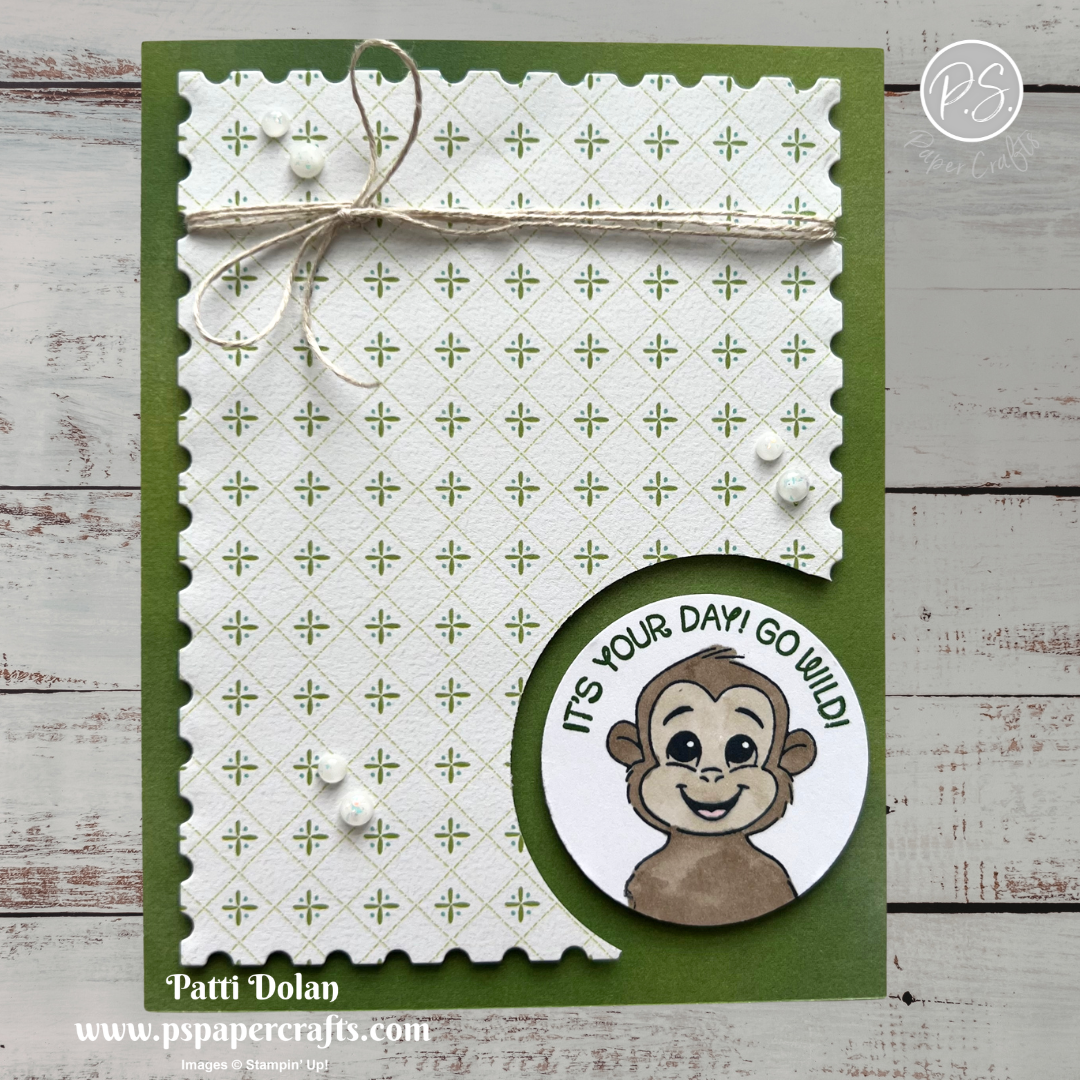
I made these Die-Cut Corner Cards on my YouTube Channel today. You can use any shape to cut the corner and then fit a fun image into it!
Watch the video to see step by step instructions to make this design.
Click on the button below to get a printable pdf with measurements and instructions.
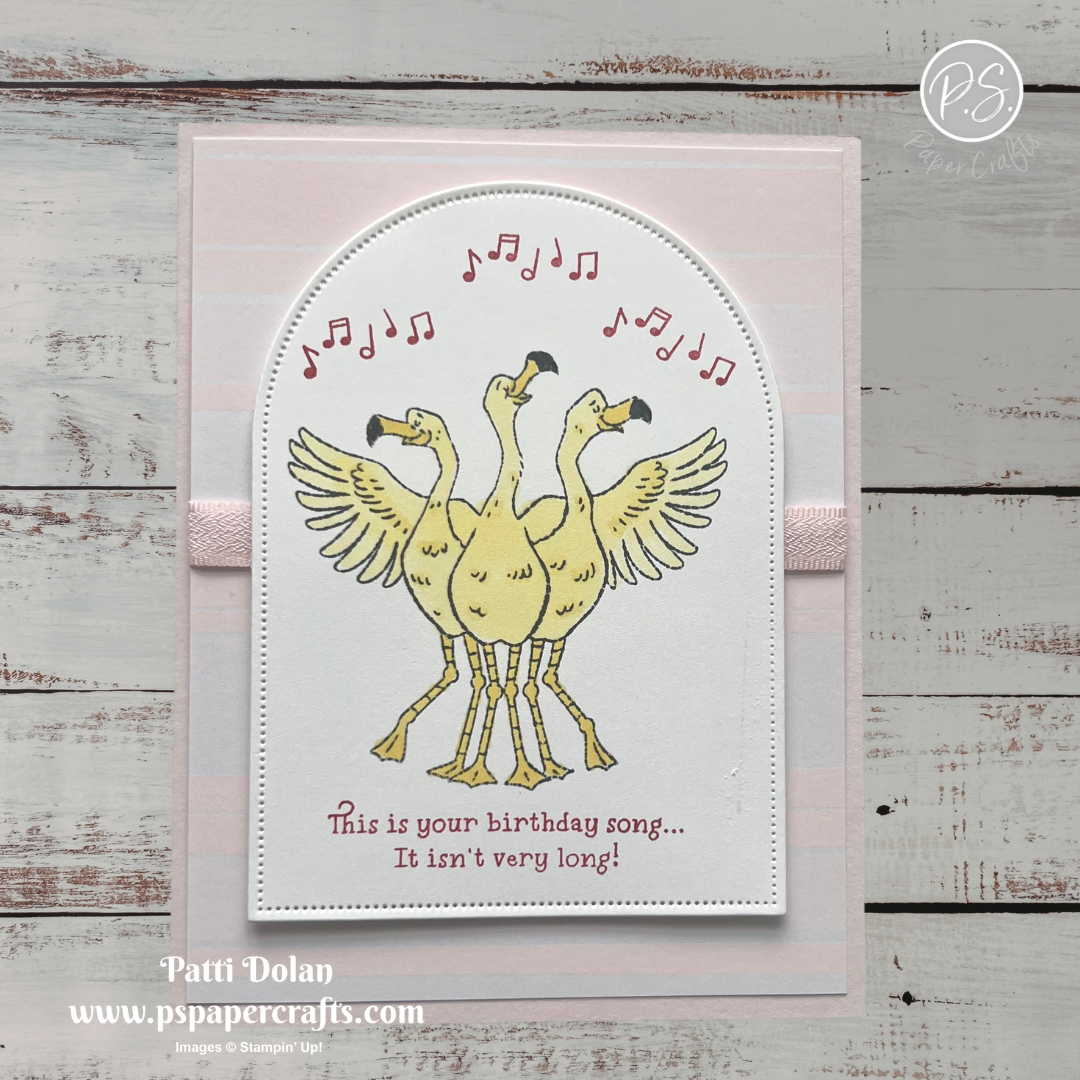
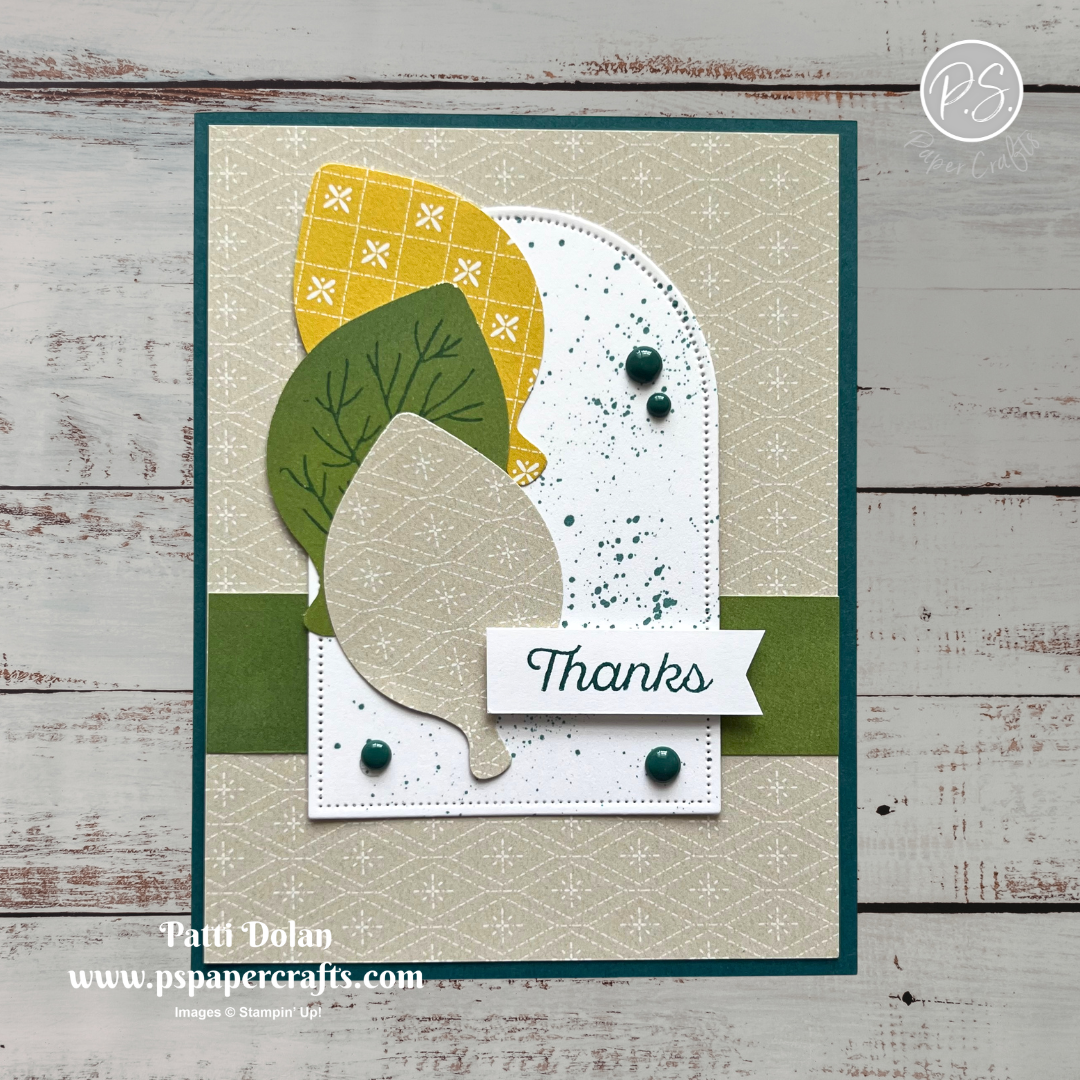
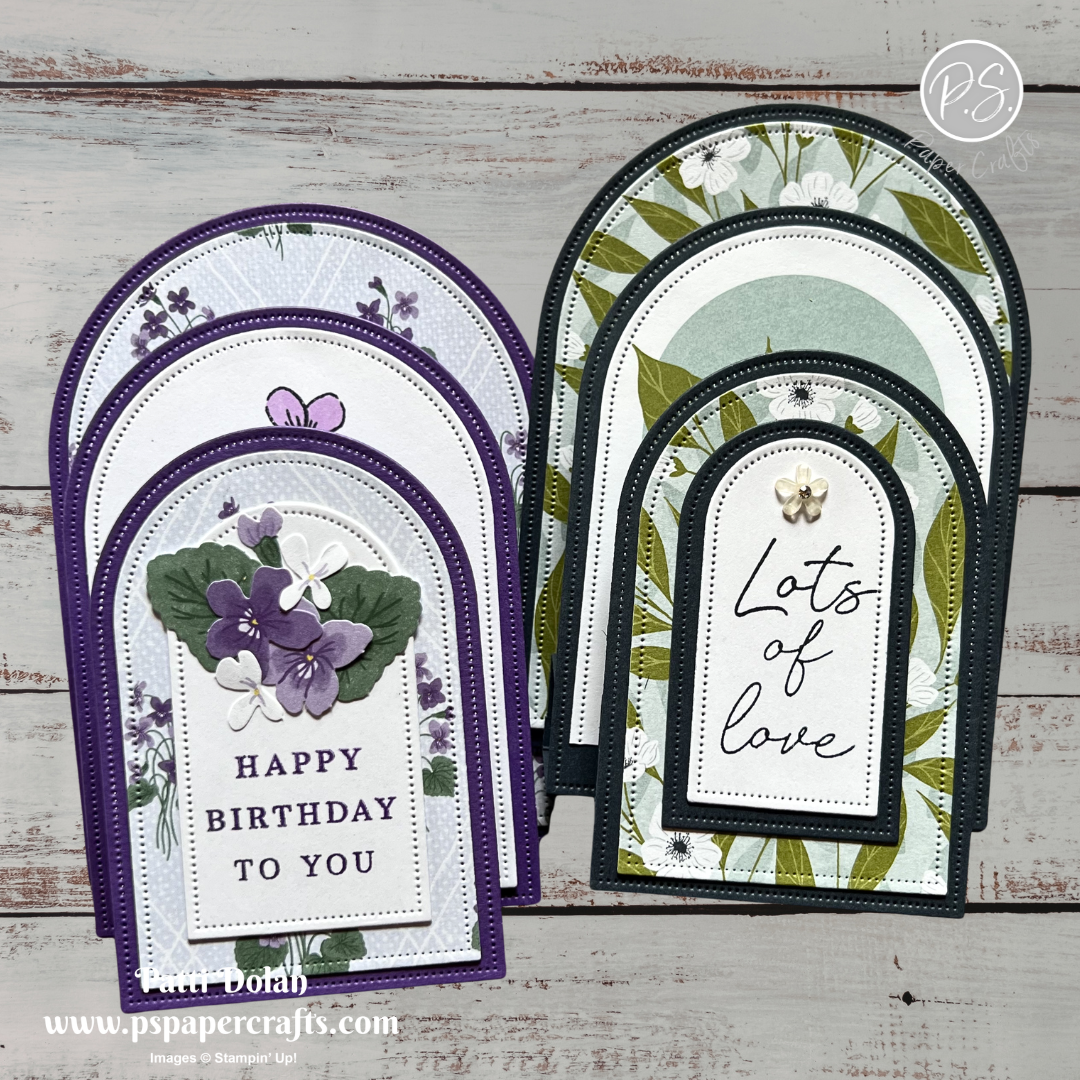
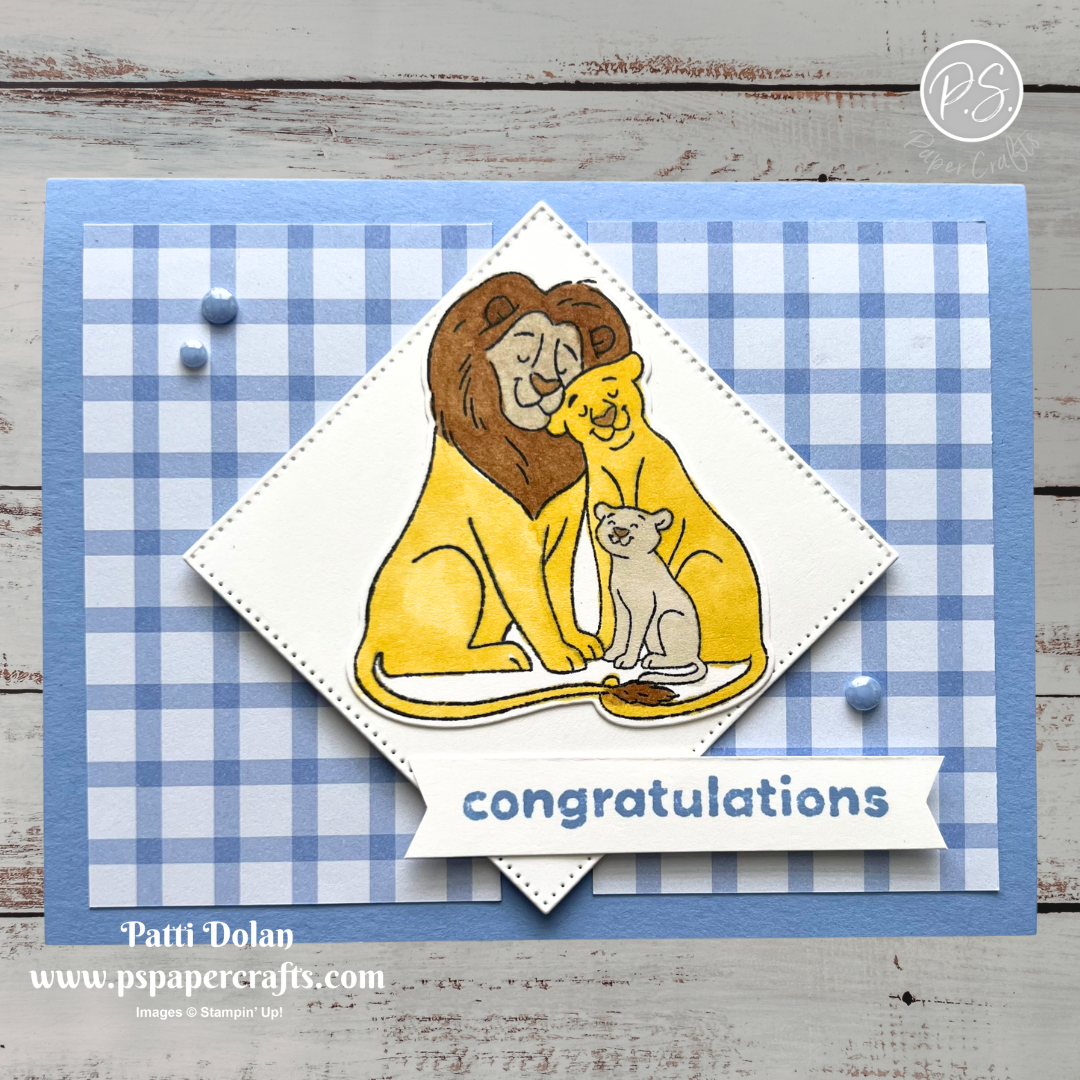
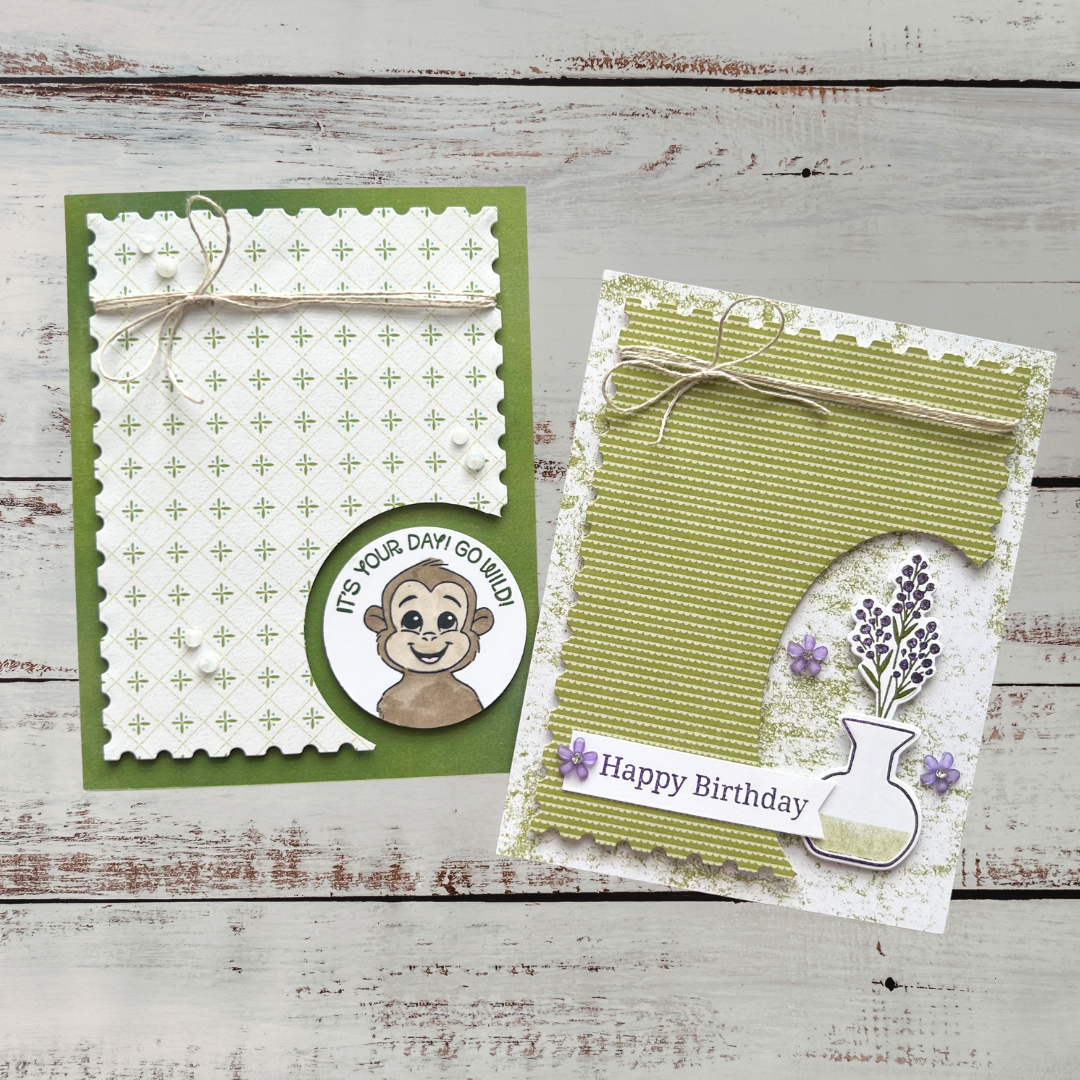
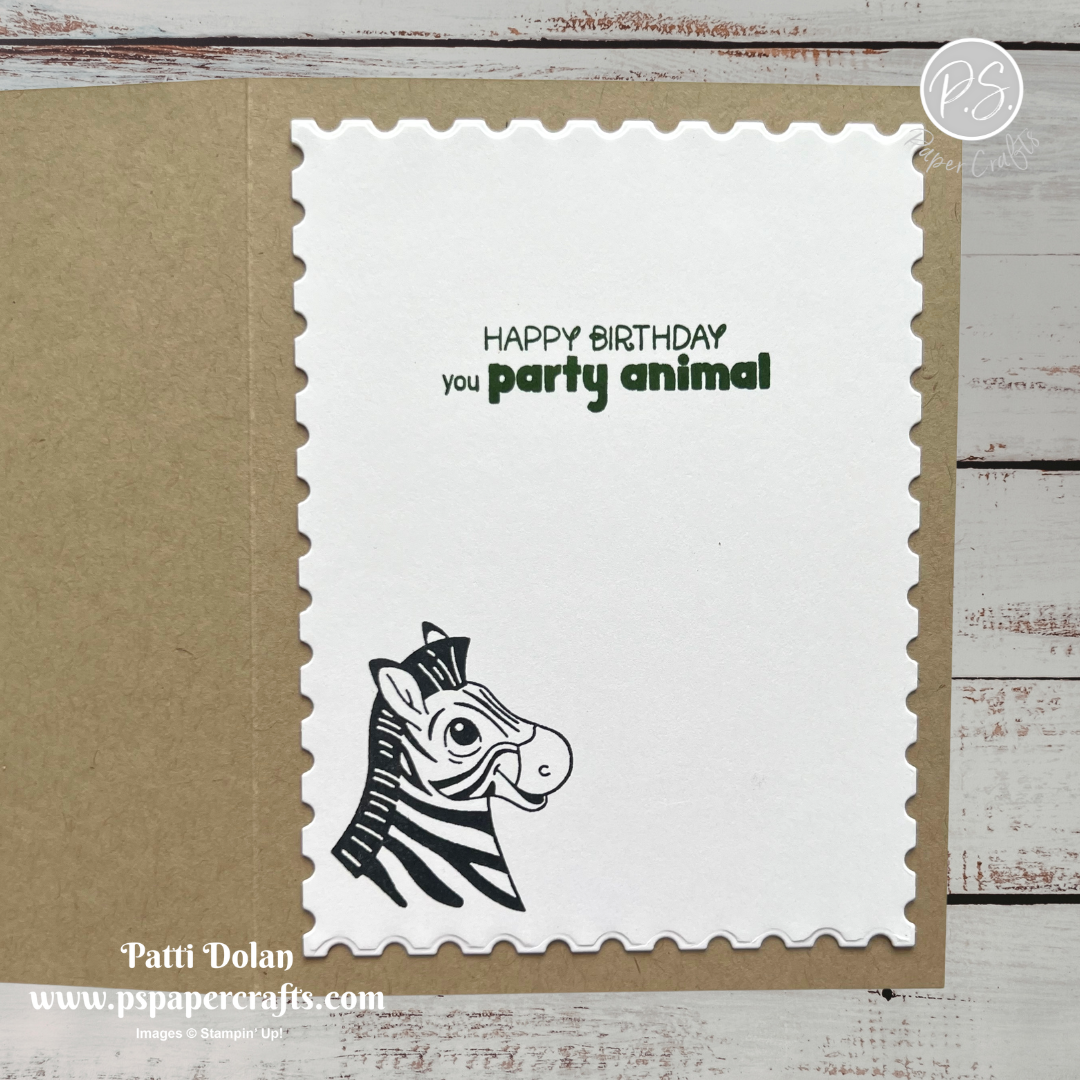
This cute kids card was made using the Silly Safari Stamp Set and Valley In Bloom Designer Series Paper
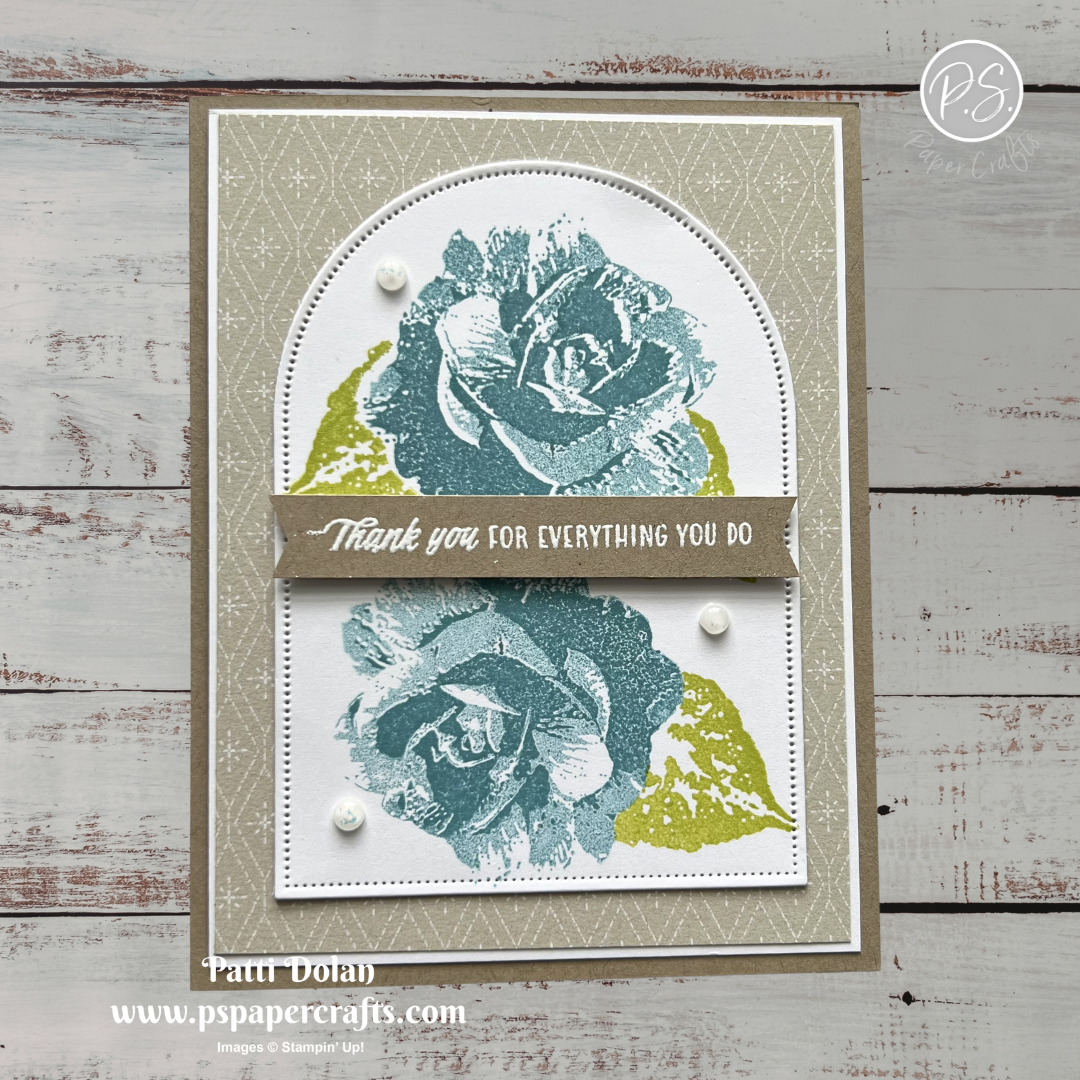
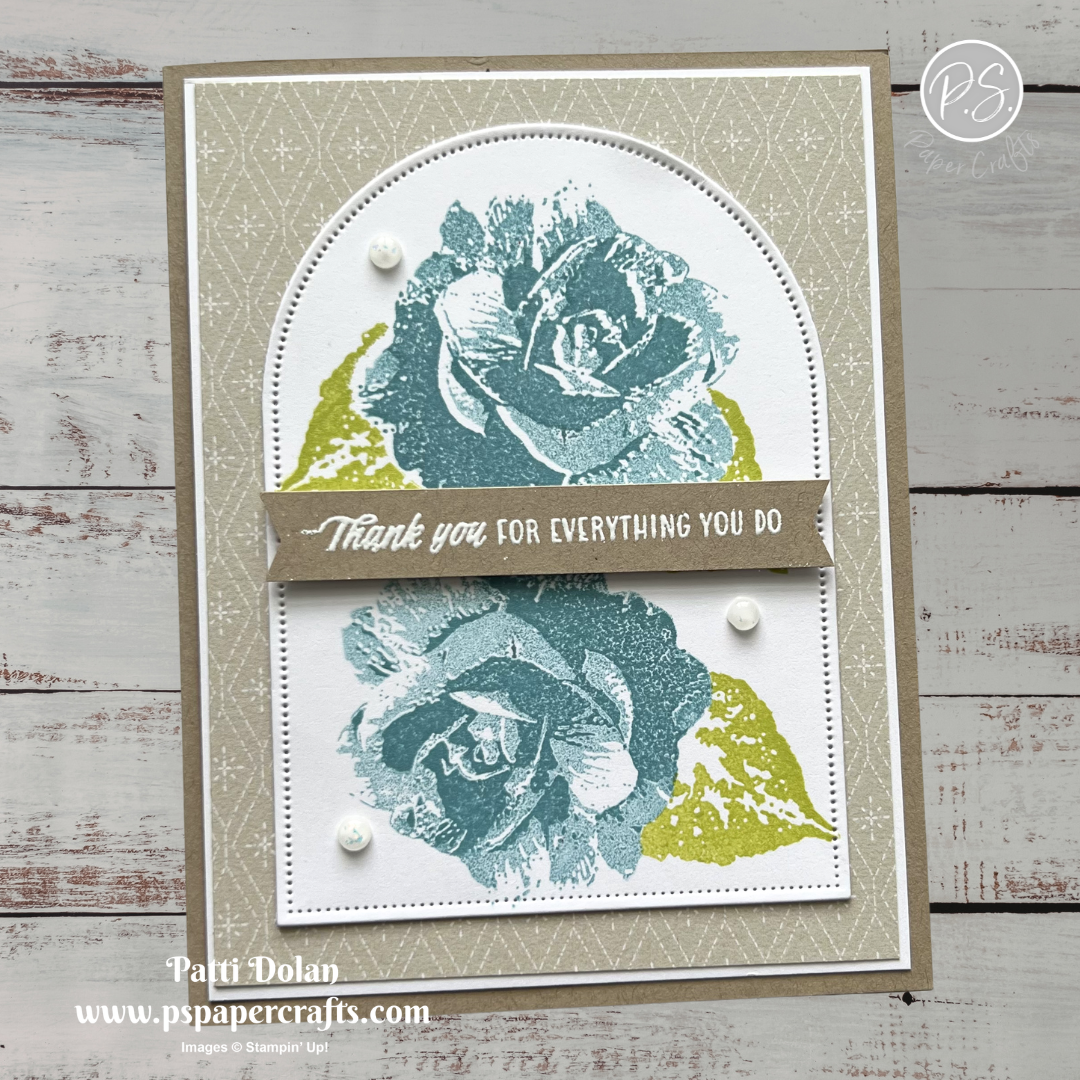
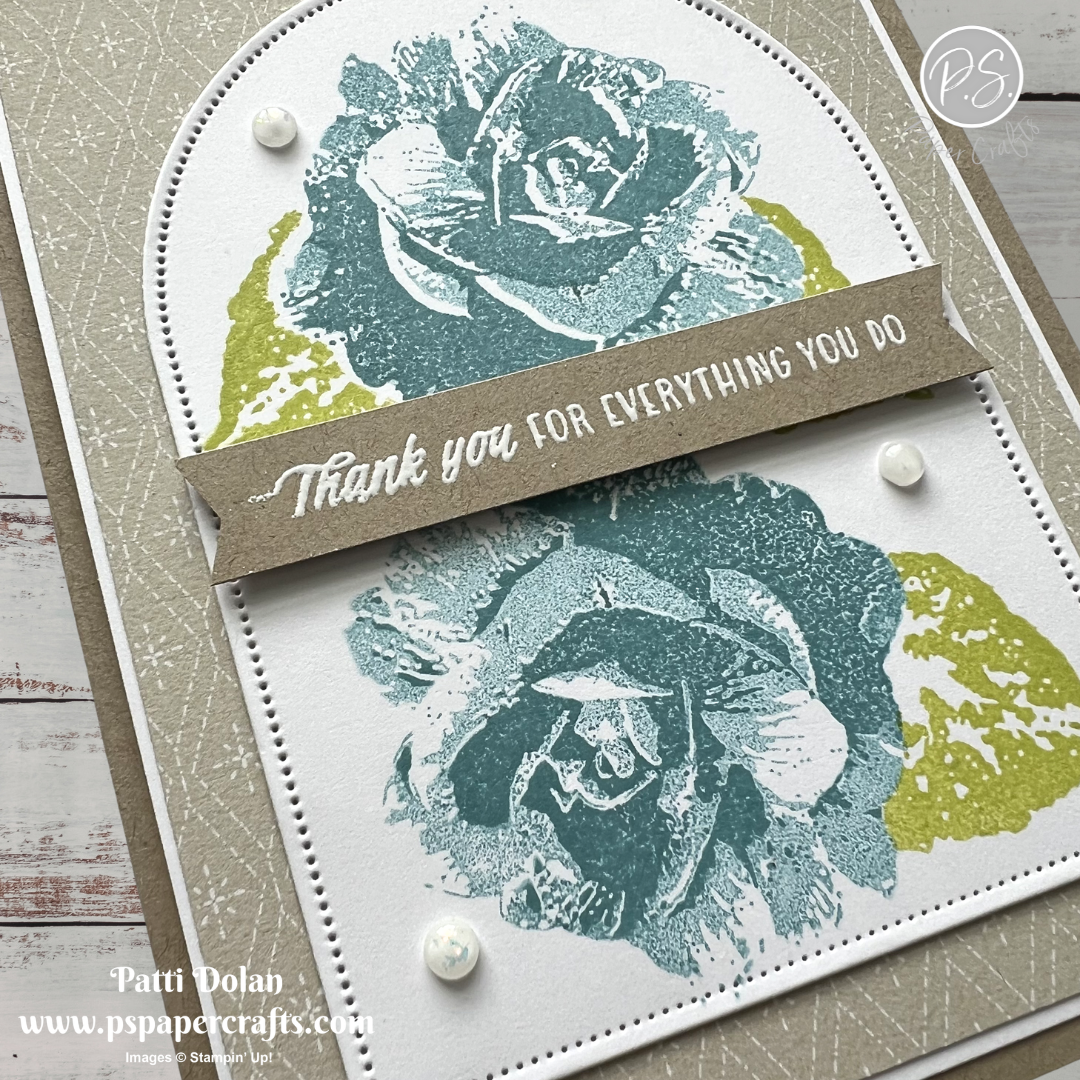
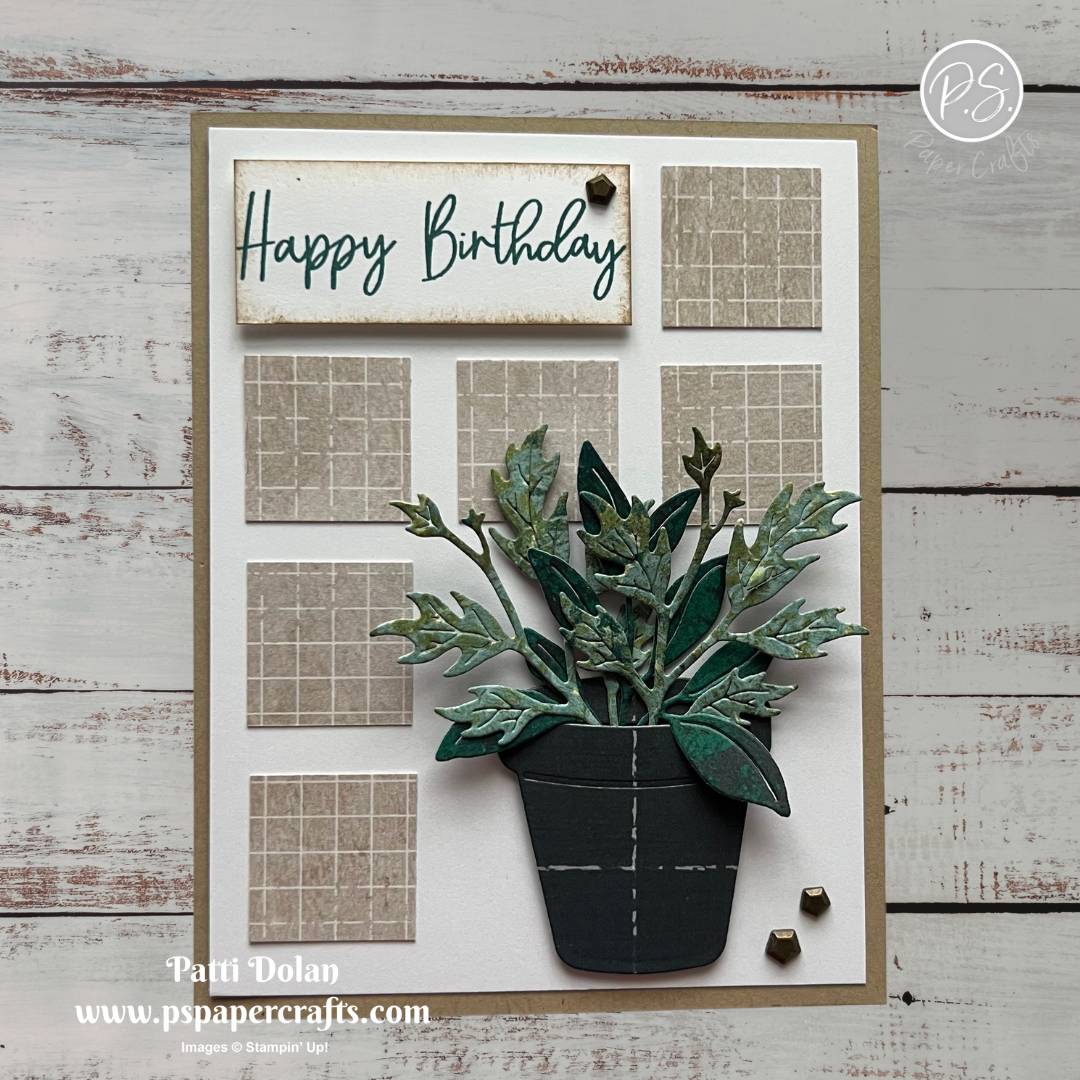
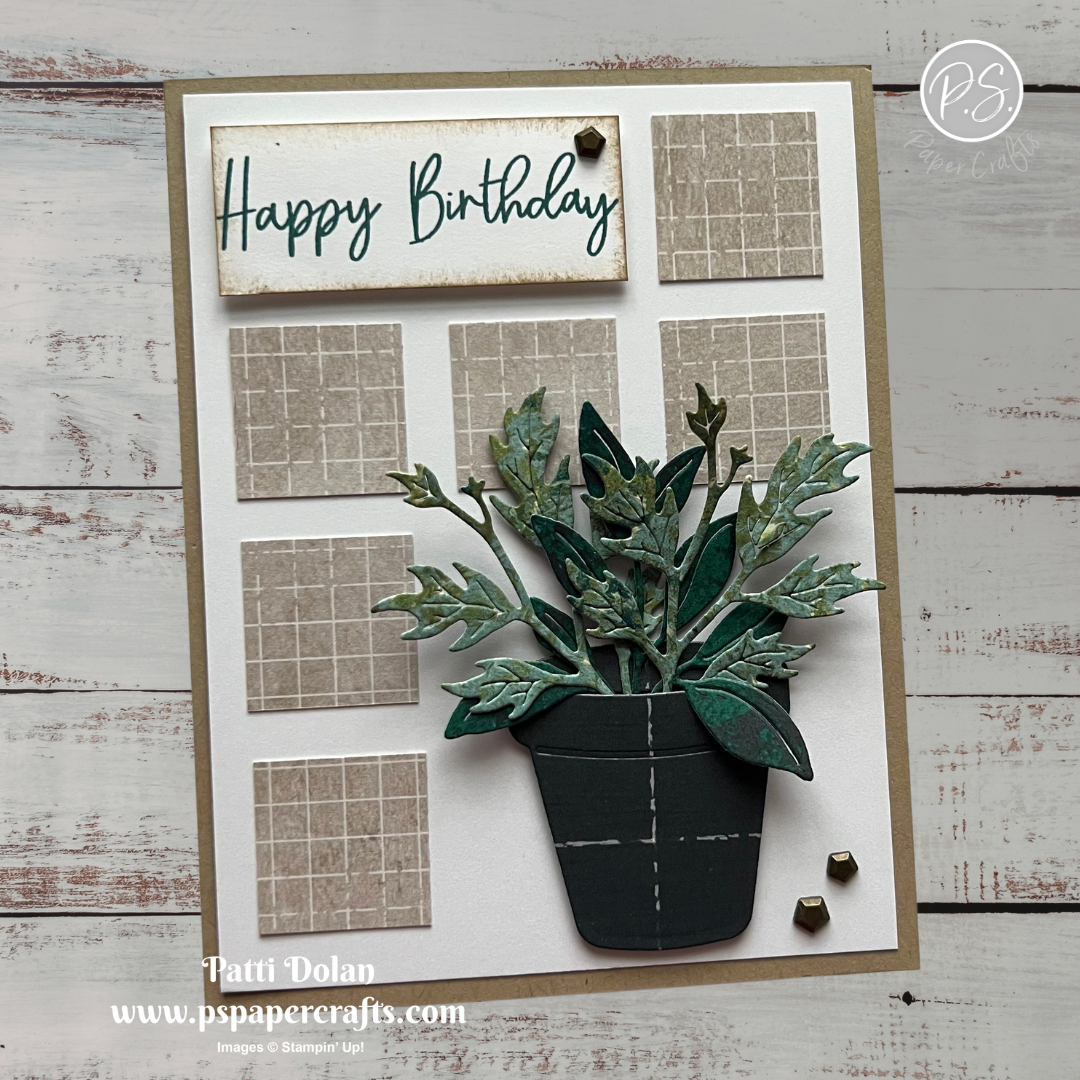
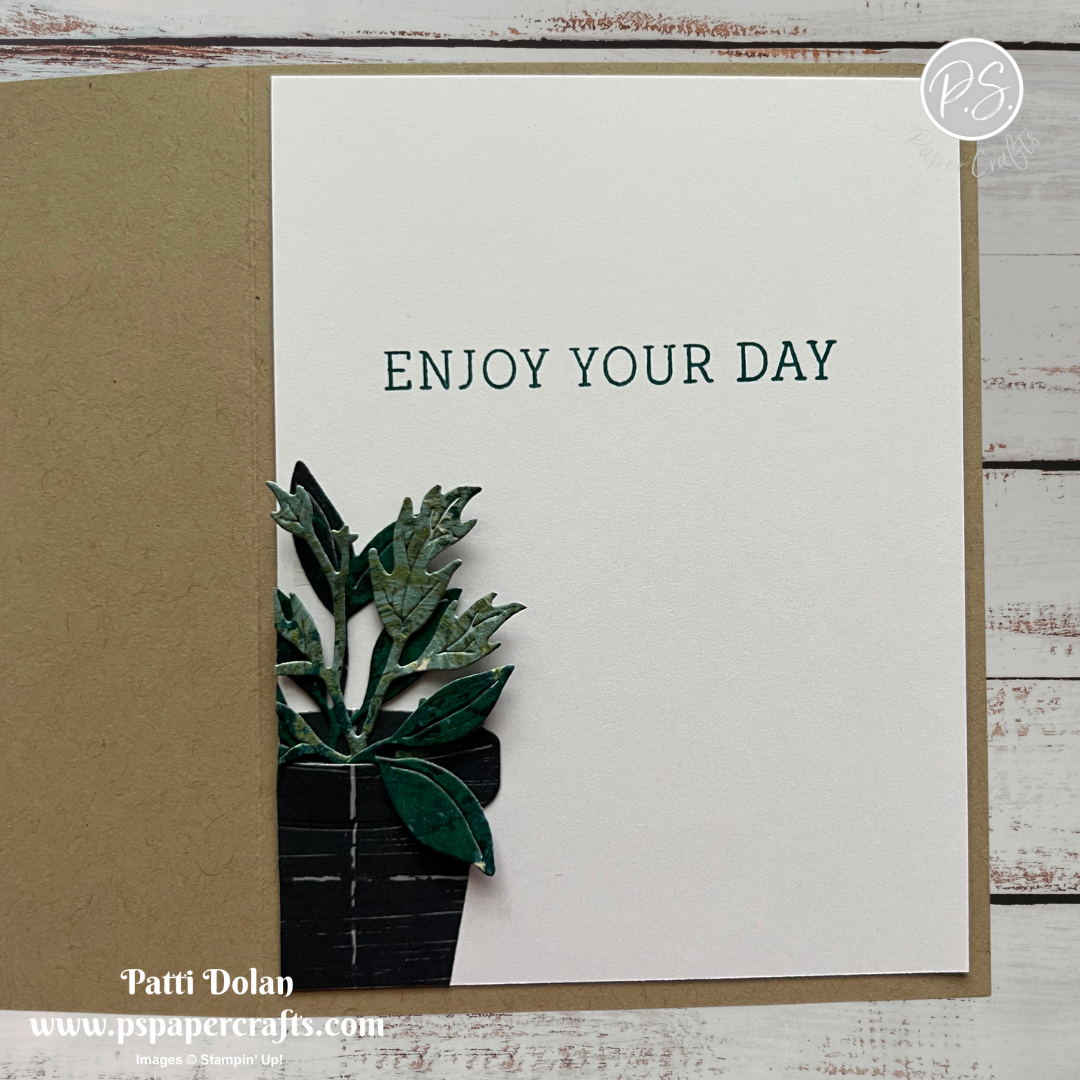
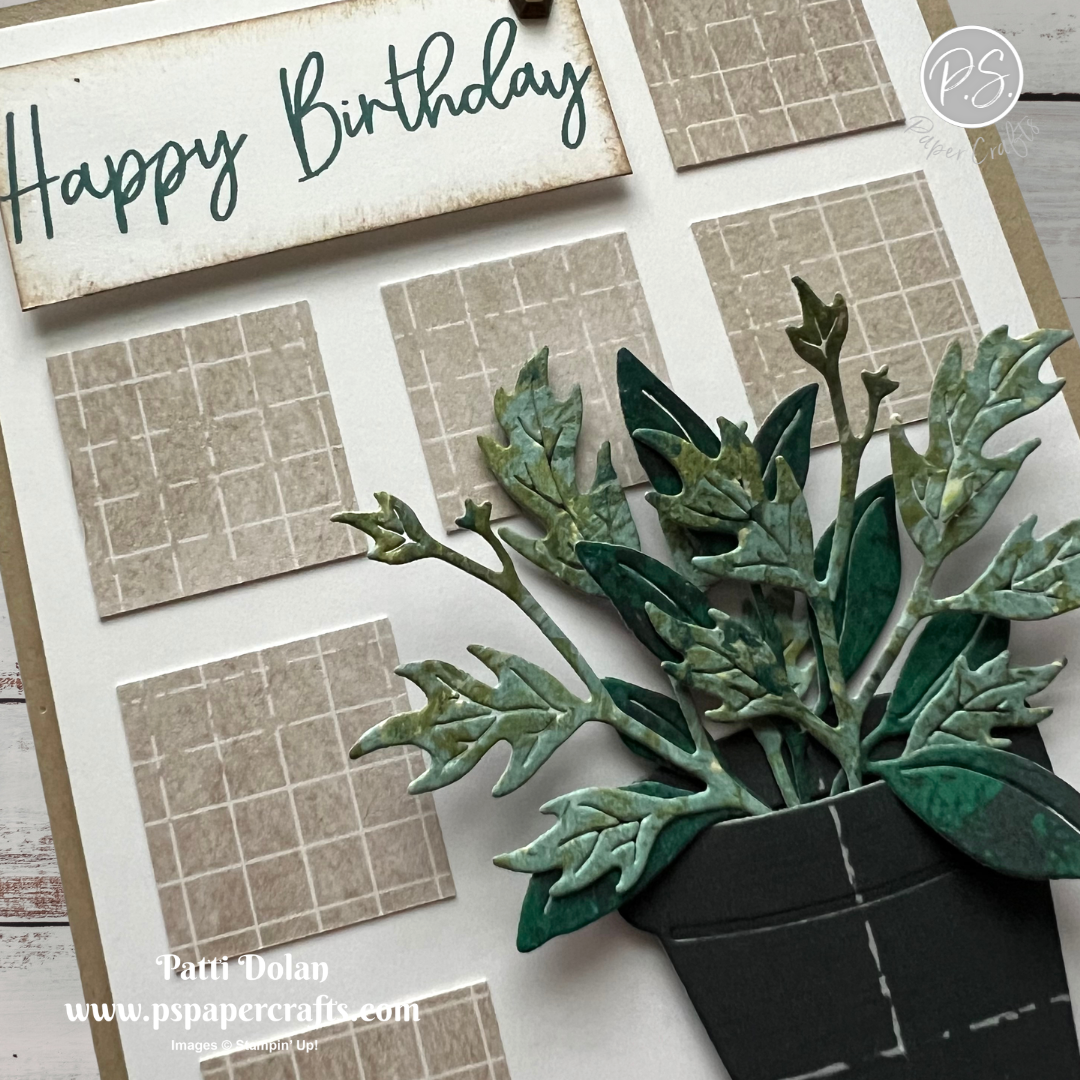
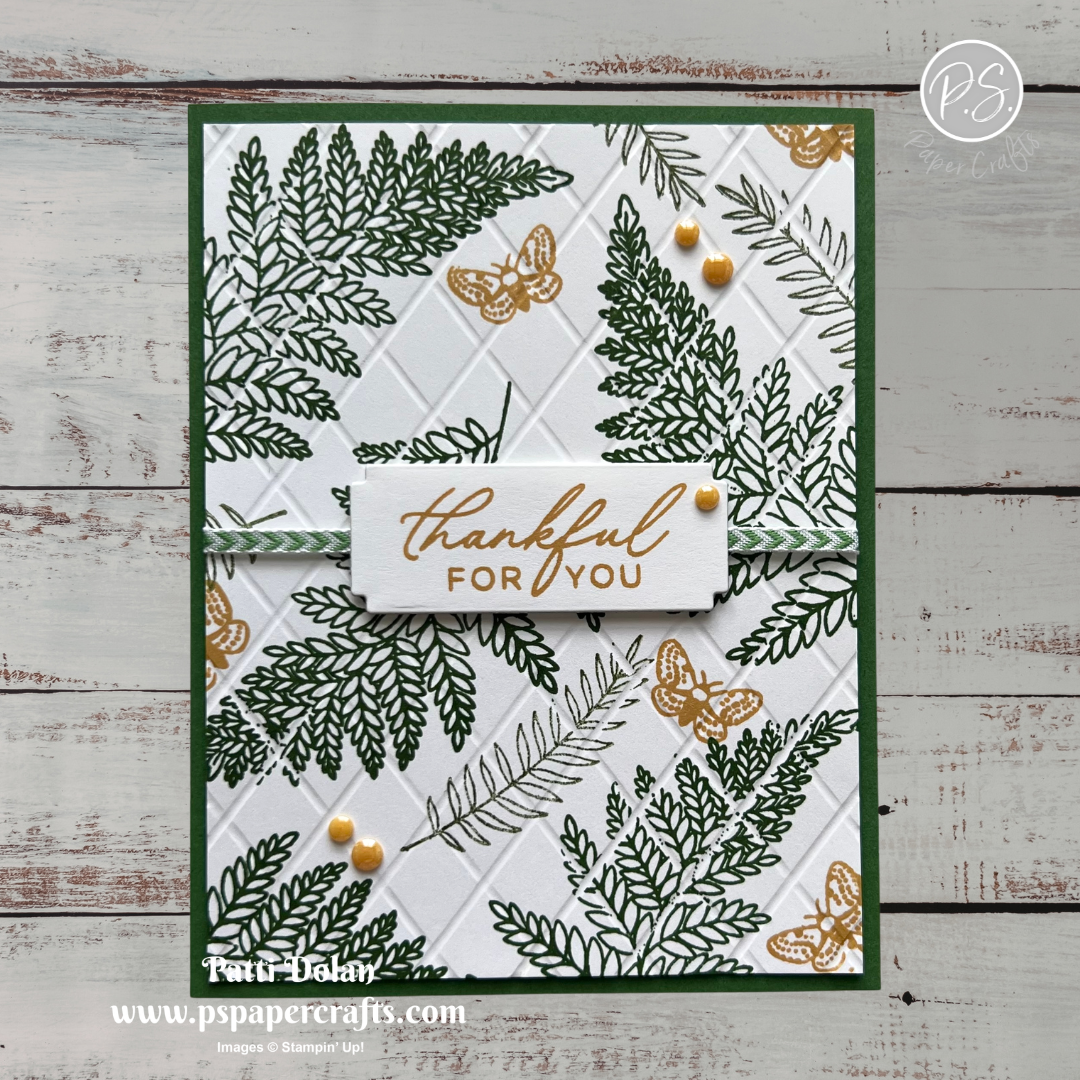
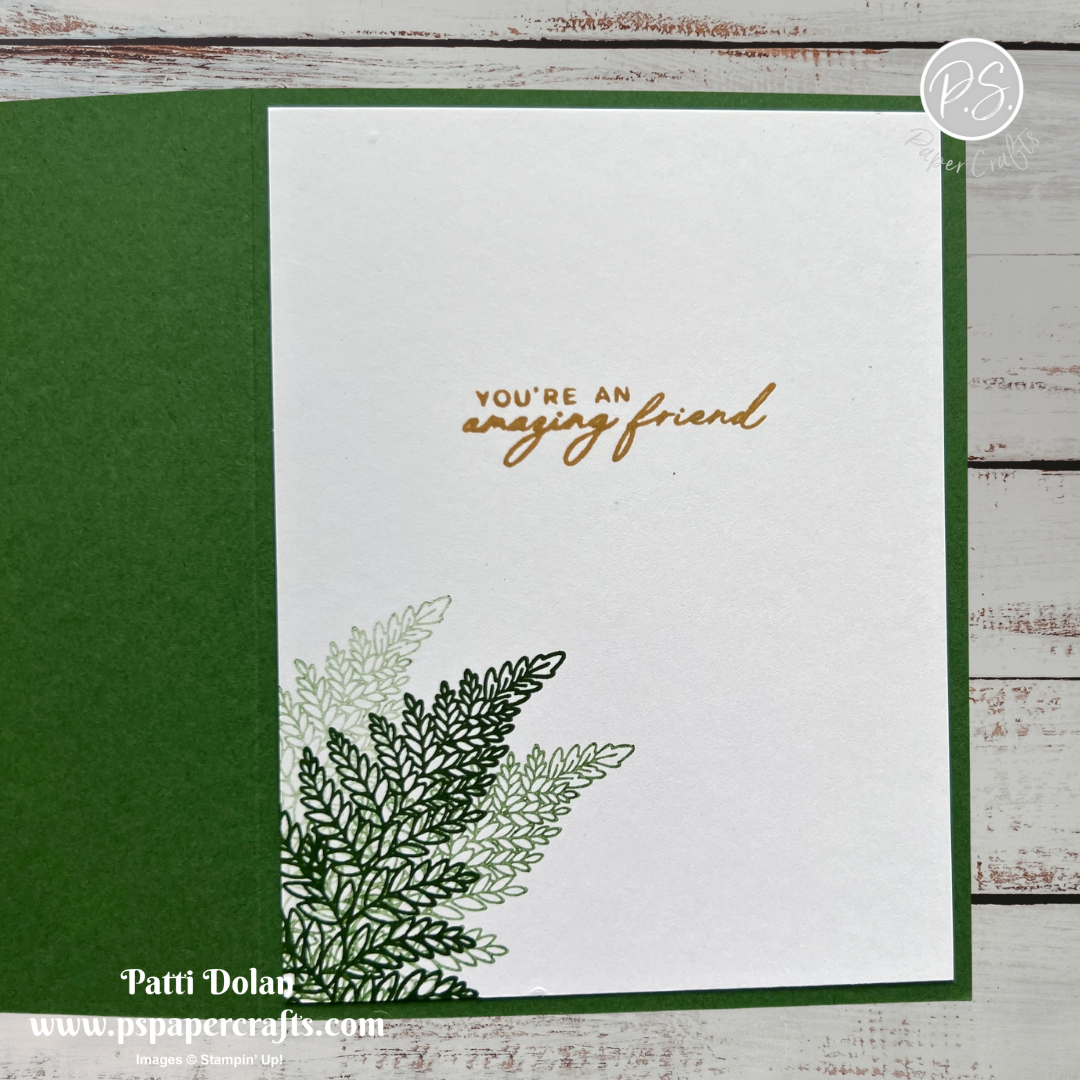
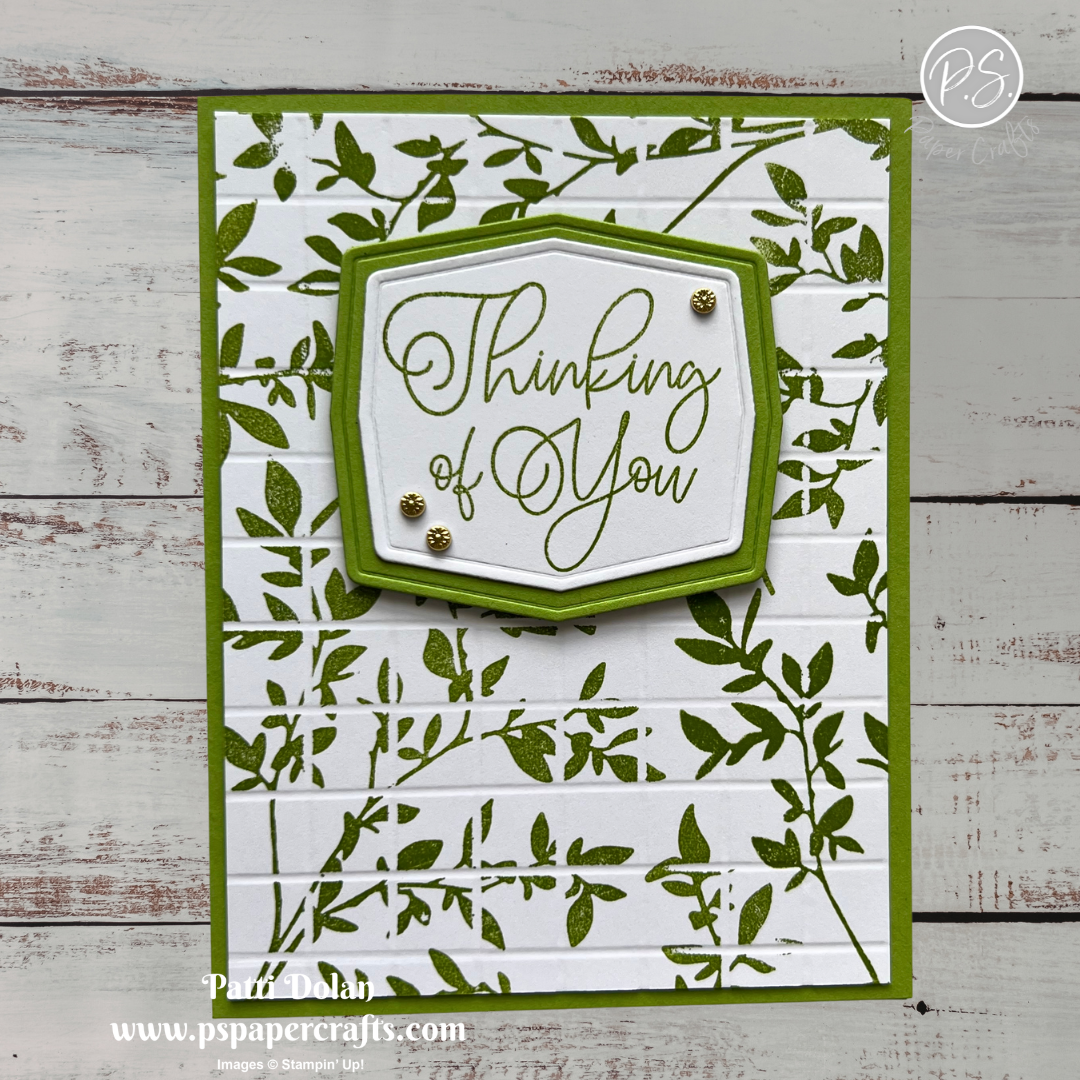
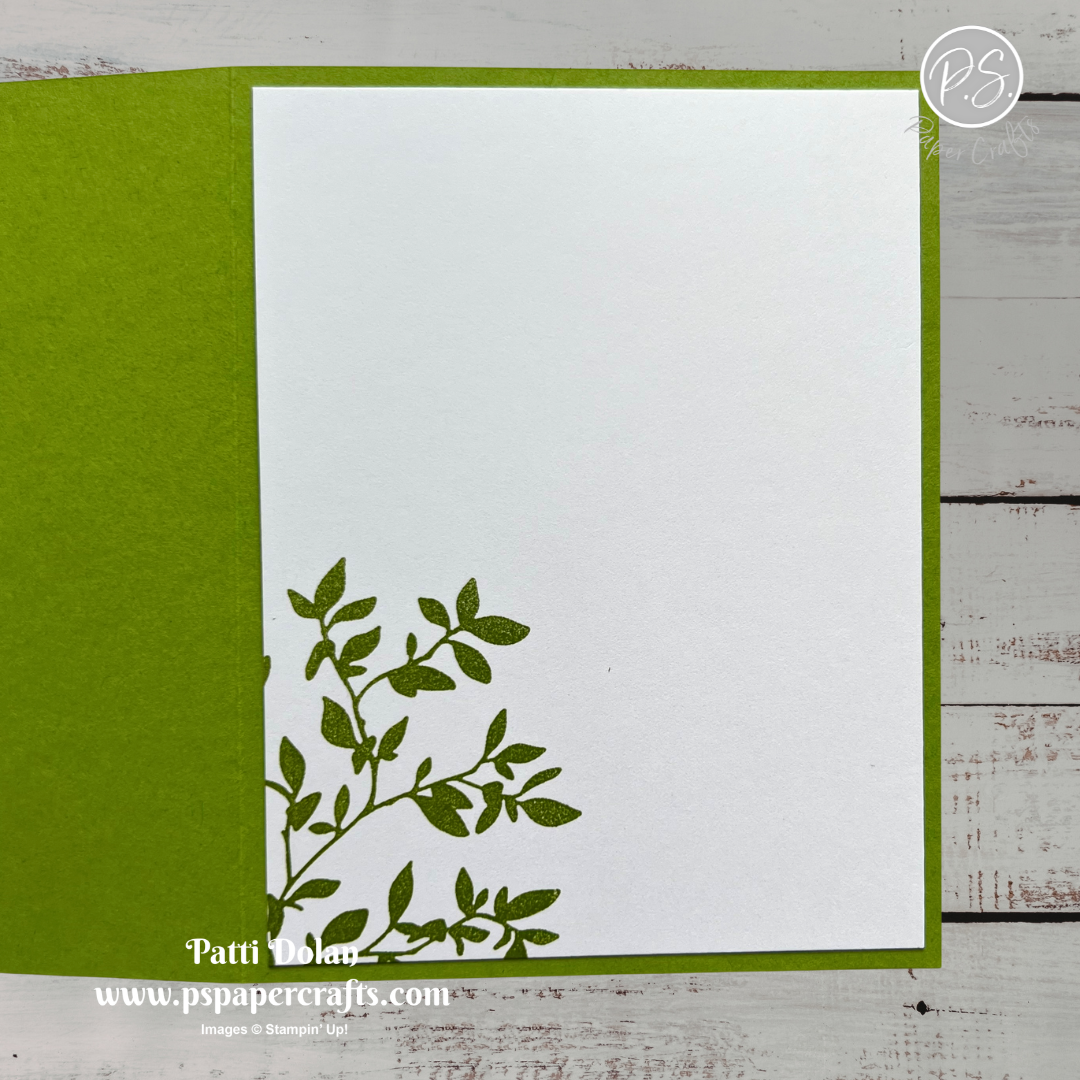
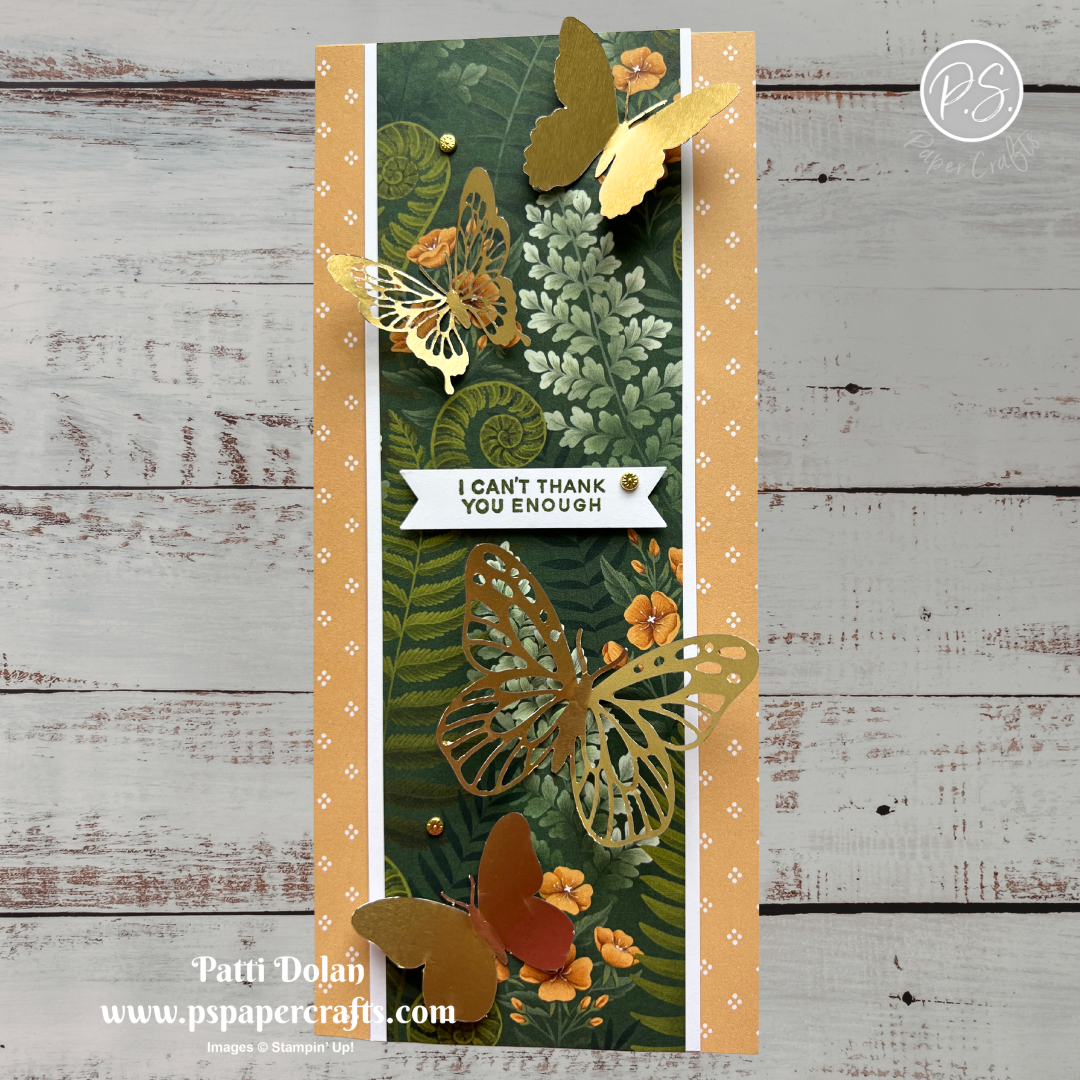
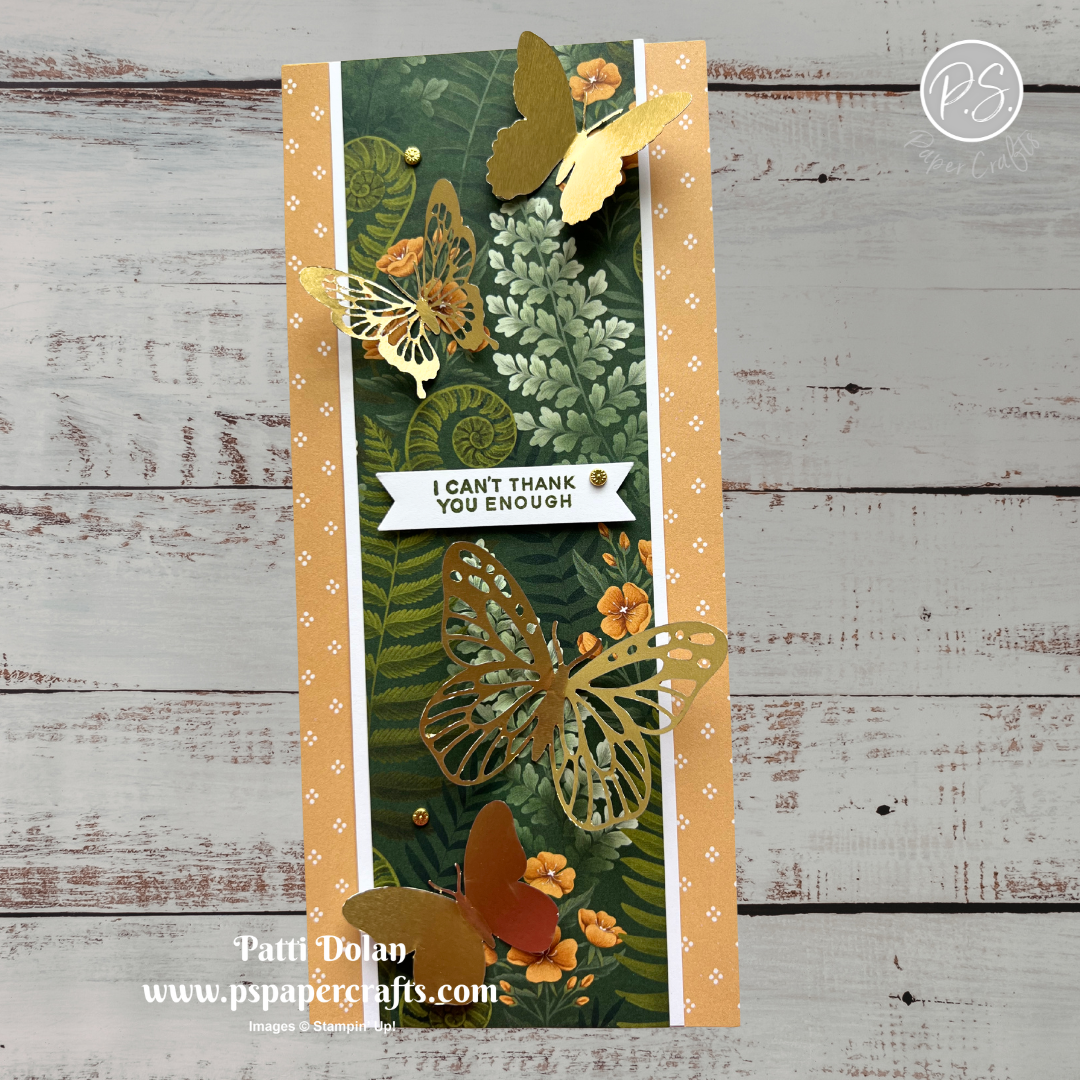
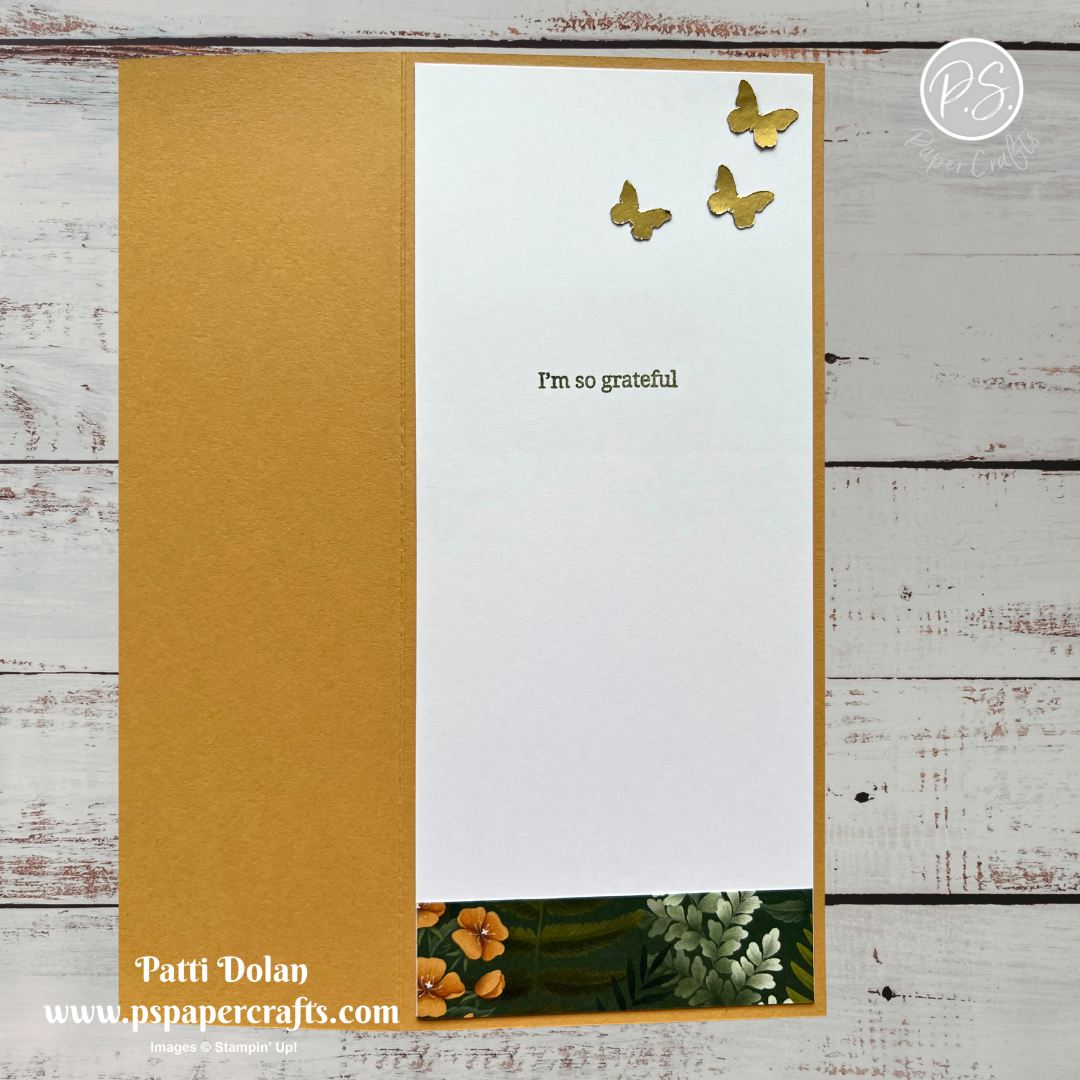
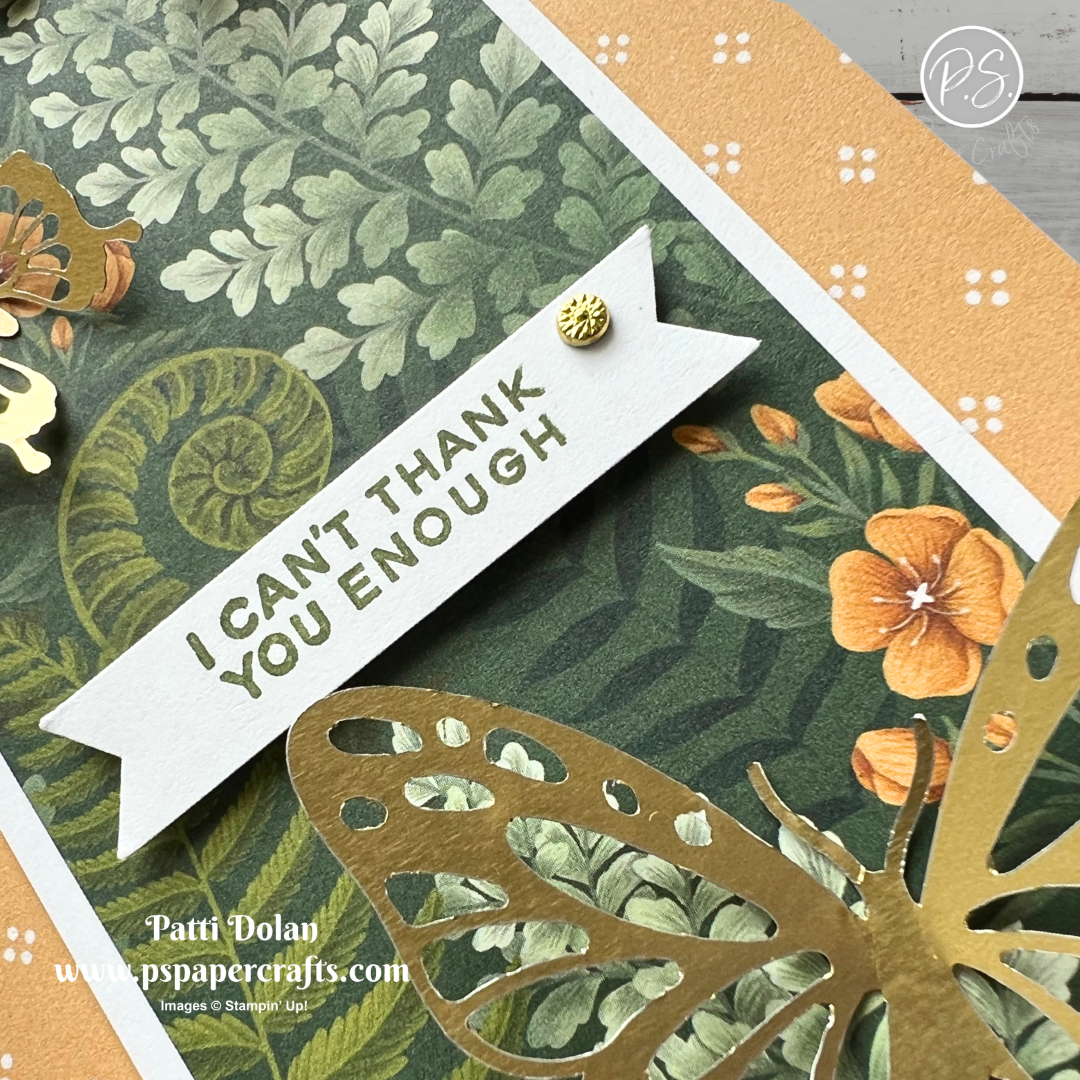
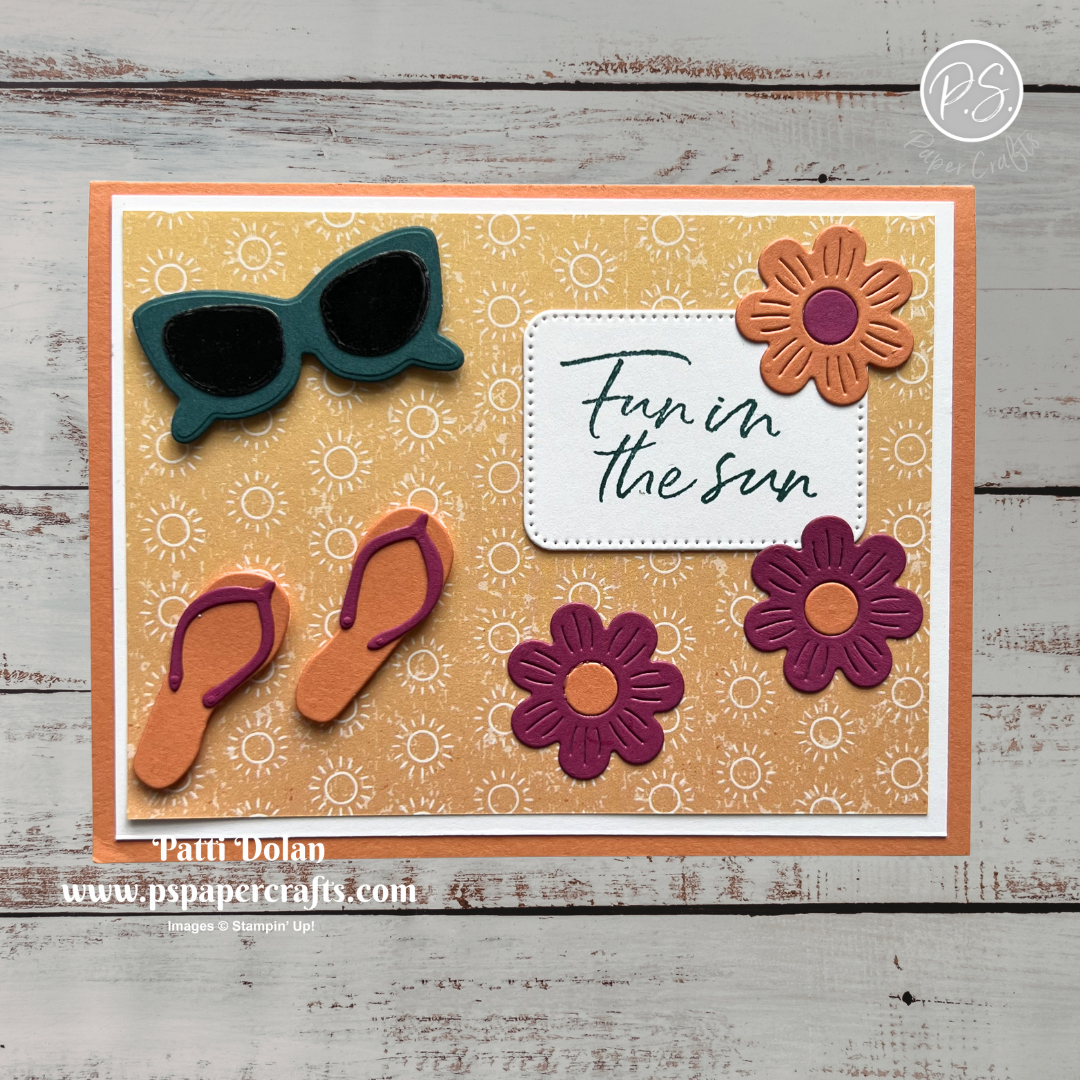
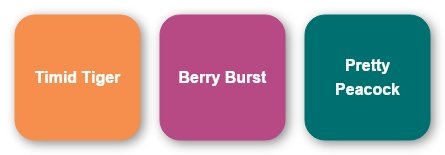
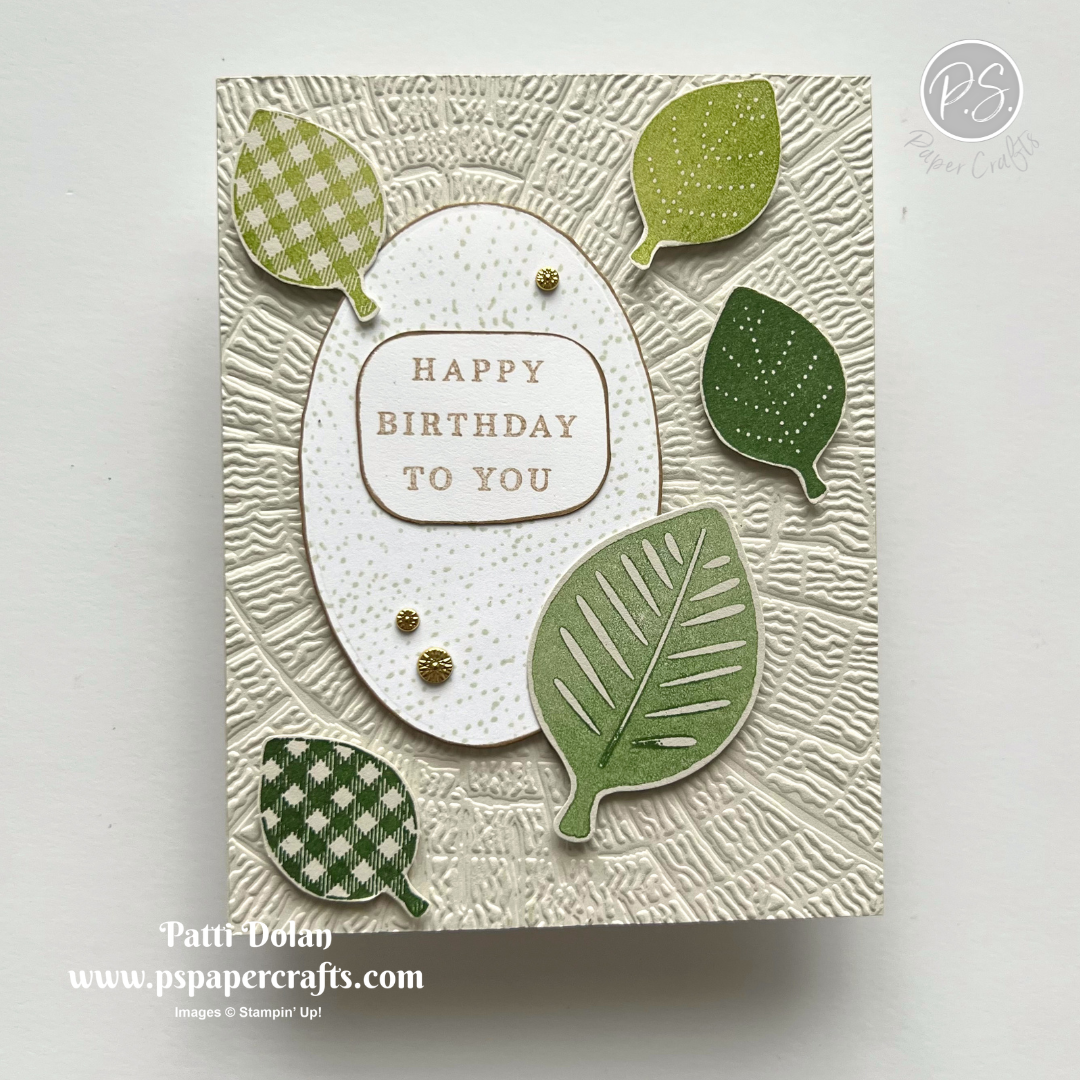
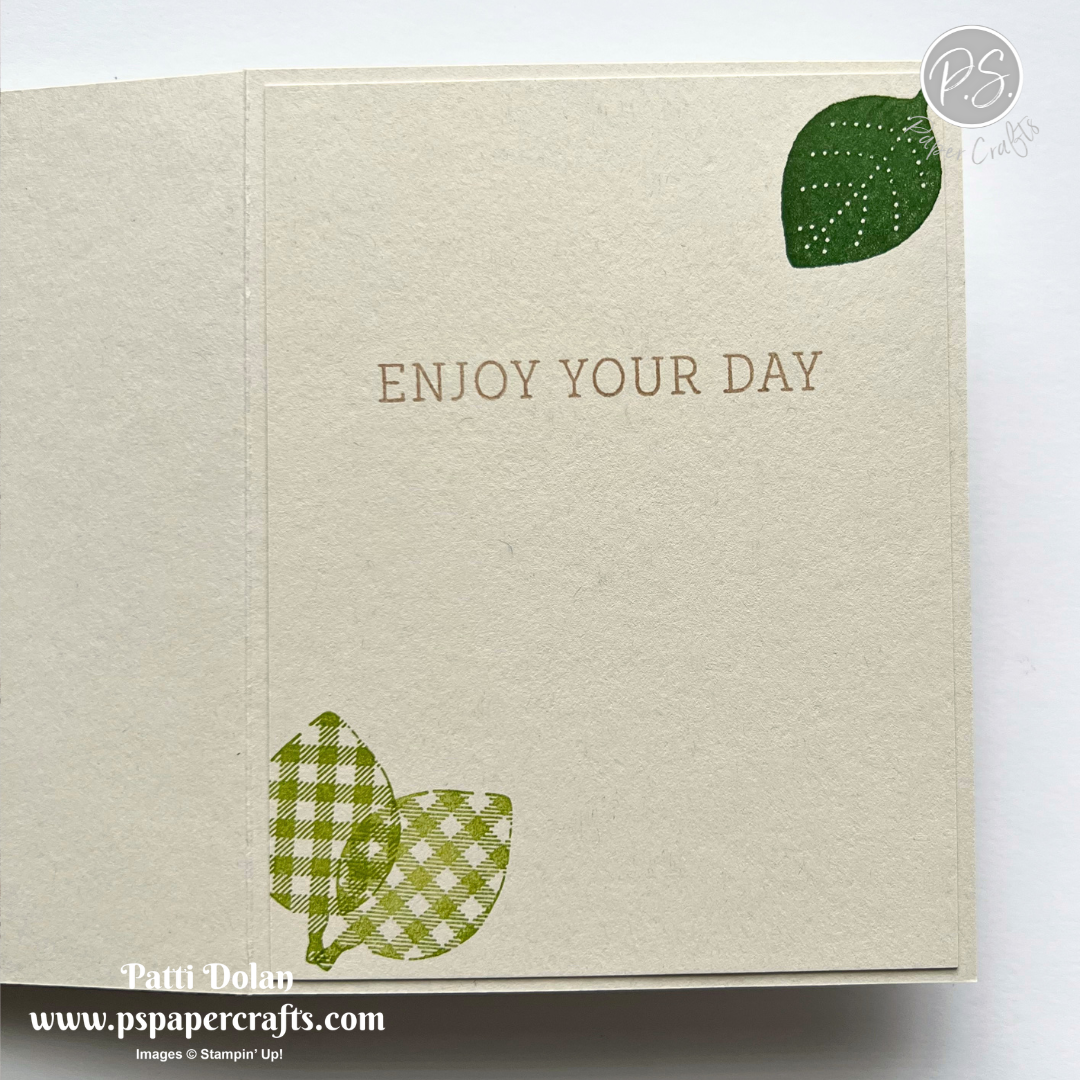
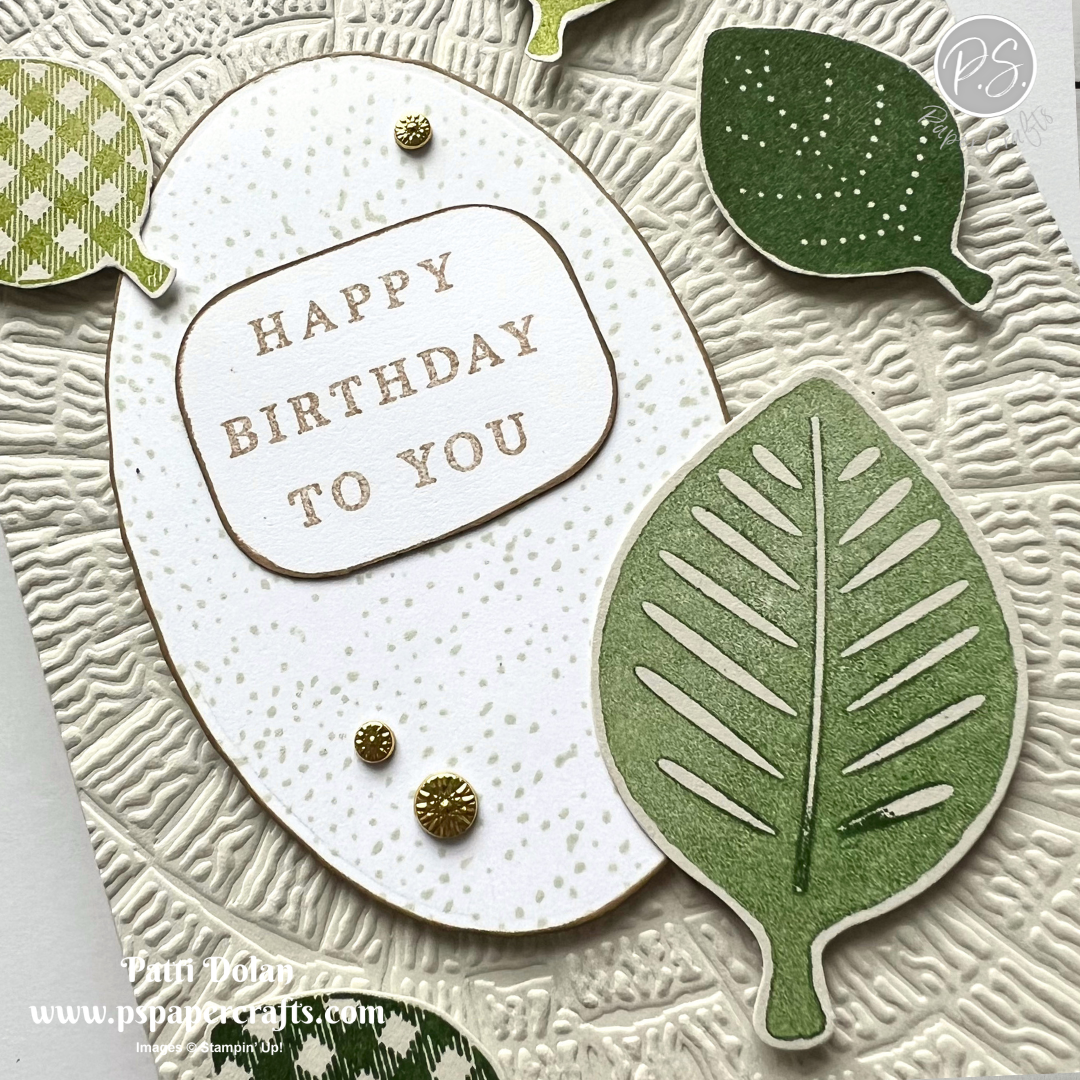
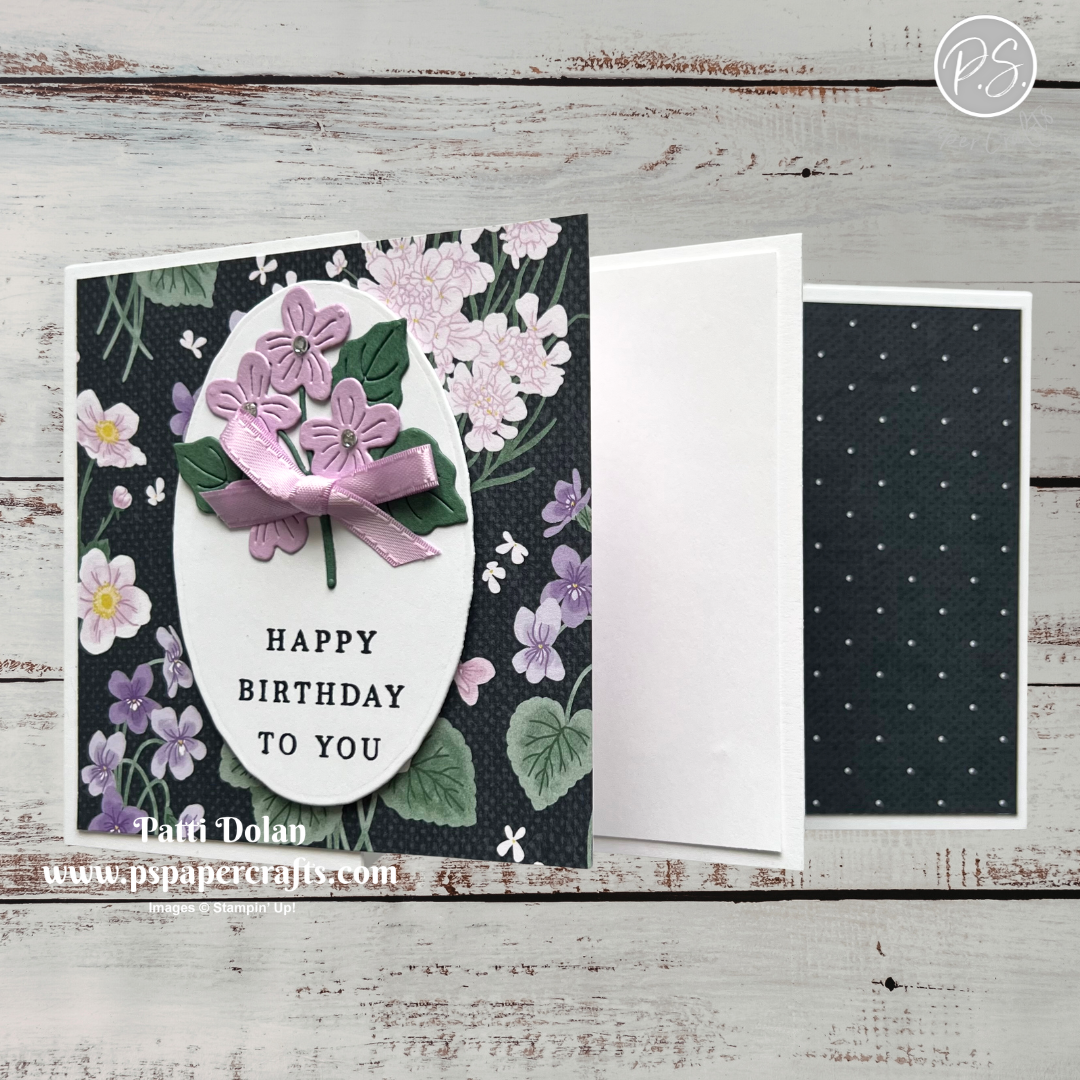
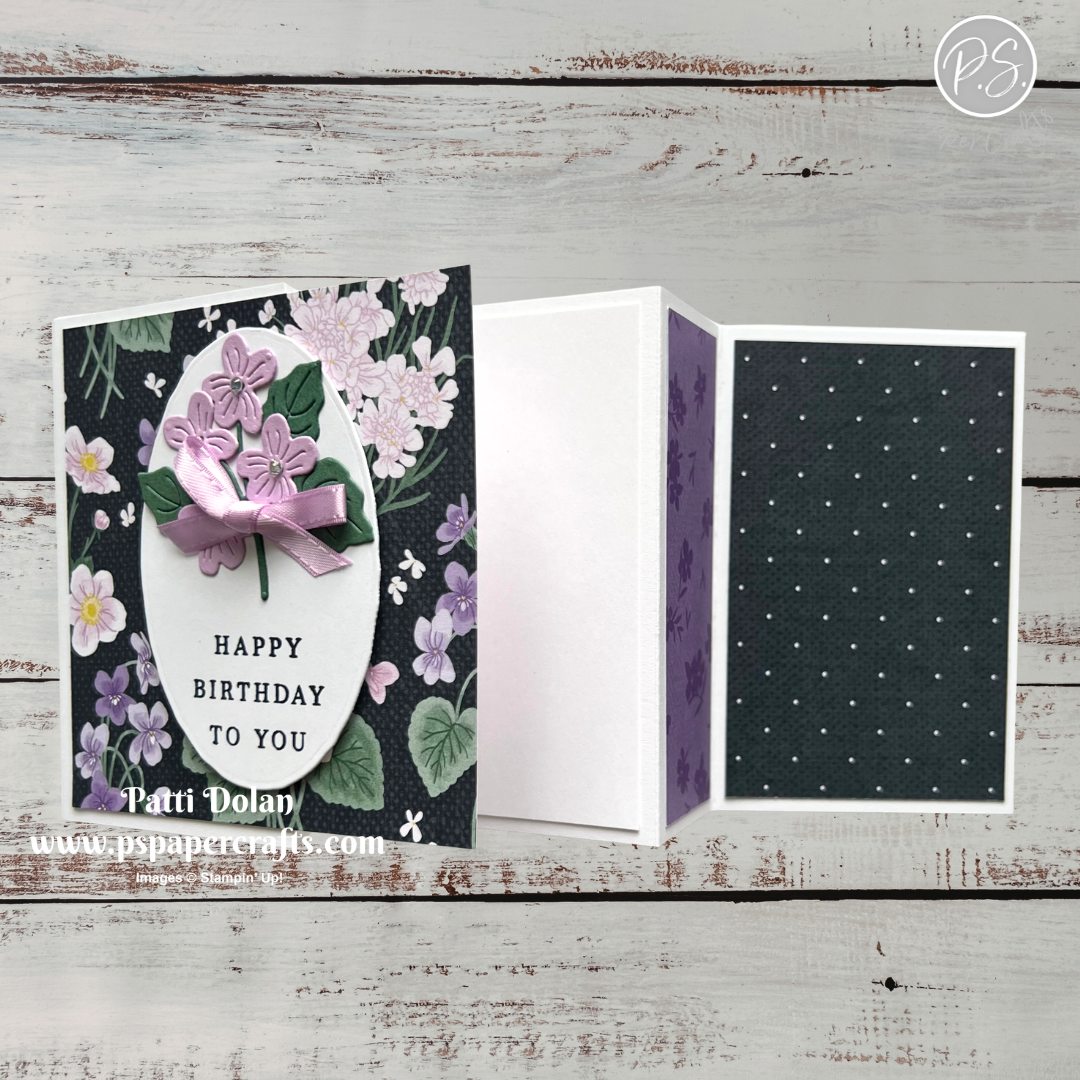
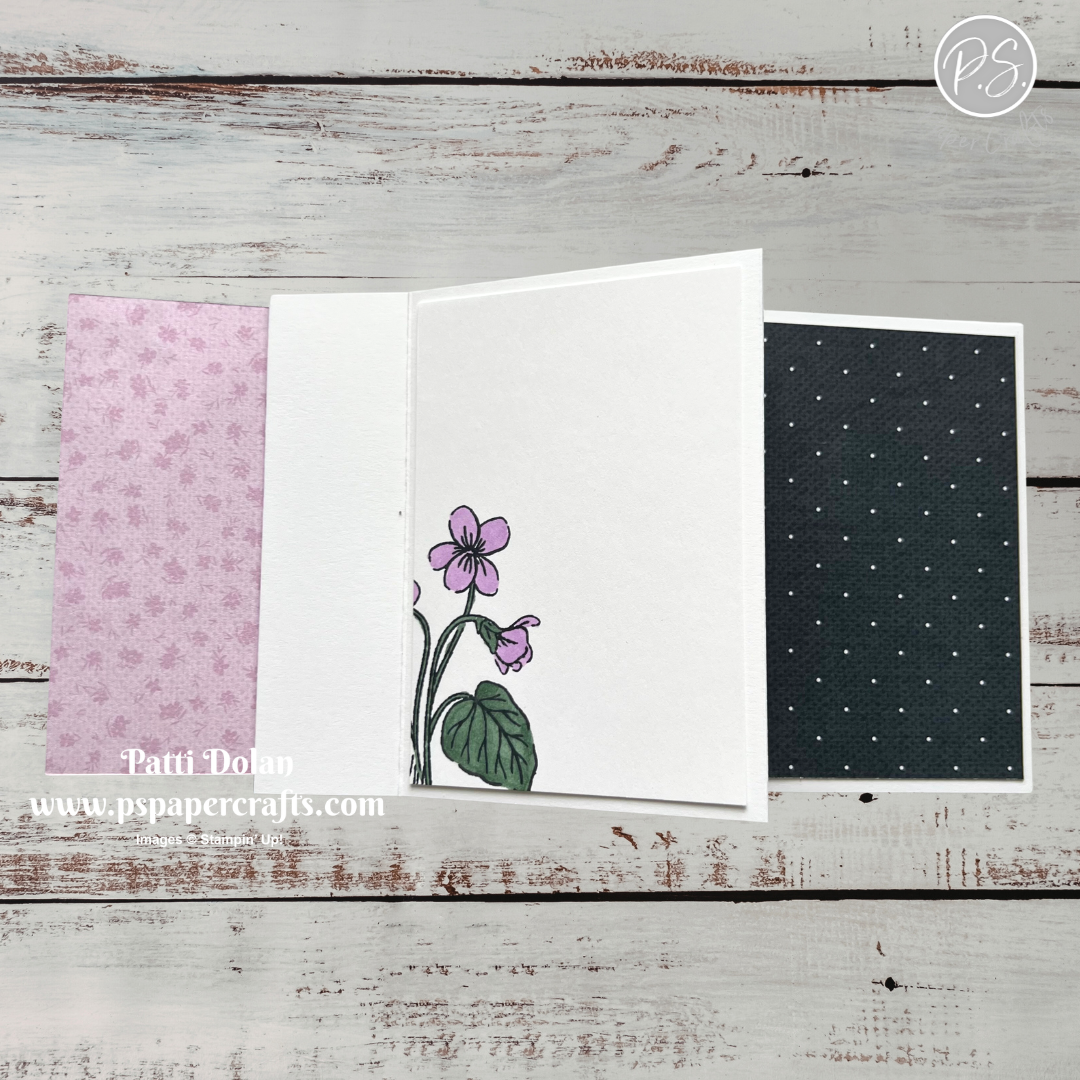
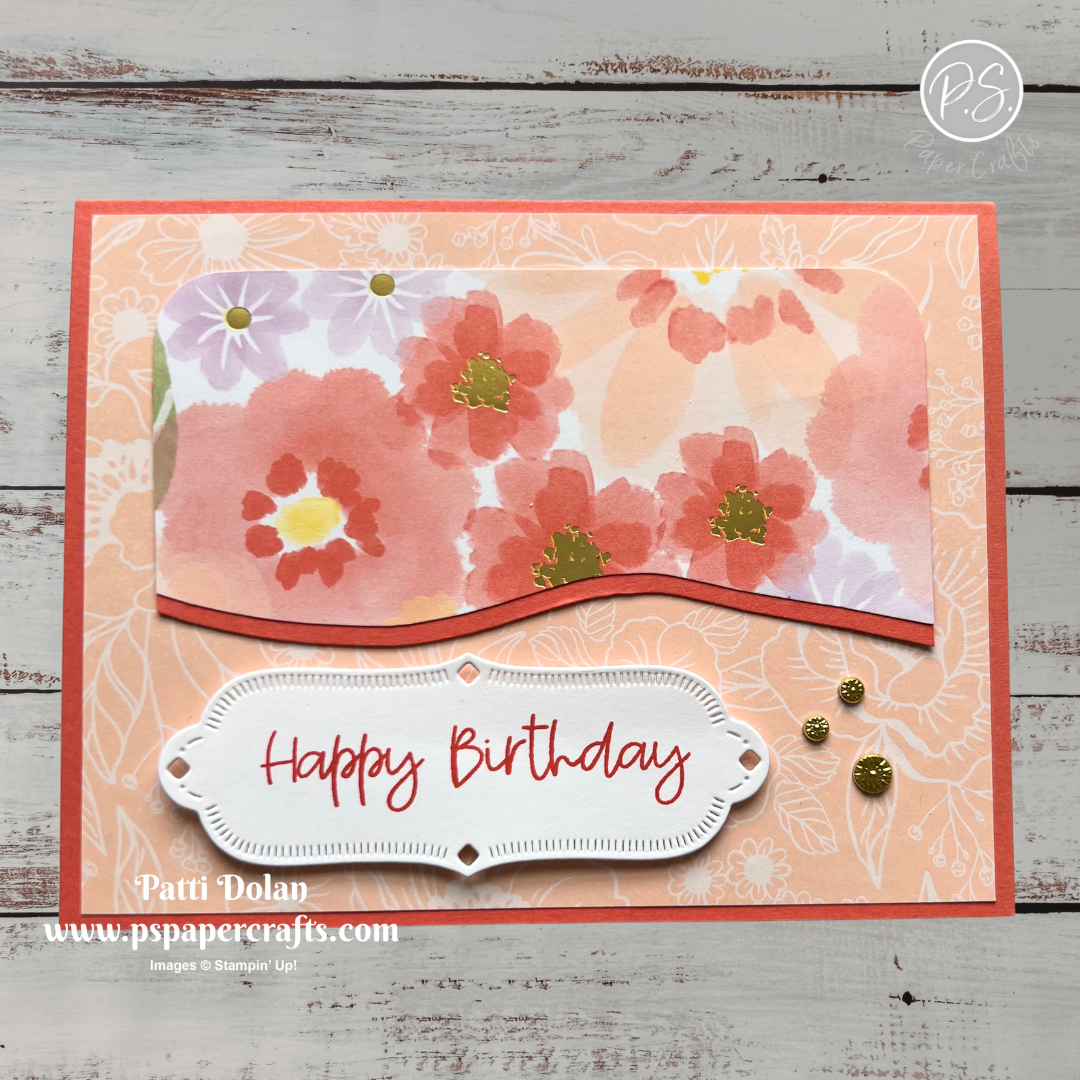
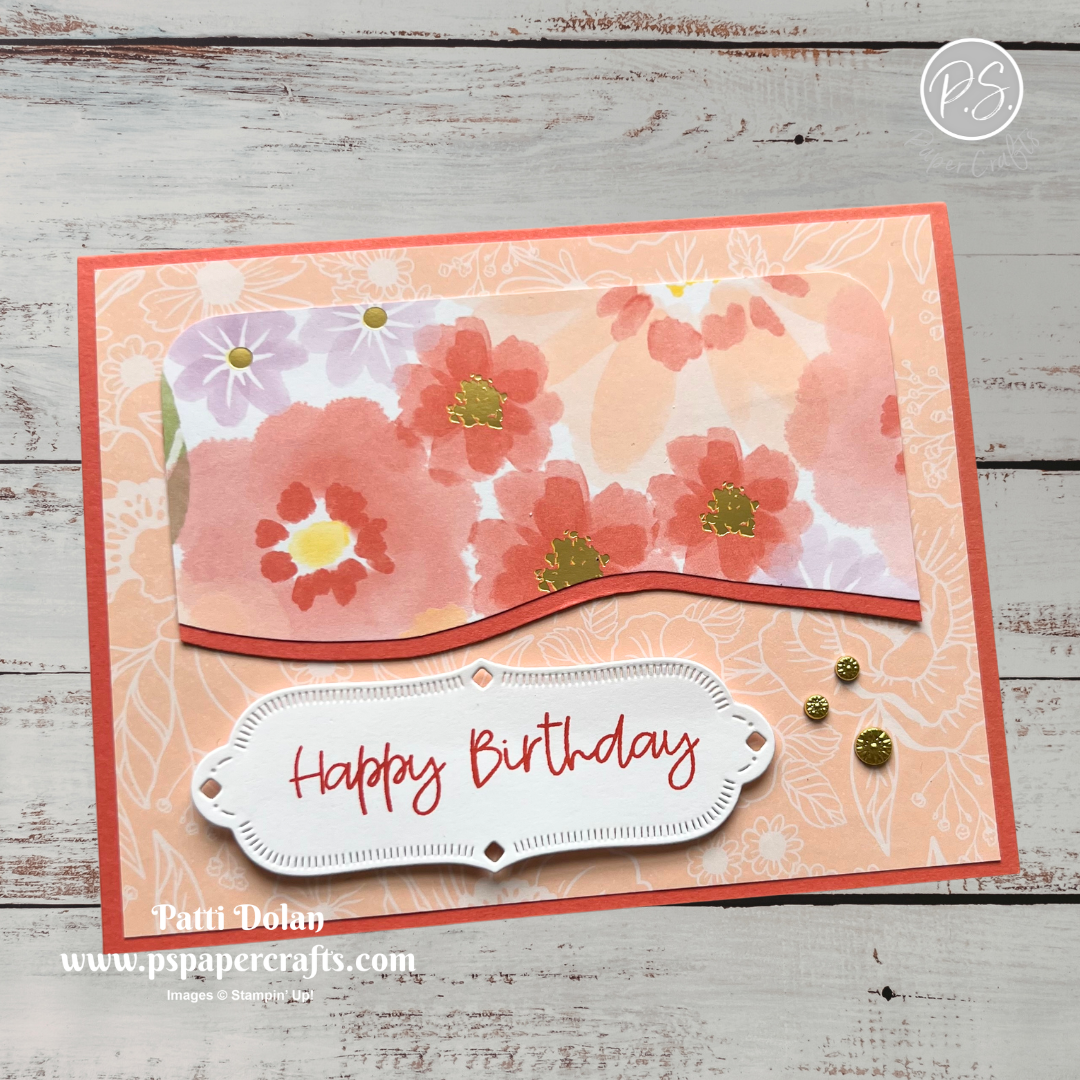
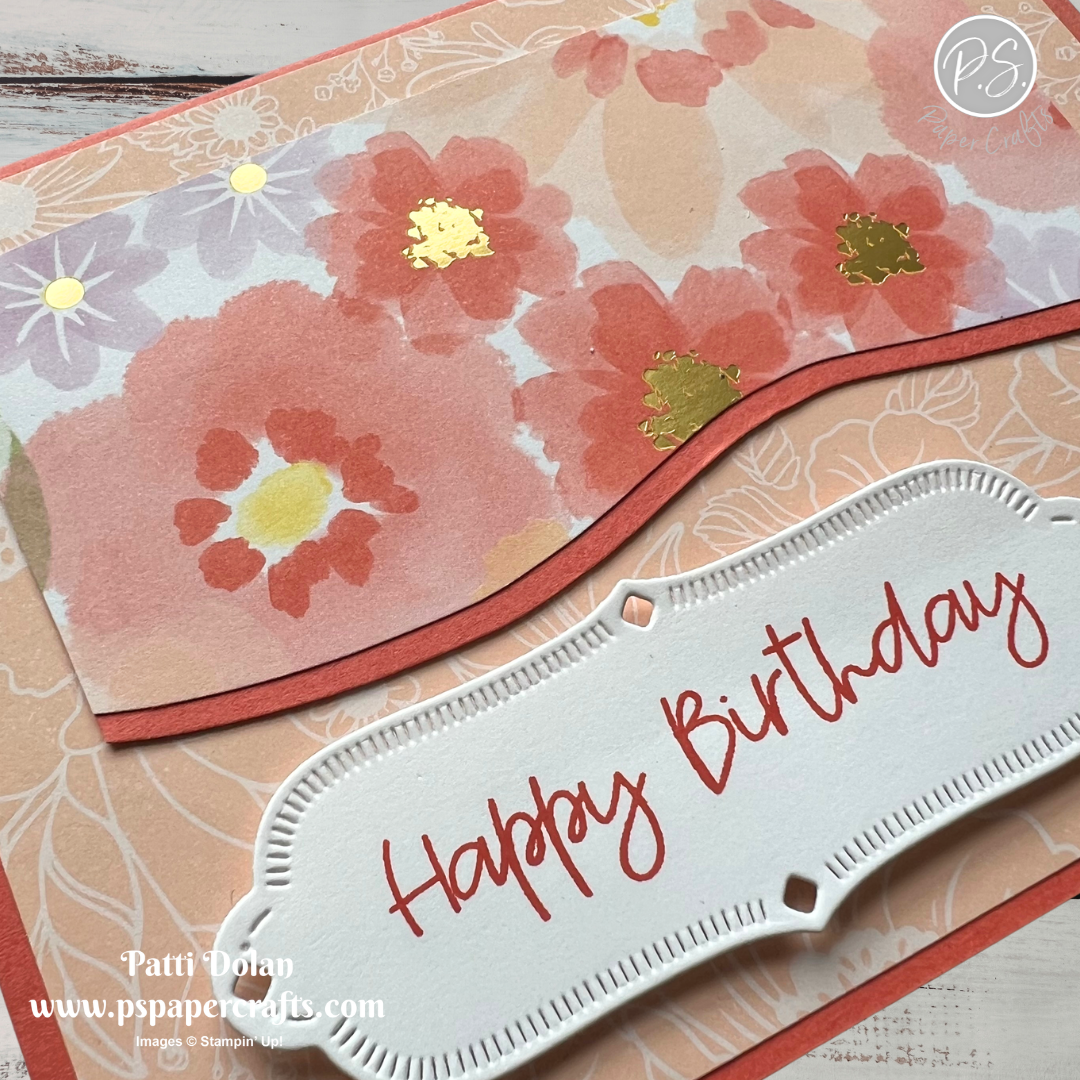
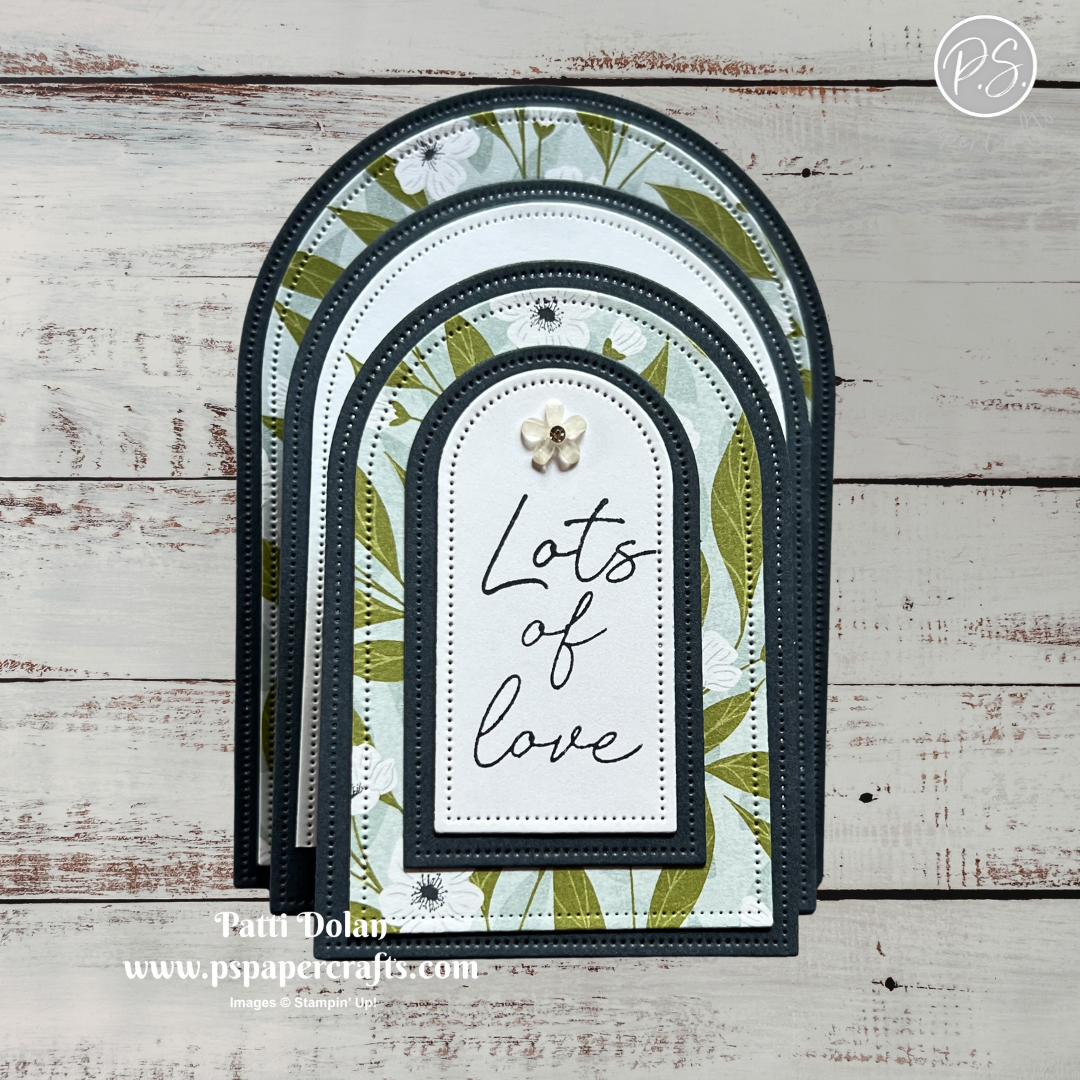
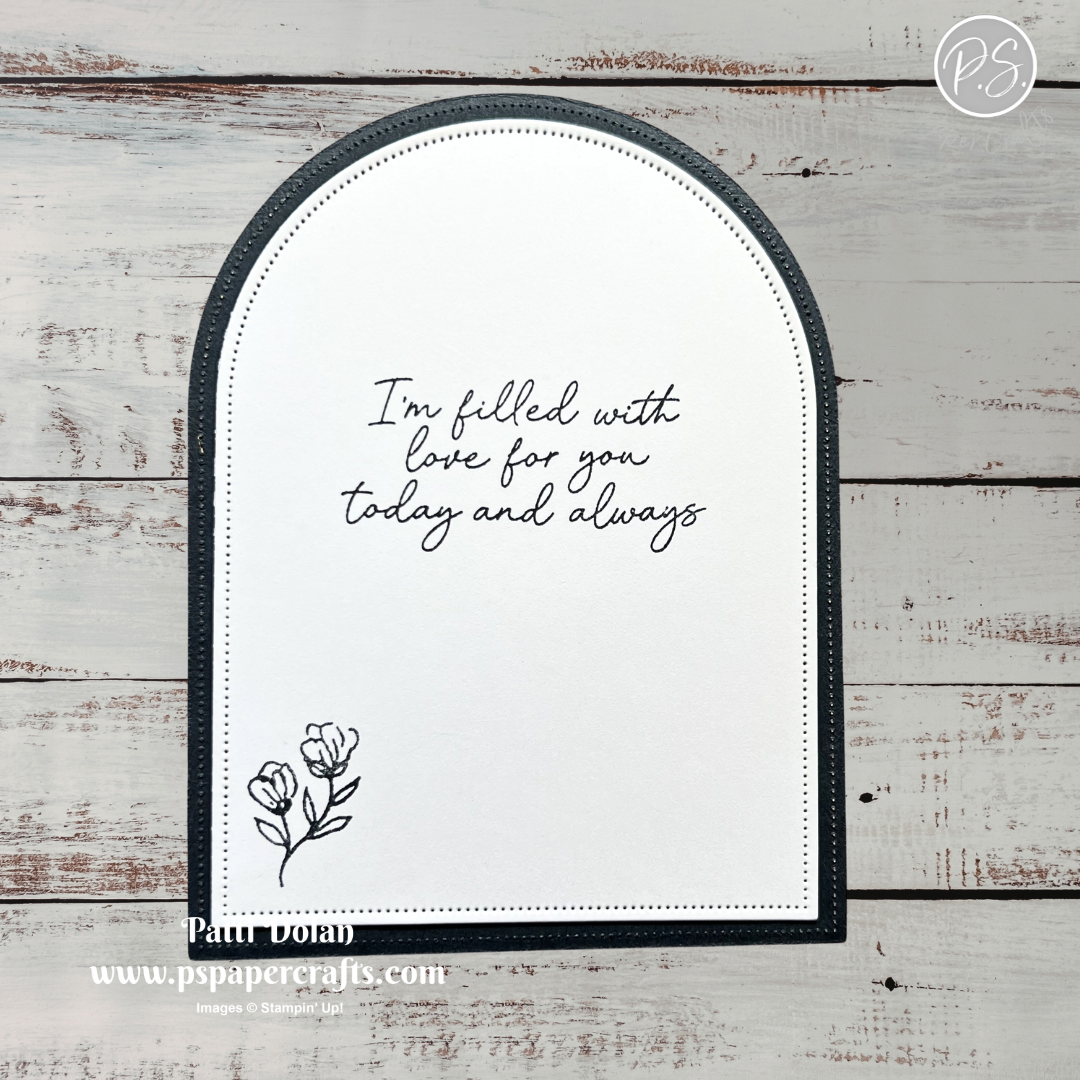
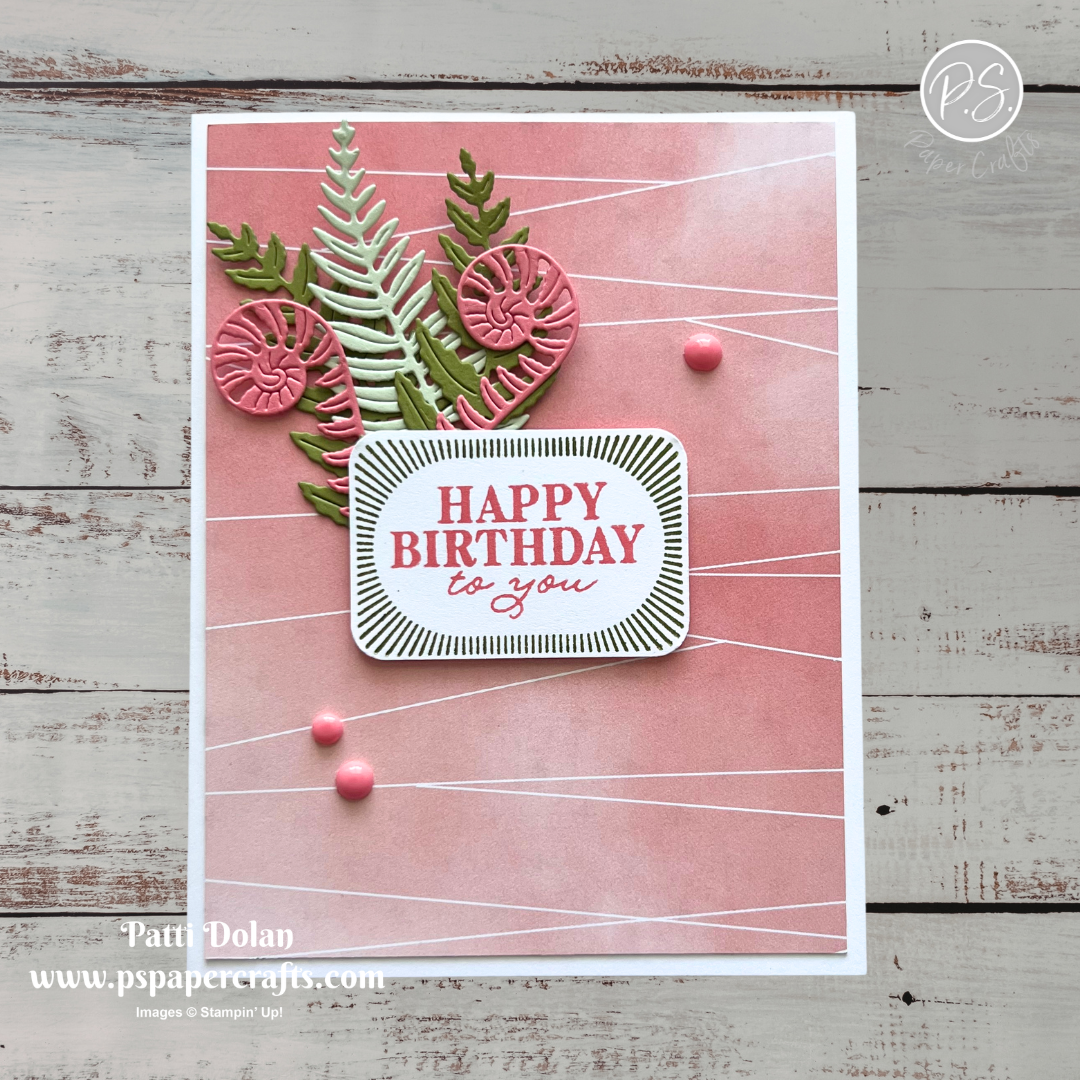
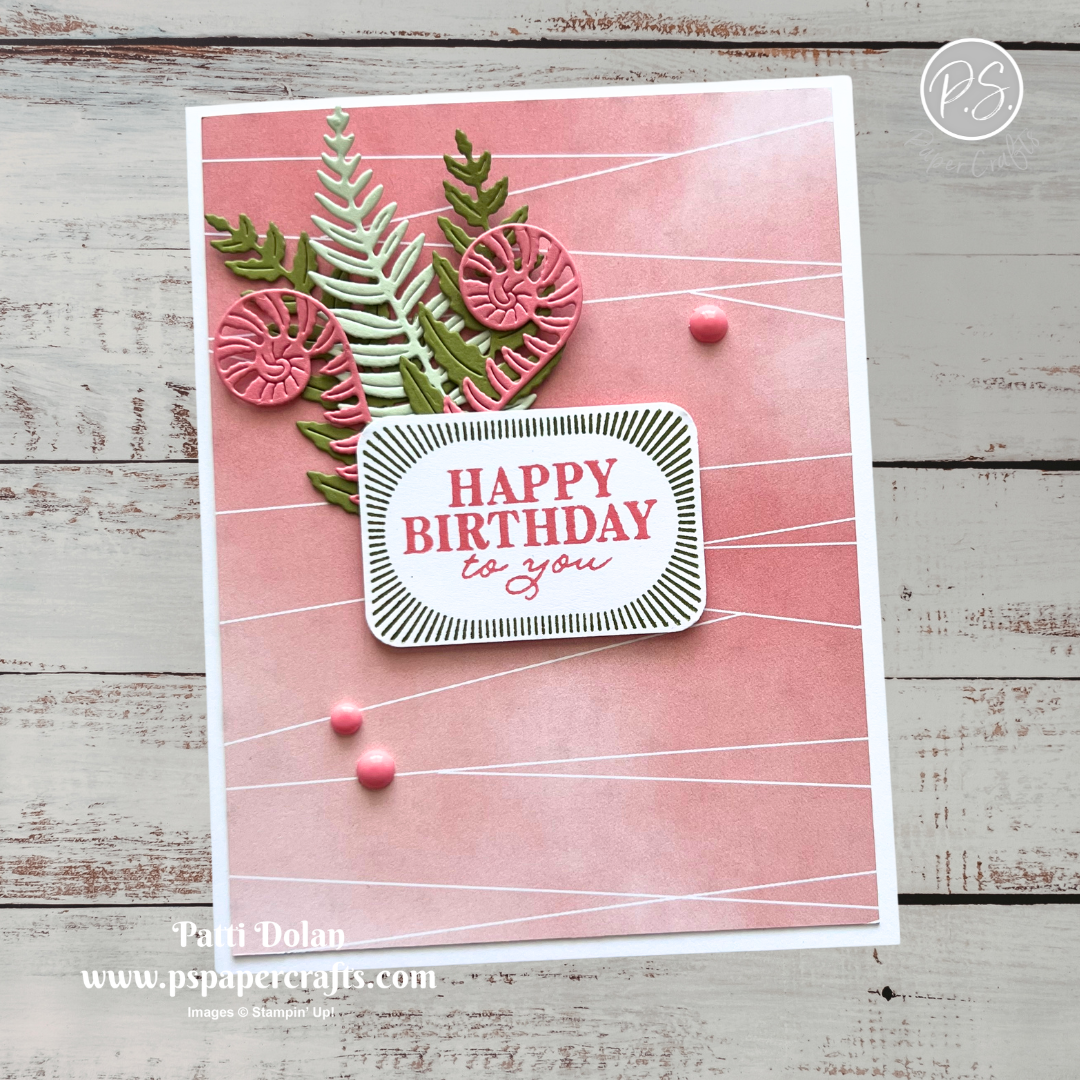
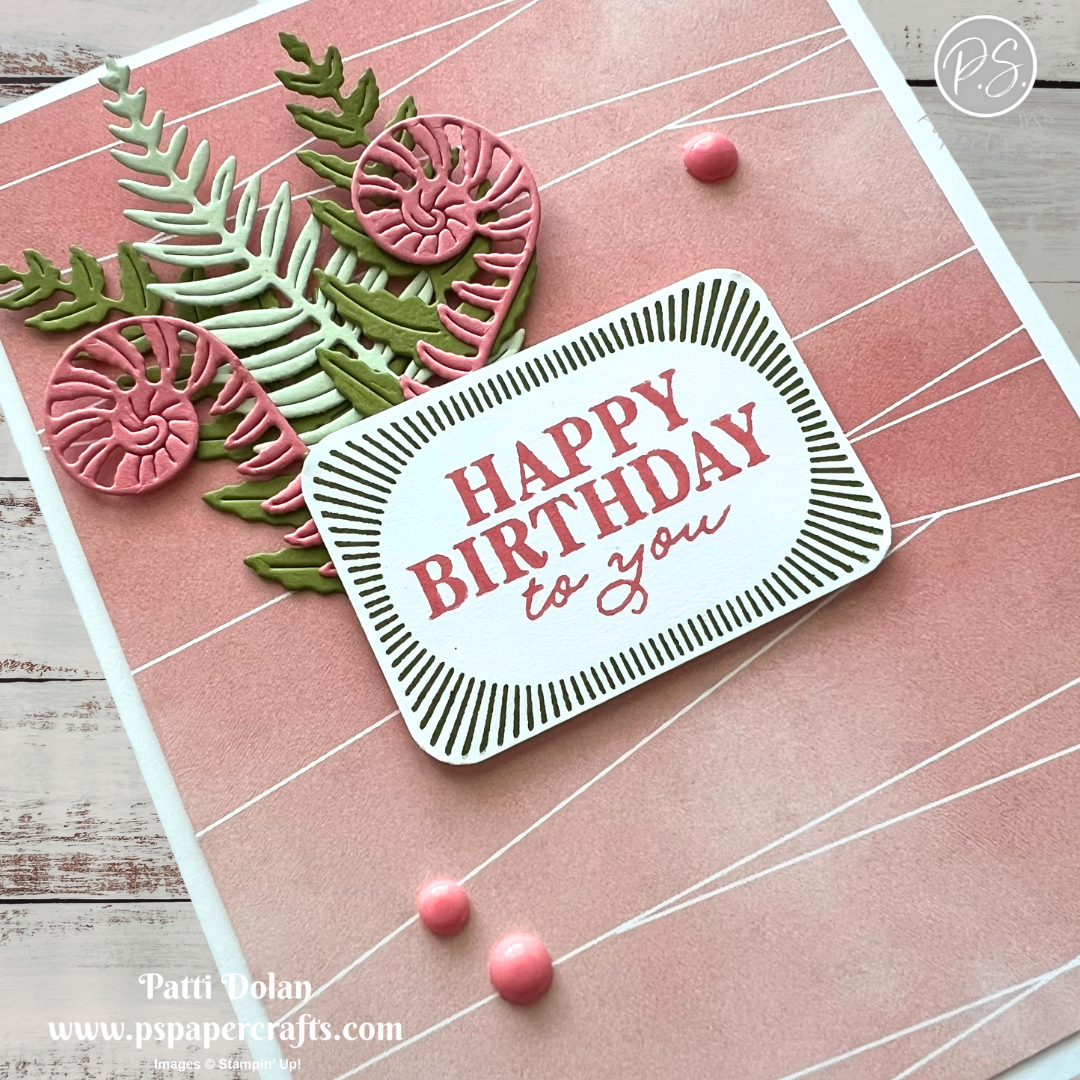
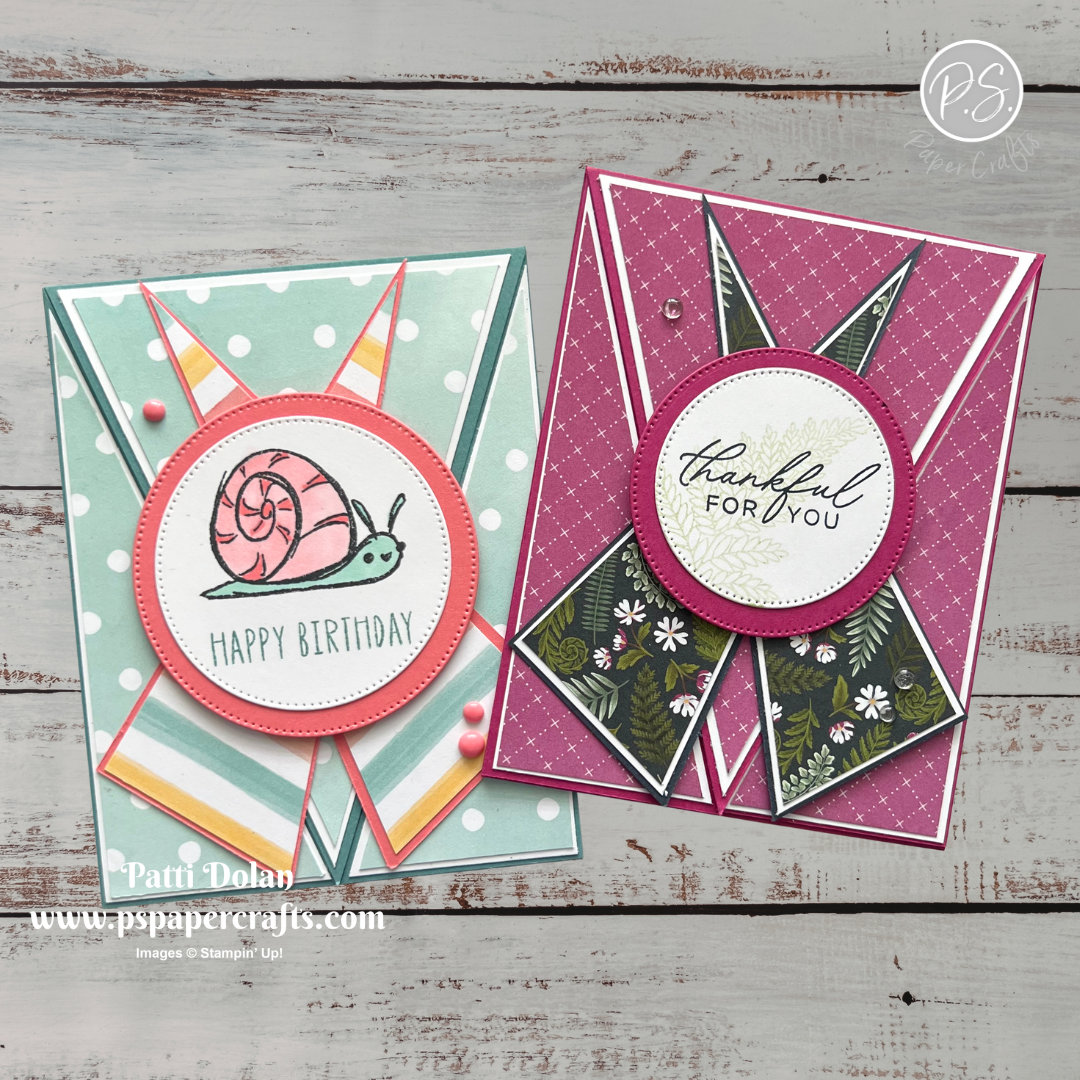
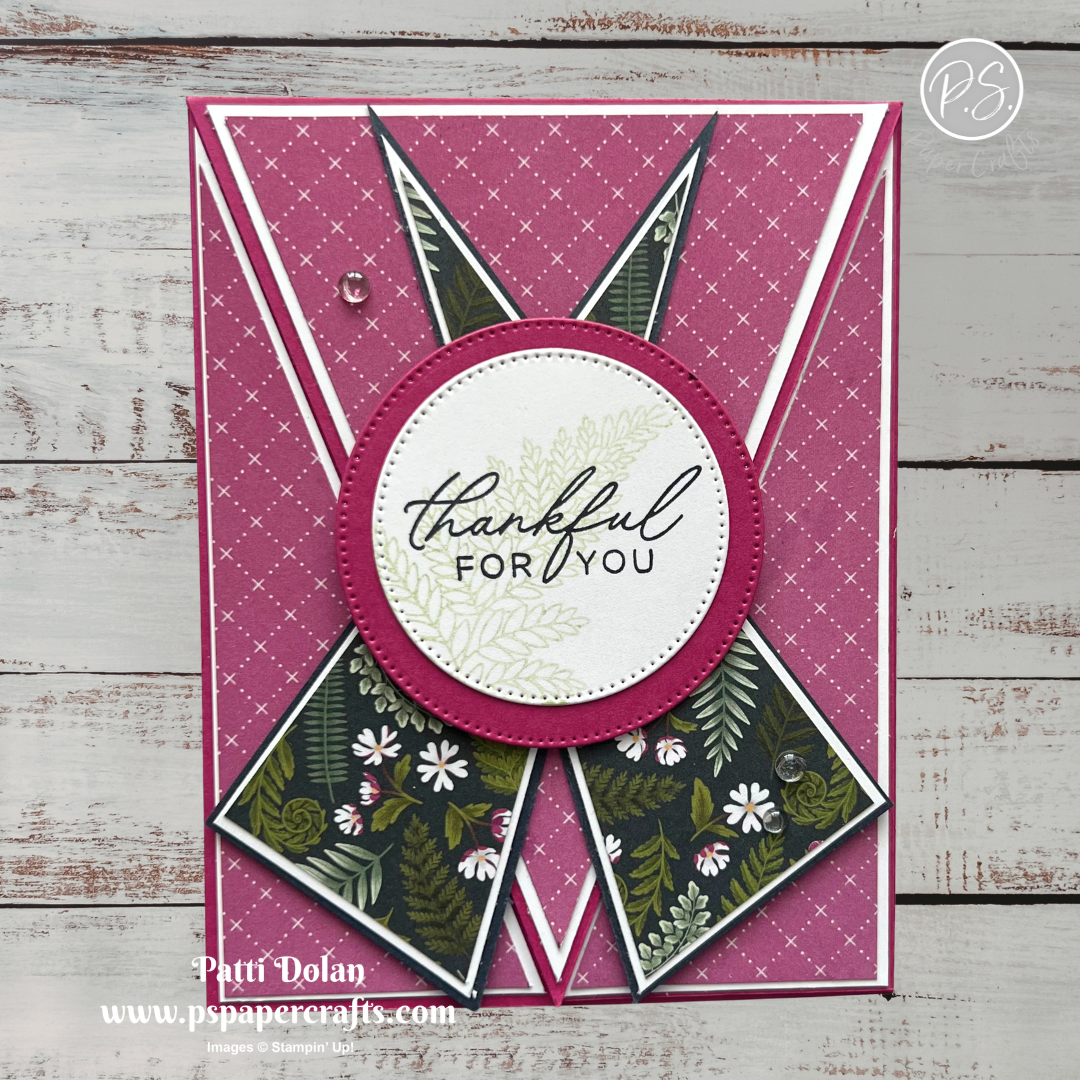
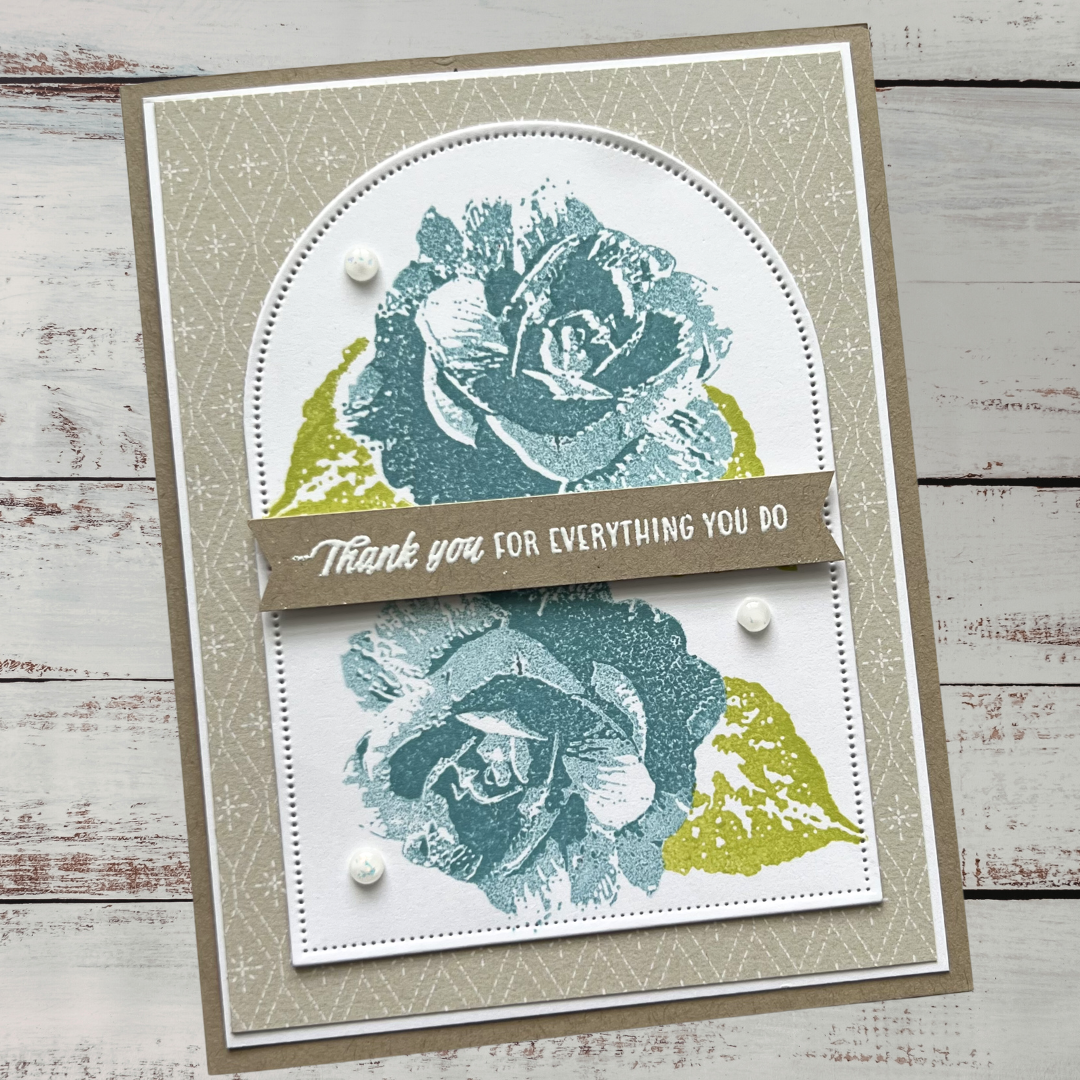
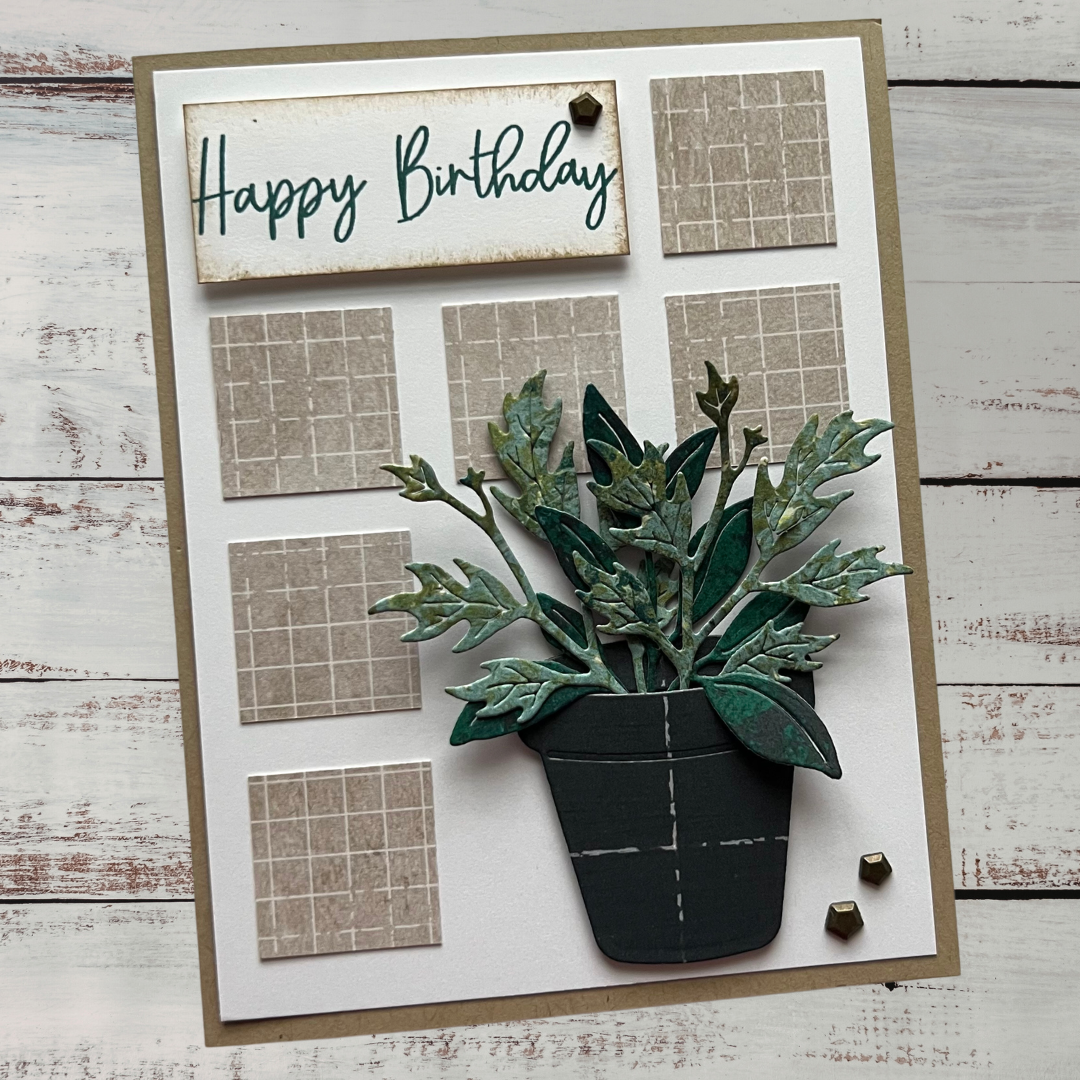
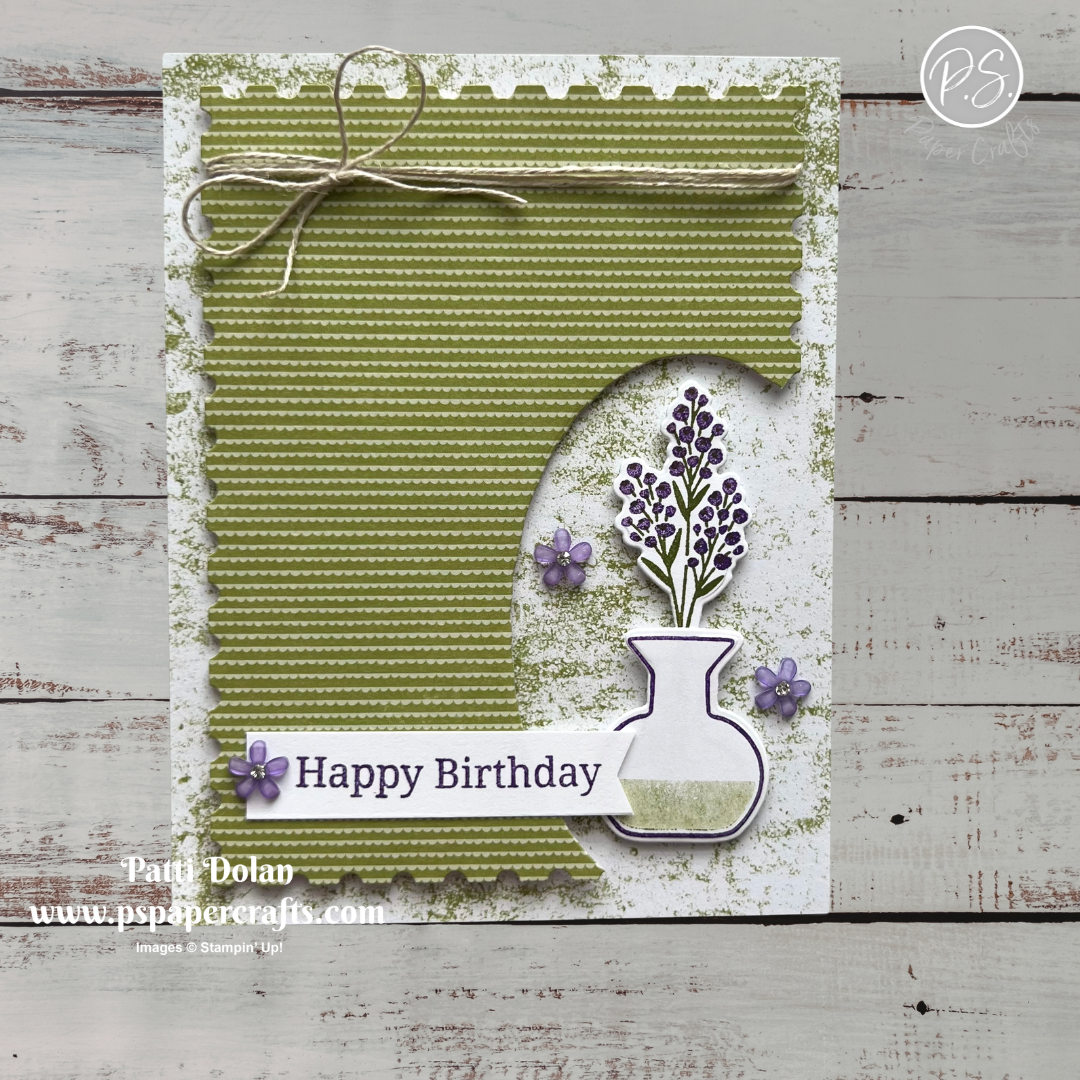
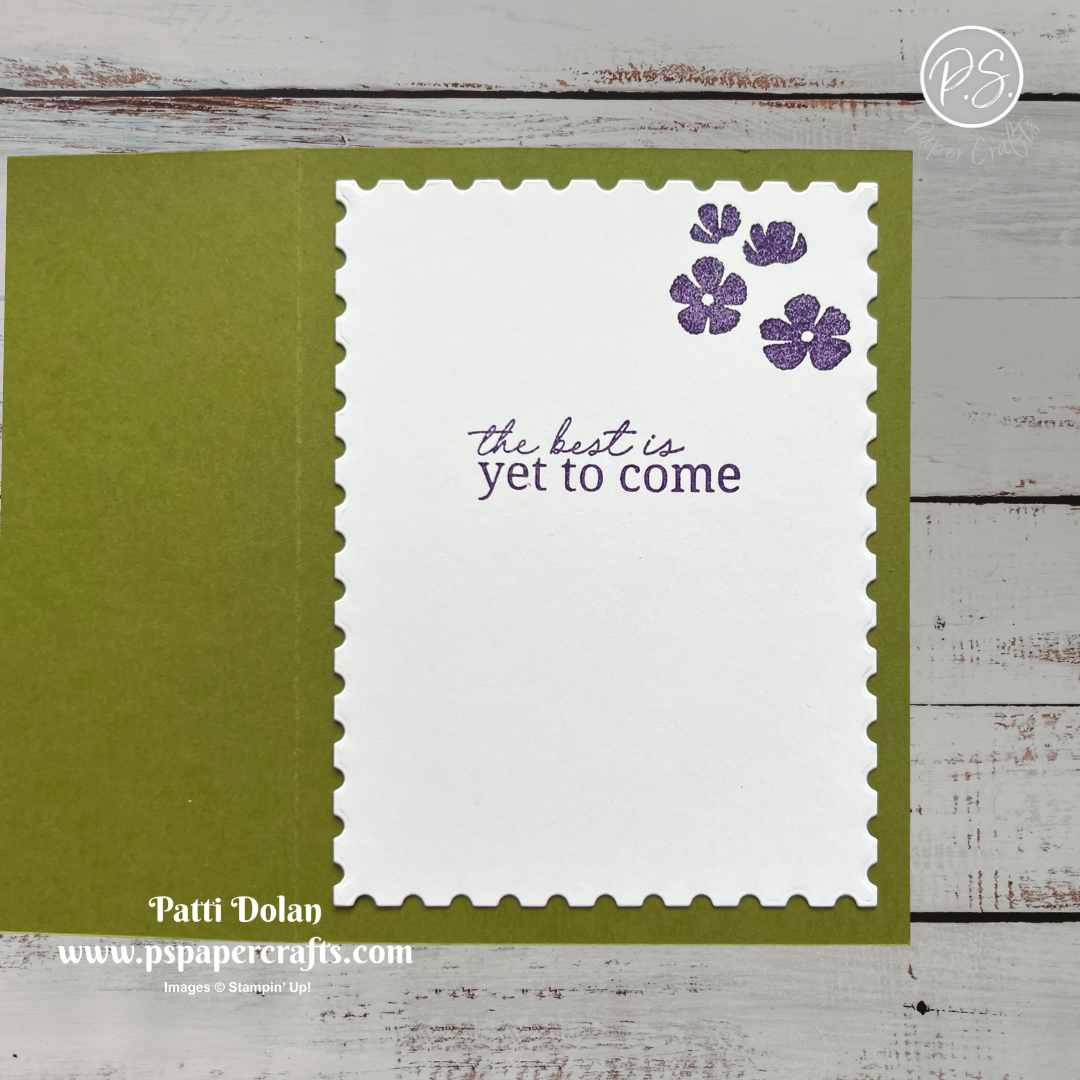
I made this card using the Garden Gatherings Bundle and Mixed Up Patterns Designer Series Paper.
Supply List
You can click on the item to purchase it from my Online Store.