Flower Fair Color Combo

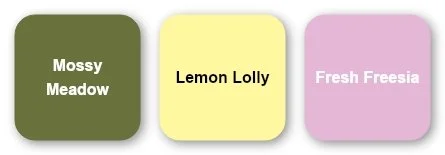
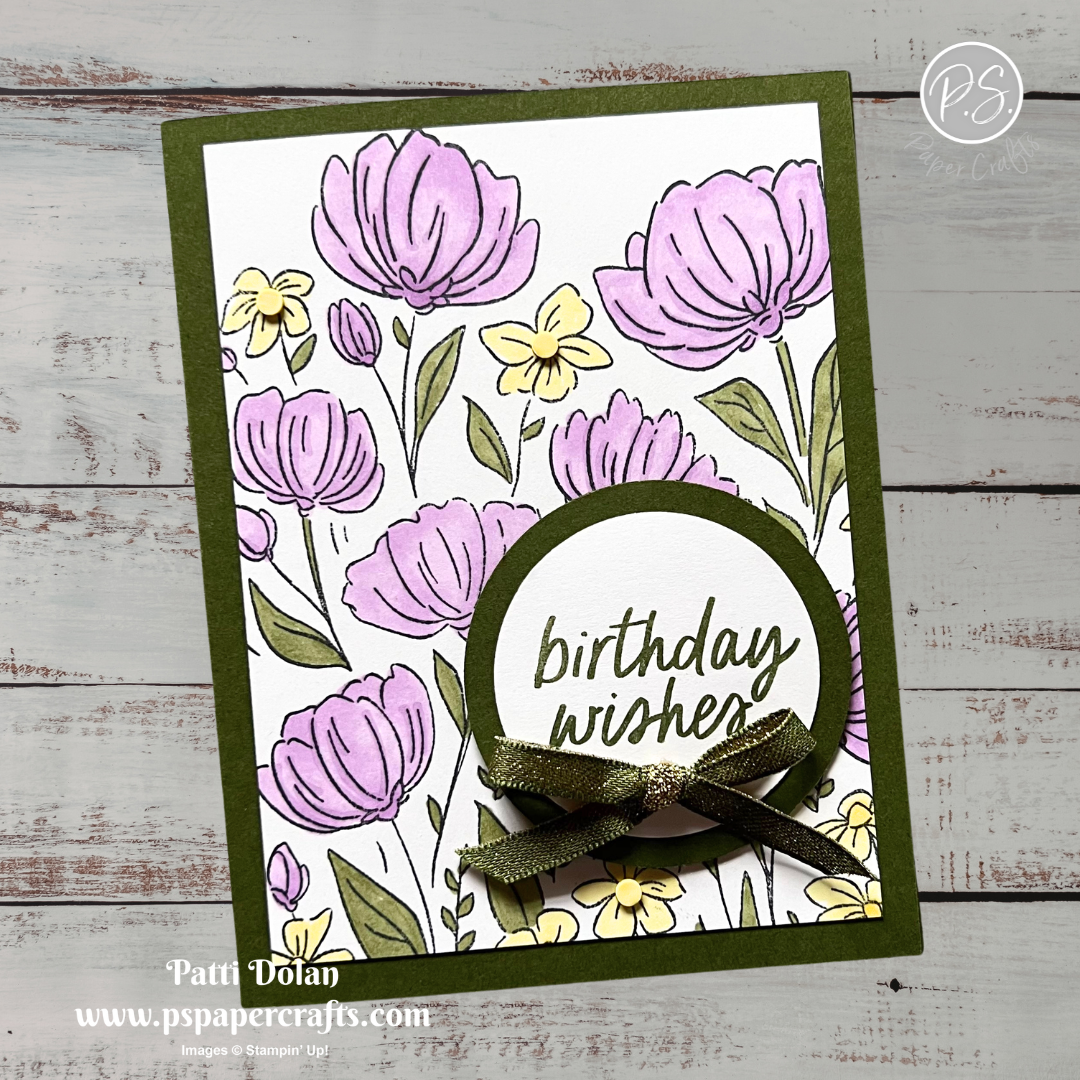
The Flower Fair Stamp Set features one stunning large floral image that makes a beautiful statement on any card. I colored it with Stampin’ Blends — quick, easy, and so much fun. It’s one of the brand-new Online Exclusives, available beginning March 3, 2026.
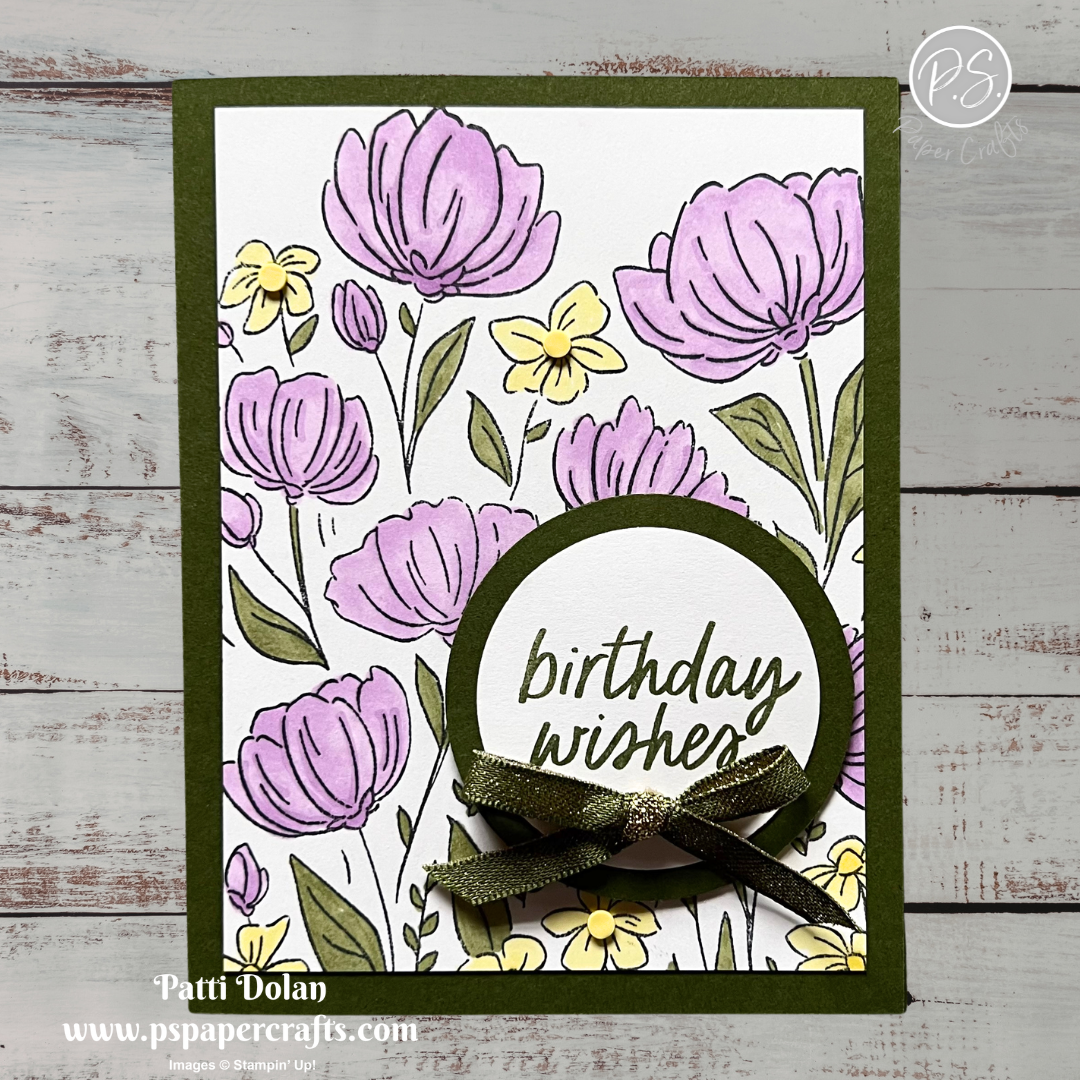


I used the Color Combo from my February Inspiration Calendar - Mossy Meadow, Lemon Lolly and Fresh Freesia.

You can get my calendar each month when you subscribe to my email list.


Tips & Instructions

  • Mossy Meadow Card Base - 5-1/2 x 8-1/2, score at 4-1/4

  • Basic White Layer - 3-3/4 x 5

  • Use the Flower Fair Stamp to stamp the image on the white layer in Black Memento Ink. I used the new Stampin’ Positioner Tool (free when you join Stampin’ Up! by March 2, 2026) since the stamp is so large.

  • Color the image with Stampin’ Blends Markers. I used Mossy Meadow, Lemon Lolly and Fresh Freesia.

  • Adhere the layer to the card base.

  • Stamp the sentiment from the Simply Said Stamp Set on Basic White Cardstock and punch using the 2” Circle Punch.

  • Punch a circle from Mossy Meadow using the 2-3/8 Circle Punch and adhere behind the white circle. Adhere to the card with Dimensionals.

  • Tie a bow with a piece of Mossy Meadow & Gold Ribbon. Adhere to the label with a Glue Dot.

  • Add some Lemon Lolly dots from the Easter Assortment to the center of the yellow flowers.


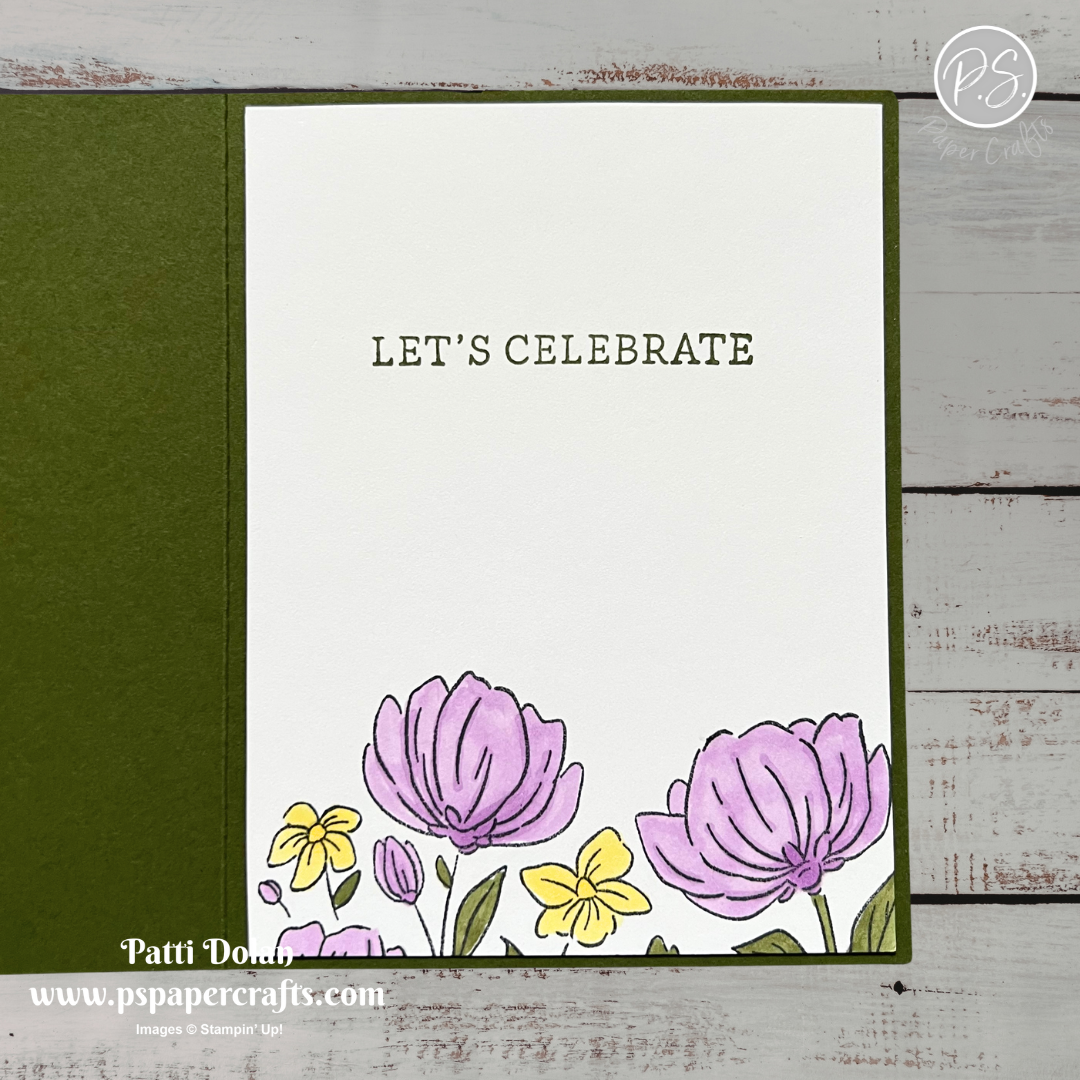
On the inside layer (4 x 5-1/4), stamp the sentiment in Mossy Meadow Ink. Stamp just the top part of the Flower Fair Stamp at the bottom of the layer and color with Stampin’ Blends Markers.


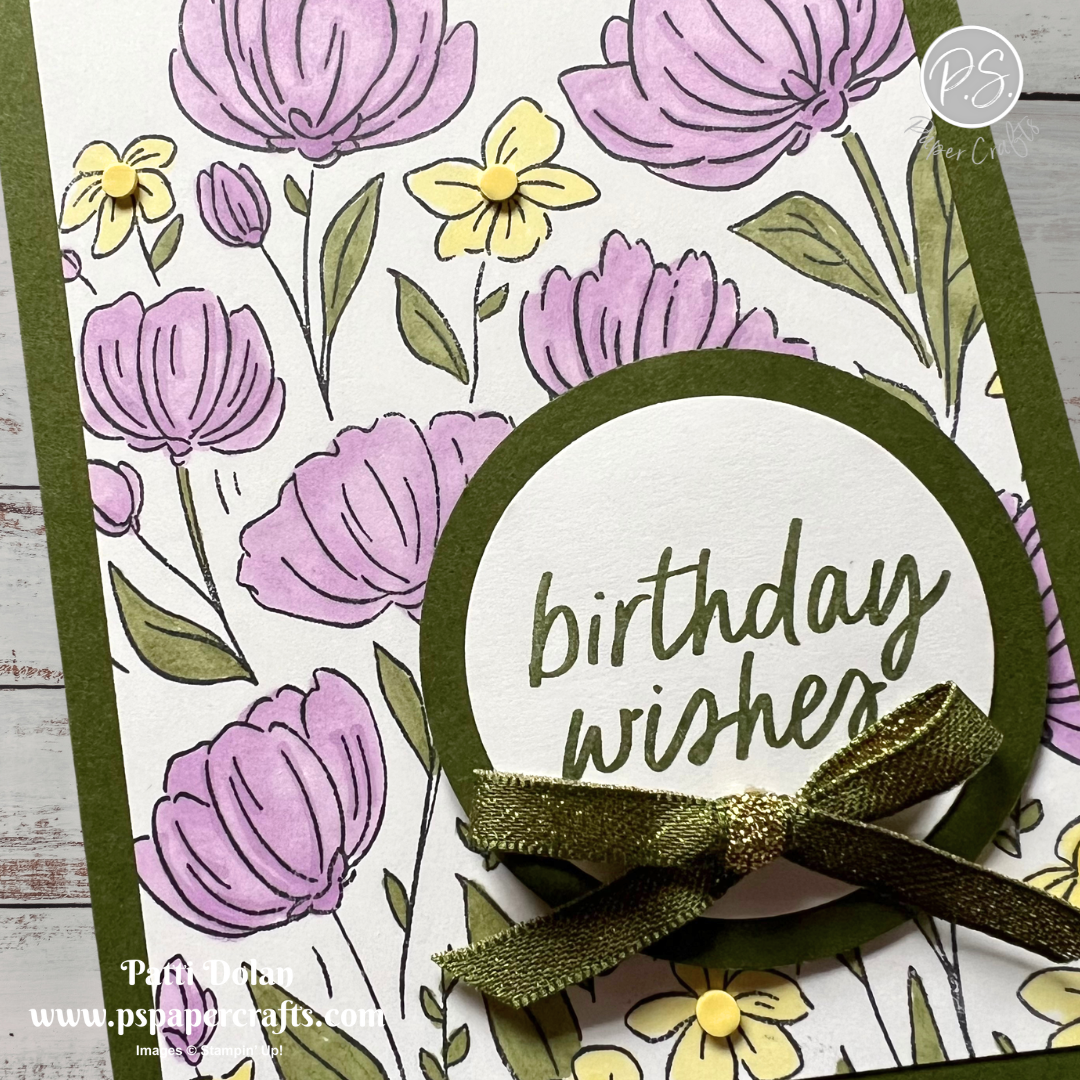
I love the how pretty these flowers are and enjoyed coloring them.


Supply List

You can click on the item to purchase it from my Online Store.

Note - The Flower Fair Stamp Set will be available for purchase starting March 3, 2026.
 

Sketch Challenge - Easter Basket

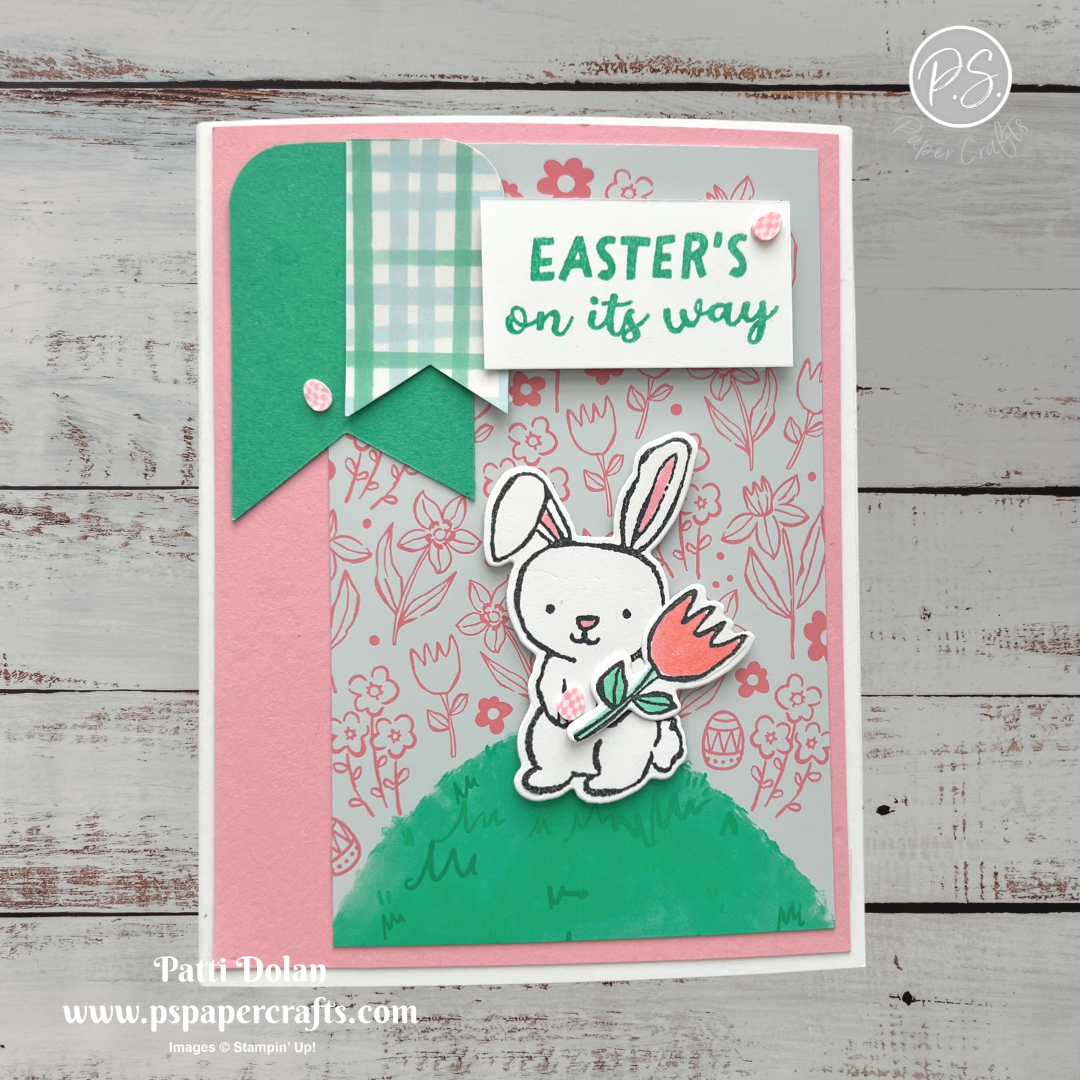
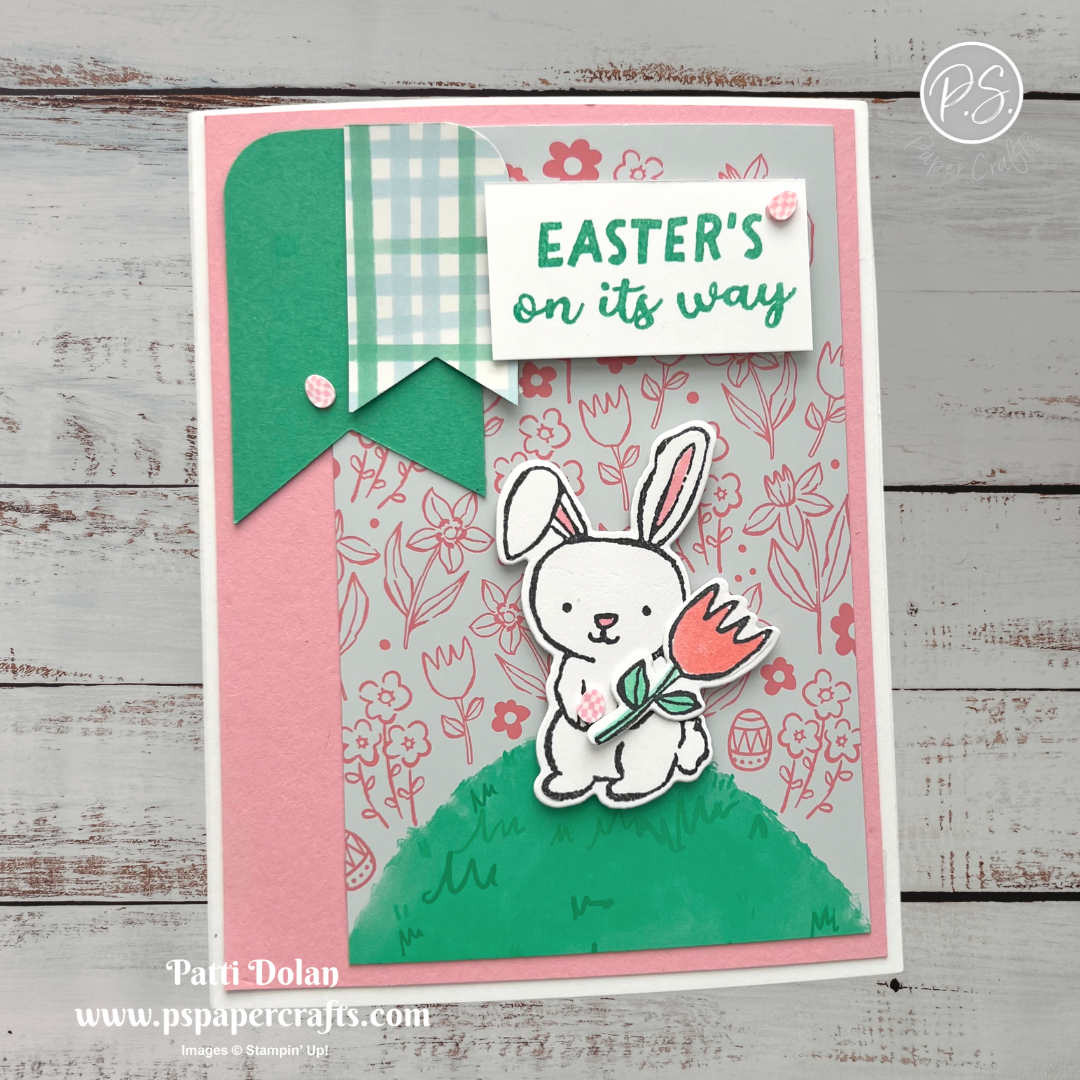
I made this cute Easter Card for the weekly Splitcoaststampers Sketch Challenge. The Easter Joy Specialty Designer Series Paper has some great scenes like the one I used with the flowers and the little grassy hill.


Here’s the sketch I used. You can see all the projects posted for this week’s challenge by clicking on the sketch below.


Tips & Instructions

  • Thick Basic White Card Base - 5-1/2 x 8-1/2, score at 4-1/4

  • Pretty in Pink Layer - 4 x 5-1/4, adhere to the card base.

  • Easter Joy Specialty Designer Series Paper Scene - cut down to 3-1/8 x 5. I cut a little off the top, bottom and both sides to keep the scene. Adhere to the card.

  • Shy Shamrock - 1-1/2 x 2-1/2, round the top corners and banner the bottom. Adhere to the card.

  • Easter Joy Specialty Designer Series Paper (plaid) - 1 x 2, round the right, top corner and banner the bottom. Adhere to the card.

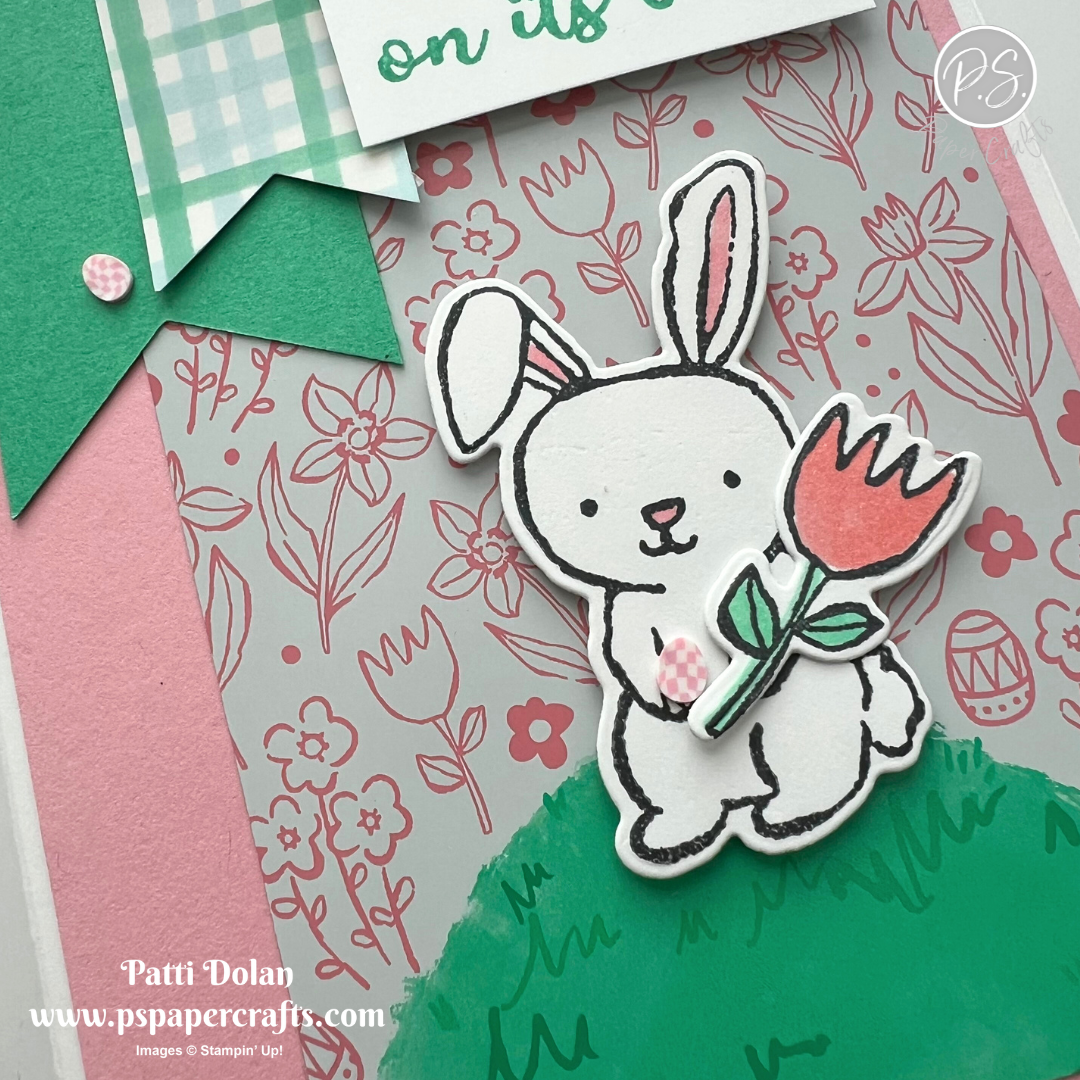
  • Stamp the bunny and flower on Basic White in Black Memento Ink and color using Stampin’ Blends Markers. I used Light Pretty In Pink for the bunny ears and nose, Dark Pretty in Pink for the flower and Light Shy Shamrock for the stem and leaves. Die cut with the coordinating dies.

  • Adhere the bunny to the card with Dimensionals and adhere the flower to the bunny.

  • Stamp the sentiment on a 1 x 2 strip of Basic White in Shy Shamrock Ink and adhere to the card with Dimensionals.

  • Add some eggs from the Easter Assortment.


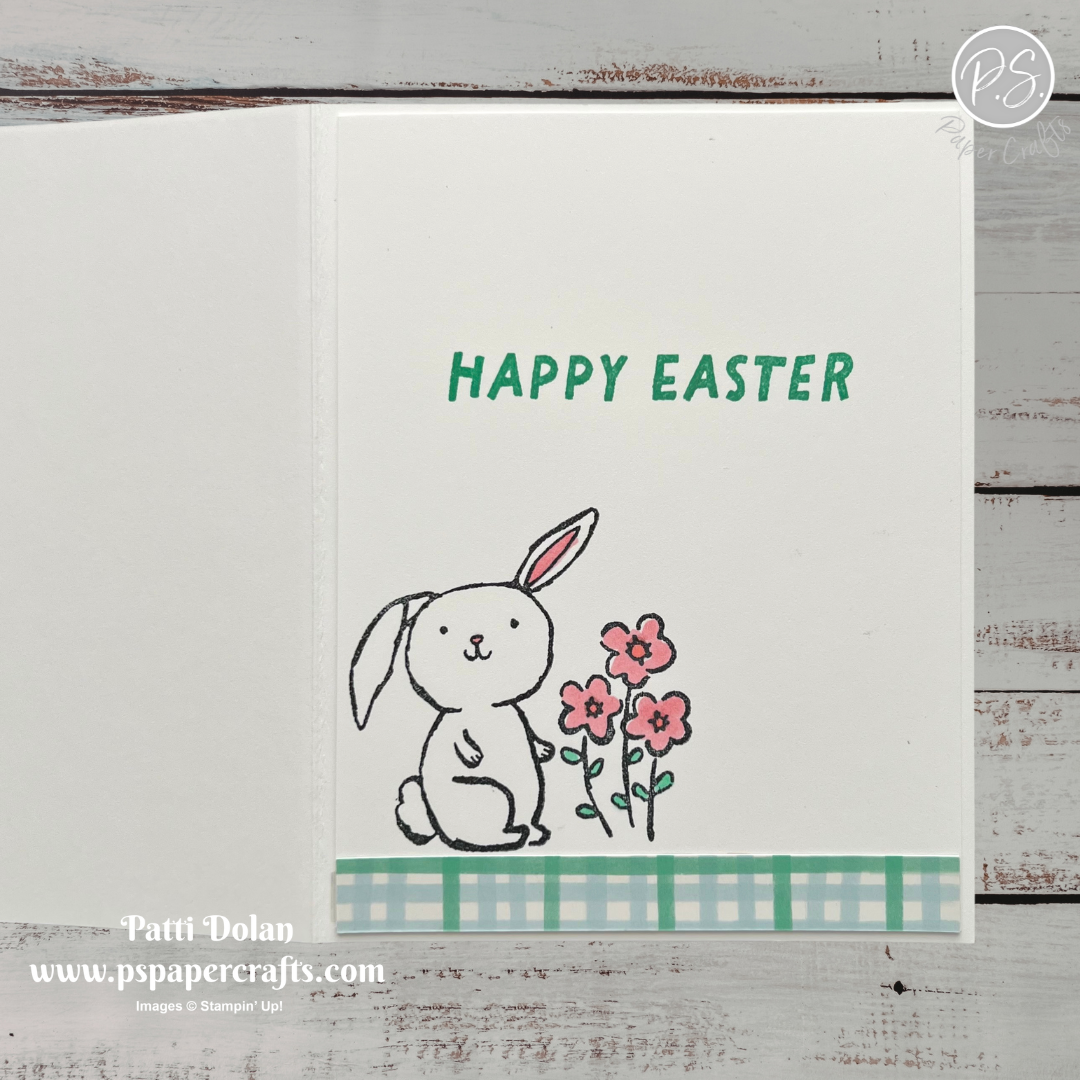
On the inside layer (4 x 5-1/4), stamp the sentiment in Shy Shamrock Ink. Adhere a 1/2 x 4 strip of the Designer Series Paper to the bottom. I used a leftover strip from the scene that I cut down. Stamp the bunny and the flowers in Black Memento Ink and color with Stampin’ Blends Markers.


I love how cute this little bunny is holding the flower and sitting on the hill.


Supply List

You can click on the item to purchase it from my Online Store.


Sketch Saturday - Easter Basket

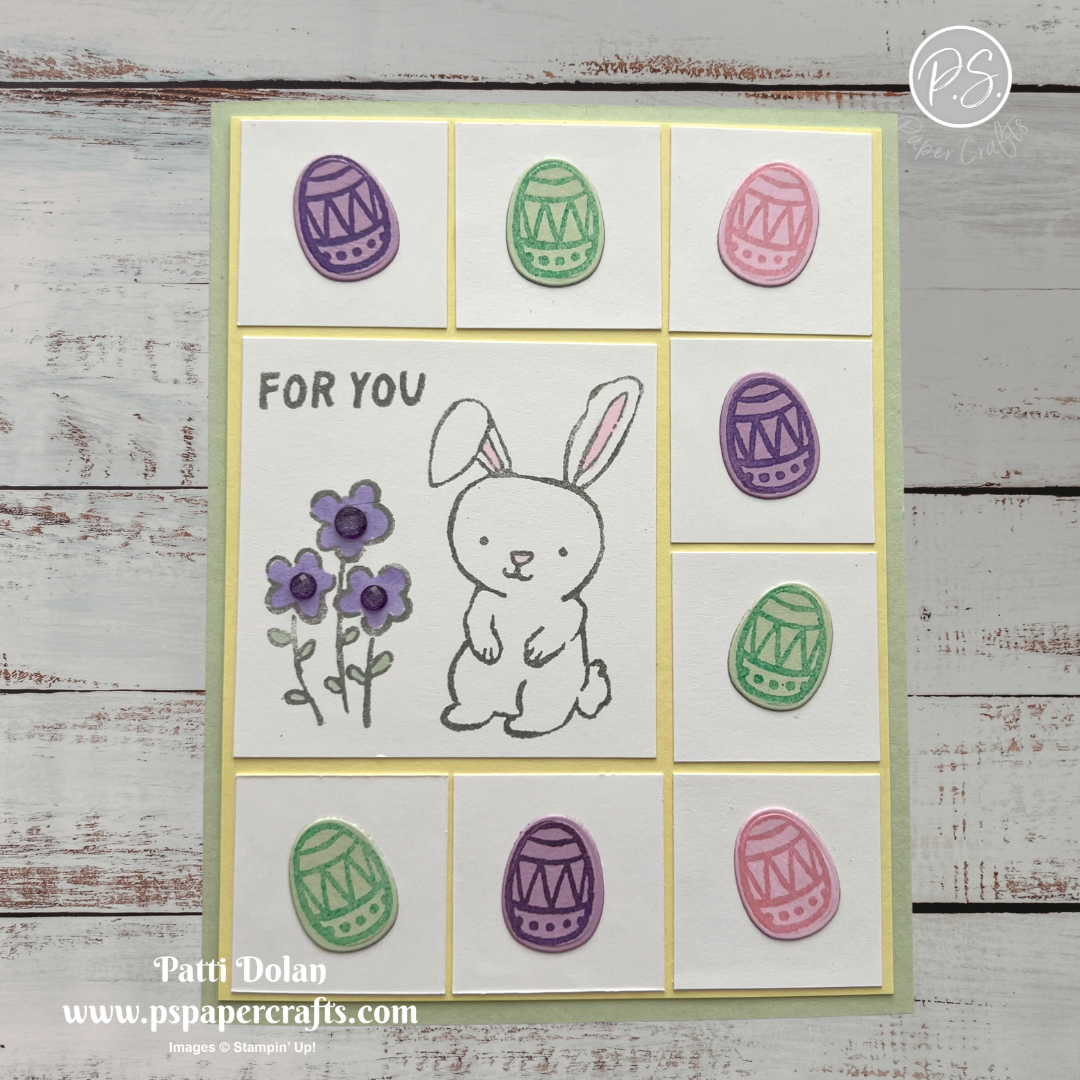
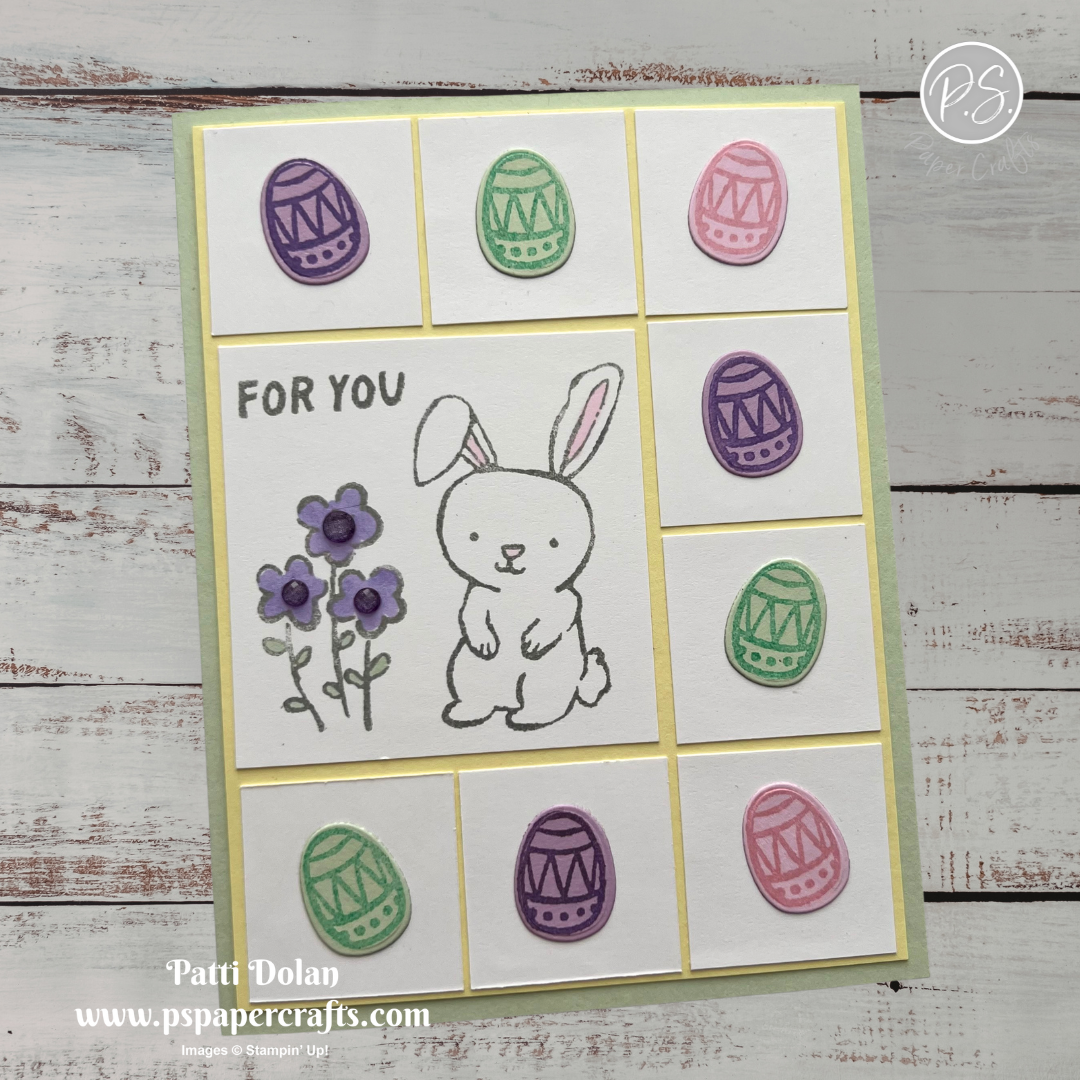
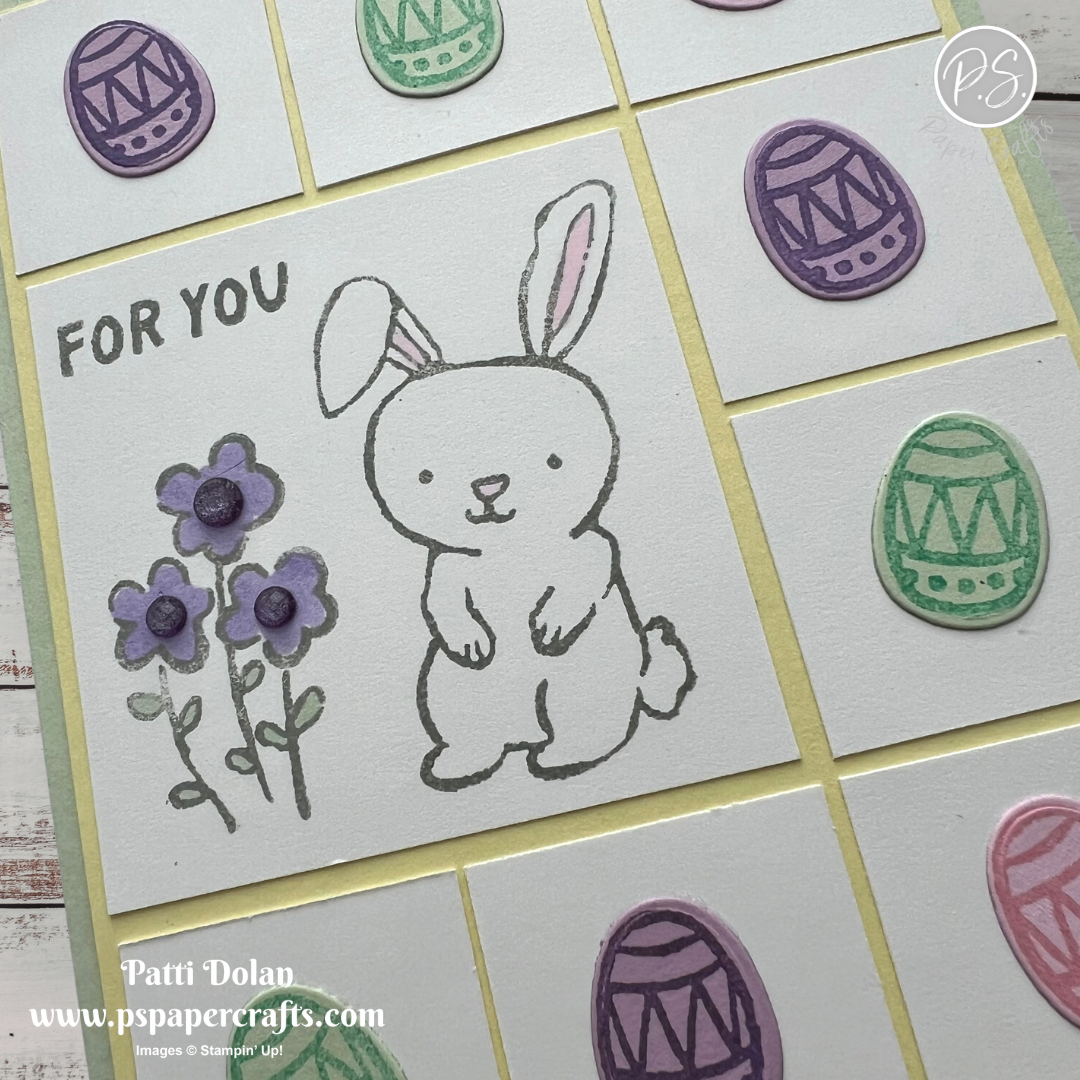
I made a cute Easter Card for this week’s Sketch Challenge. The Easter eggs were stamped and the die cut using the Easter Basket Bundle.


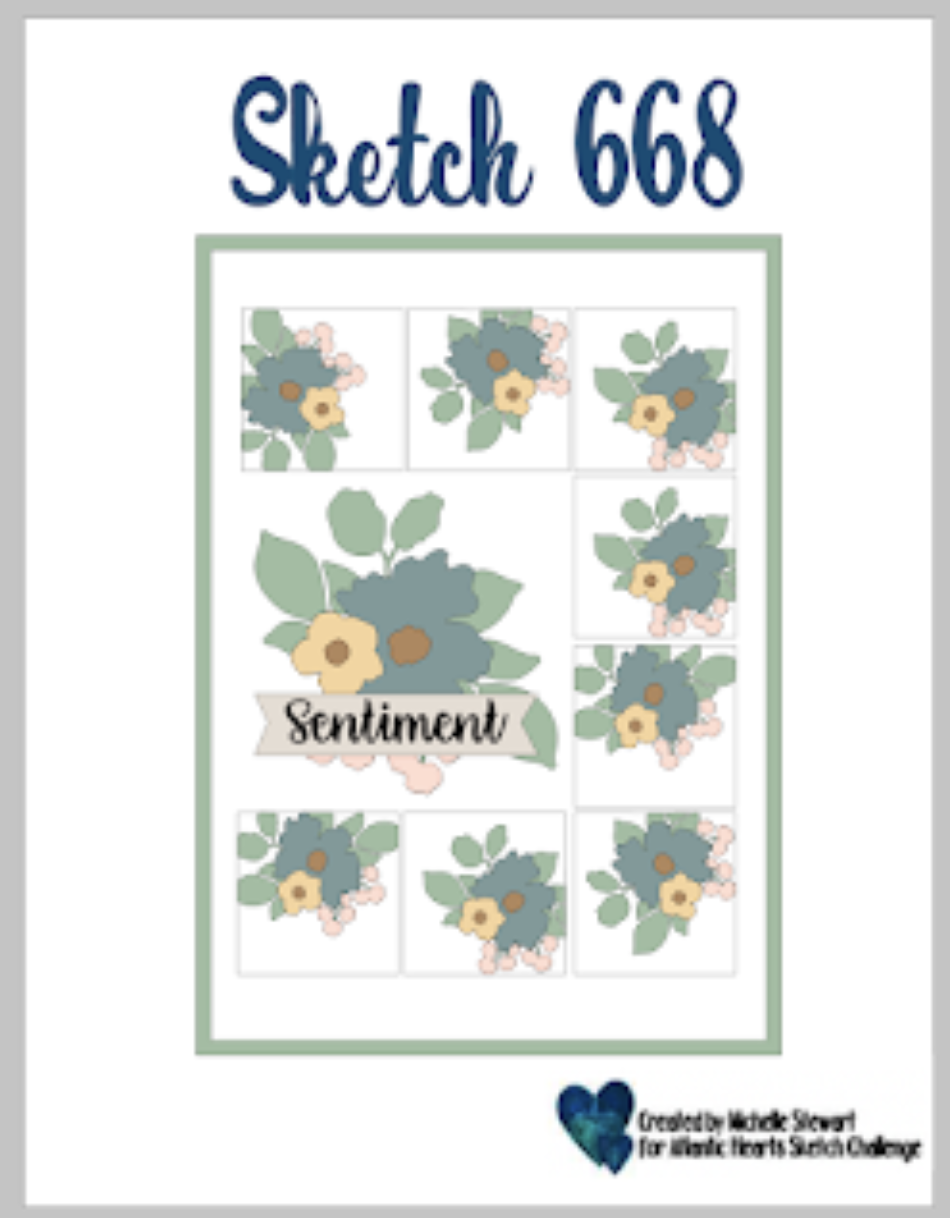
Here’s the sketch I used from the Atlantic Hearts Sketch Challenge.


Tips & Instructions

  • Soft Sea Foam Card Base - 5-1/2 x 8-1/2, score at 4-1/4

  • Lemon Lolly Layer - 4 x 5-1/4

  • Basic White Small Squares - cut 8 squares at 1-1/4 x 1-1/4

  • Basic White Large Square - 2-1/2 x 2-1/2

  • Fresh Freesia, Soft Sea Foam and Bubble Bath Easter Eggs. Use a darker ink and stamp the egg and die cut with coordinating die. I used Highland Heather Ink on Fresh Freesia, Coastal Cabana on Soft Sea Foam and Pretty in Pink on Bubble Bath.

  • Stamp the bunny, flowers and sentiment on the large square in Smoky Slate Ink. Color the bunny ears and nose with Light Pink the flowers with Light Highland Heather and the leaves with Light Soft Sea Foam Stampin’ Blends Markers.

  • Adhere the squares on the Lemon Lolly Layer as shown on the card. Adhere the eggs on the small squares.

  • Add some Purple Shimmer Gems to the centers of the flowers.


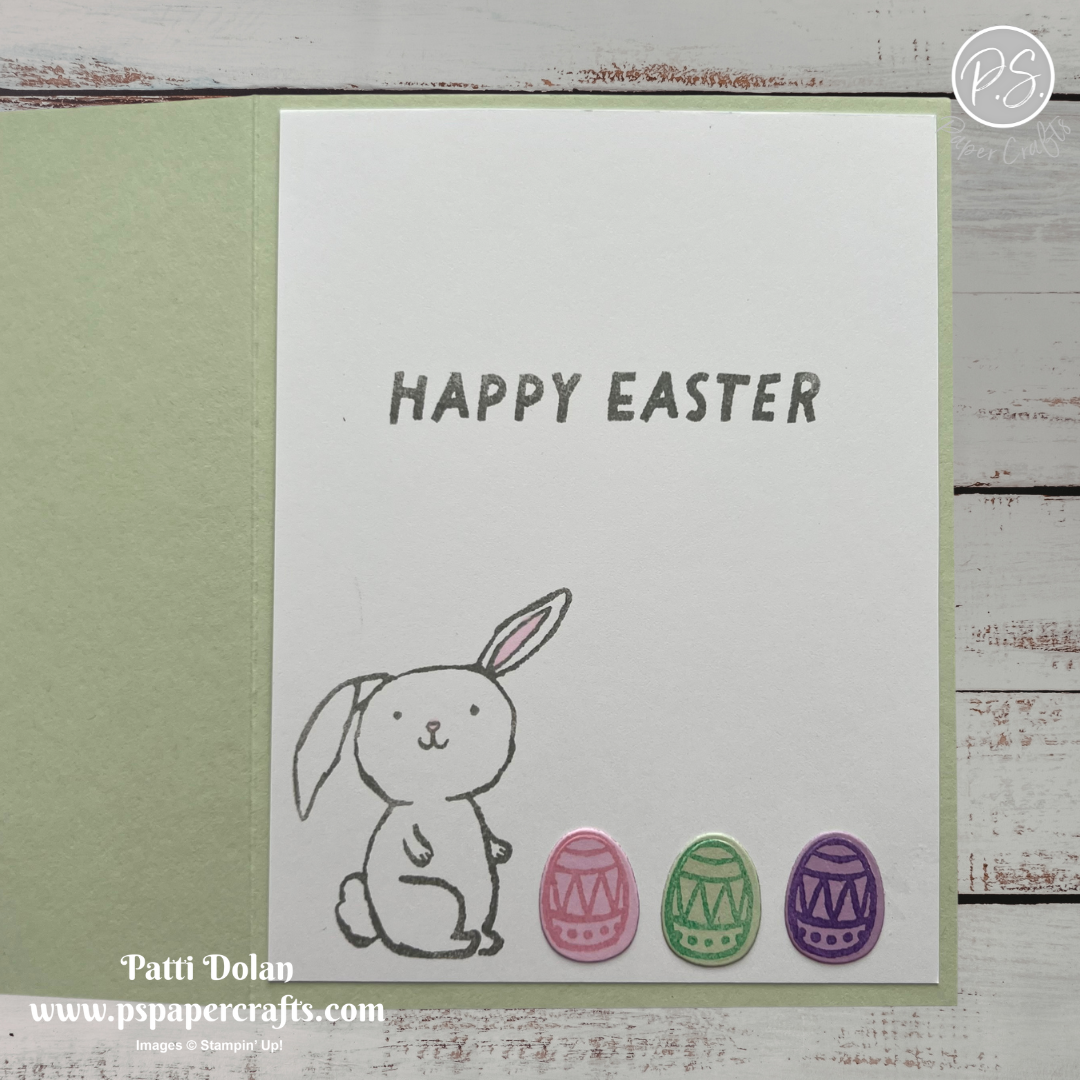
On the inside layer (4 x 5-1/4), stamp the sentiment and bunny in Smoky Slate Ink. Color the ear nose with a Light Pink Stampin’ Blends Marker. Add 3 eggs.


This little bunny is so cute and I love how the Easter eggs turned out.


Supply List

You can click on the item to purchase it from my Online Store.


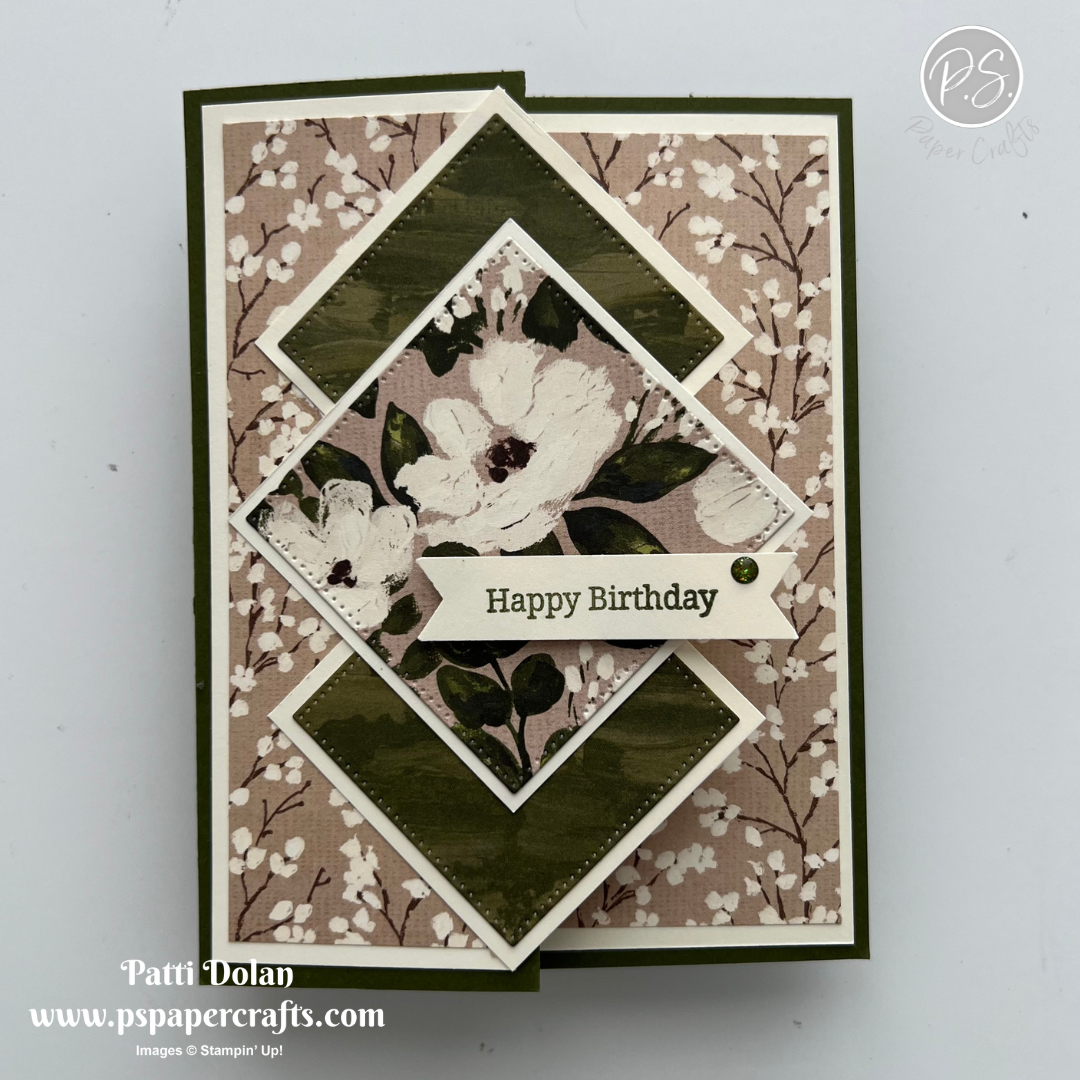
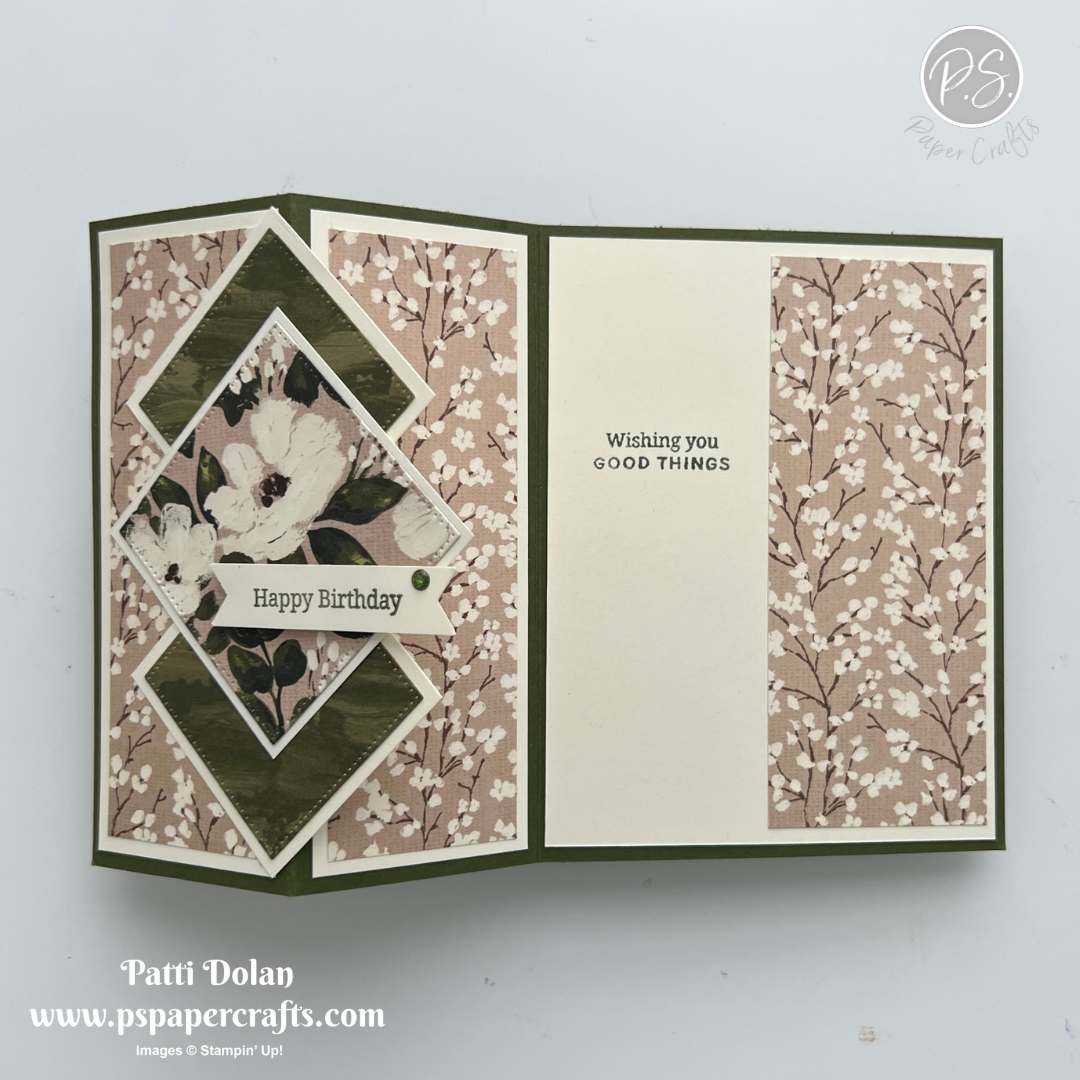
Triple Diamond Fancy Fold Card

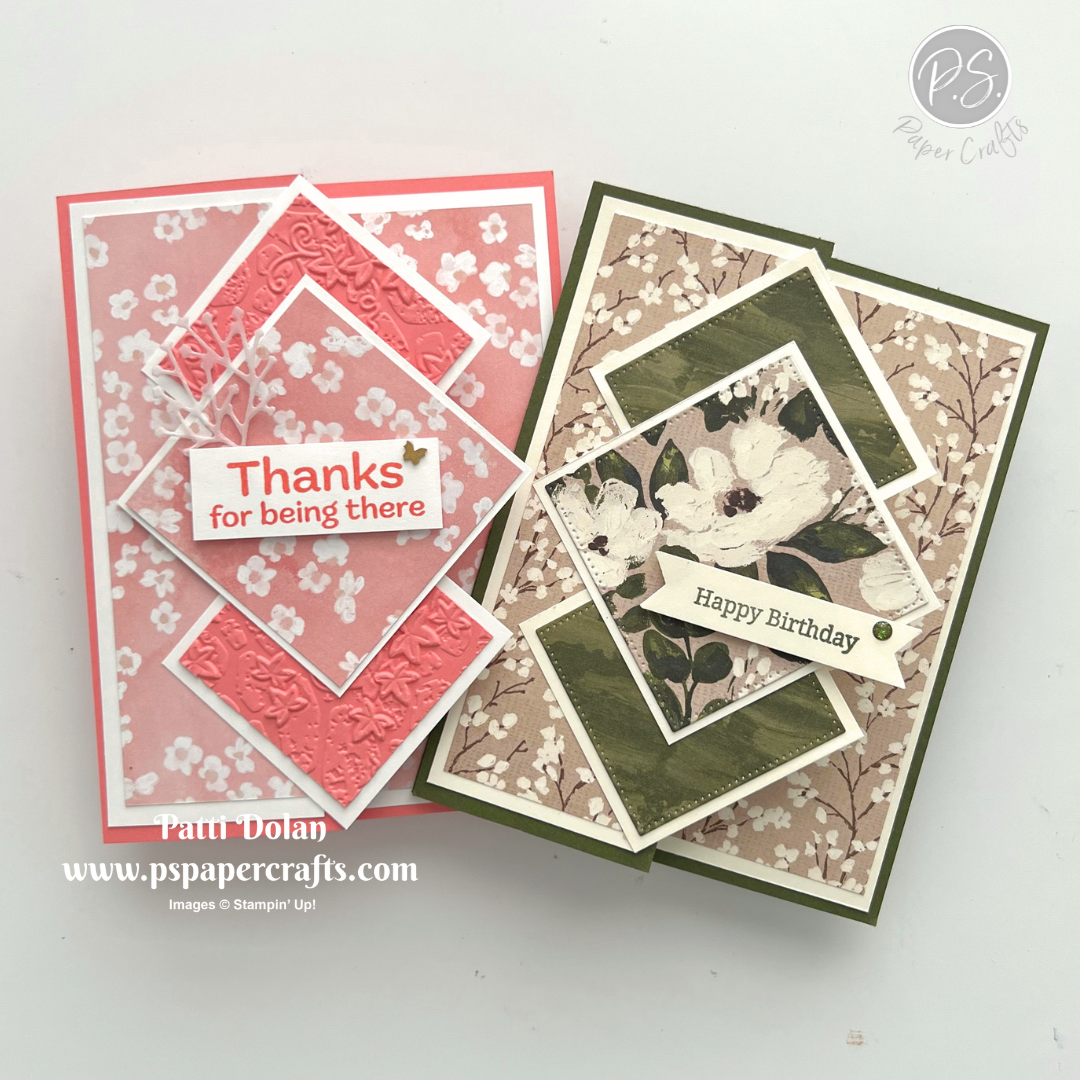
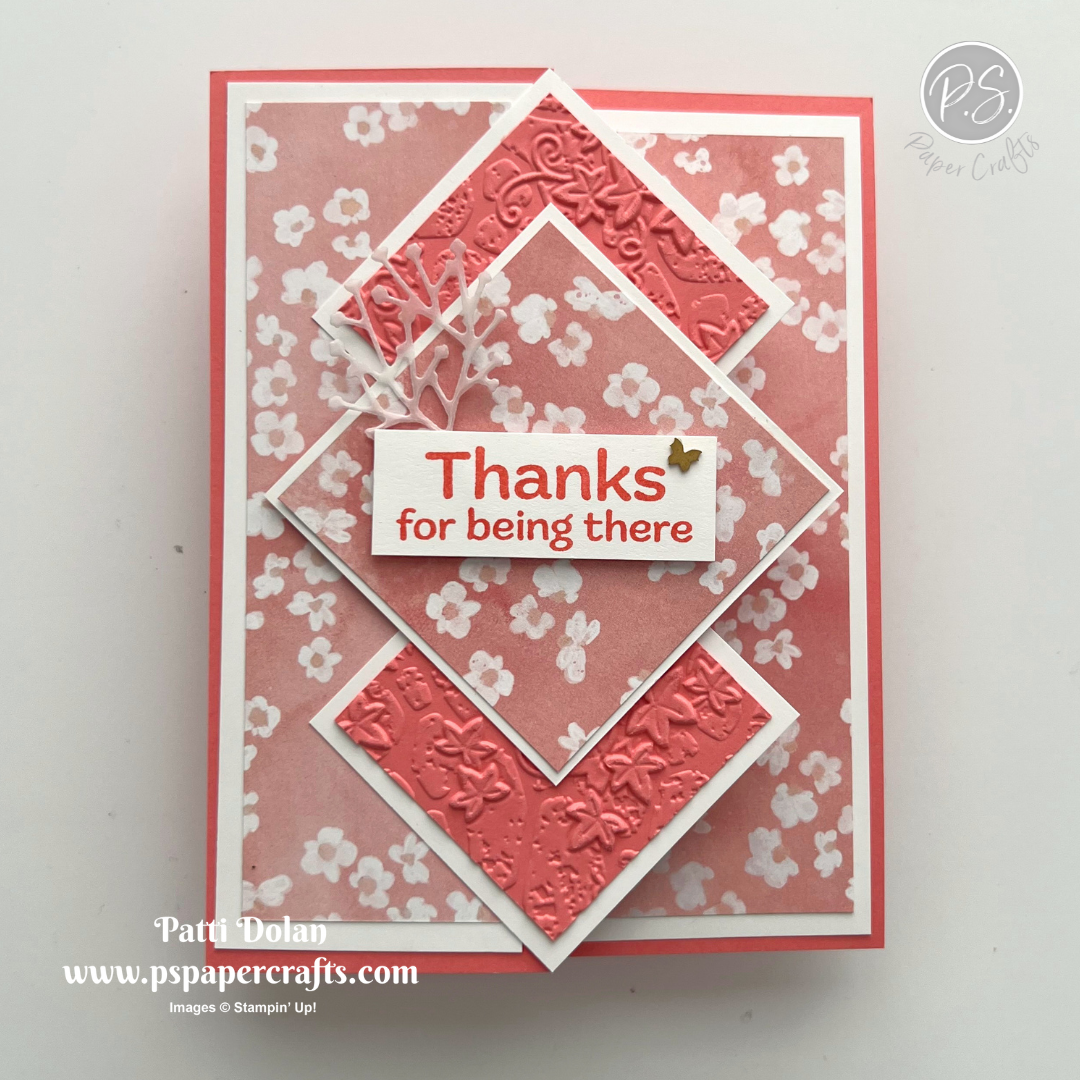
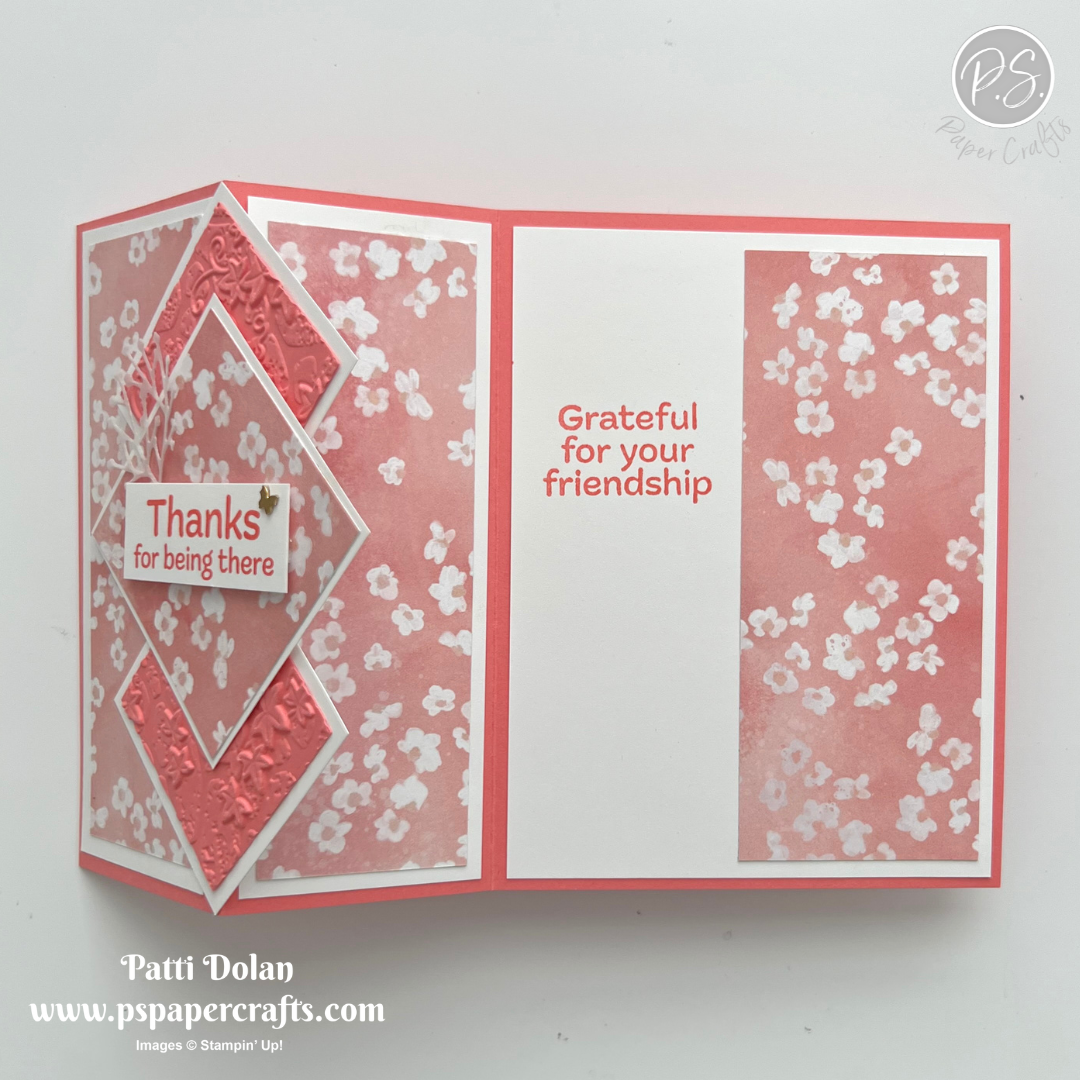
I love how these Triple Diamond Fancy Fold Cards turned out. The papers really make the card! I made these on my Fun Fold Friday video.


Watch the video to see step by step instructions to make this design.

Click on the button below to get a printable pdf with measurements and instructions.


I used the February Product of the Month paper for this card. It’s the Painted Illusions Designer Series Paper and you can purchase it for just $5 when your product order comes to $75 during the month of February. The Sentiments are from the Pop-Up Petals Stamp Set and I embossed those smaller diamonds using the Stone & Vine 3D Embossing Folder.


I love this pattern from the Brushed with Beauty Designer Series Paper. The sentiment was stamped and punched using the Banner Sayings Bundle.


Supply List

You can click on the item to purchase it from my Online Store.


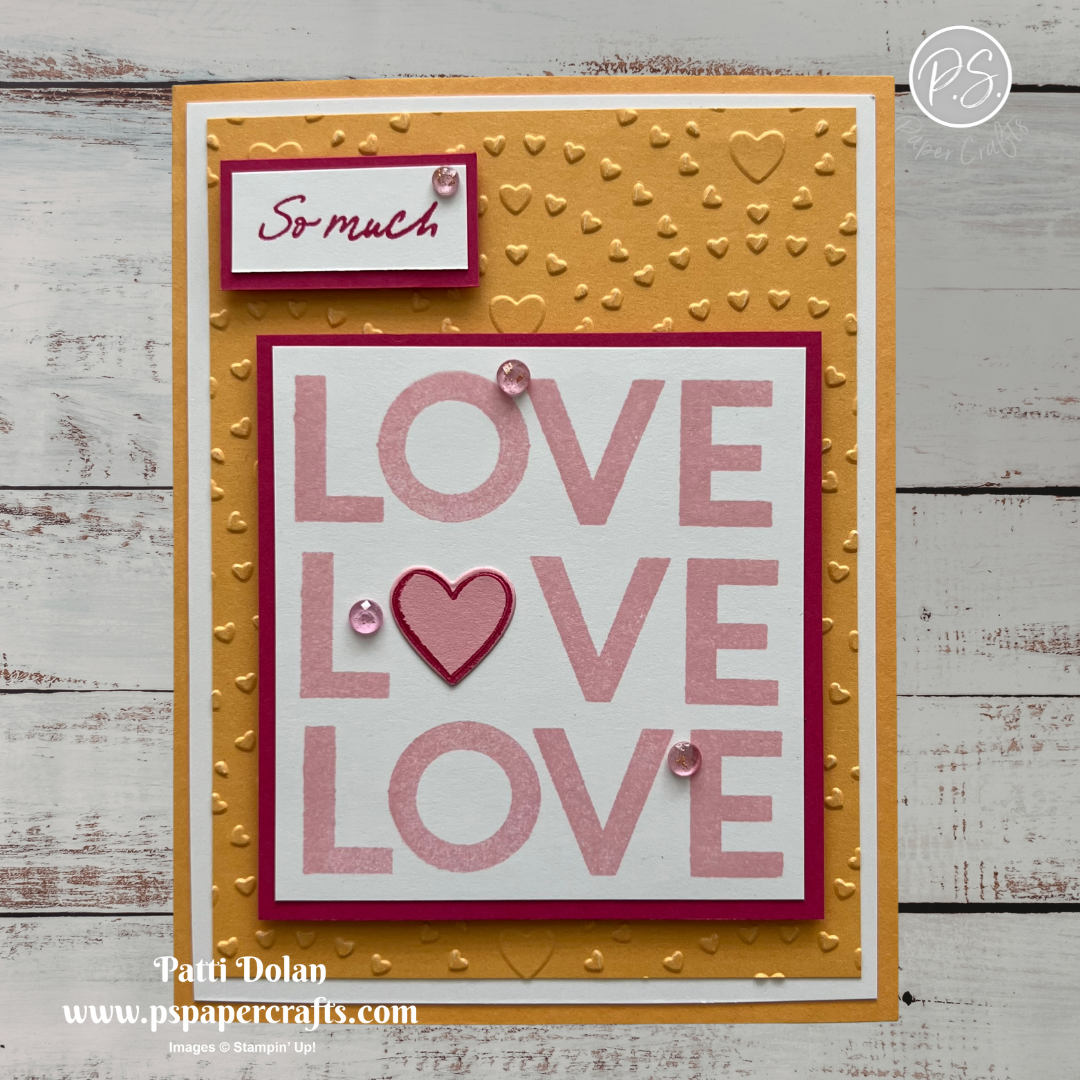
Hope Love & Joy Color Combo

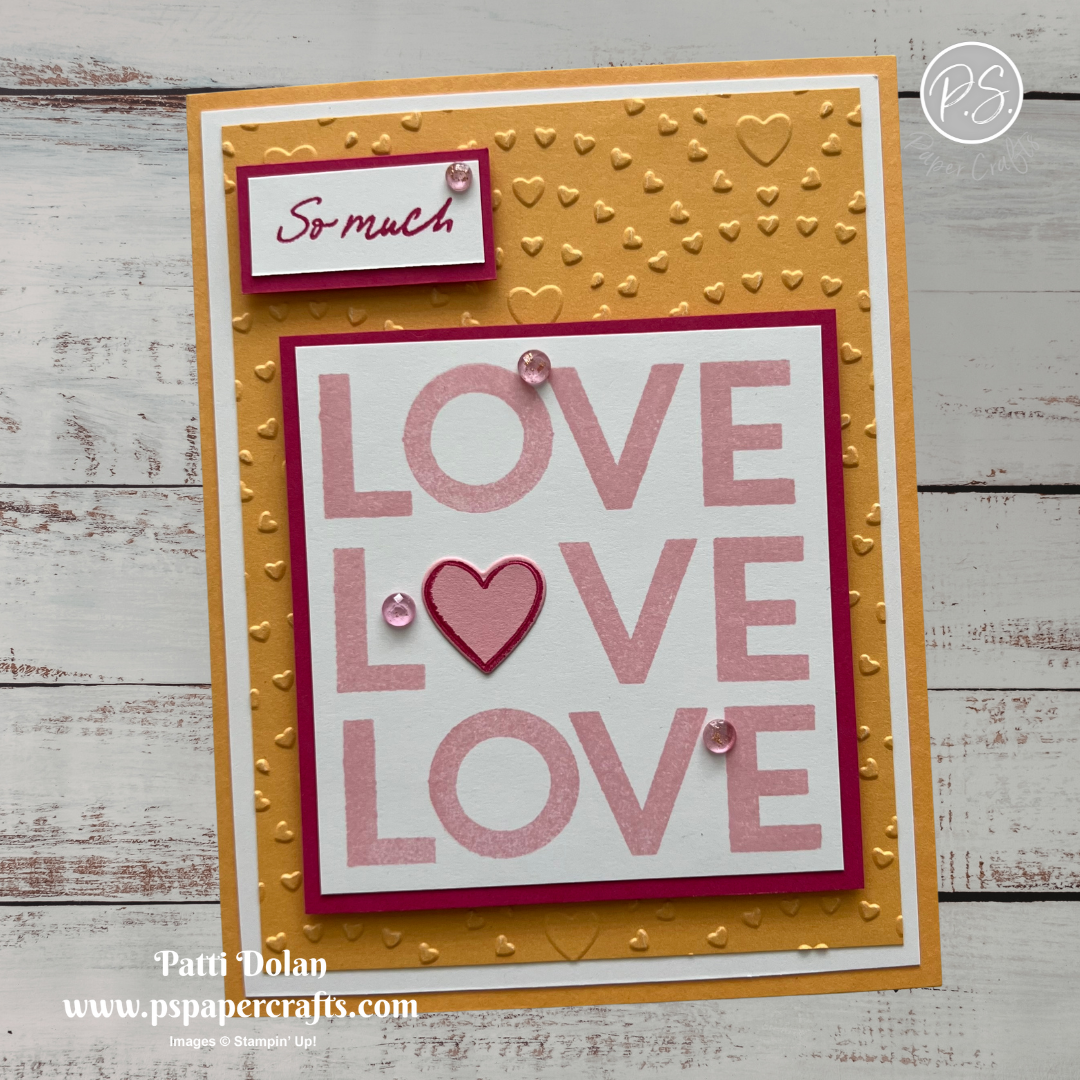
I wasn’t sure about this week’s Color Combo but I think it works. I used the Hope Love & Joy Bundle along with the Hearts of Love 3D Embossing Folder.


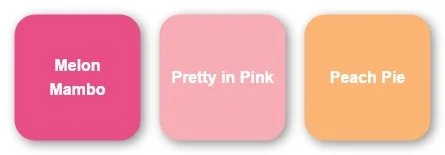
The Color Combo is from my February Inspiration Calendar - Melon Mambo, Pretty in Pink and Peach Pie.

You can get my calendar each month when you subscribe to my email list.


Tips & Instructions

  • Peach Pie Card Base - 5-1/2 x 8-1/2, score at 4-1/4

  • Basic White Layer - 4 x 5-1/4, adhere to the card base.

  • Peach Pie Layer - 3-3/4 x 5, emboss using the Hearts of Love 3D Embossing Folder and adhere to the card.

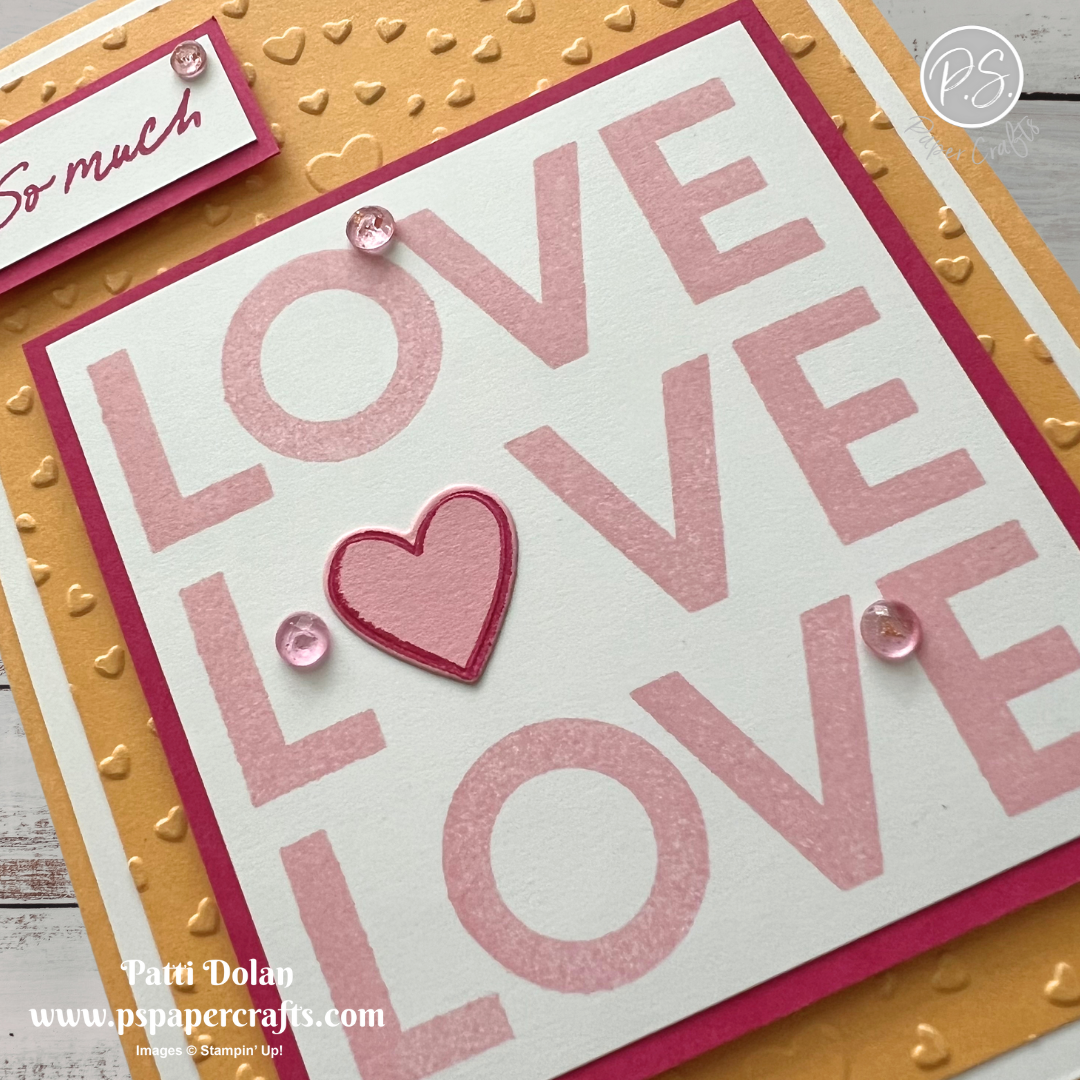
  • Basic White - 3 x 3-1/4, stamp the L VE 3 times in Pretty in Pink Ink.. I stamped it on a larger piece of Basic White and then cut it down to help me get the words centered easily. Stamp the L VE and then the O on the top and bottom and leave out the O on the middle one.

  • Die cut the heart from scrap of Pretty in Pink and stamp the heart on it in Melon Mambo Ink. Adhere to the center L VE.

  • Adhere the stamped piece to a piece of Melon Mambo cut at 3-1/4 x 3-1/2 and adhere to the card with Dimensionals.

  • Stamp the “So much” sentiment on a 5/8 x 1-3/8 strip of Basic White in Melon Mambo Ink. Adhere to a 3/4 x 1-1/2 strip of Melon Mambo and adhere to the card with Dimensionals.

  • Add some Pretty in Pink Gems.


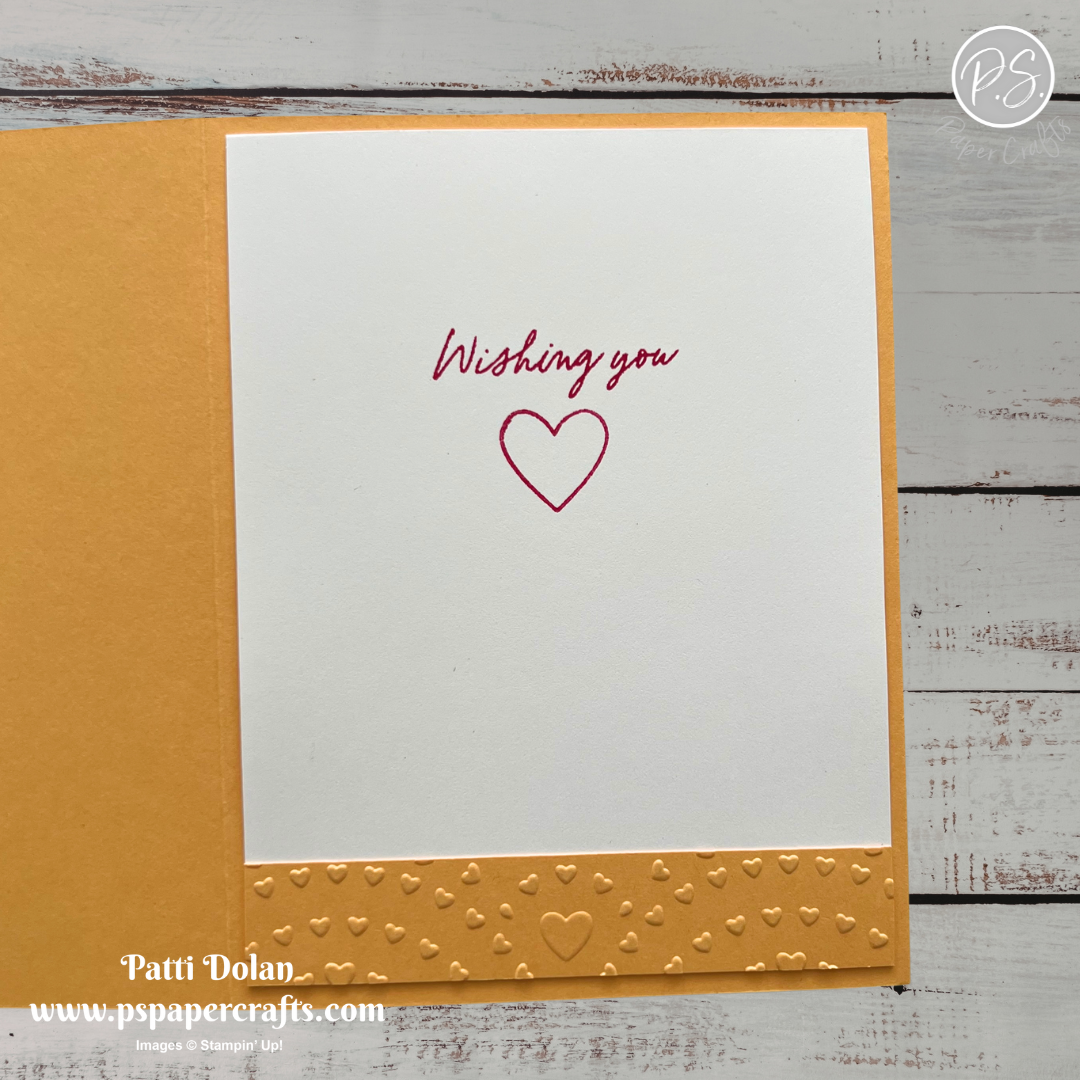
On the inside layer (4 x 5-1/4), stamp the sentiment and heart in Melon Mambo Ink. Adhere a 3/4 x 4 piece of Peach Pie embossed using the Hearts of Love 3D Embossing Folder.


I love how this stamp set works. You can stamp the words LOVE, HOPE and JOY replacing the O with fun images.


Supply List

You can click on the item to purchase it from my Online Store.


Sketch Challenge - Faith Collection

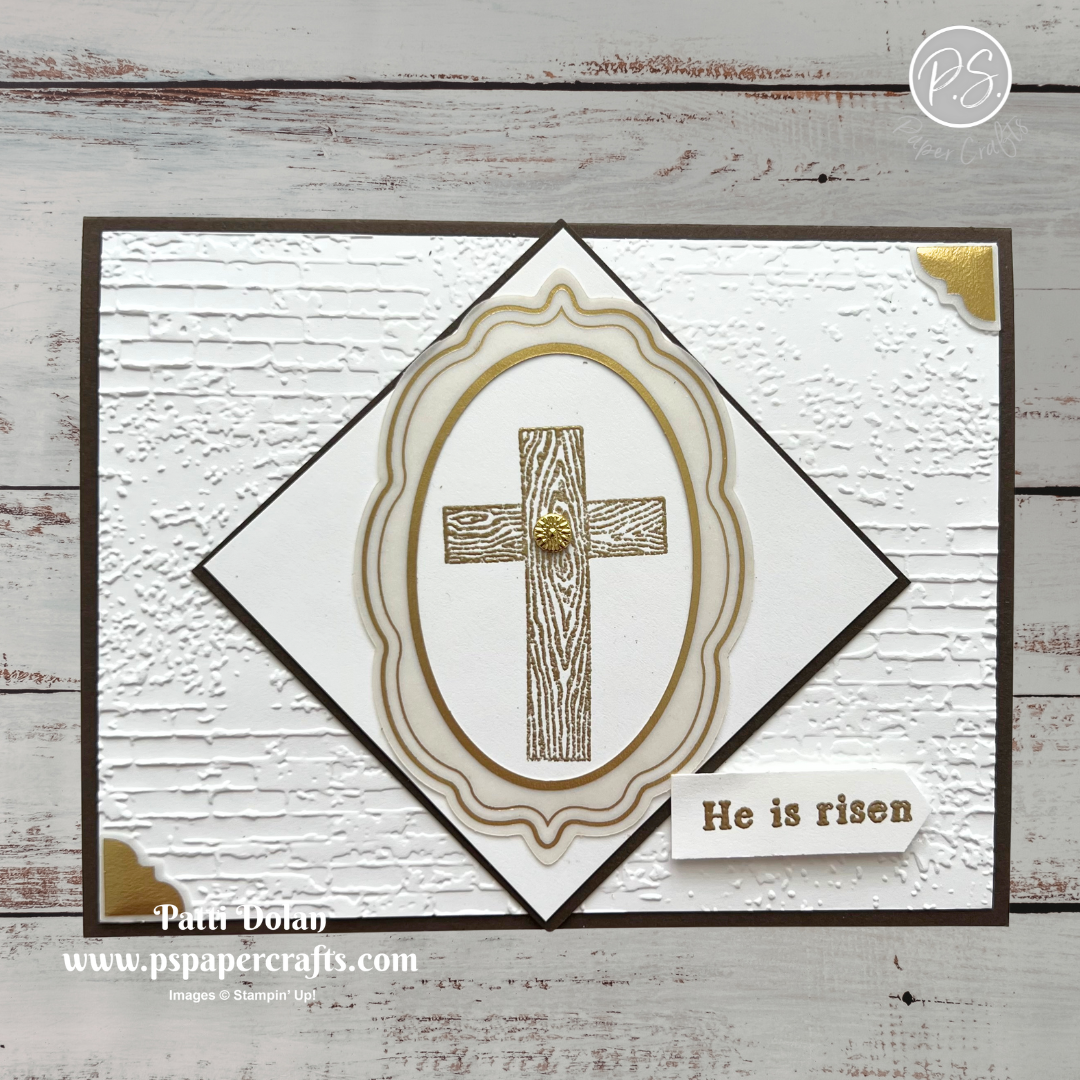
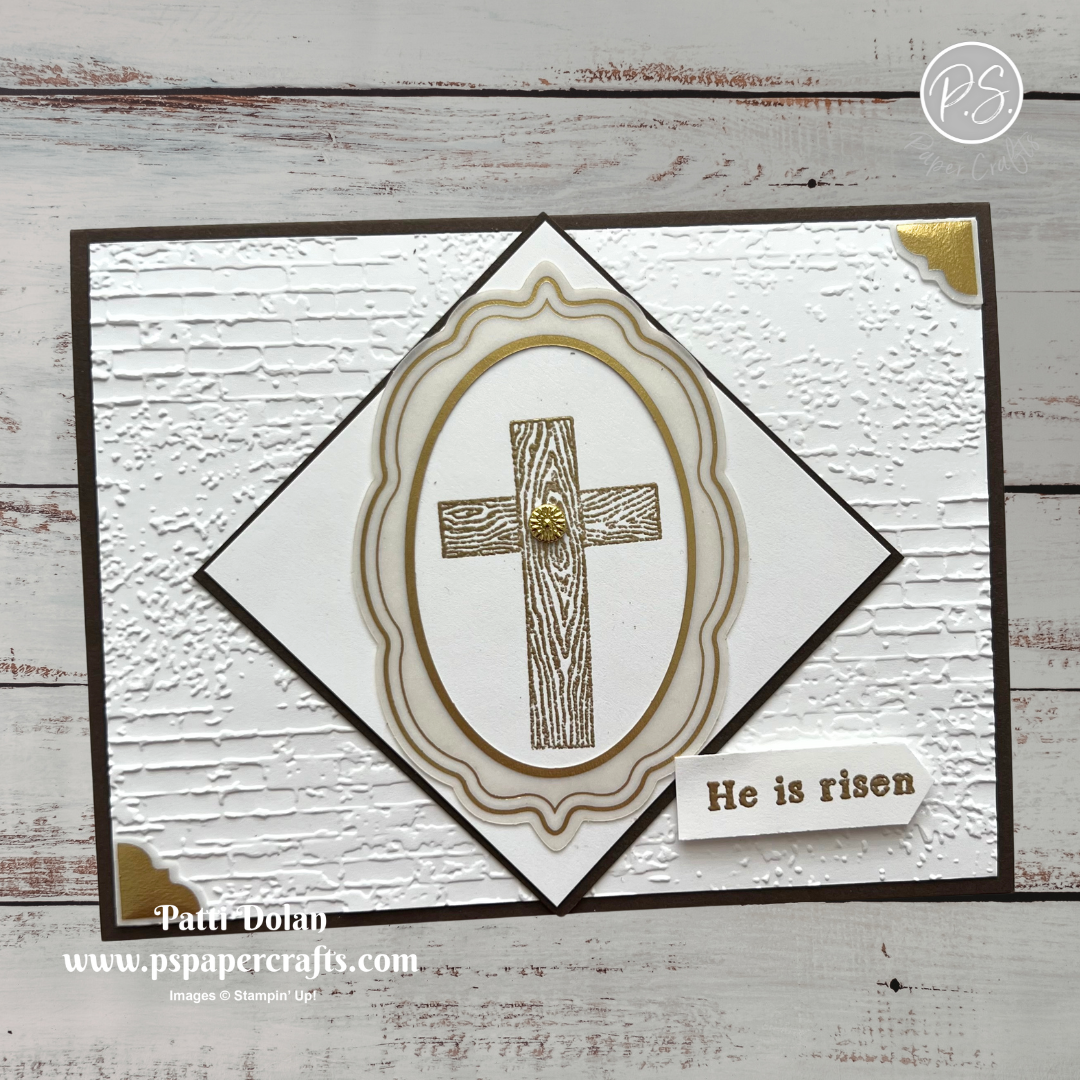
This is the card I made for the weekly Splitcoaststampers Sketch Challenge. I used the Faith Collection Stamp Set and embossed the cross and sentiment with gold embossing Powder.


Here’s the sketch I used. You can see all the projects posted for this week’s challenge by clicking on the sketch below.


Tips & Instructions

  • Early Espresso Card Base - 5-1/2 x 8-1/2, score at 4-1/4

  • Basic White Layer - 4 x 5-1/2, emboss using the Exposed Brick 3D Embossing Folder and adhere to the card base.

  • Adhere the 2 corner pieces from the Beautifully Adorned Ephemera Pack.

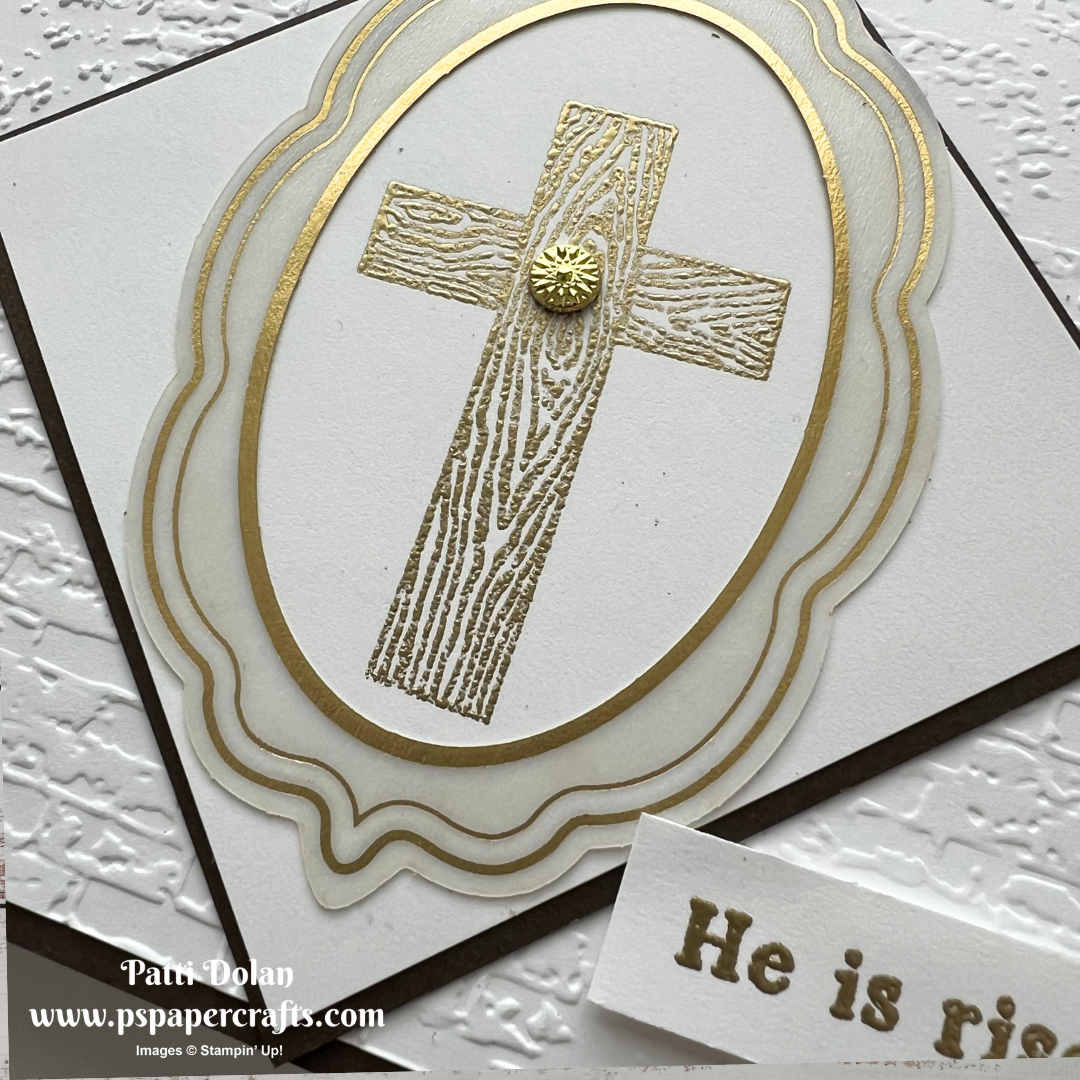
  • Basic White - 2-7/8 x 2-7/8, stamp the cross from the Faith Collection Stamp Set in Versamark Ink and emboss it with gold embossing powder.

  • Adhere the white diamond to a 3 x 3 piece of Early Espresso Cardstock. Adhere to the card.

  • Adhere the oval piece from the ephemera pack to the diamond.

  • Stamp the sentiment in Versamark Ink on a 1/2” strip of Basic White and emboss it with gold embossing powder. Punch using the Three Banner Punch and adhere to the card with Dimensionals.

  • Add a large Flower Accent to the center of the cross.


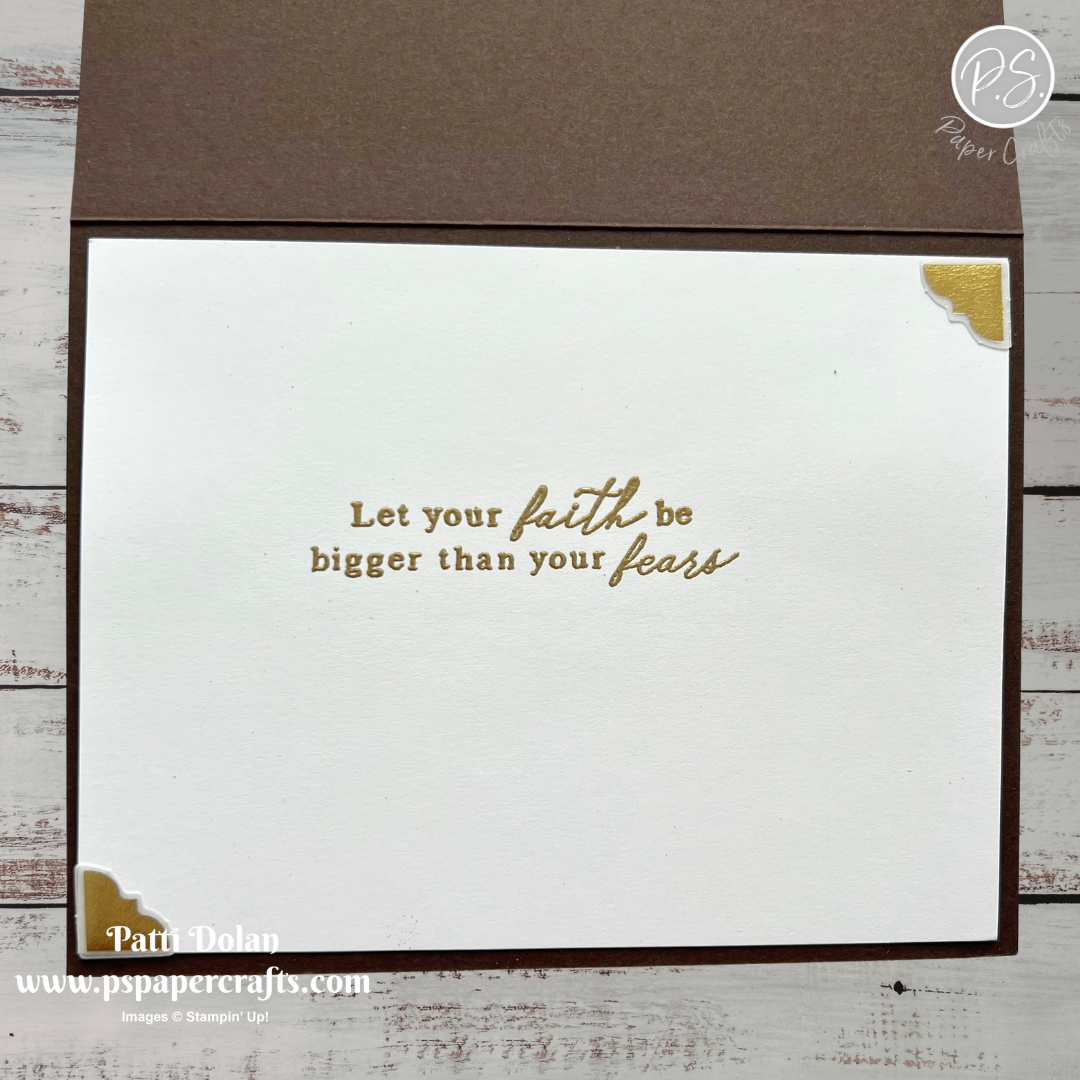
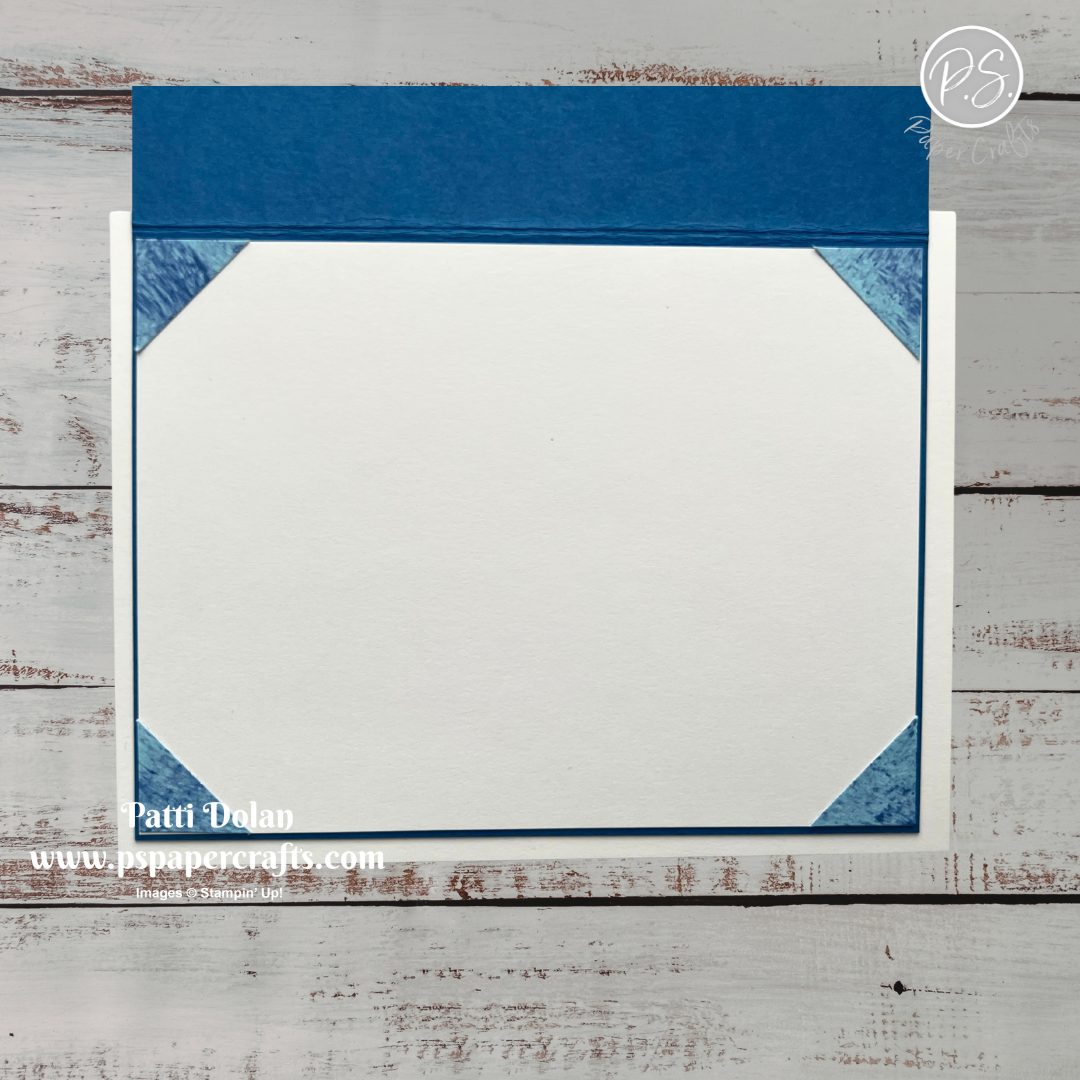
On the inside layer (4 x 5-1/4), stamp the sentiment in Versamark Ink and emboss it with gold embossing powder. Adhere 2 of the gold corner pieces.


I love the gold embossed cross with the gold and velum oval.


Supply List

You can click on the item to purchase it from my Online Store.


Sketch Saturday - Valentine Kisses

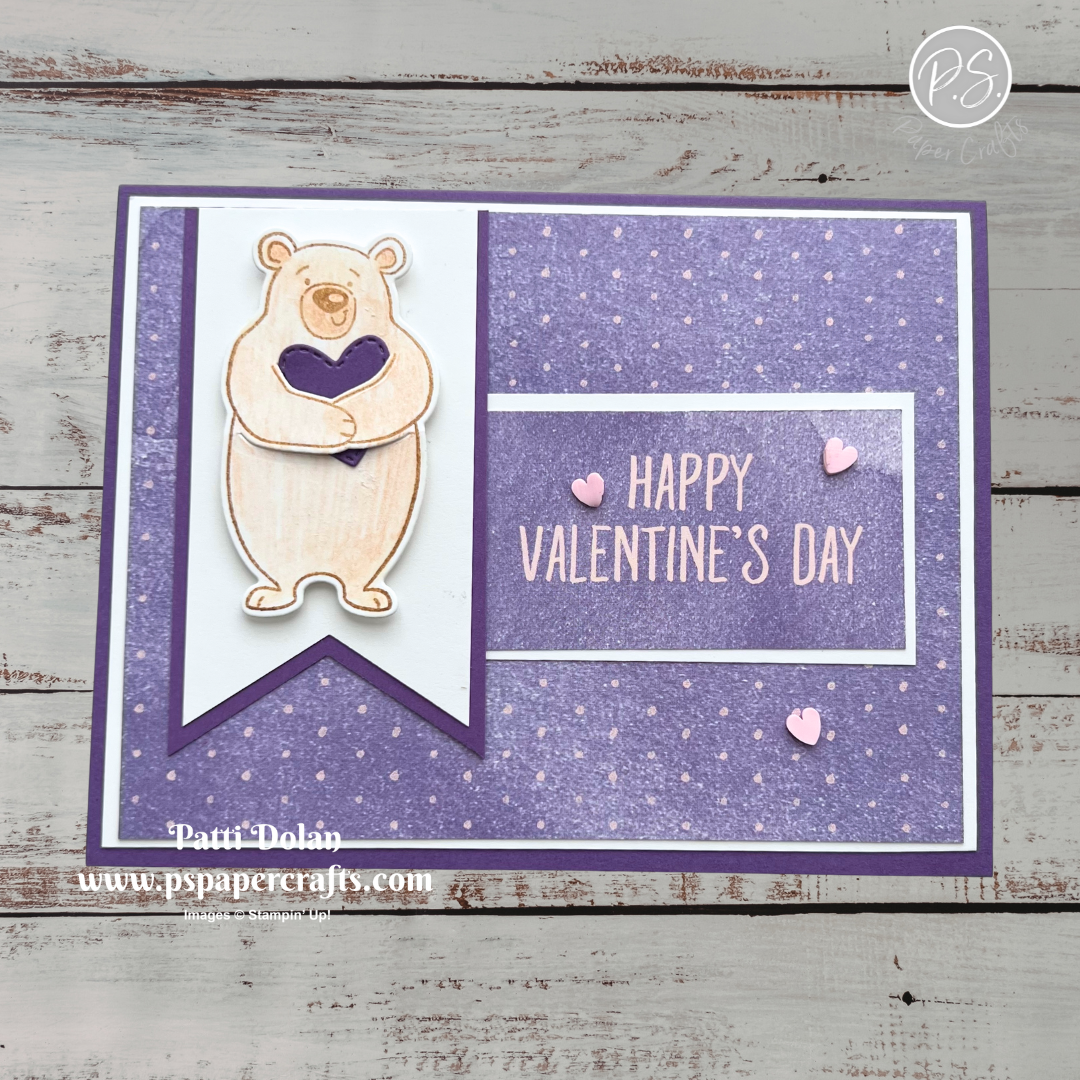
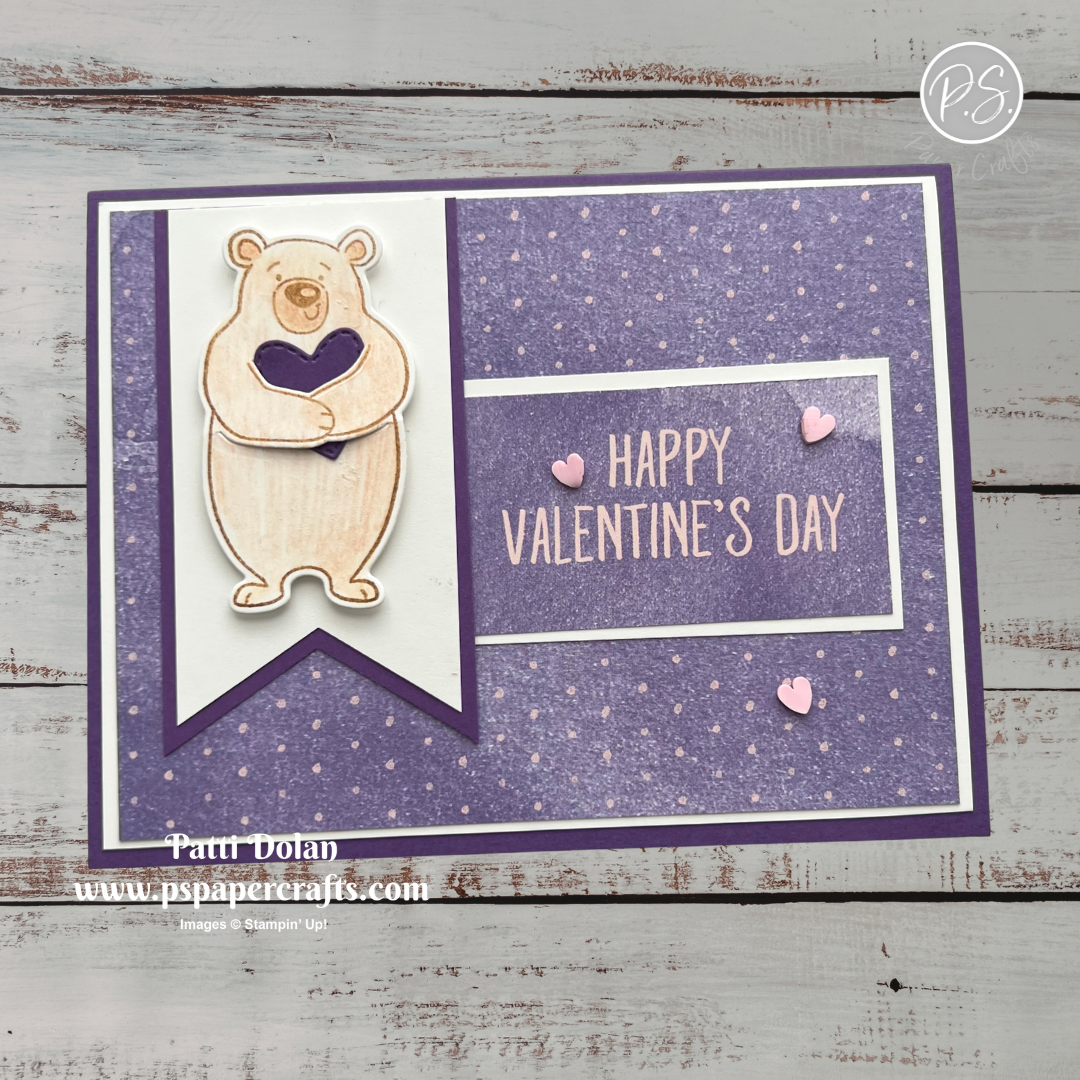
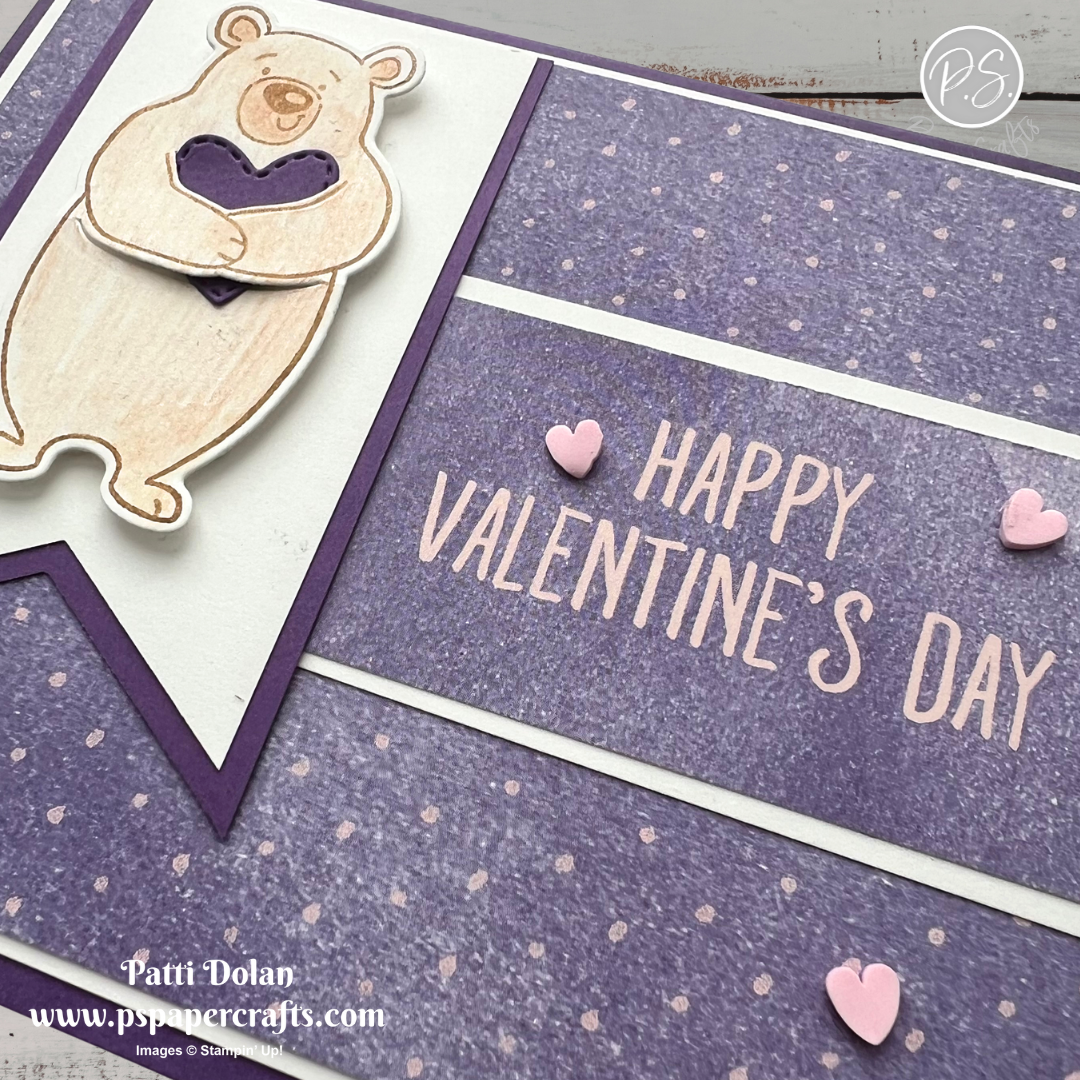
I’ve been on a roll with making Valentine’s Day Cards and I think I have enough for this year. Today’s card will be for my sweet grandson who just loves animals.


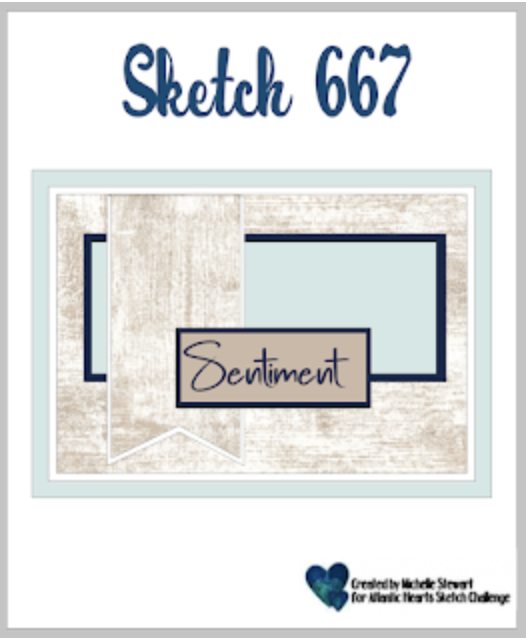
I made it for this week’s Atlantic Hearts Sketch Challenge using the Valentine Kisses Bundle and Love Notes Designer Series Paper. Here’s the sketch I used.


Tips & Instructions

  • Gorgeous Grape Card Base - 5-1/2 x 8-1/2, score at 4-1/4

  • Basic White Layer - 4 x 5-1/4, adhere to the card base.

  • Love Notes 6x6 Mix & Match Designer Series Paper - 3-7/8 x 5-1/8, adhere to the card.

  • Gorgeous Grape Banner - 1-7/8 x 3-1/2, banner the bottom.

  • Basic White Banner - 1-3/4 x 3-1/4, banner the bottom and adhere to the Gorgeous Grape Banner.

  • Stamp the bear on Basic White in Pecan Pie Ink and die cut with the coordinating dies. Color it with a Calypso Coral Watercolor Pencil and use a Blender Pen to blend it.

  • Die cut the heart from a scrap of Gorgeous Grape push it under the arms of the bear. Adhere to the banner with Dimensionals.

  • Cut the sentiment from the Love Notes Designer Series Paper down to 1-1/2 x 3 and adhere it to a Basic White mat that’s 1-5/8 x 3-1/8. Adhere to the card.

  • Adhere the banner to the card.

  • Add some pink hearts from the Loose Valentine’s Assortment with small dots of Liquid Glue


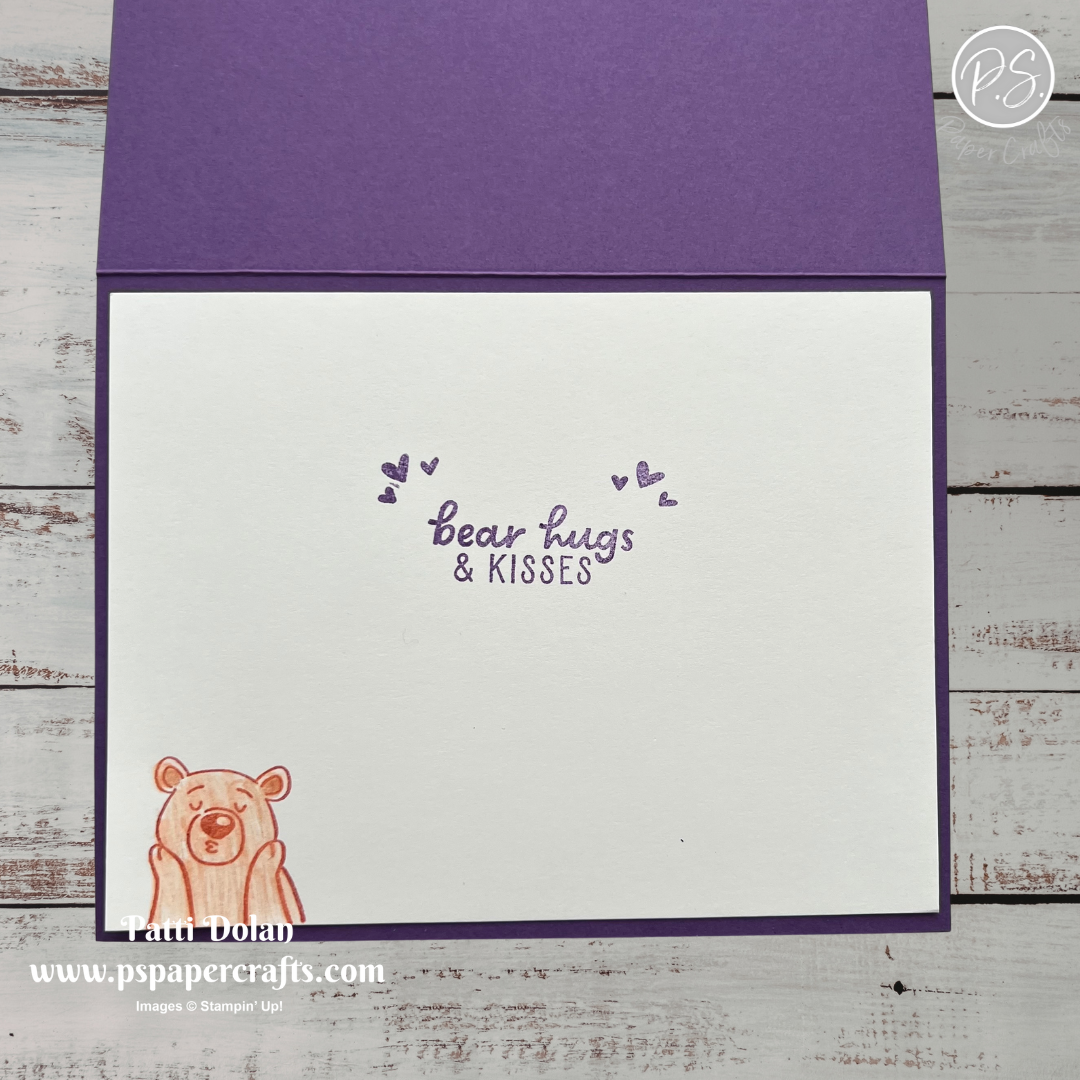
On the inside layer (4 x 5-1/4), stamp sentiment in Gorgeous Grape Ink and add some Gorgeous Grape hearts. Stamp the bear in Pecan Pie Ink and color with a Calypso Coral Watercolor Pencil and then blend it with a Blender Pen.


This bear is so cute holding the heart, he makes me smile.


Supply List

You can click on the item to purchase it from my Online Store.


Pretty Crossover Gatefold Valentine's Day Cards

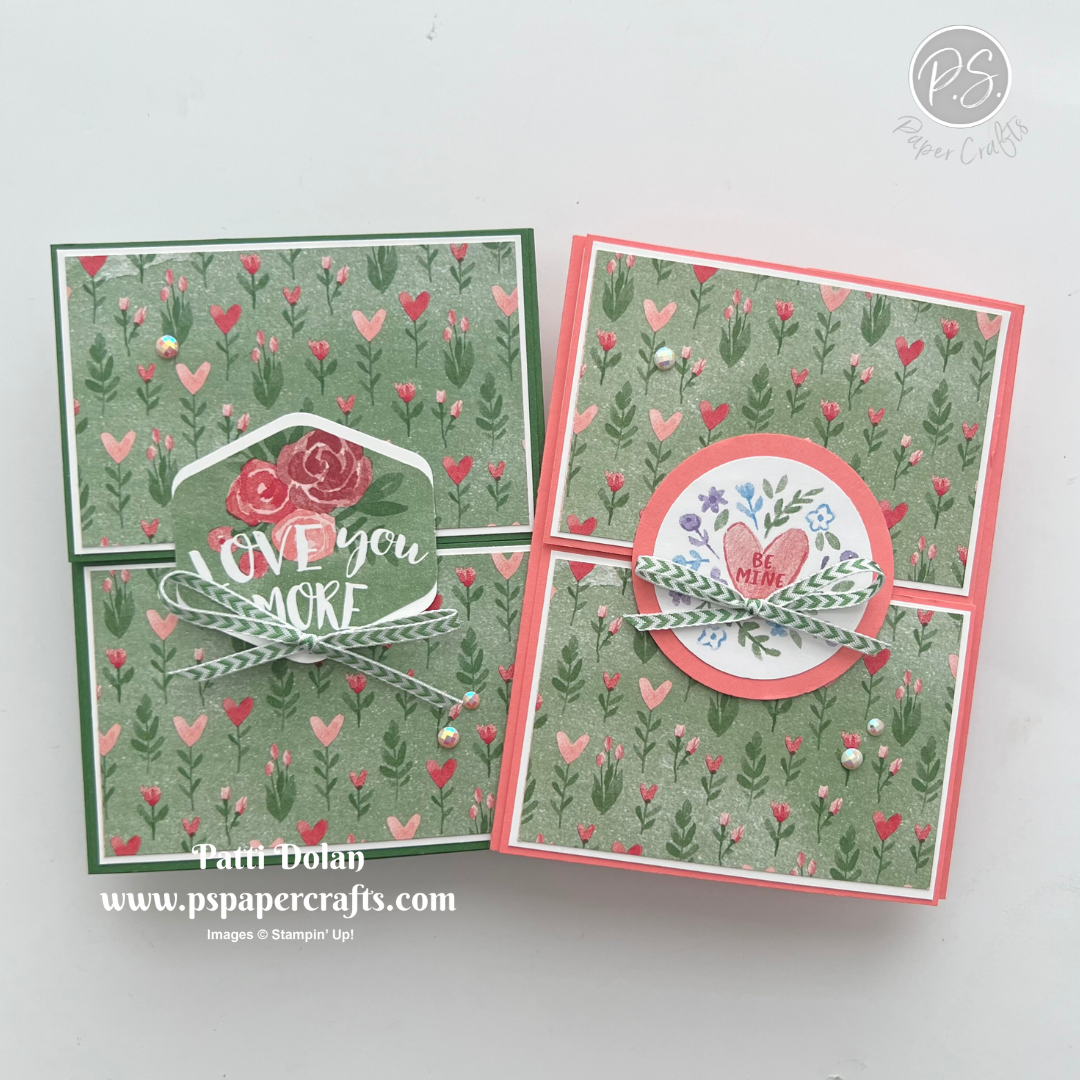
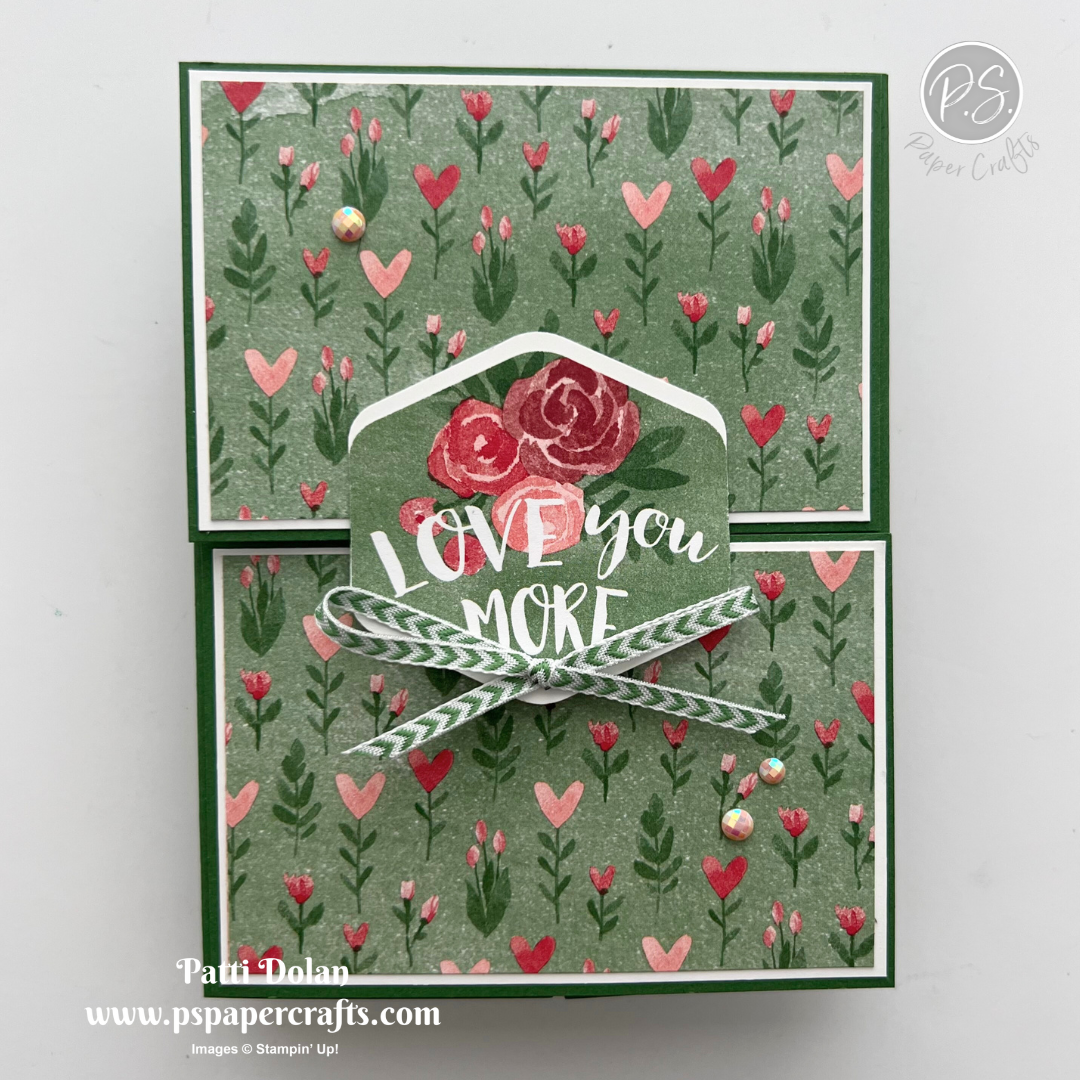
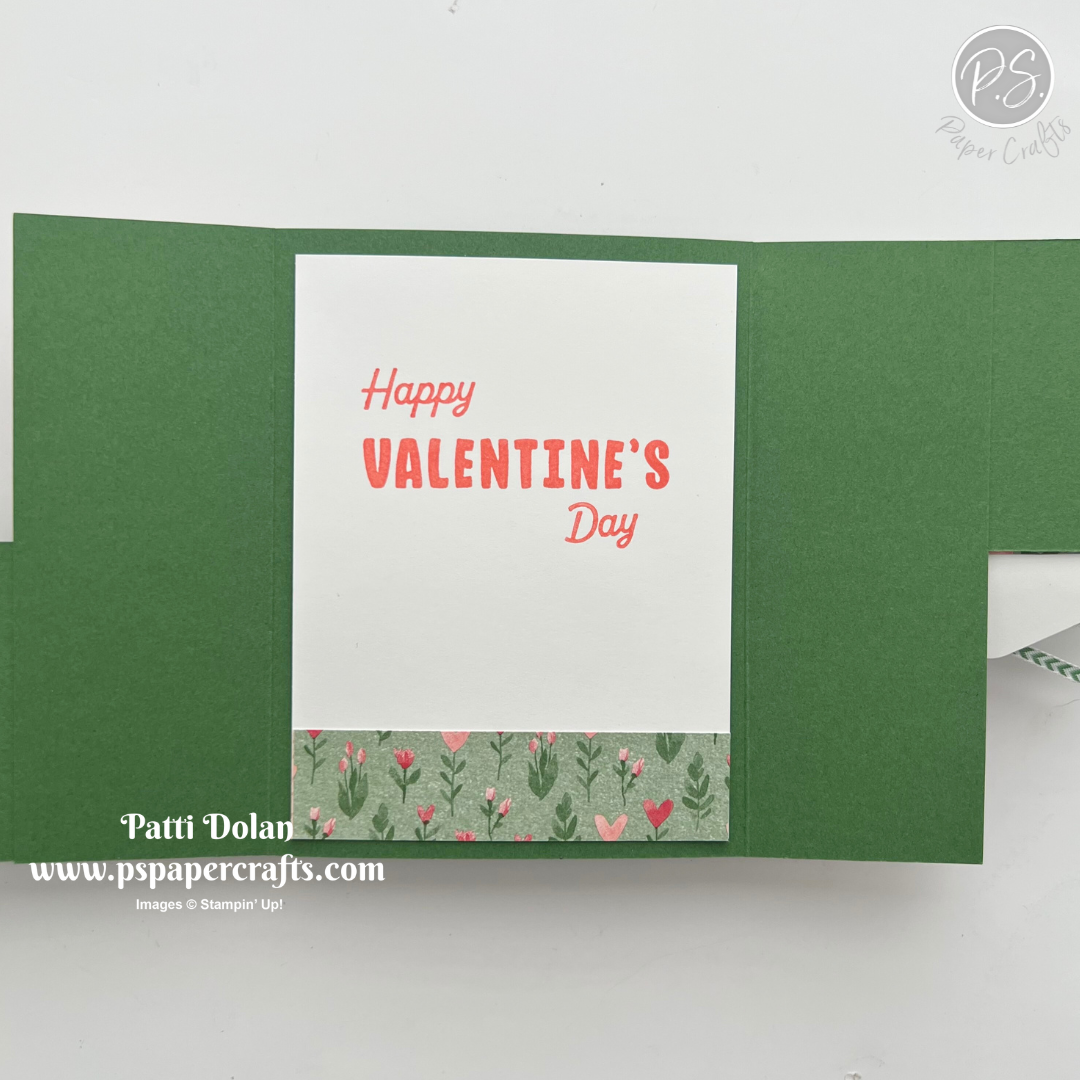
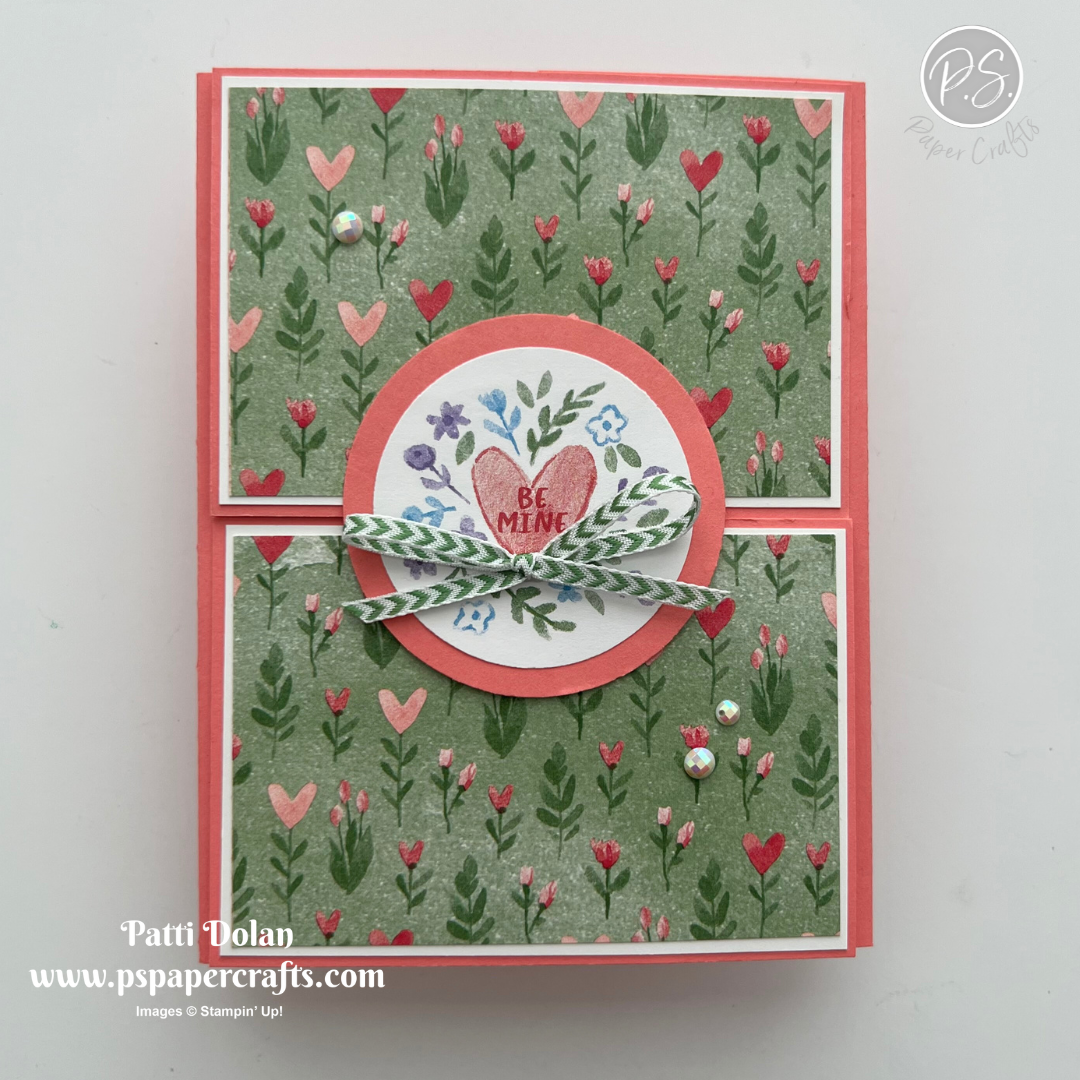
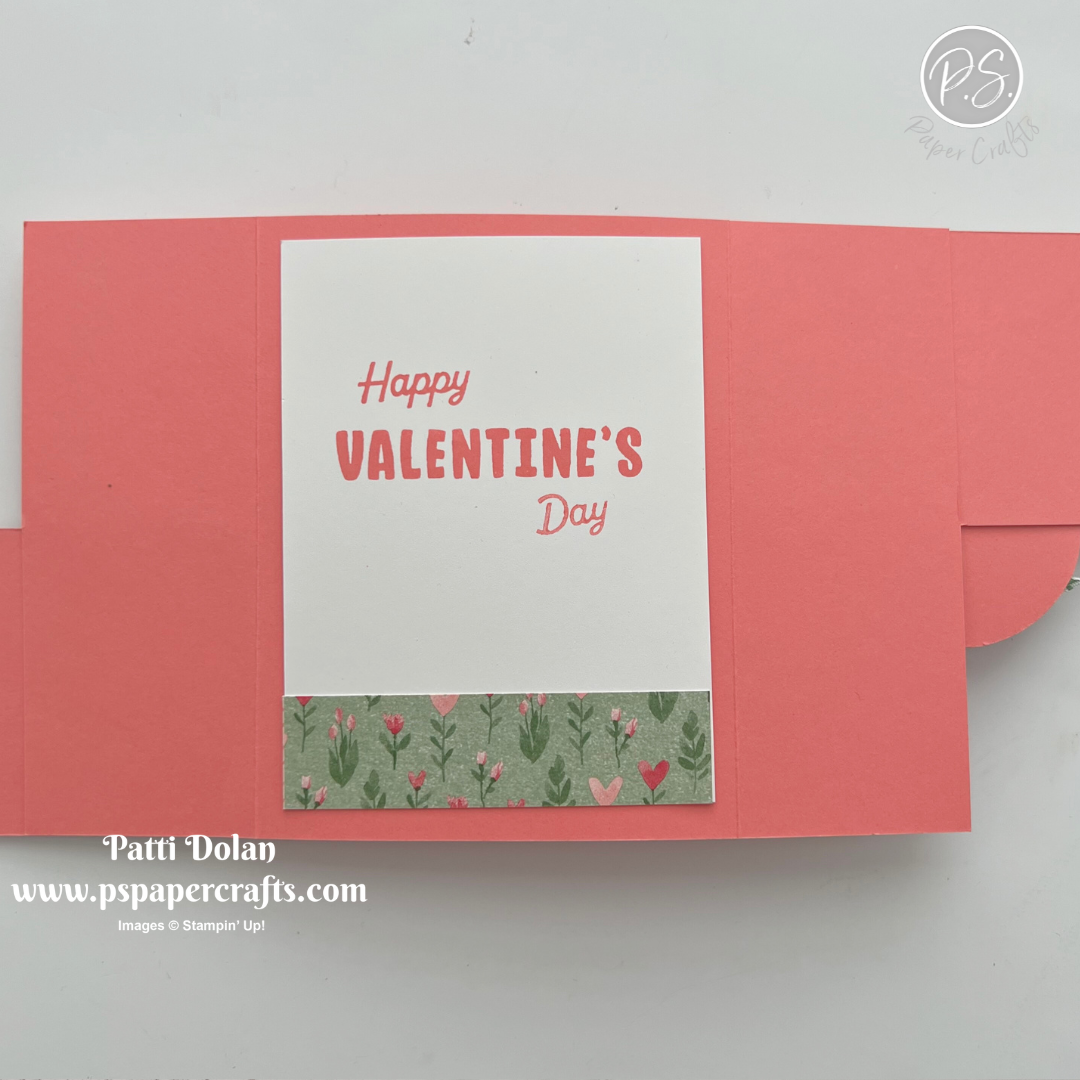
I just love this pattern in the Love Notes Designer Series Paper so much that I used it for both cards. I made Crossover Gatefold Cards and they turned out so pretty.


Watch the video to see step by step instructions to make this design.

Click on the button below to get a printable pdf with measurements and instructions.


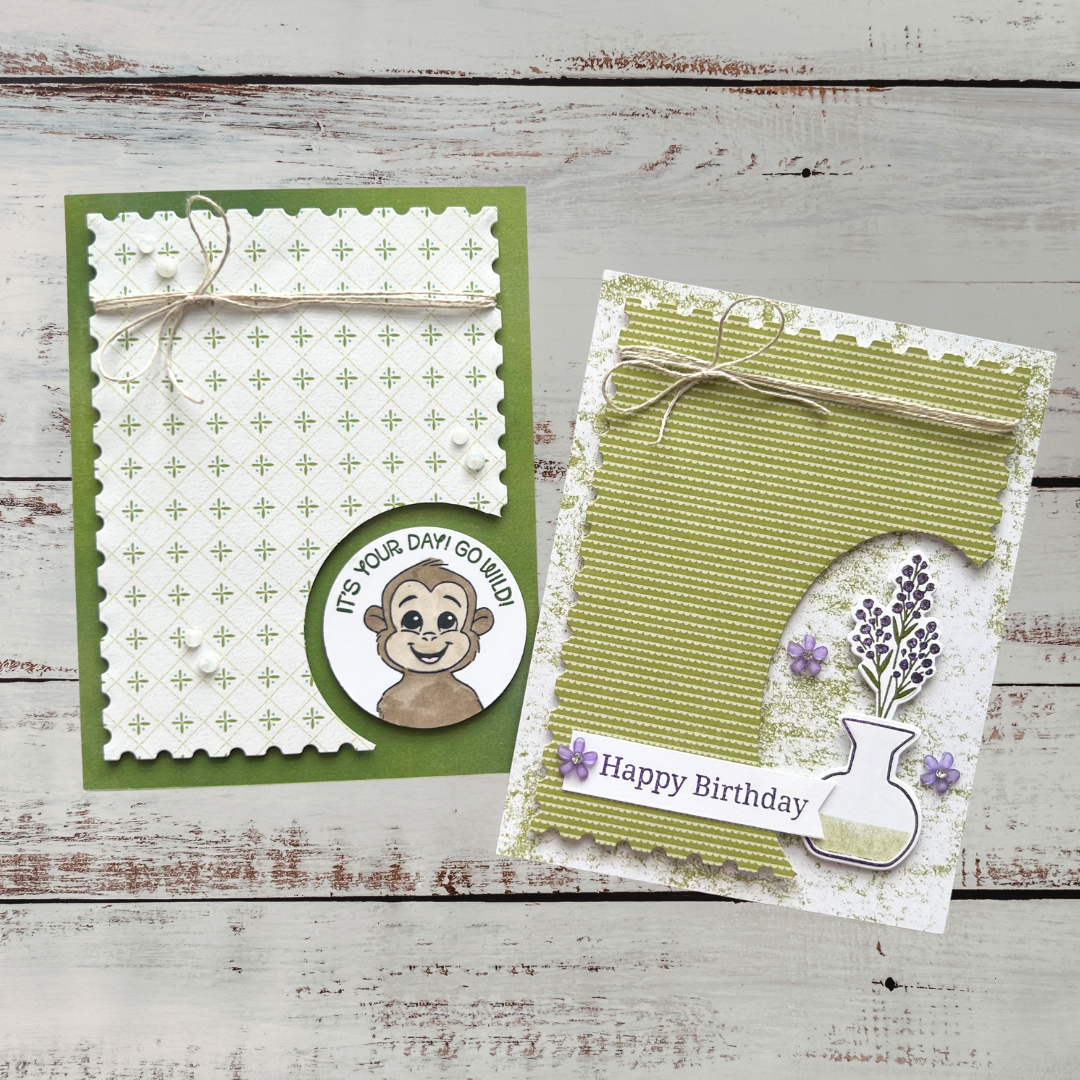
Both cards were made using the Love Notes 6x6 Mix & Match Designer Series Paper. I used Garden Green and the Heartfelt Hexagon Punch for this card.


This card was made in Flirty Flamingo and for the sentiment I used the 2” and 2-3/8” Circle Punches.


Supply List

You can click on the item to purchase it from my Online Store.


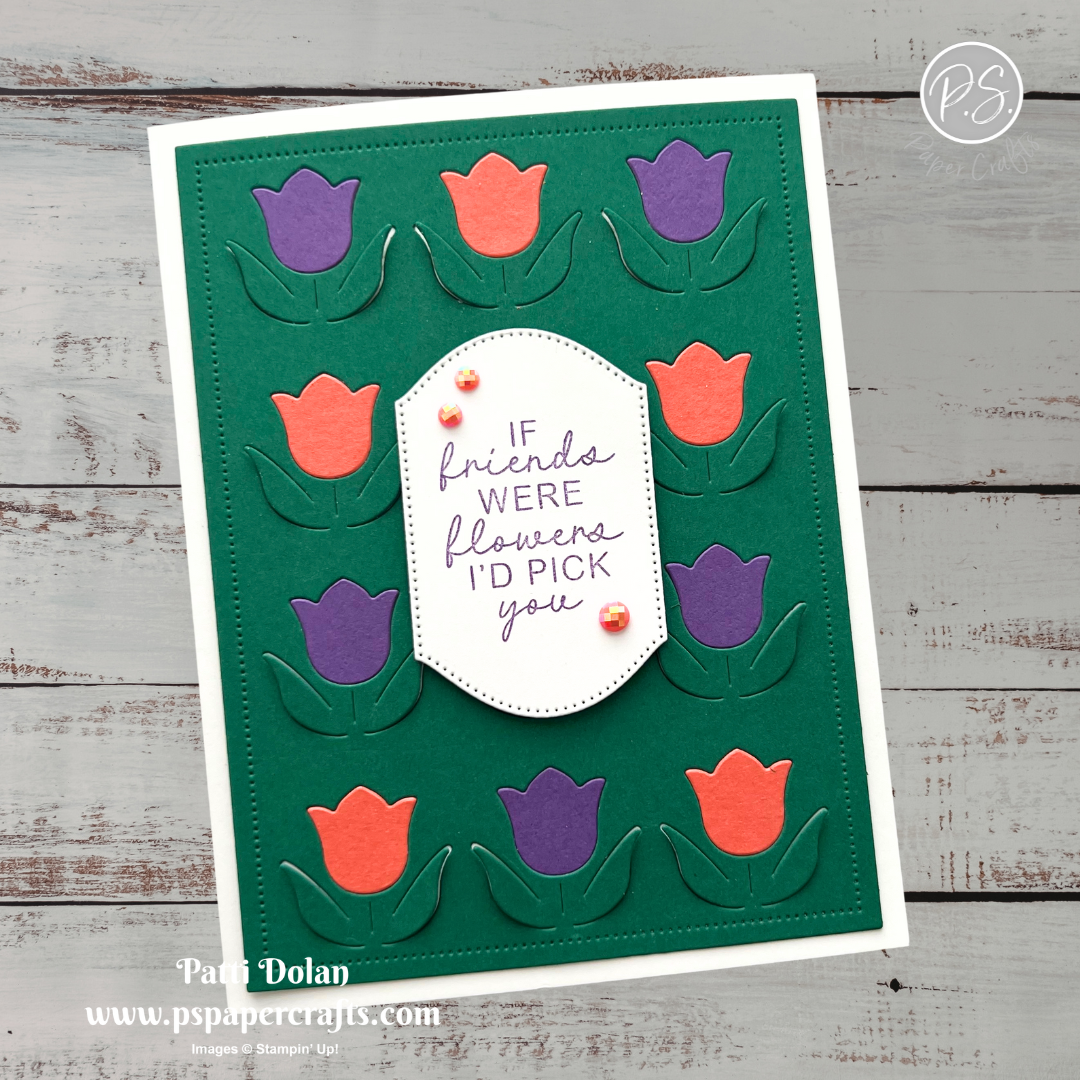
Sunshine & Tulips Color Combo

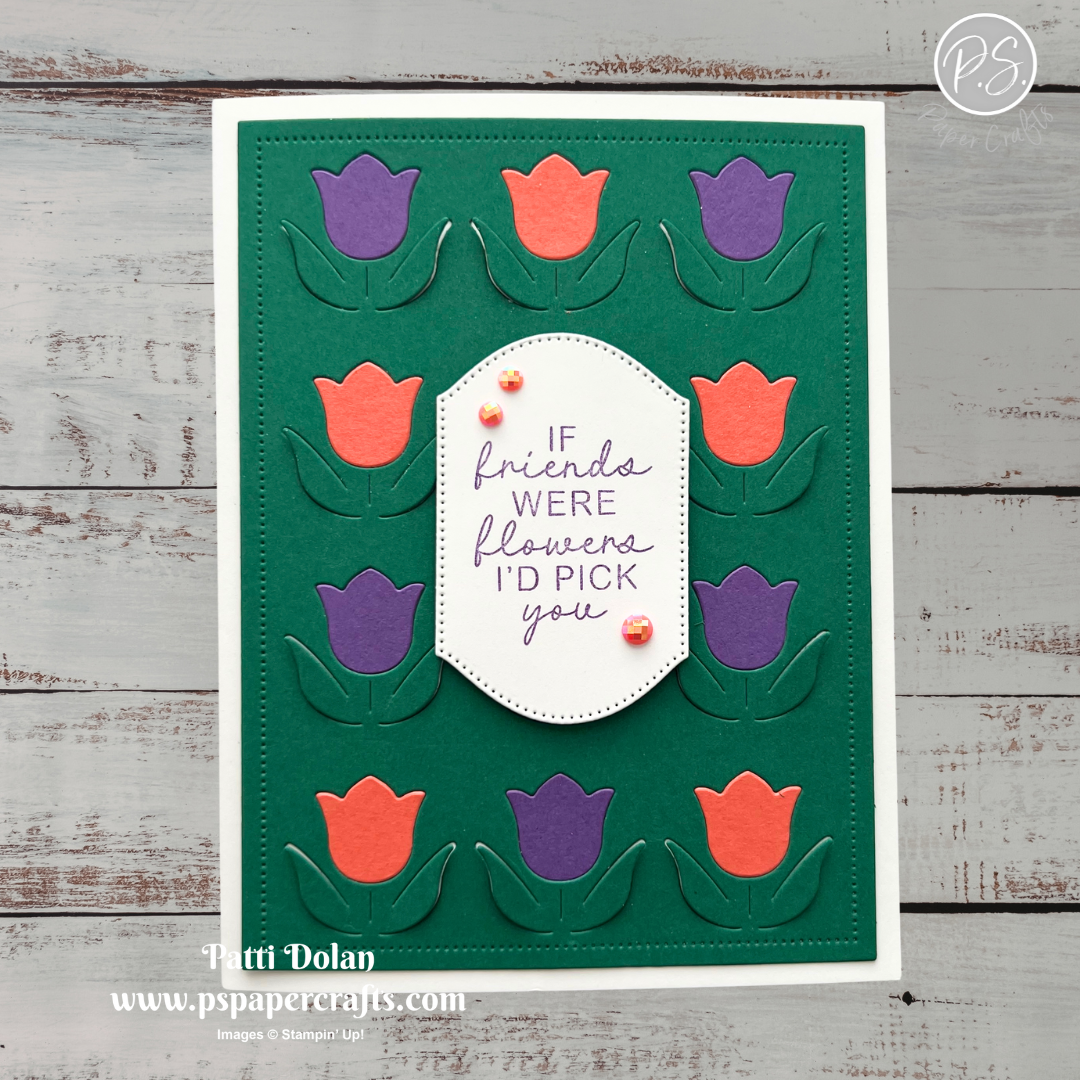
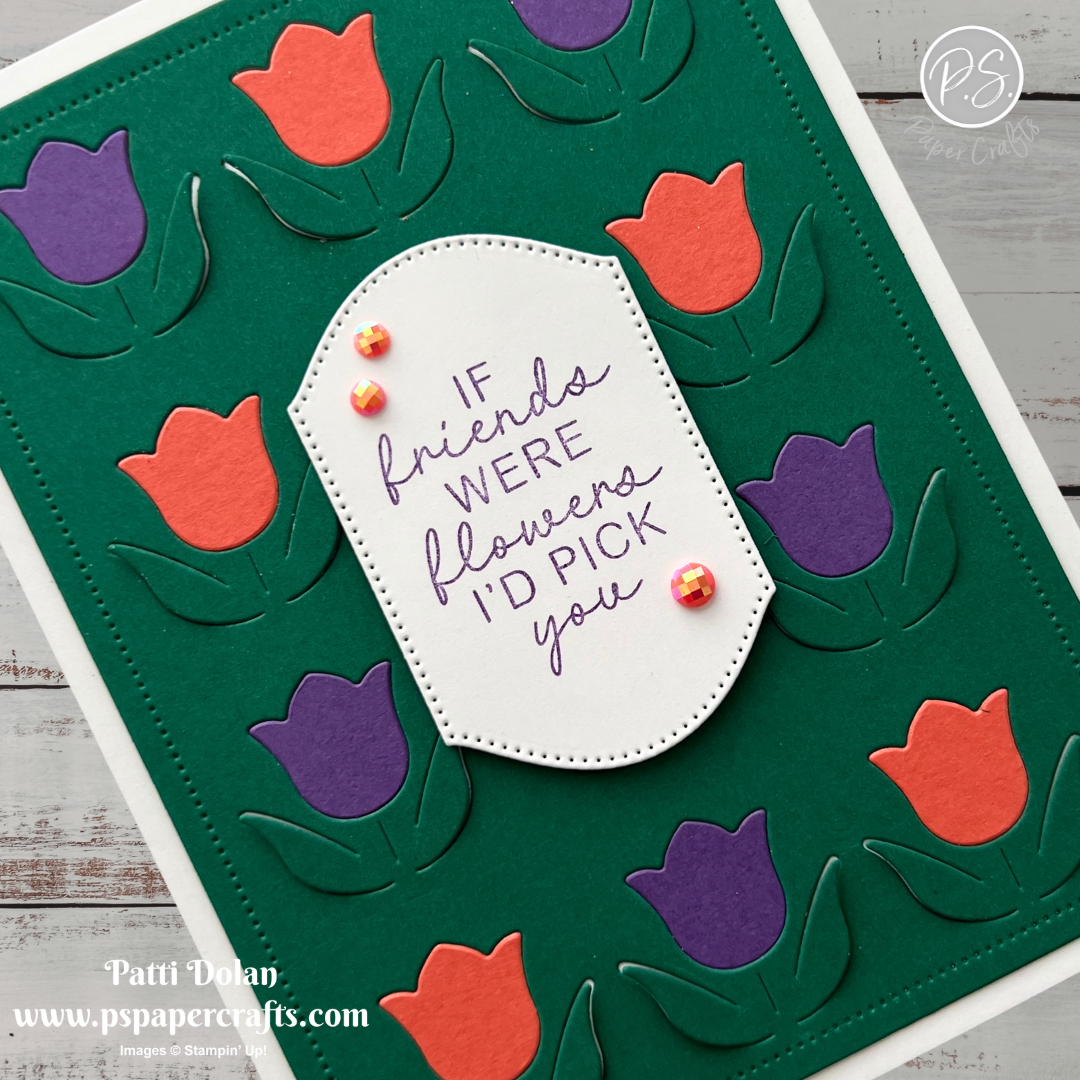
I decided to use the Sunshine & Tulips Bundle for this week’s Color Combo. It has one large die to cut the flowers out and cuts around part of the leaves so they can pop up a little bit.


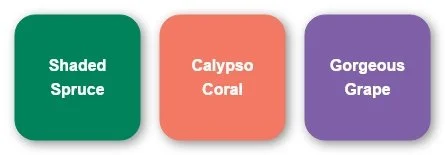
The Color Combo is from my February Inspiration Calendar - Shaded Spruce, Calypso Coral and Gorgeous Grape.

You can get my calendar each month when you subscribe to my email list.


Tips & Instructions

  • Thick Basic White Card Base - 5-1/2 x 8-1/2, score at 4-1/4

  • Shaded Spruce Layer - 4 x 5-1/4, die cut using the large die from the Sunshine & Tulips Dies. Adhere to the card base. Bend the leaves up a little bit.

  • Use smaller pieces (3 x 4) to die cut half the flowers from Gorgeous Grape and half the flowers from Calypso Coral Cardstock using the large die.

  • Adhere the flowers to the white tulip spaces on the card with a little bit of Liquid Glue.

  • Die cut the label from Basic White and stamp the sentiment on it in Gorgeous Grape Ink. Adhere it to the card with Dimensionals.

  • Add some Pearlized Faceted Circles to the sentiment label.


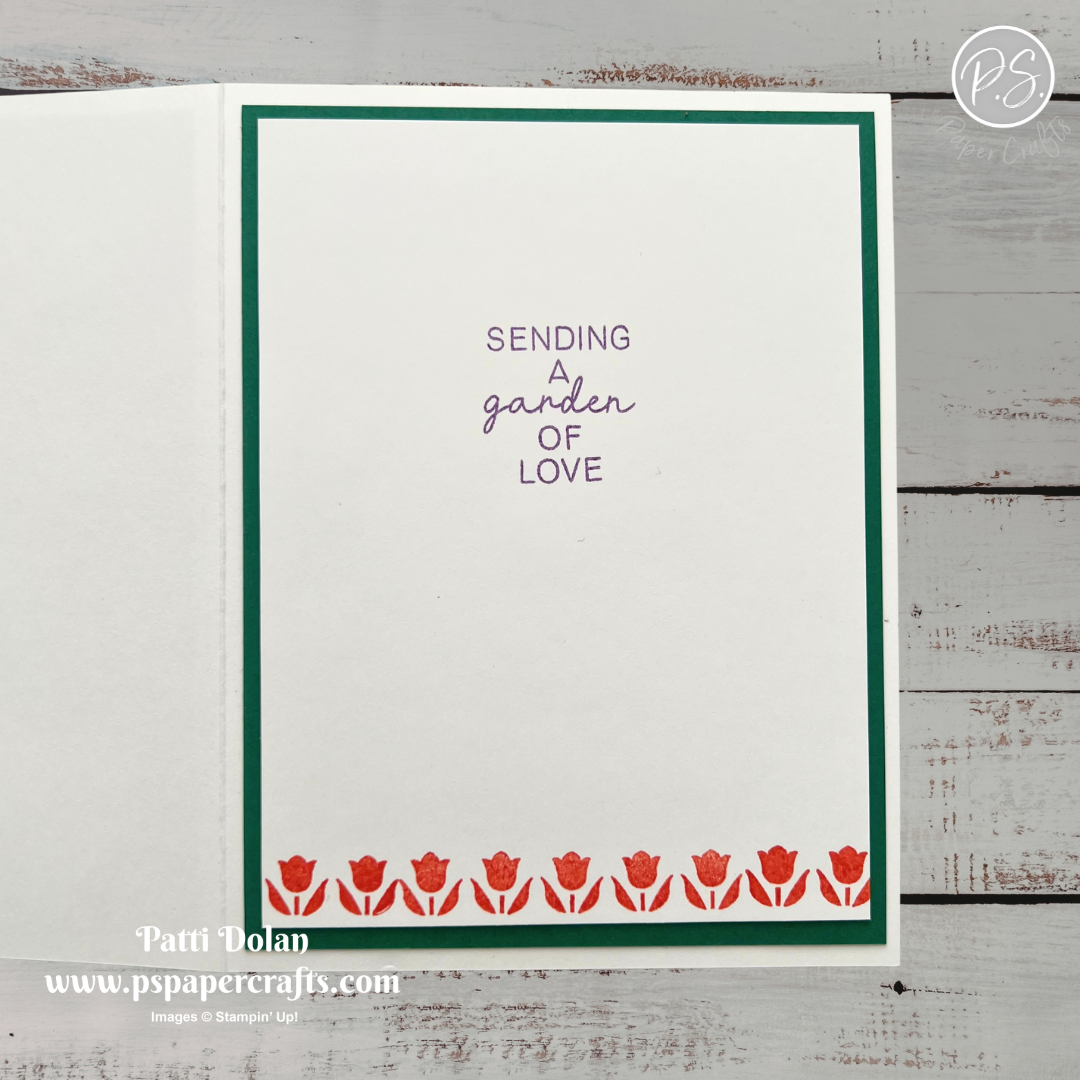
For the inside, adhere a 4 x 5-1/4 piece of Shaded Spruce Cardstock. On a 3-3/4 x 5 piece of Basic White Cardstock, stamp the small tulips across the bottom in Calypso Coral Ink. I stamped them in the middle of the layer and then added just a couple on each side to fill it out. Stamp the sentiment in Gorgeous Grape Ink.


I love the sentiment and know just the person I will send it to.


Supply List

You can click on the item to purchase it from my Online Store.


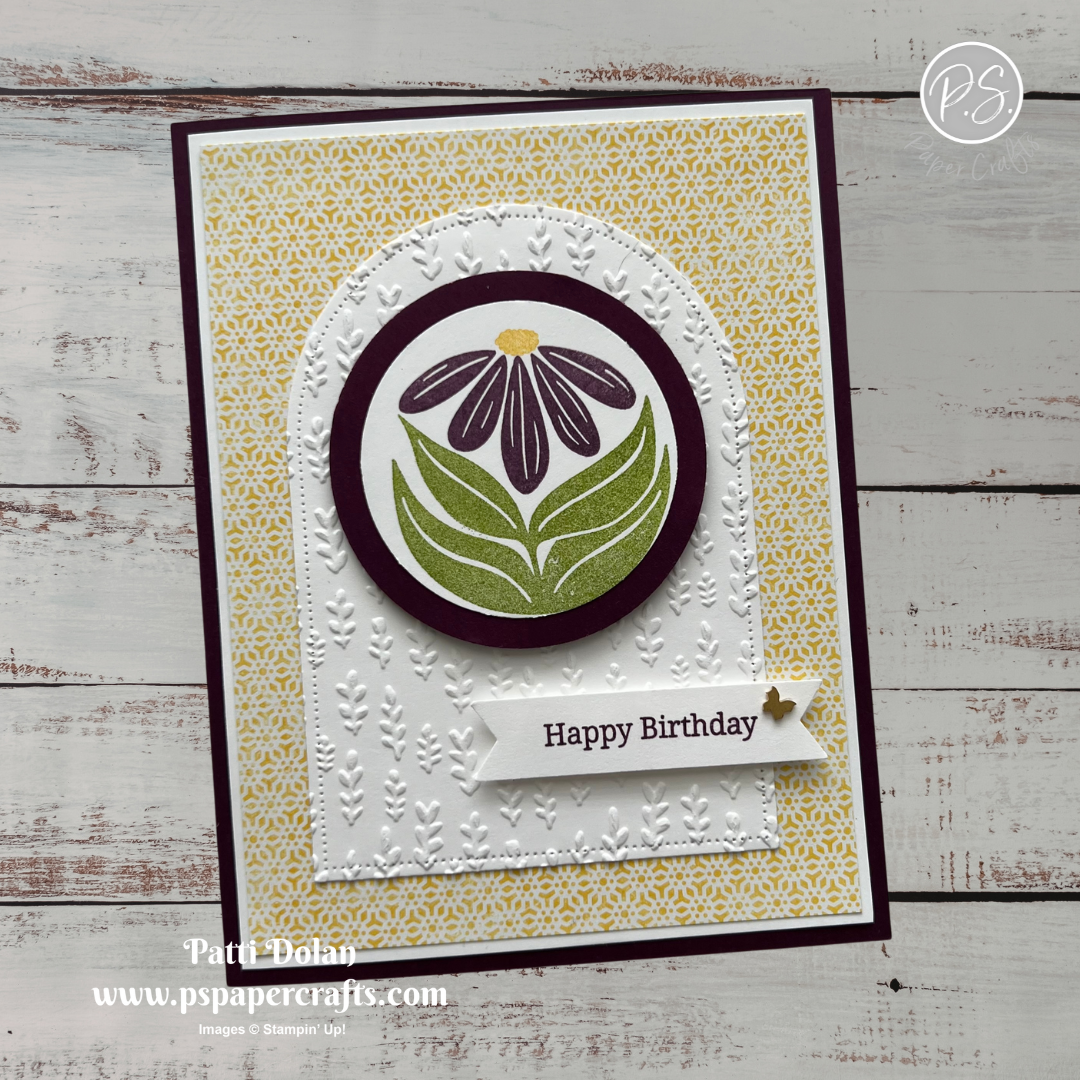
Sketch Challenge - A Round of Hellos

Here’s my card for this week’s Splitcoaststampers Sketch Challenge. I used lots of products on this card and I love how it turned out.


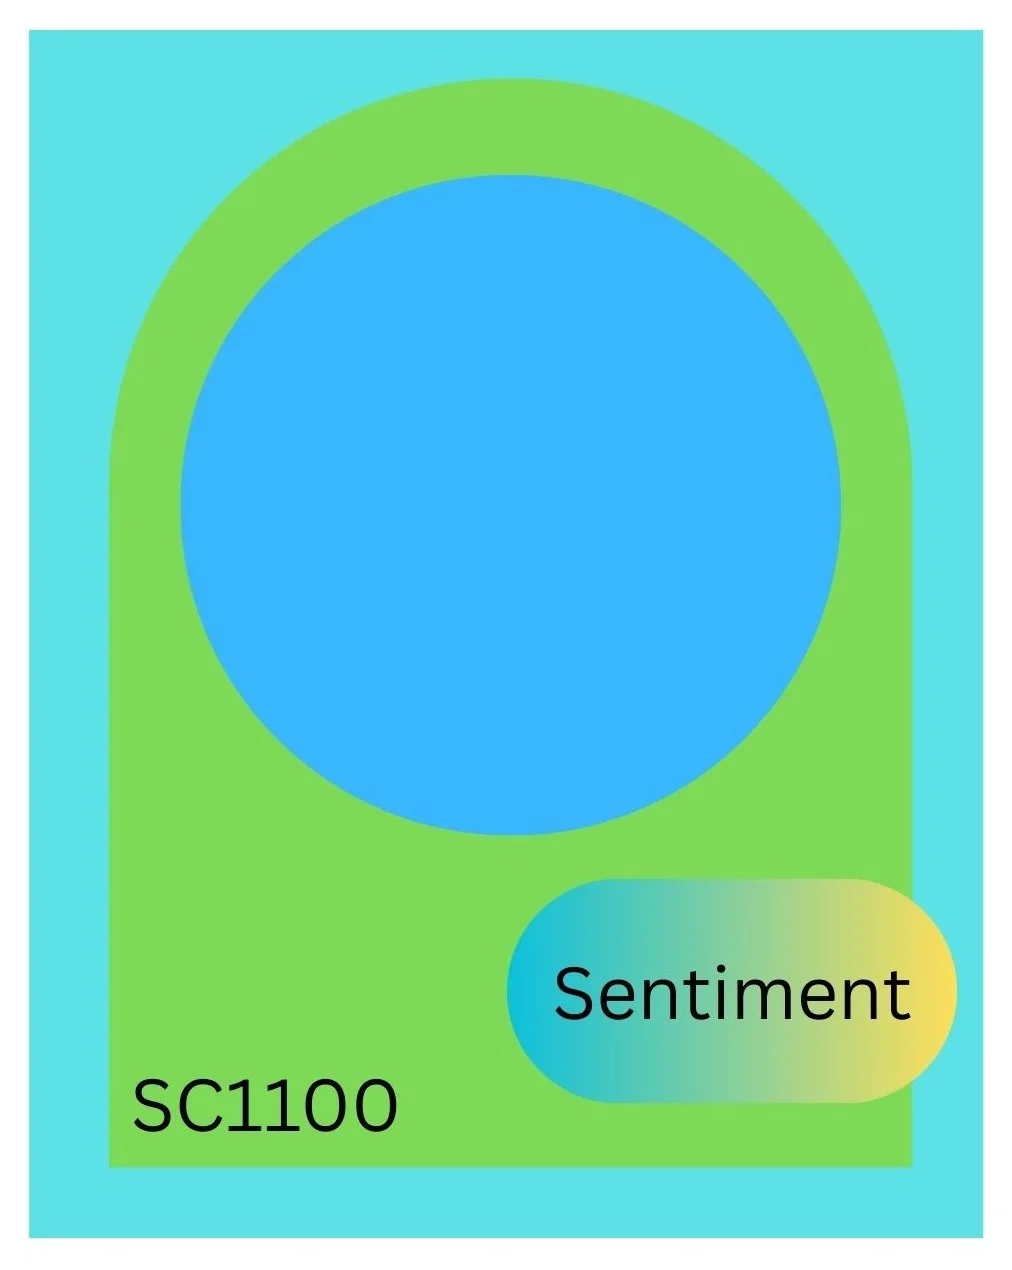
Here’s the sketch I used. You can see all the projects posted for this week’s challenge by clicking on the sketch below.


Tips & Instructions

  • Blackberry Bliss Card Base - 5-1/2 x 8-1/2, score at 4-1/4

  • Basic White Layer - 4 x 5-1/4, adhere to the card base.

  • Mixed Up Patterns Designer Series Paper - 3-7/8 x 5-1/8, adhere to the card.

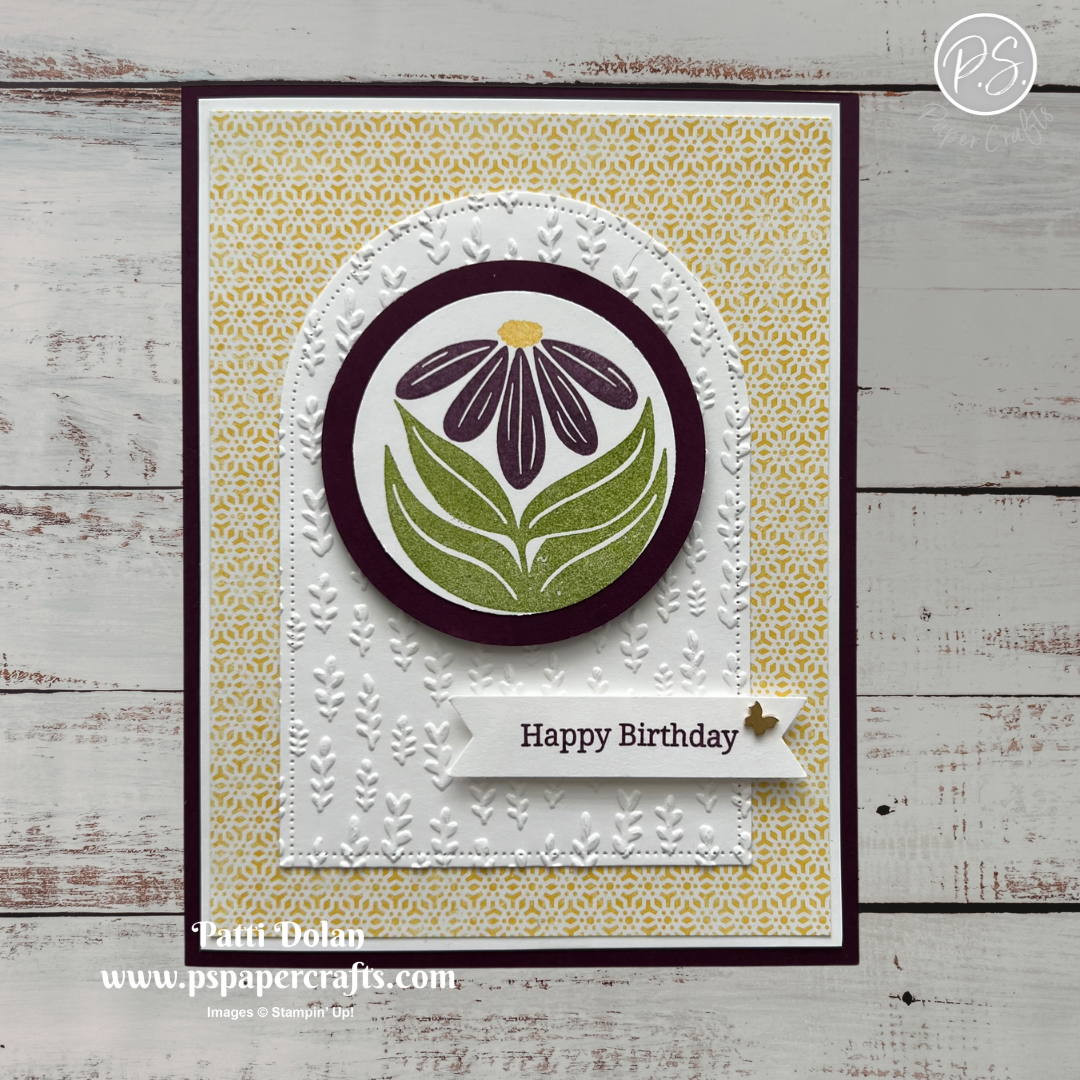
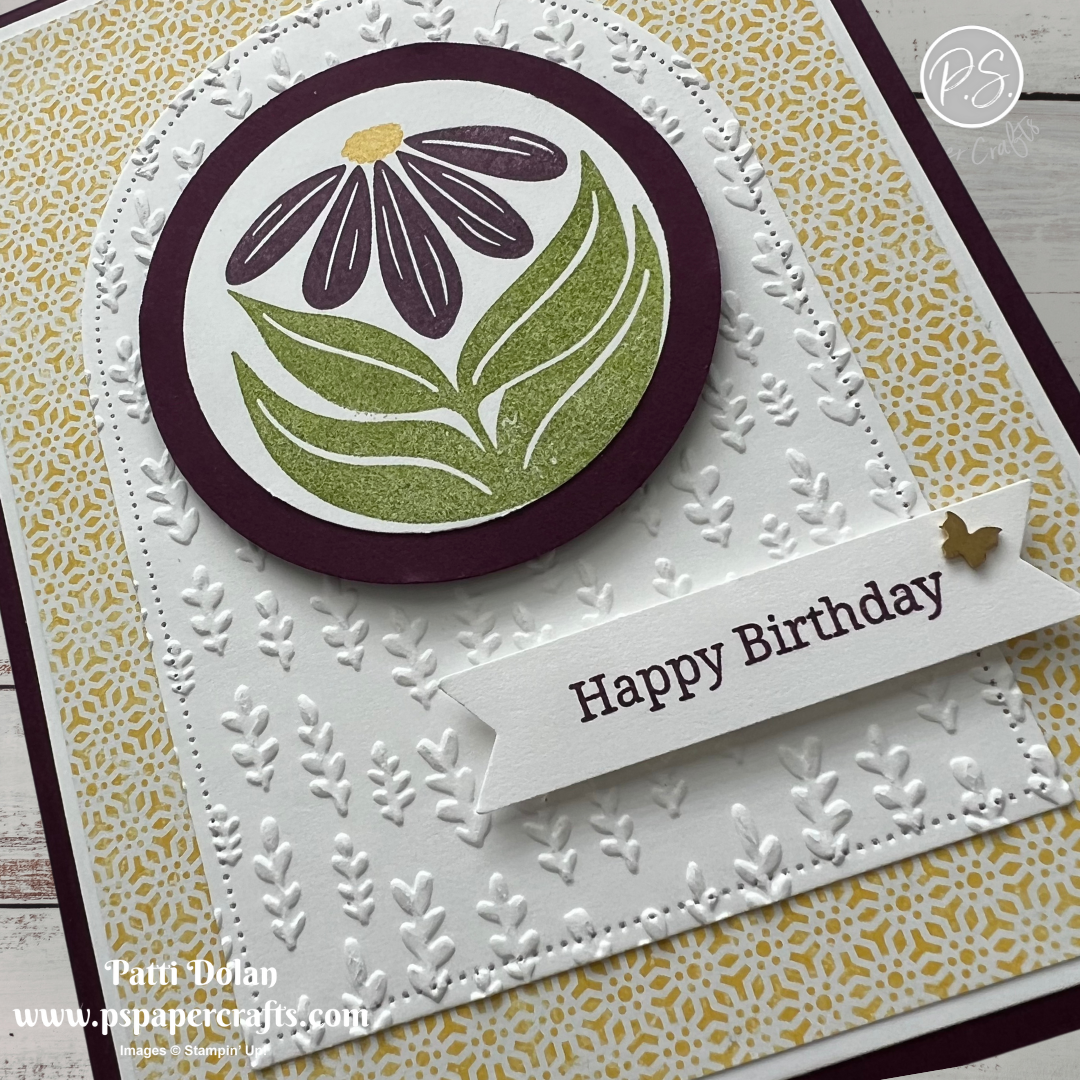
  • Die cut the arch from a piece of Basic White Cardstock using the Everyday Arches Dies. Emboss it using the Gathering Leaves Embossing Folder and adhere to the card.

  • Use the 2” Circle Punch to punch out a circle from Basic White Cardstock.

  • On the circle stamp the leaves in Granny Apple Green Ink, the flower in Blackberry Bliss Ink and the flower center in Daffodil Delight Ink.

  • Punch a larger circle from Blackberry Bliss Cardstock using 2-3/8” Circle and adhere it to the white circle, then adhere to the card with Dimensionals.

  • Stamp the sentiment on a piece of Basic White Cardstock in Blackberry Bliss Ink using the Banner Sayings Stamp Set. Punch it out using the coordinating Three Banner Punch. Adhere to the card using Dimensionals.

  • Add a Brushed Brass Butterfly.


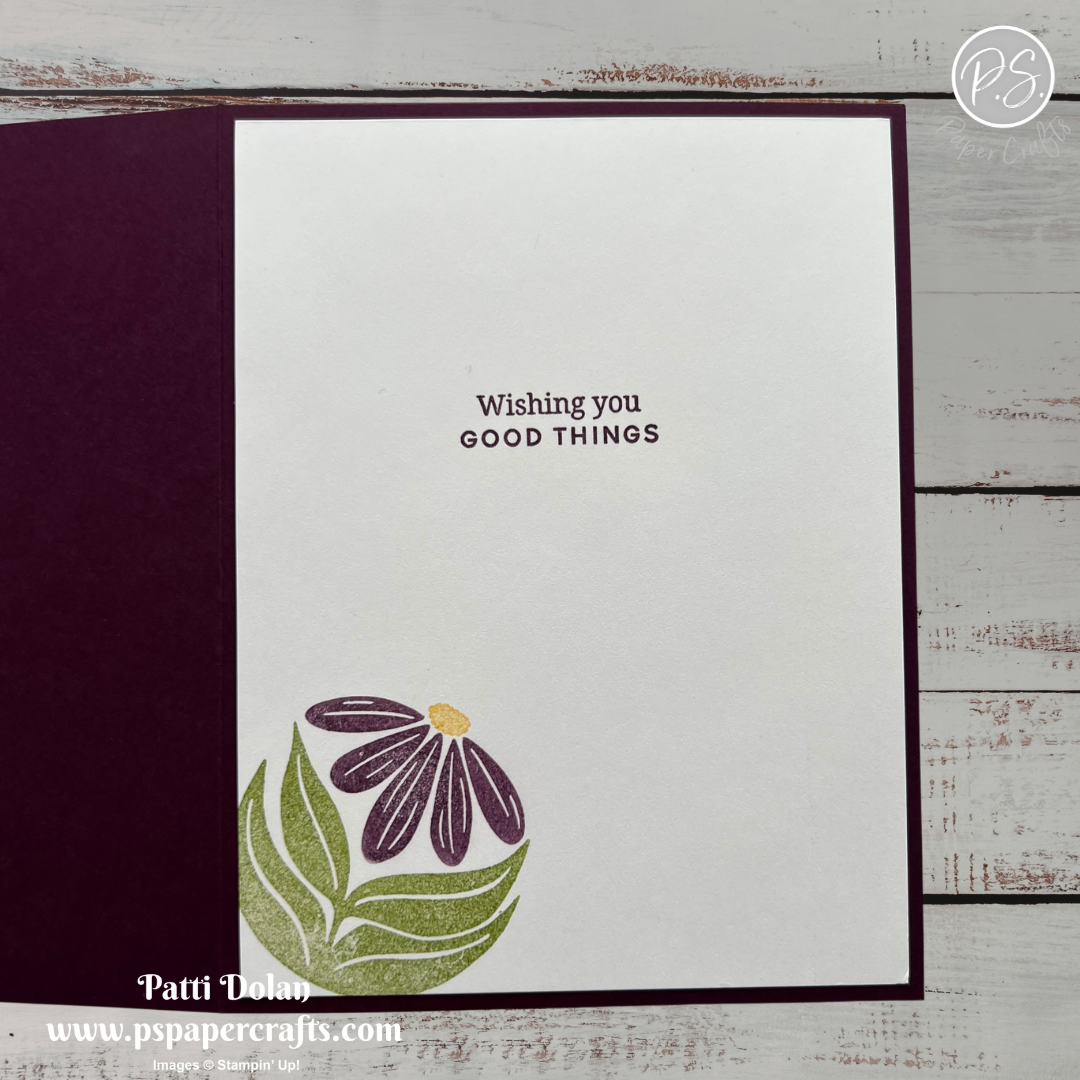
On the inside layer (4 x 5-1/4), stamp the sentiment in Blackberry Bliss Ink using the Banner Sayings Stamp Set. Stamp the flower at the bottom corner.


I love all the layers and texture on the card!


Supply List

You can click on the item to purchase it from my Online Store.


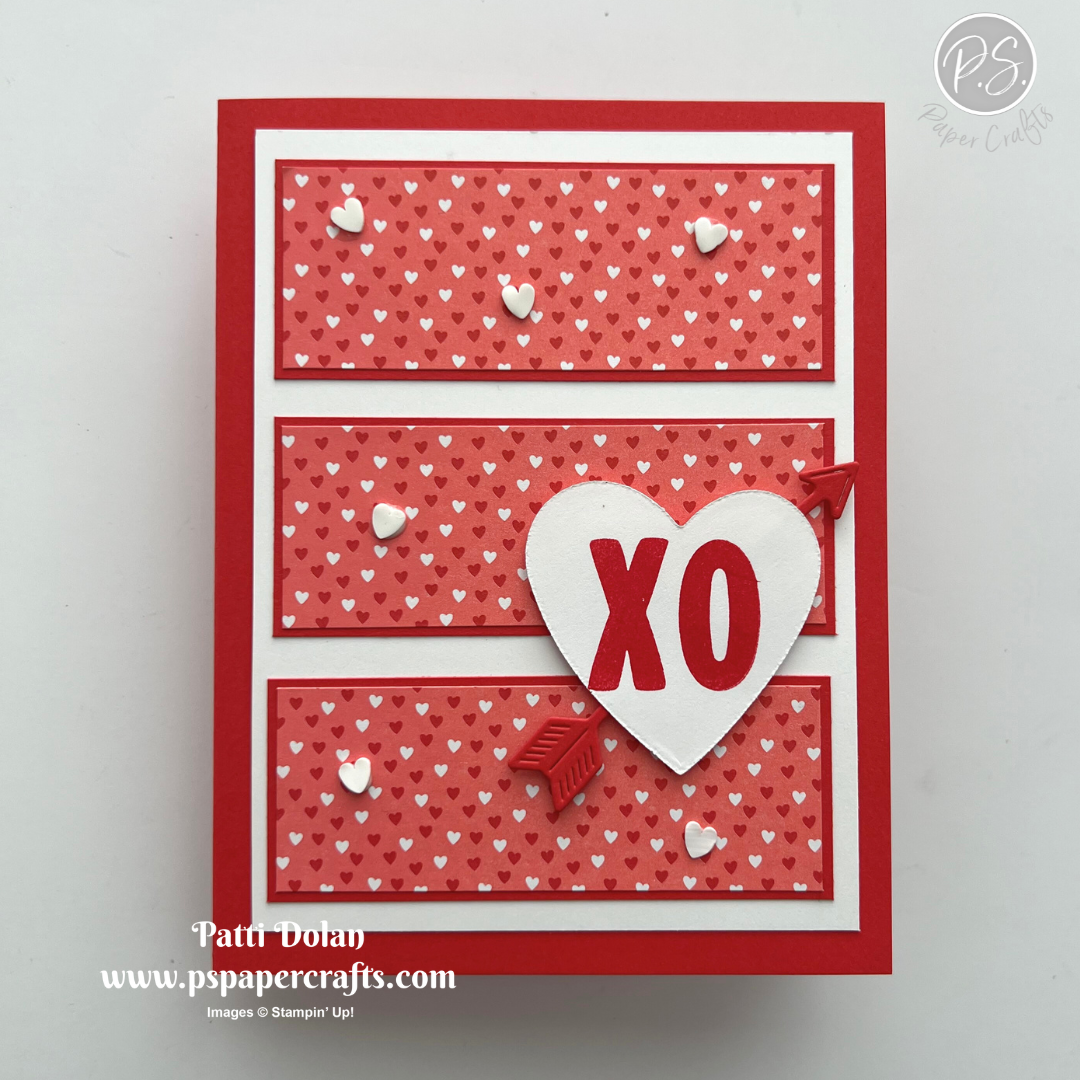
Sketch Saturday - Endless Love

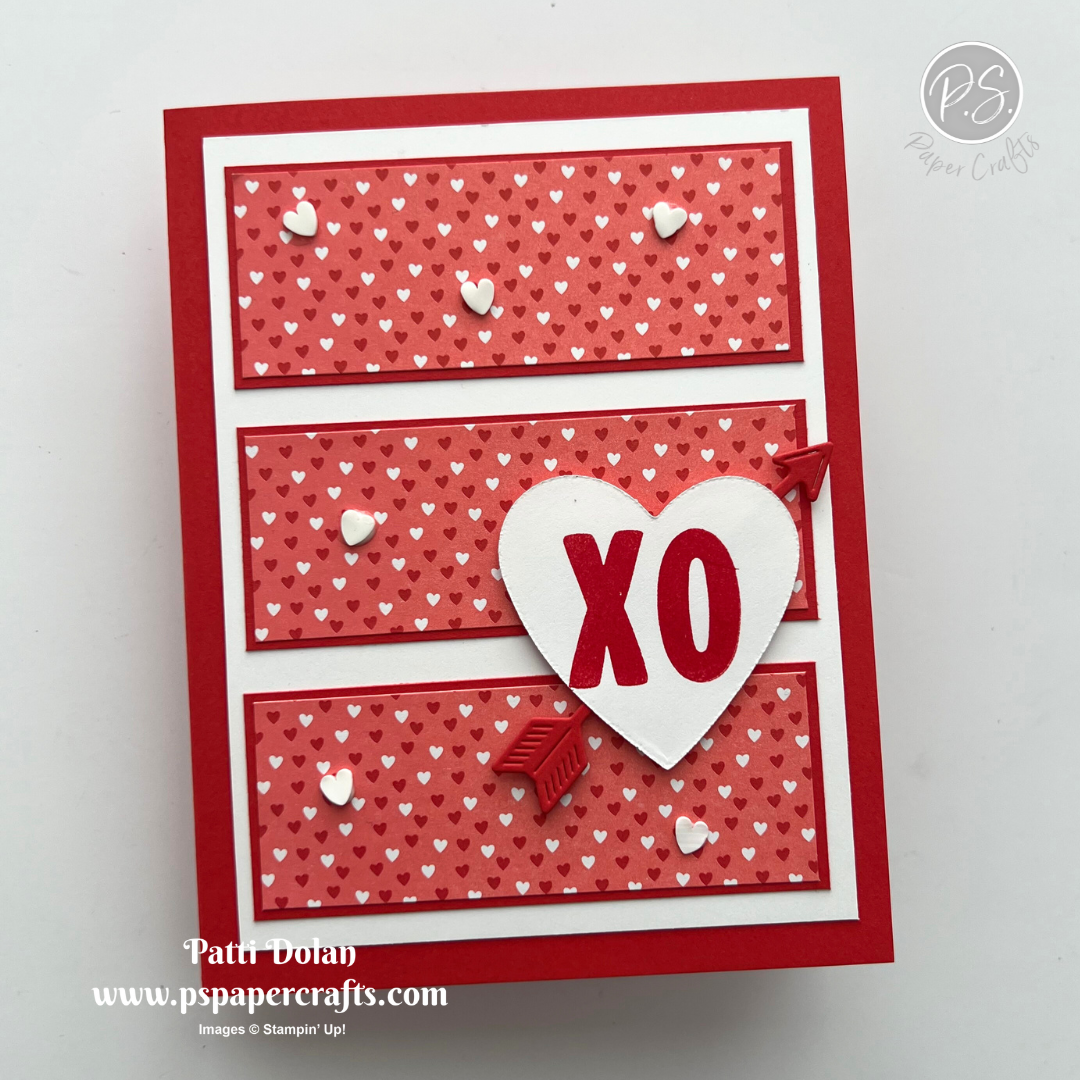
I made this sweet Valentine’s Day Card for this week’s sketch challenge using the Endless Love Bundle and Made With Love Designer Series Paper.


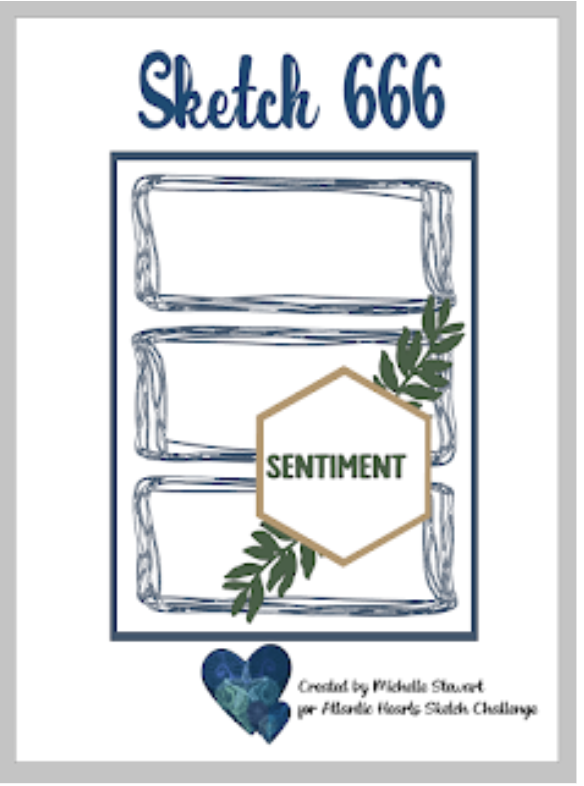
Here’s the sketch I used from the weekly Atlantic Hearts Sketch Challenge.


Tips & Instructions

  • Poppy Parade Card Base - 5-1/2 x 8-1/2, score at 4-1/4

  • Basic White - 3-3/4 x 5

  • Poppy Parade - (3 pieces) 1-3/8 x 3-1/2

  • Made With Love Designer Series Paper - (3 pieces) 1-1/4 x 3-3/8

  • Adhere the 3 Designer Series Paper pieces to the 3 Poppy Parade pieces, then adhere to the card base.

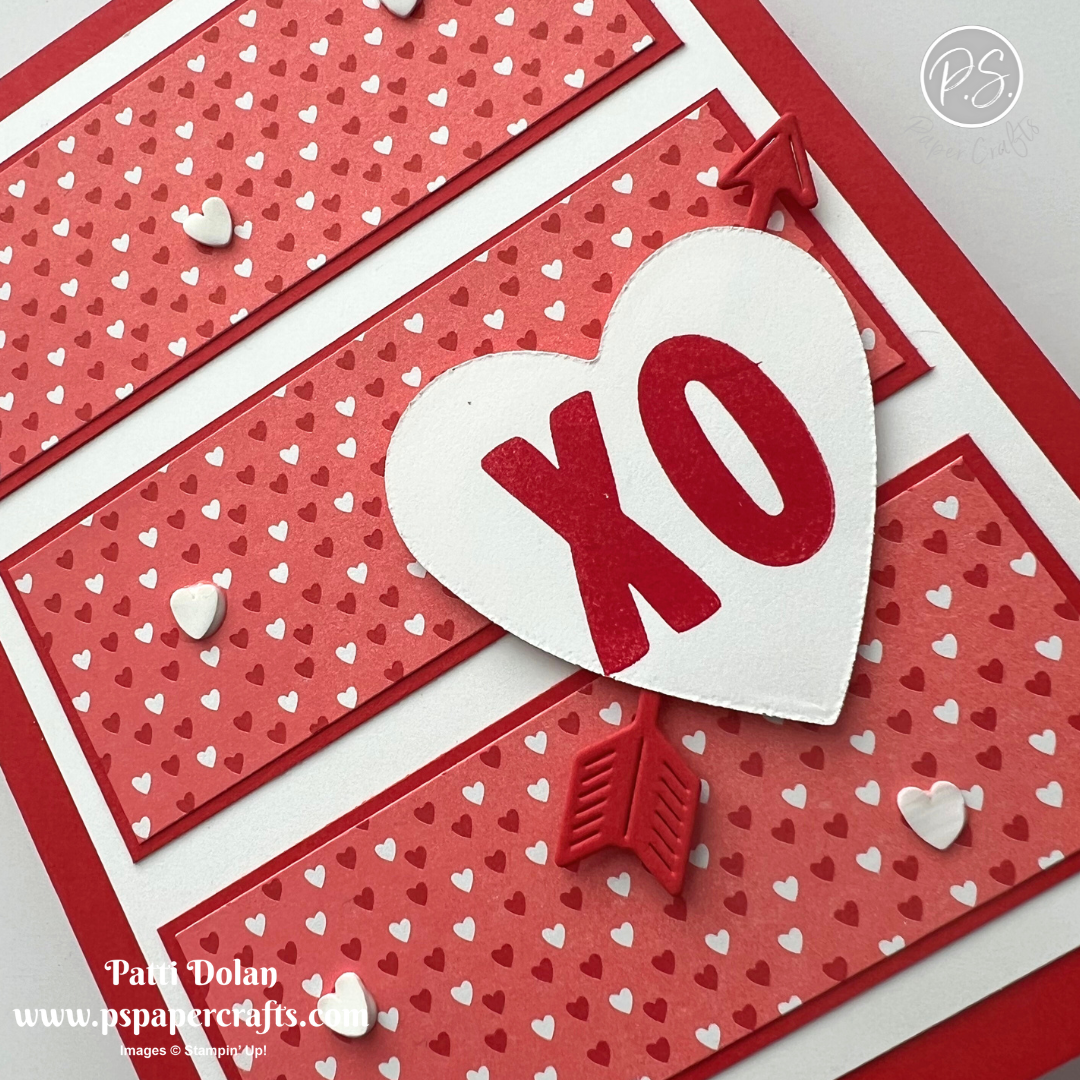
  • Die cut a heart from Basic White Cardstock using the Endless Love Dies.

  • Stamp the XO on the hearts in Poppy Parade Ink using the Endless Love Stamp Set.

  • Die cut an arrow and cut it in half. Adhere behind the heart.

  • Adhere the heart to the card with Dimensionals.

  • Add some Loose Valentine’s to the card using tiny dots of liquid glue.


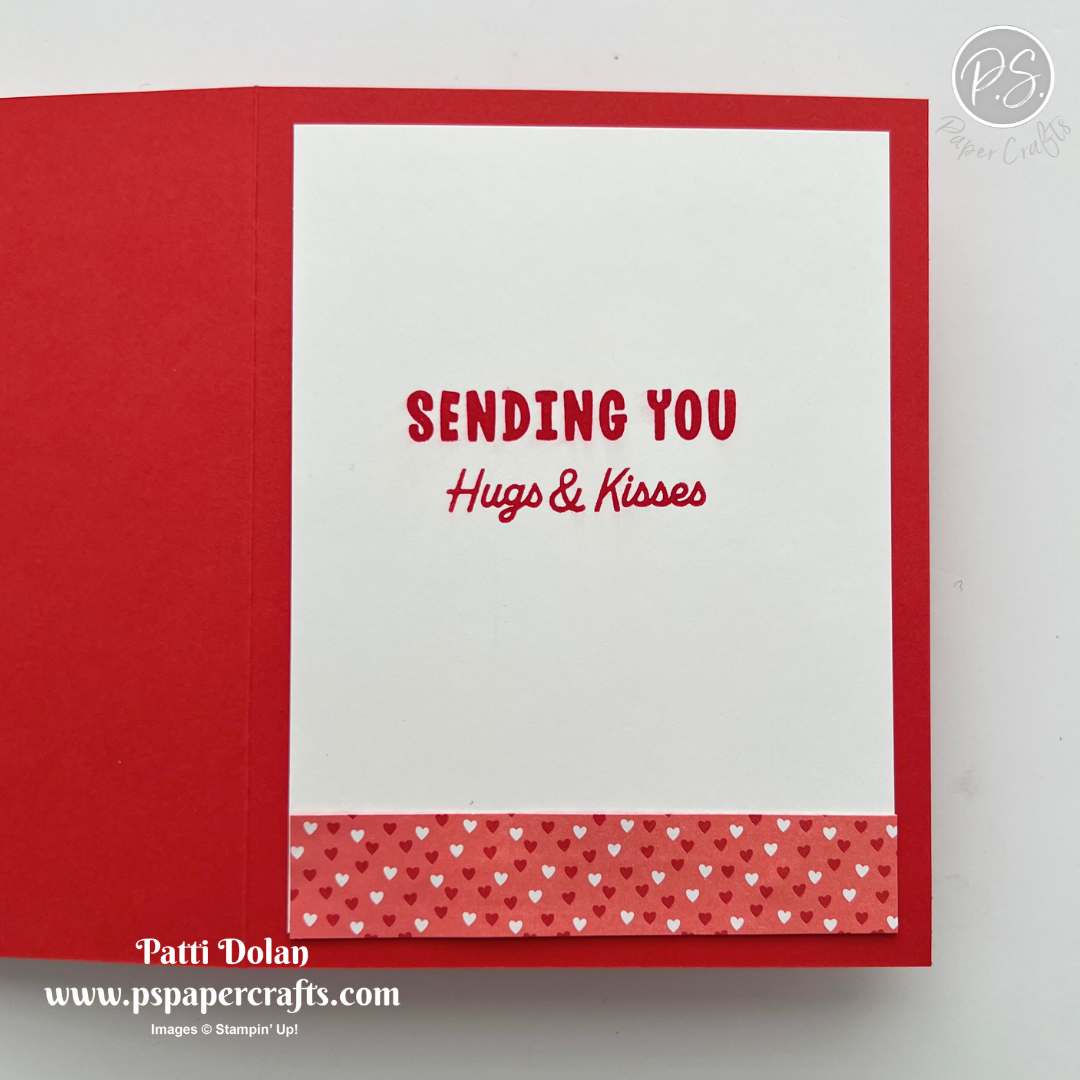
On the inside layer (3-3/4 x 5), stamp the sentiments in Poppy Parade Ink. Adhere a 3/4 x 3-3/4 strip of Designer Series Paper to the bottom.


I love the big XO on the card surrounded by all those tiny hearts.


Supply List

You can click on the item to purchase it from my Online Store.


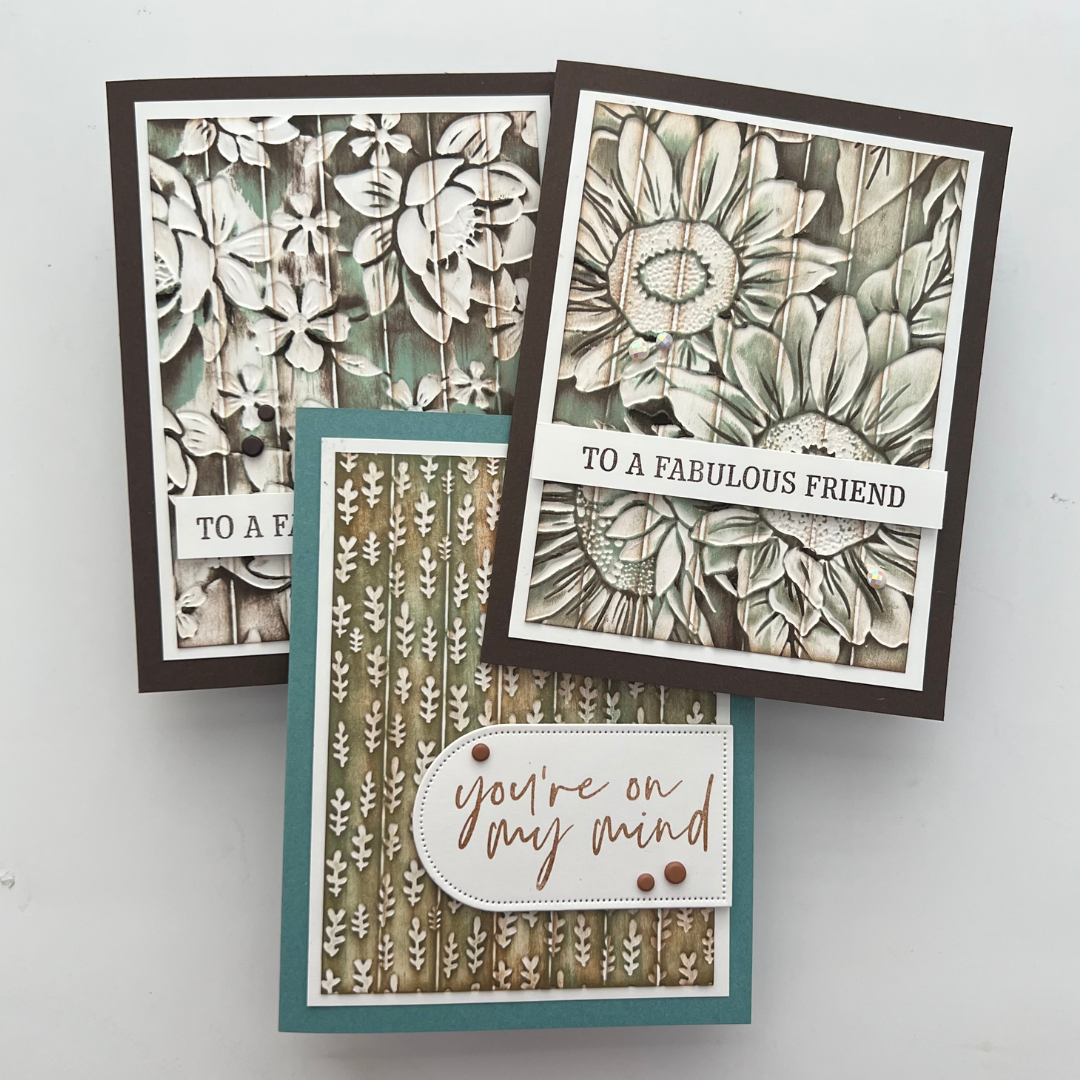
Carved Wood Technique

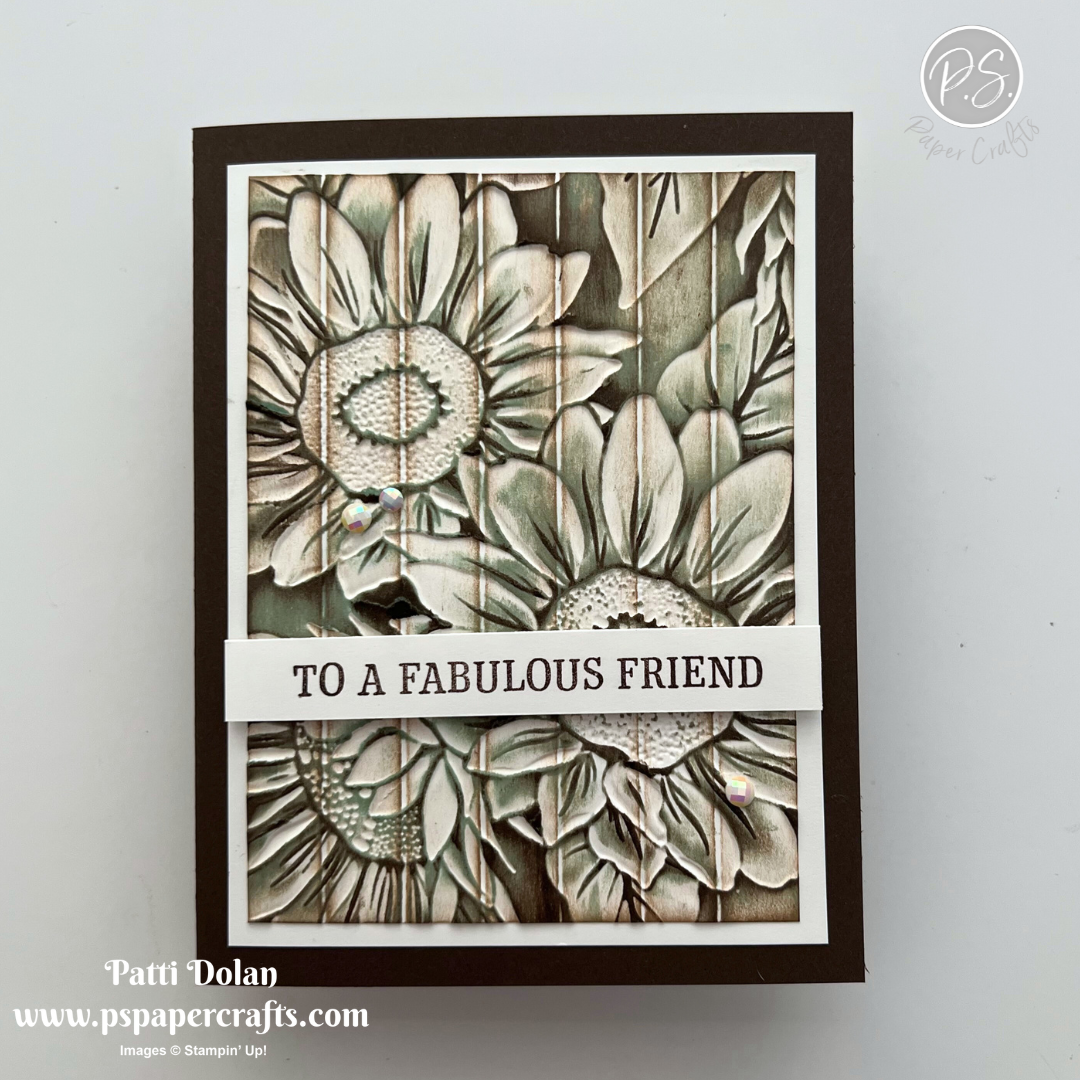
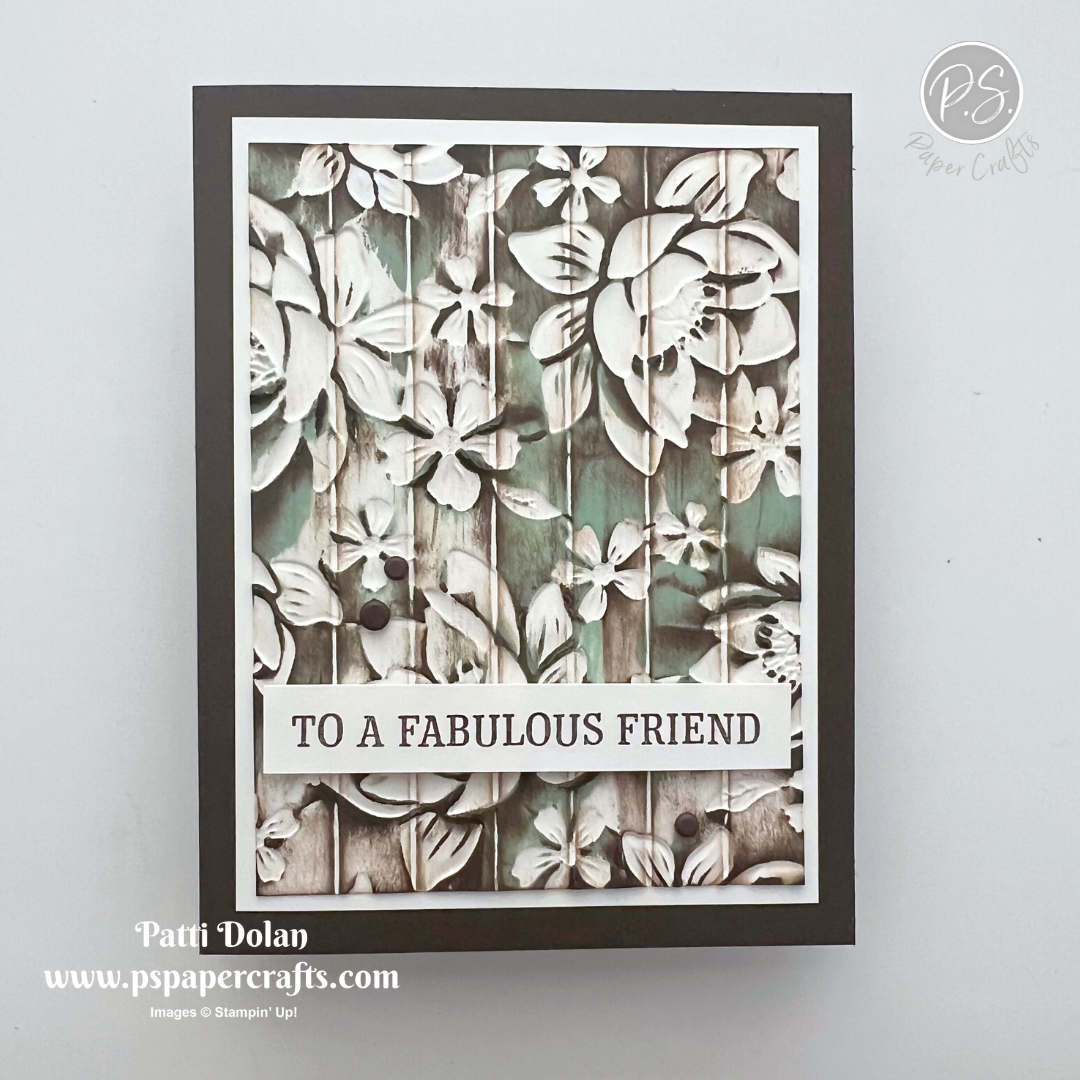
This Carved Wood Technique is so easy to do, yet the results are total WOW cards. I was inspired by Gina K., who always creates the most amazing designs.


Watch the video to see step by step instructions to make use this technique.

Click on the button below to get a printable pdf with measurements and instructions.


These cards were made using Crumb Cake, Early Espresso and Pool Party Ink. The sentiments are from the Fabulous Sentiments Stamp Set, this month’s Product of the Month.

I used the Sunflower Embossing Folder on the first card and the Layered Florals Embossing Folder (retired) on the second one.


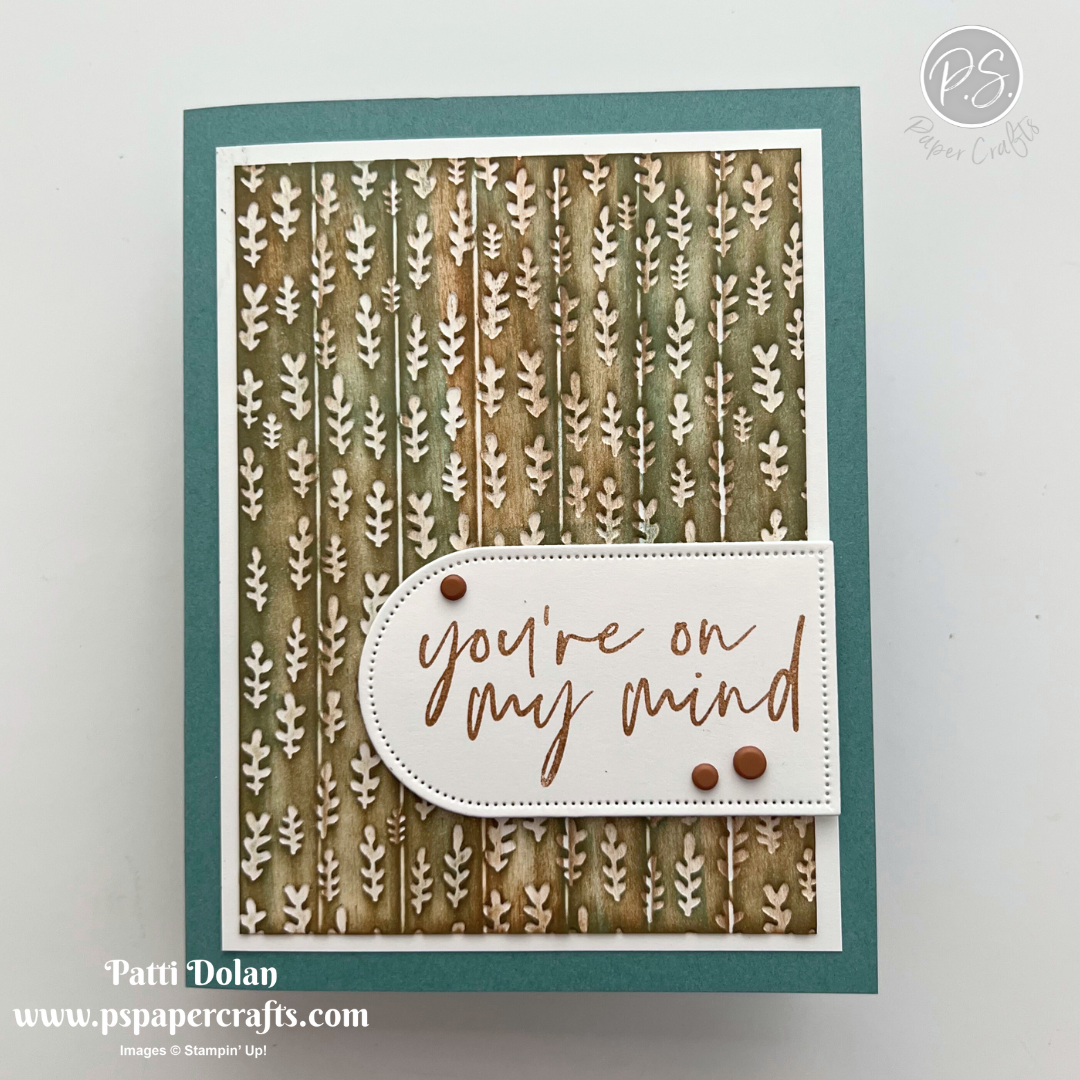
This card was made with Crumb Cake, Pecan Pie and Lost Lagoon Ink Pads. I used the Gathering Leaves Embossing Folder and Fabulous Sayings Stamp Set.


Supply List

You can click on the item to purchase it from my Online Store.


Fragrant Layers Color Combo

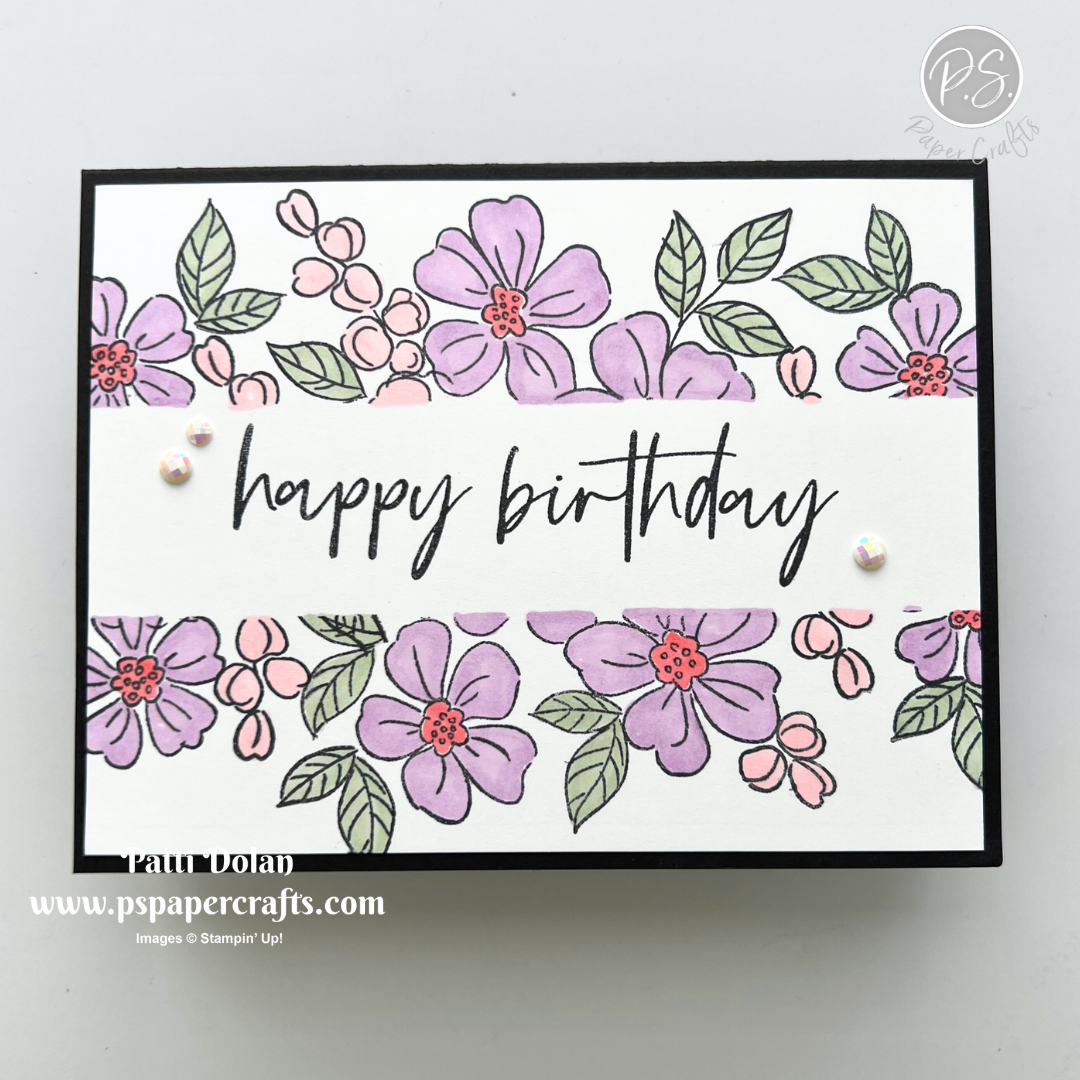
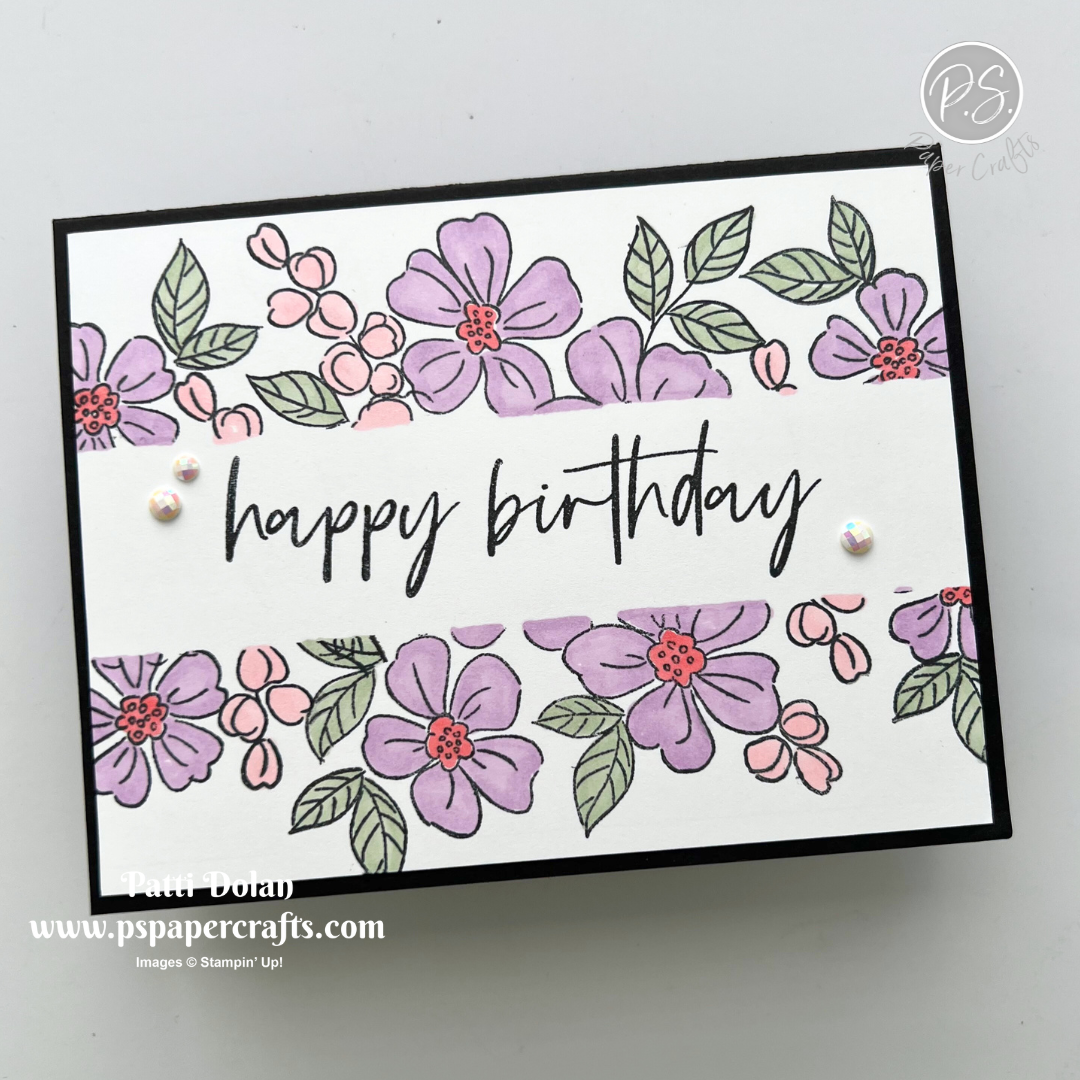
I created this pretty birthday card using the Fragrant Layers and Fabulous Sayings Stamp Sets. I used a masking technique which was so easy to do.


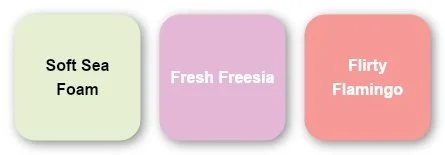
The Color Combo is from my January Inspiration Calendar - Soft Sea Foam, Fresh Freesia and Flirty Flamingo.

You can get my calendar each month when you subscribe to my email list.


Tips & Instructions

  • Basic Black Card Base - 5-1/2 x 8-1/2, score at 4-1/4

  • Basic White Layer - 4 x 5-1/4, stamp the sentiment in Black Memento Ink in the center of the layer.

  • Use masking paper, painters tape or Post-It-Notes to cover the sentiment all the way across the layer. Note: I used 2 pieces of blue painters tape to cover the sentiment area.

  • Stamp the floral image from the Fragrant Layers Stamp Set above and below the masked area in Black Memento Ink. Add some smaller flower and leaf images to fill in.

  • Remove the masking paper/tape from the sentiment.

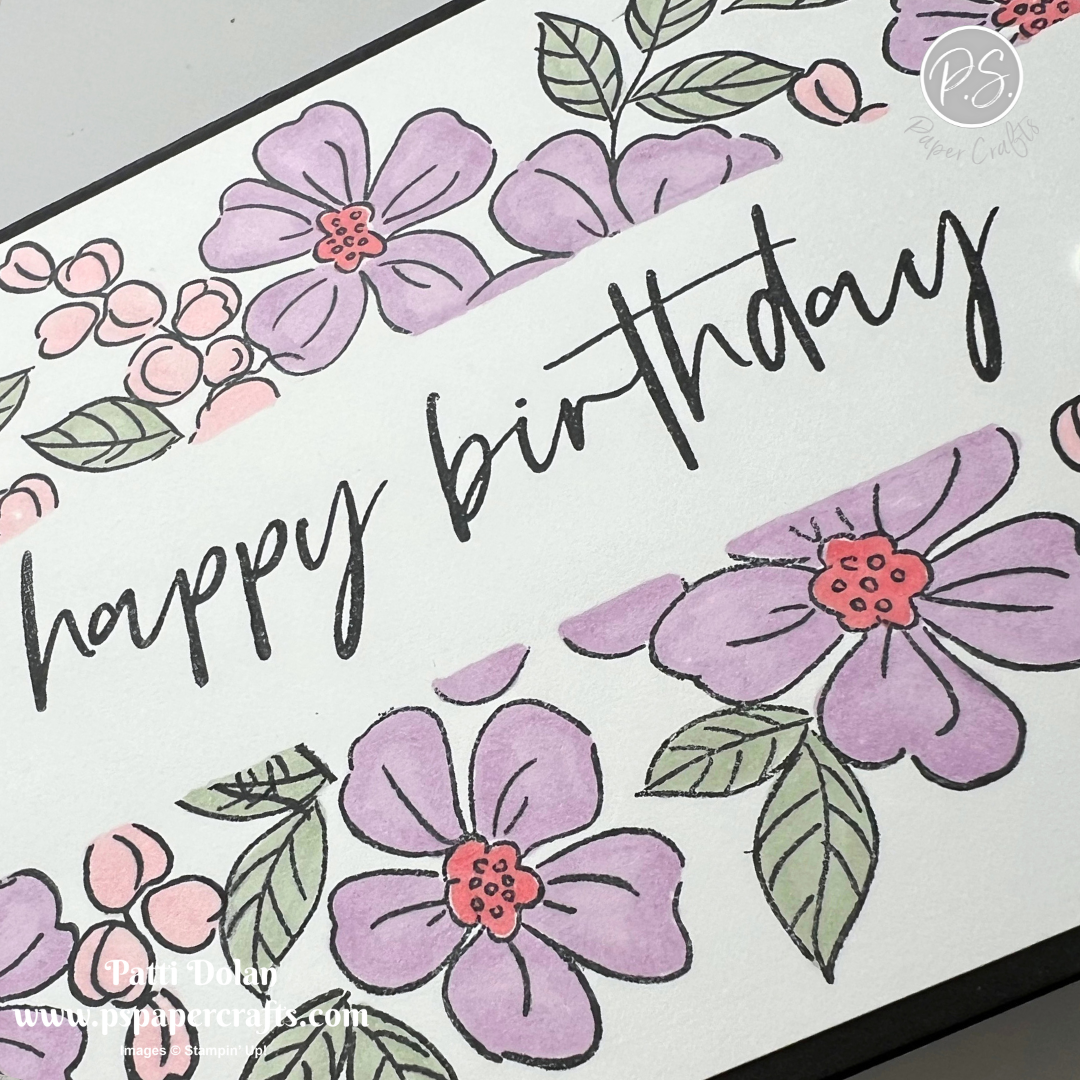
  • Color the flowers and leaves with Stampin’ Blends Markers. I used Dark Soft Sea Foam for the leaves, Light Fresh Freesia for the flowers, Dark Flirty Flamingo for the flower centers and Light Flirty Flamingo for the buds.

  • Adhere the layer to the card base.

  • Add some Pearlized Faceted Circles.


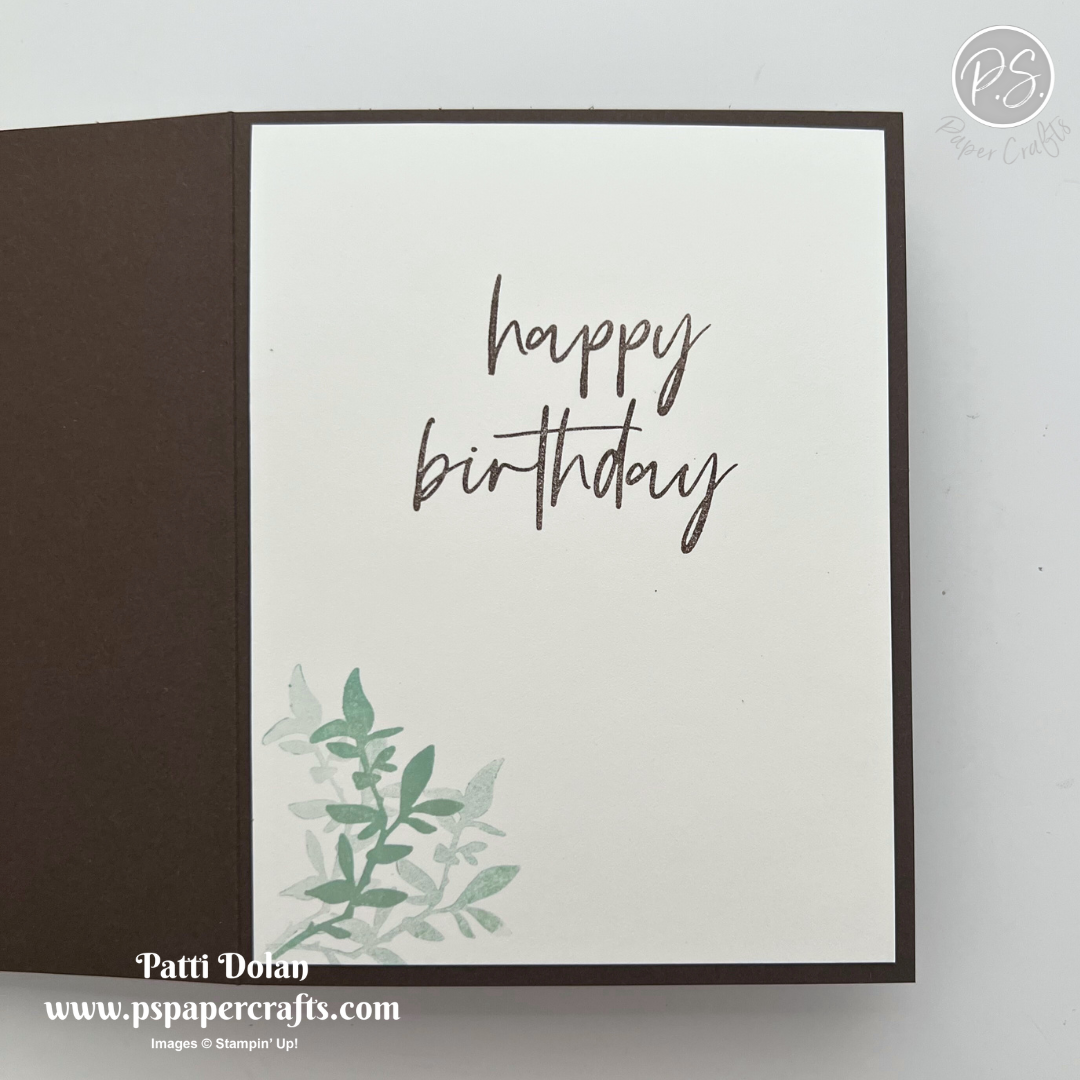
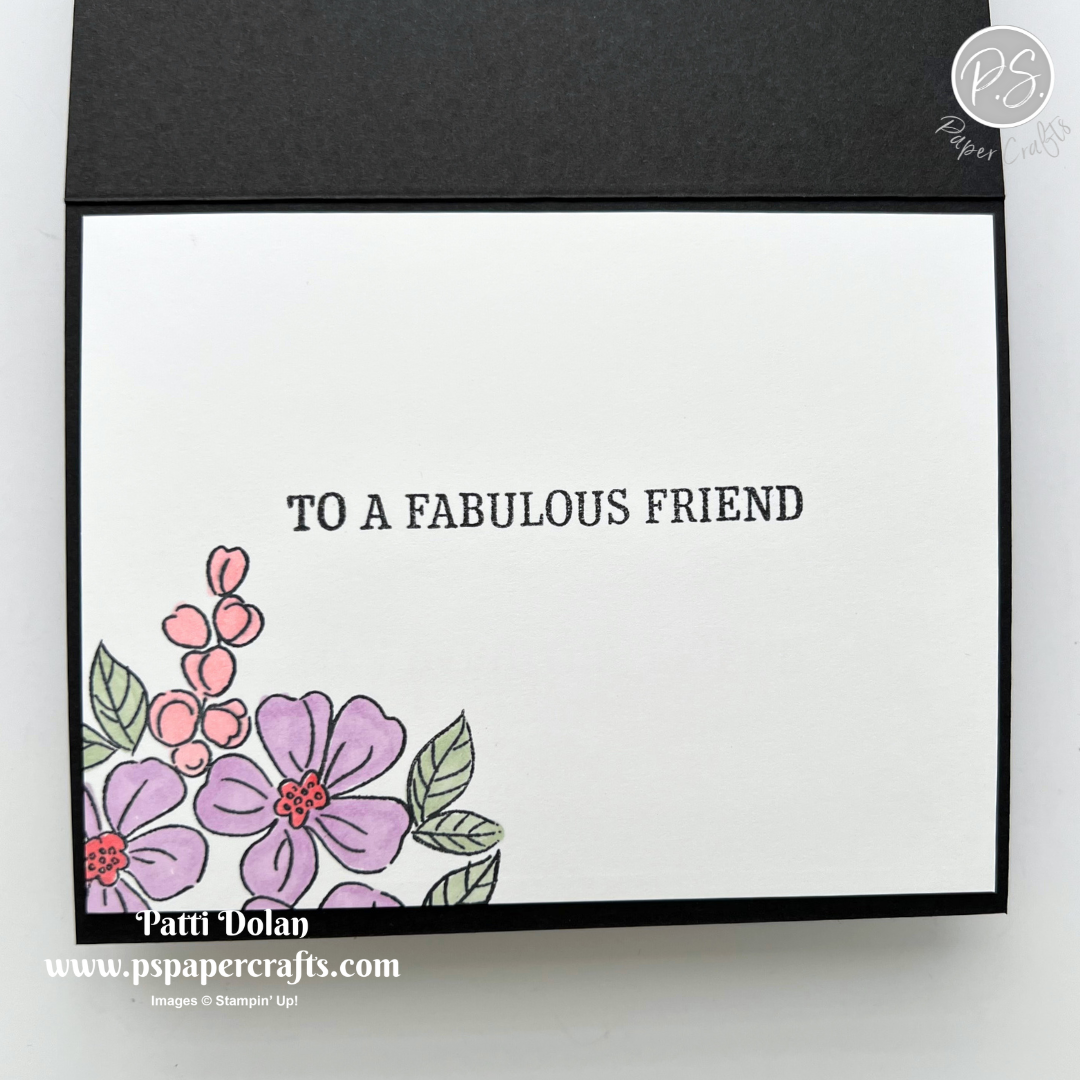
On the inside layer (4 x 5-1/4), stamp sentiment and floral image in Black Memento Ink. Color the image with Stampin’ Blends Markers.


I love the clean lines from the masking on this card.


Supply List

You can click on the item to purchase it from my Online Store.


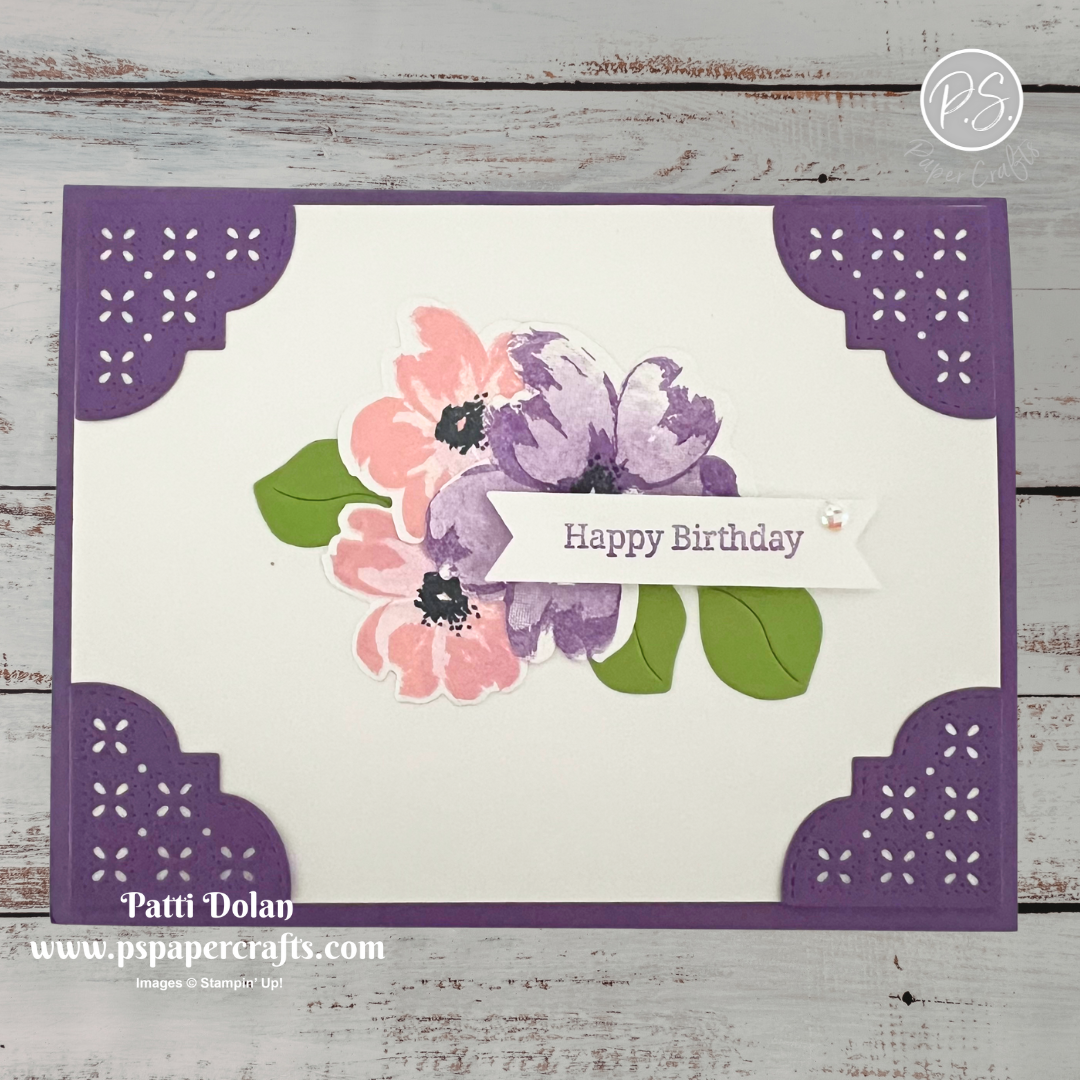
Sketch Challenge - Petals of Beauty

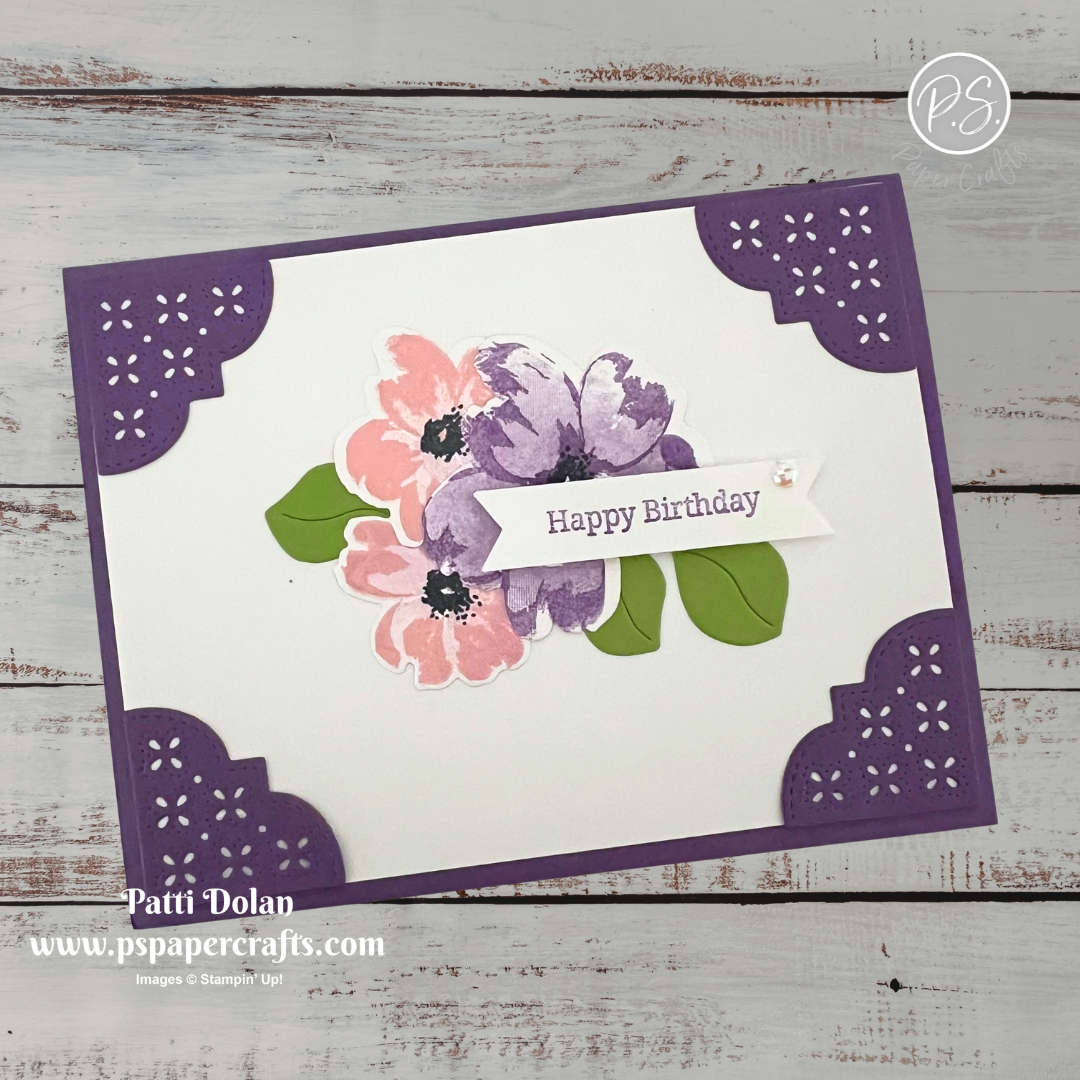
This week’s Sketch Challenge from Splitcoaststampers was a easy for me. As soon as I saw it, I knew I would use the Beautifully Celebrated Dies for the corner pieces.


Here’s the sketch I used. You can see all the projects posted for this week’s challenge by clicking on the sketch below.


Tips & Instructions

  • Gorgeous Grape Card Base - 5-1/2 x 8-1/2, score at 4-1/4

  • Basic White Layer - 4 x 5-1/4

  • Gorgeous Grape - Die cut the 4 corner pieces using the Beautifully Celebrated Dies. Adhere them to the 4 corners of the white layer and then adhere the layer to the card base.

  • Use the Petals of Beautify Stamp Set to stamp the flowers on Basic White. I stamped the large flower in Gorgeous Grape Ink and 2 small flowers in Pretty In Pink Ink. Stamp the detailed outline first directly and the filler by stamping off on a piece of scrap paper first to get a lighter shade. Stamp the centers in Secret Sea ink. Die cut using the coordinating dies.

  • Die cut the branch from a scrap of Granny Apple Green Cardstock. Cut the leaves off the branch.

  • Arrange the flowers and leaves and adhere to the center of the card.

  • Using the Banner Sayings Stamp Set, stamp the sentiment on a scrap of Basic White in Gorgeous Grape Ink and punch using the coordinating punch. Adhere to the card with Dimensionals.

  • Add a Pearlized Faceted Circle to the sentiment label.


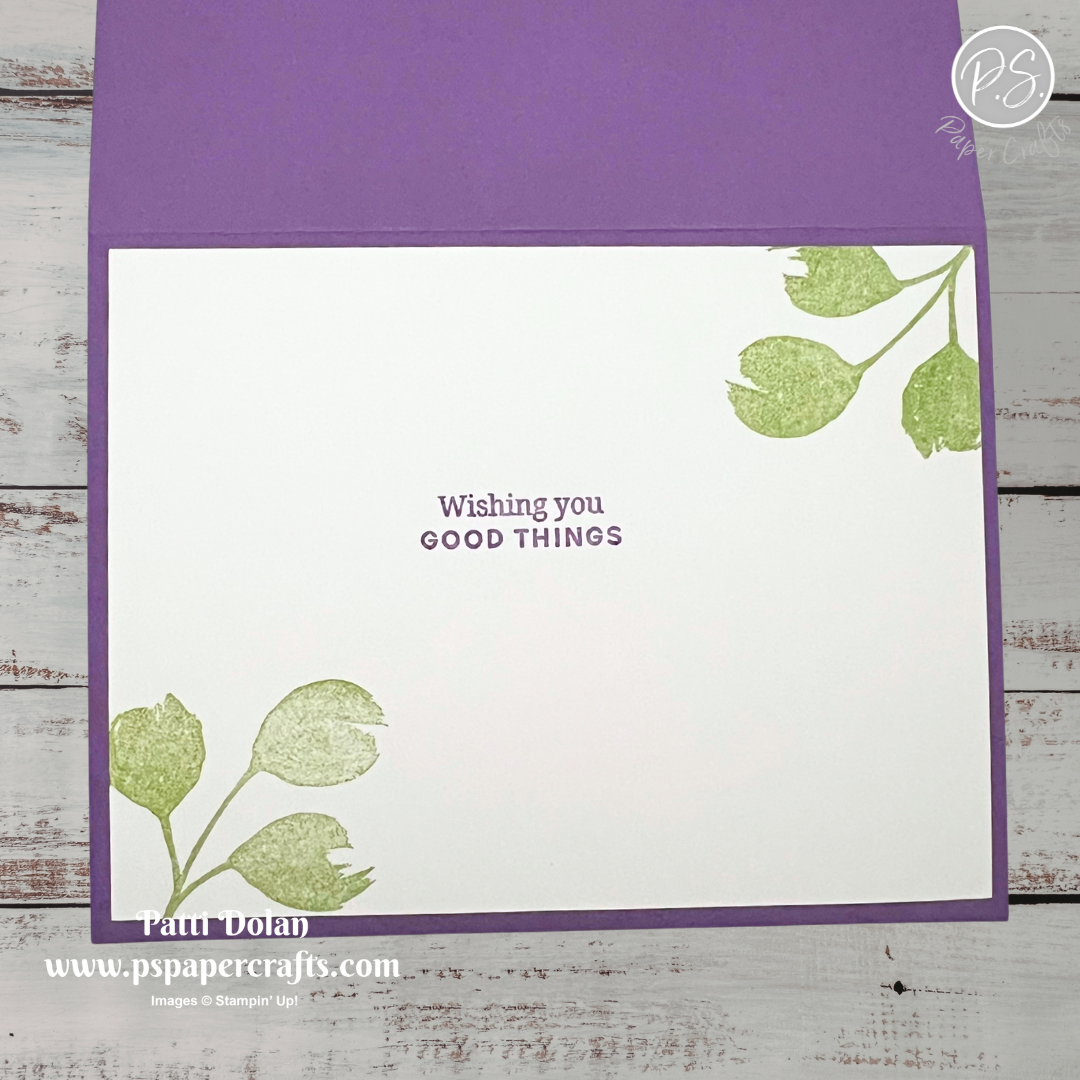
On the inside layer (4 x 5-1/4), stamp the sentiment in Gorgeous Grape Ink. Stamp the leaves in Granny Apple Green Ink.


Supply List

You can click on the item to purchase it from my Online Store.


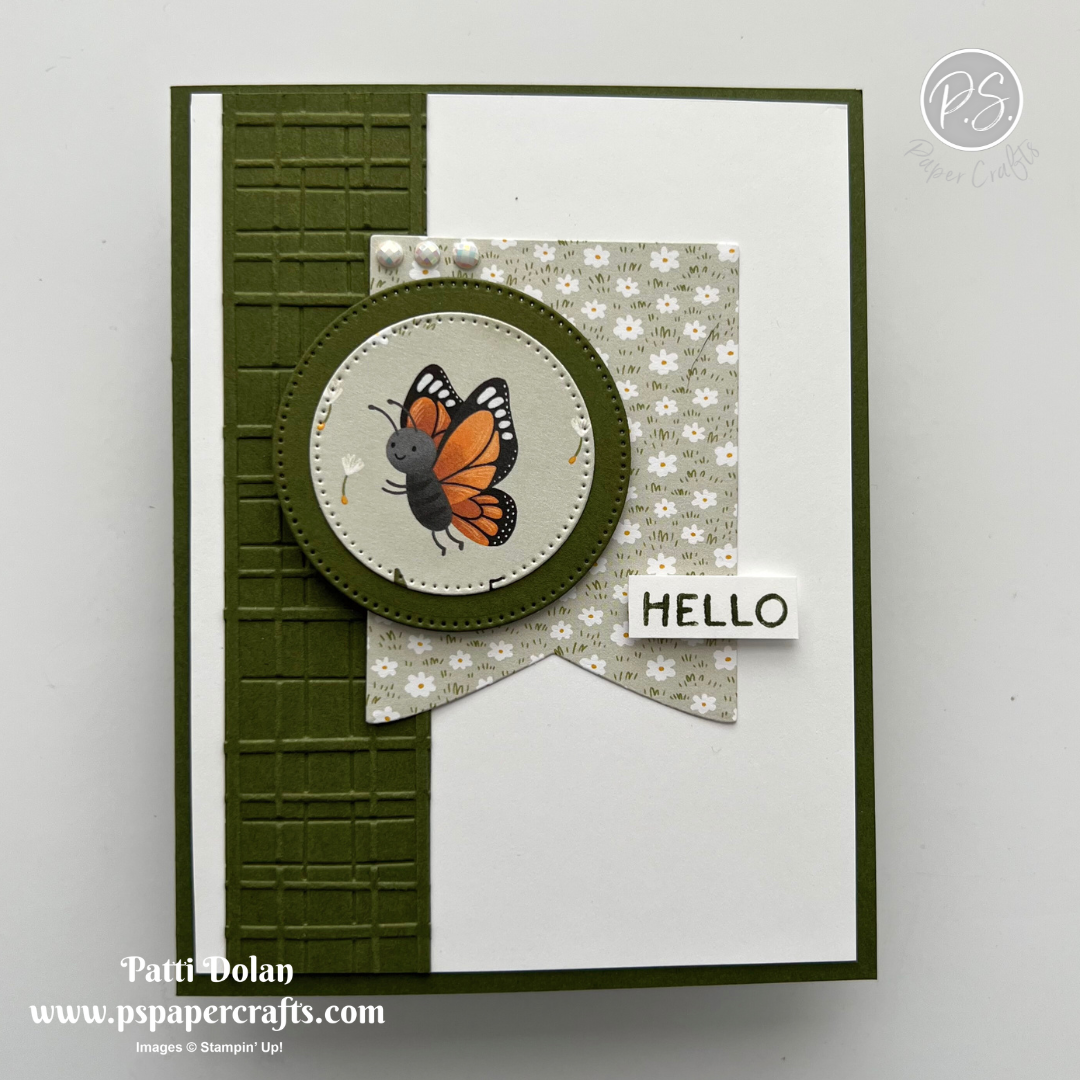
Sketch Saturday - Sweet Bugs

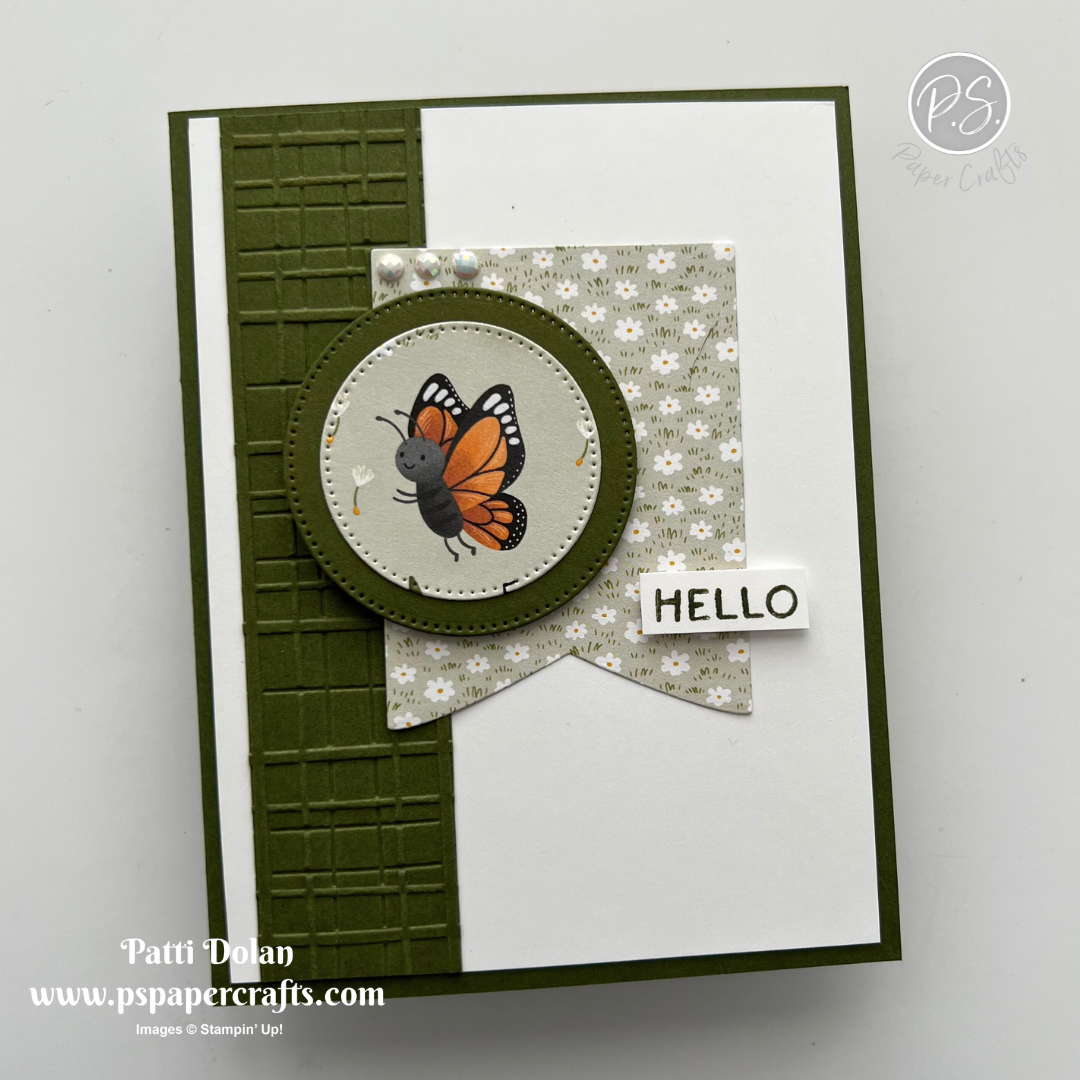
The Cute As A Bug Designer Series Paper is so darn cute! I die cut the butterfly right from the paper using the circle die from the Stylish Shapes Dies and the banner piece using the Party Banner Dies.


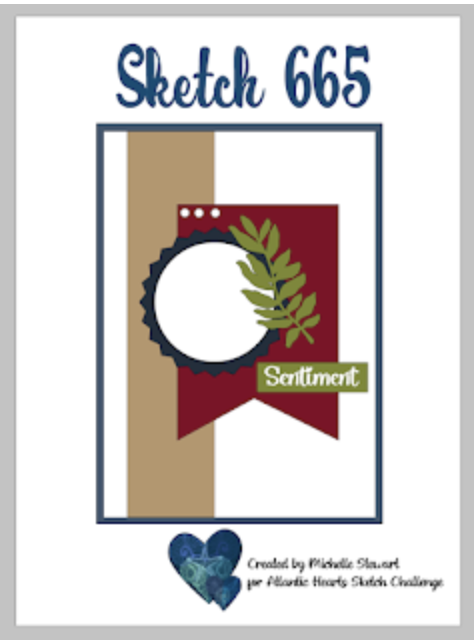
Here’s the sketch I used from the weekly Atlantic Hearts Sketch Challenge.


Tips & Instructions

  • Mossy Meadow Card Base - 5-1/2 x 8-1/2, score at 4-1/4

  • Basic White Layer - 4 x 5-1/4, adhere to the card base.

  • Mossy Meadow Strip - 1-1/4 x 5-1/4, emboss using the Forever Plaid 3D Embossing Folder, adhere to the card.

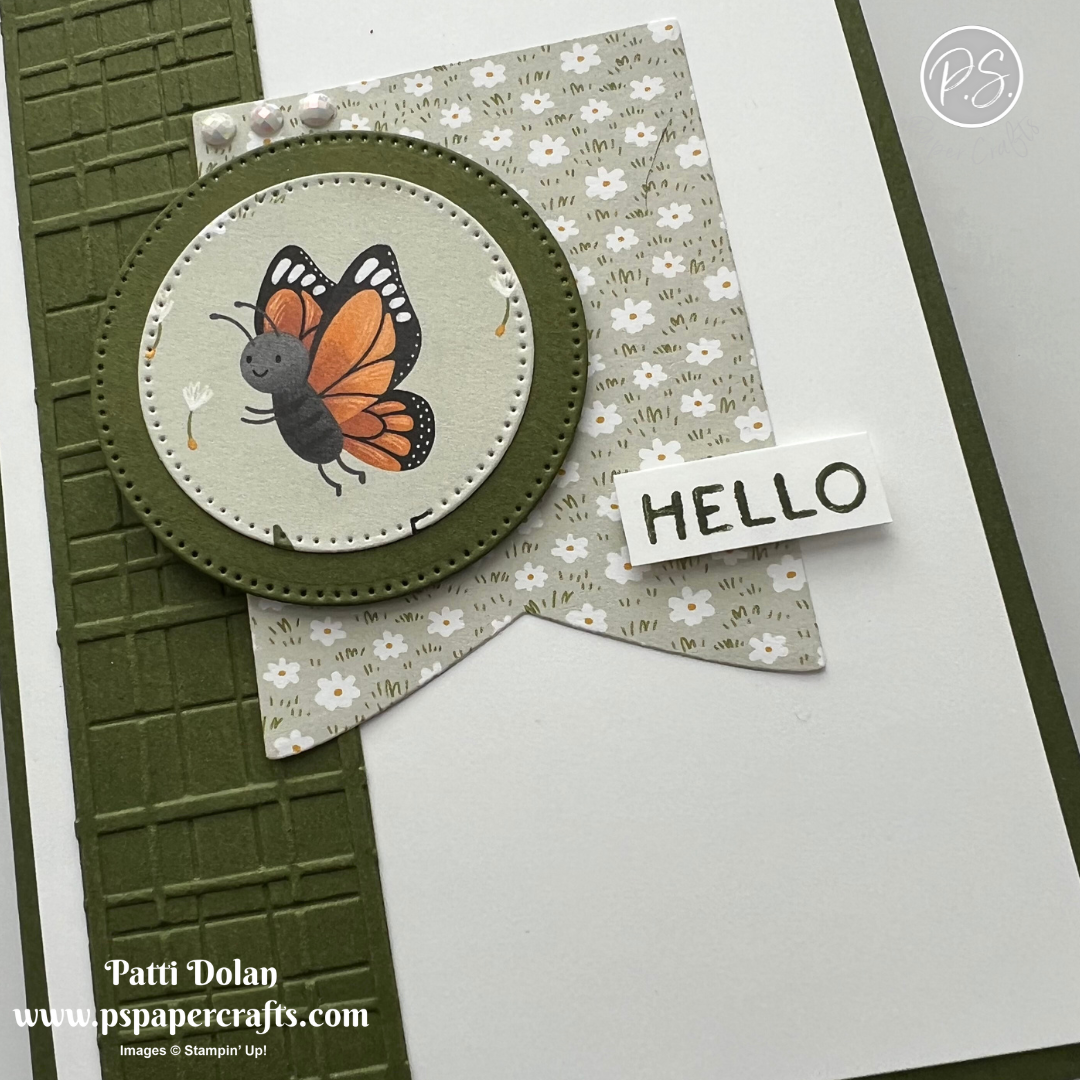
  • Die cut the floral pattern from the Cute As A Bug Designer Series Paper using the 4th from smallest die from the Party Banners Dies and adhere to the card.

  • Die cut the butterfly from the Designer Series Paper using the 3rd from smallest circle using the Stylish Shapes Dies.

  • Die cut the next largest circle from Mossy Meadow Cardstock and adhere to the butterfly. Adhere to the card with Dimensionals.

  • Stamp the sentiment on a 3/8” strip of Basic White in Mossy Meadow Ink and cut down. I masked the sentiment with masking tape to get just the HELLO. Adhere to the card with Dimensionals.

  • Add 3 small Pearlized Faceted Circles.


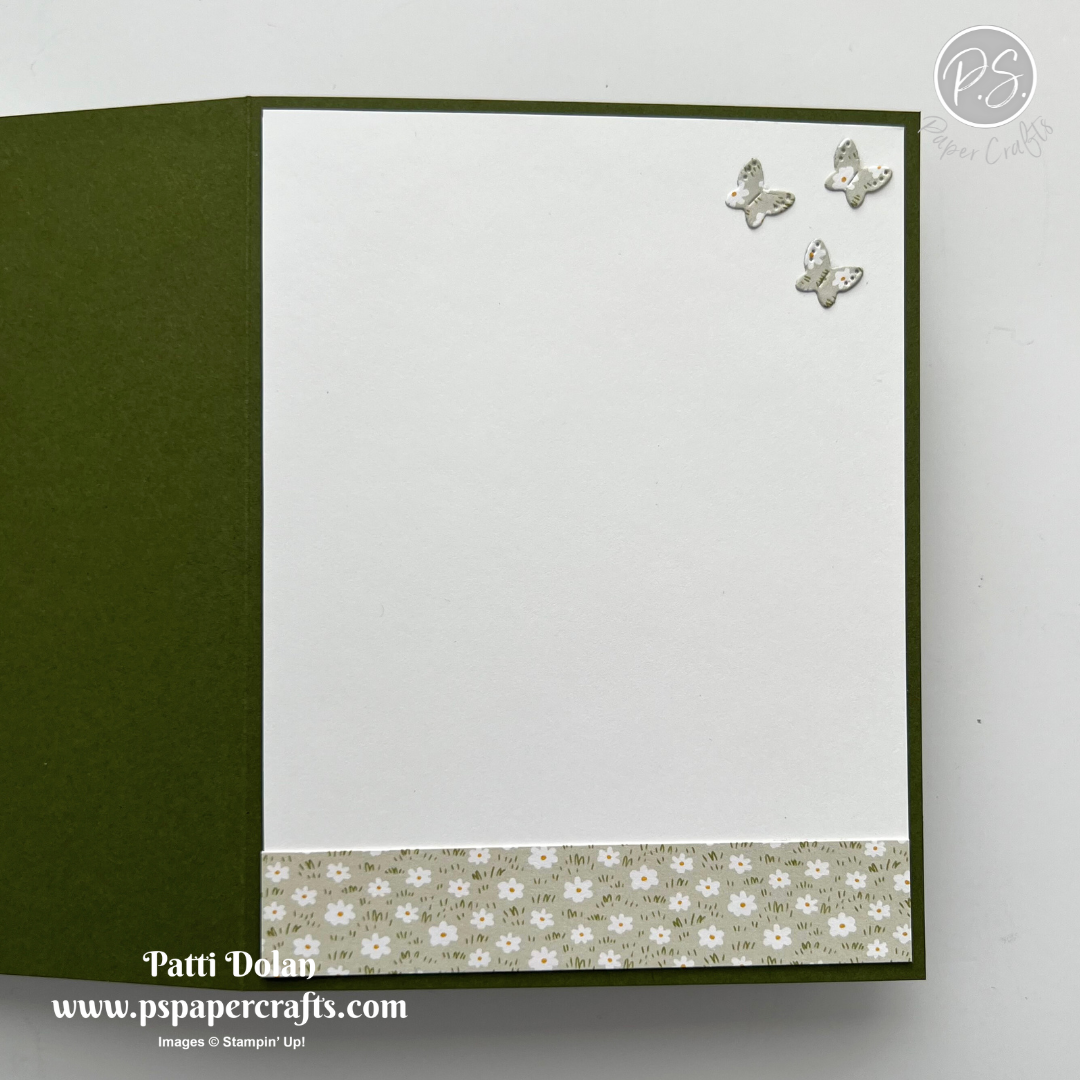
On the inside layer (4 x 5-1/4), add a 3/4” x 4 strip of the Designer Series Paper. Die cut 3 tiny butterflies using the small die that cuts the butterfly, snail and dragonfly in the Sweet Bugs Dies. I just used the butterflies and saved the others for another project. I die cut them from the same paper that I used for the strip.


I love the sweet little butterfly, it makes me smile!


Supply List

You can click on the item to purchase it from my Online Store.


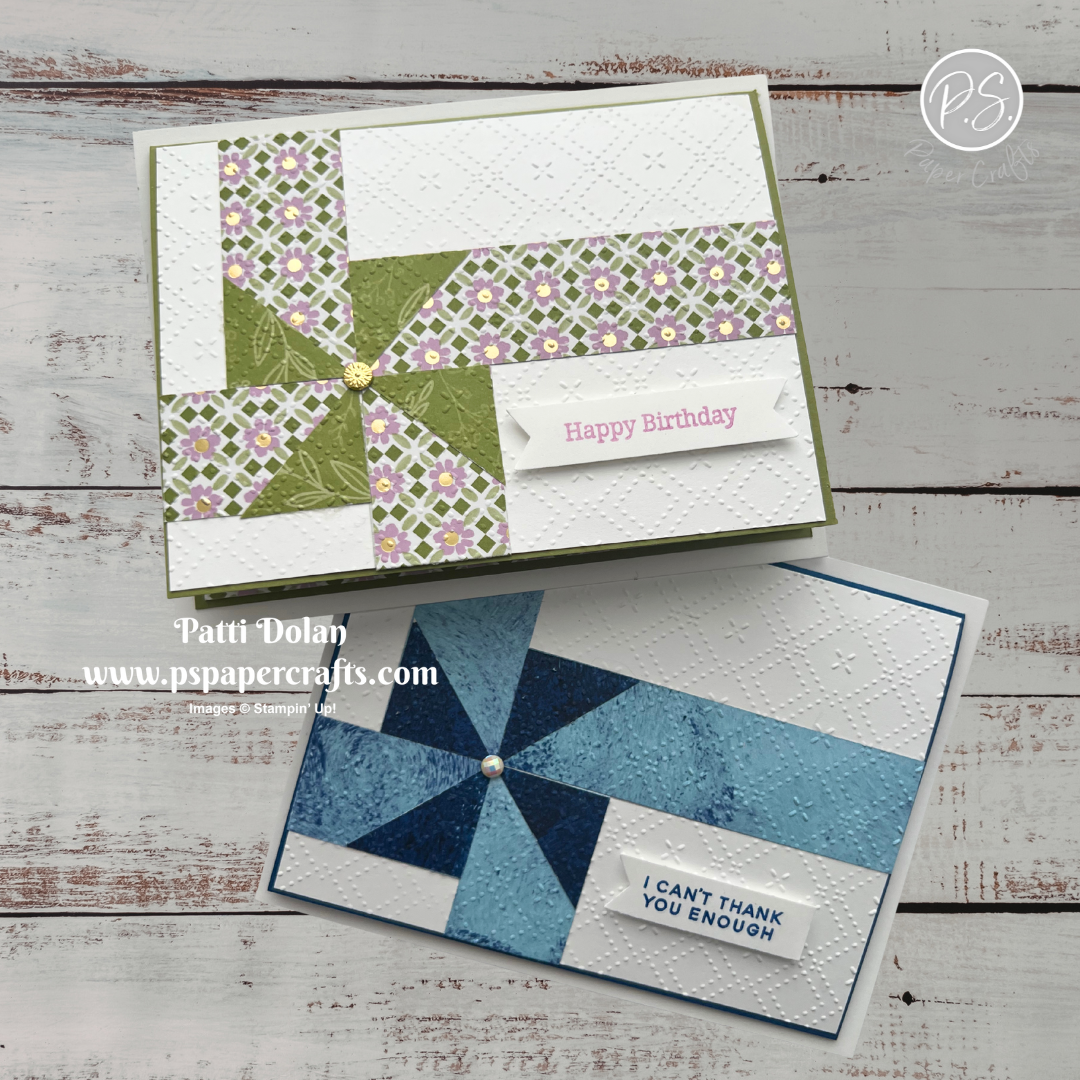
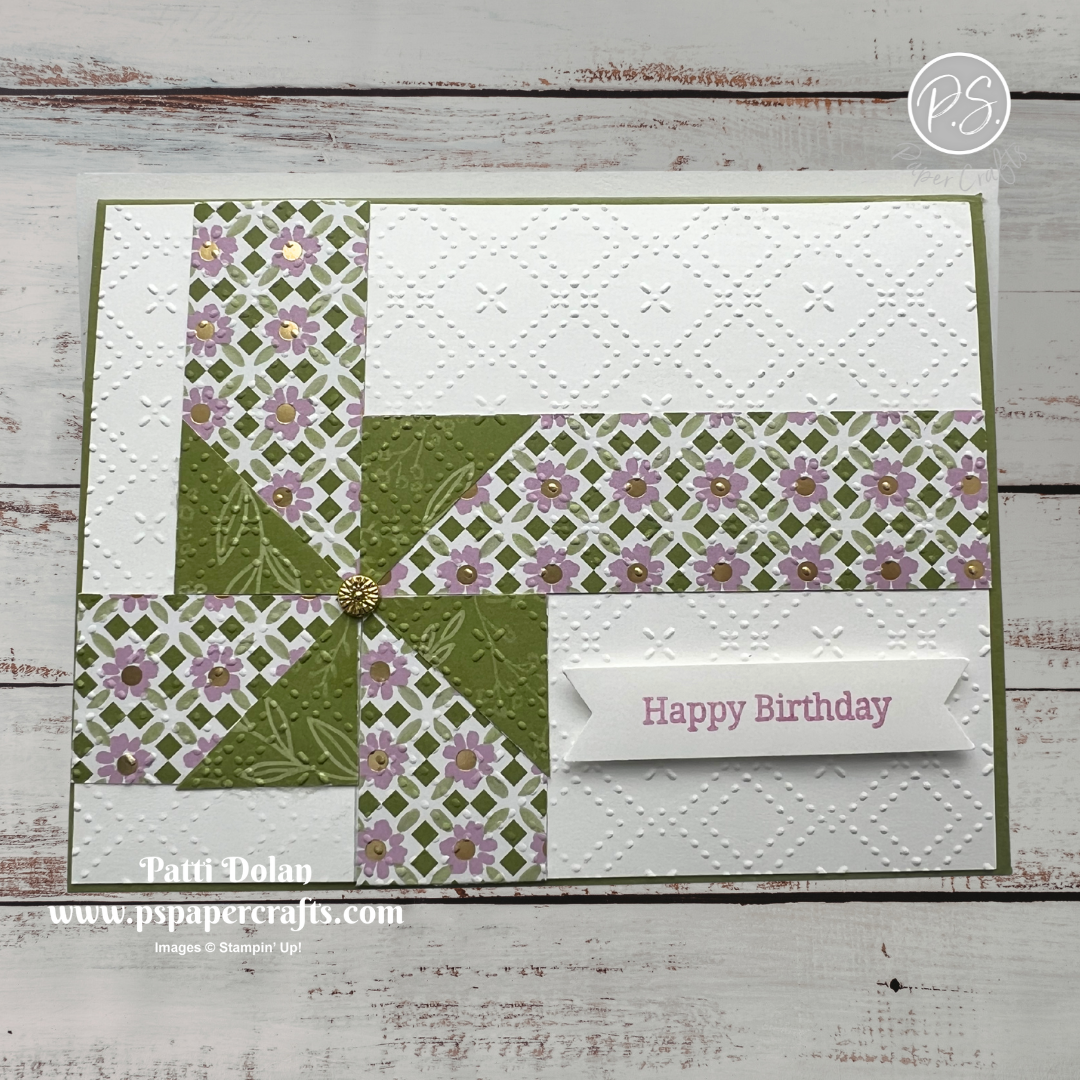
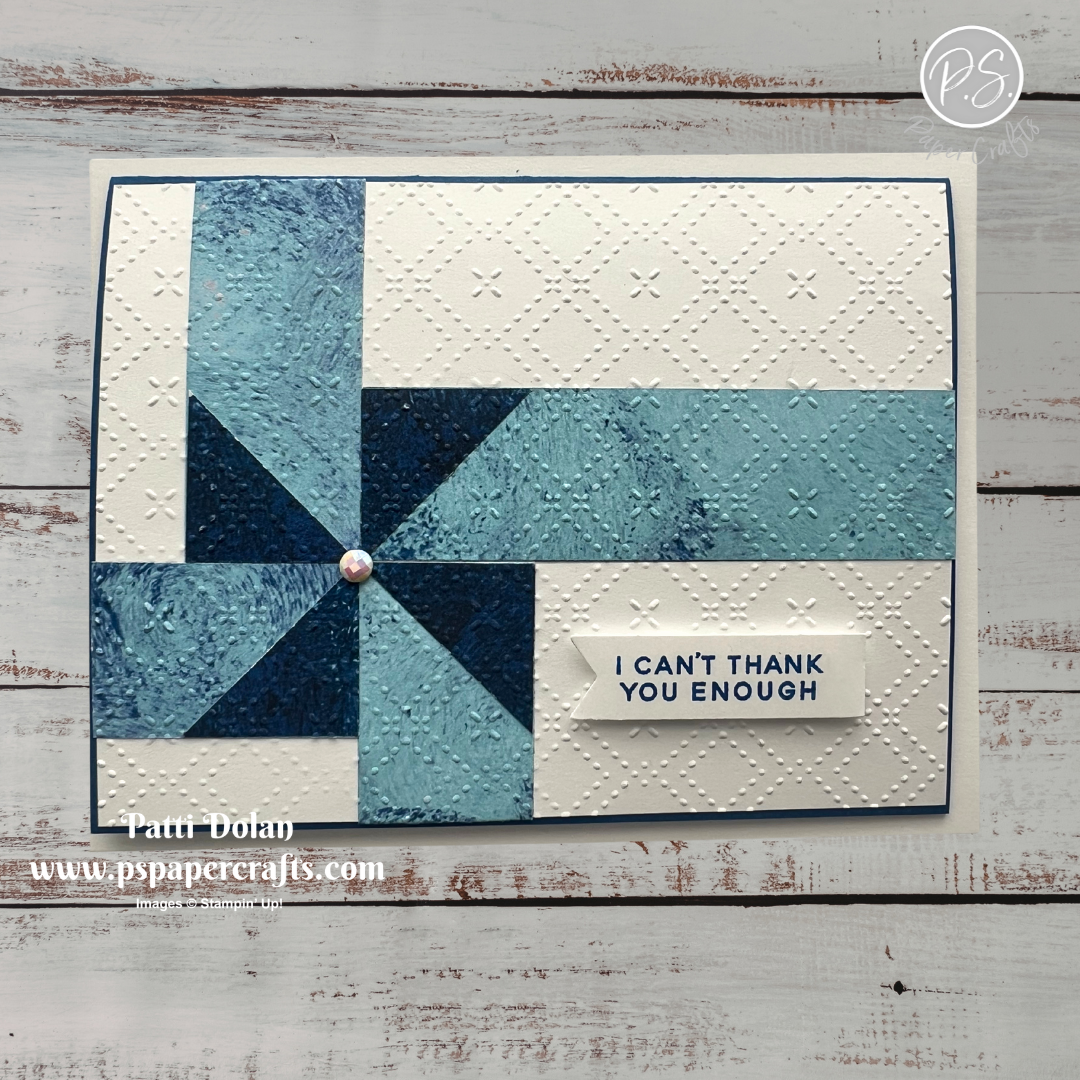
Ribbon Pinwheel Cards

These Ribbon Pinwheel Cards are so fun to make. They have a quilted look to them, especially if you use an embossing folder.


Watch the video to see step by step instructions to make this design.

Click on the button below to get a printable pdf with measurements and instructions.


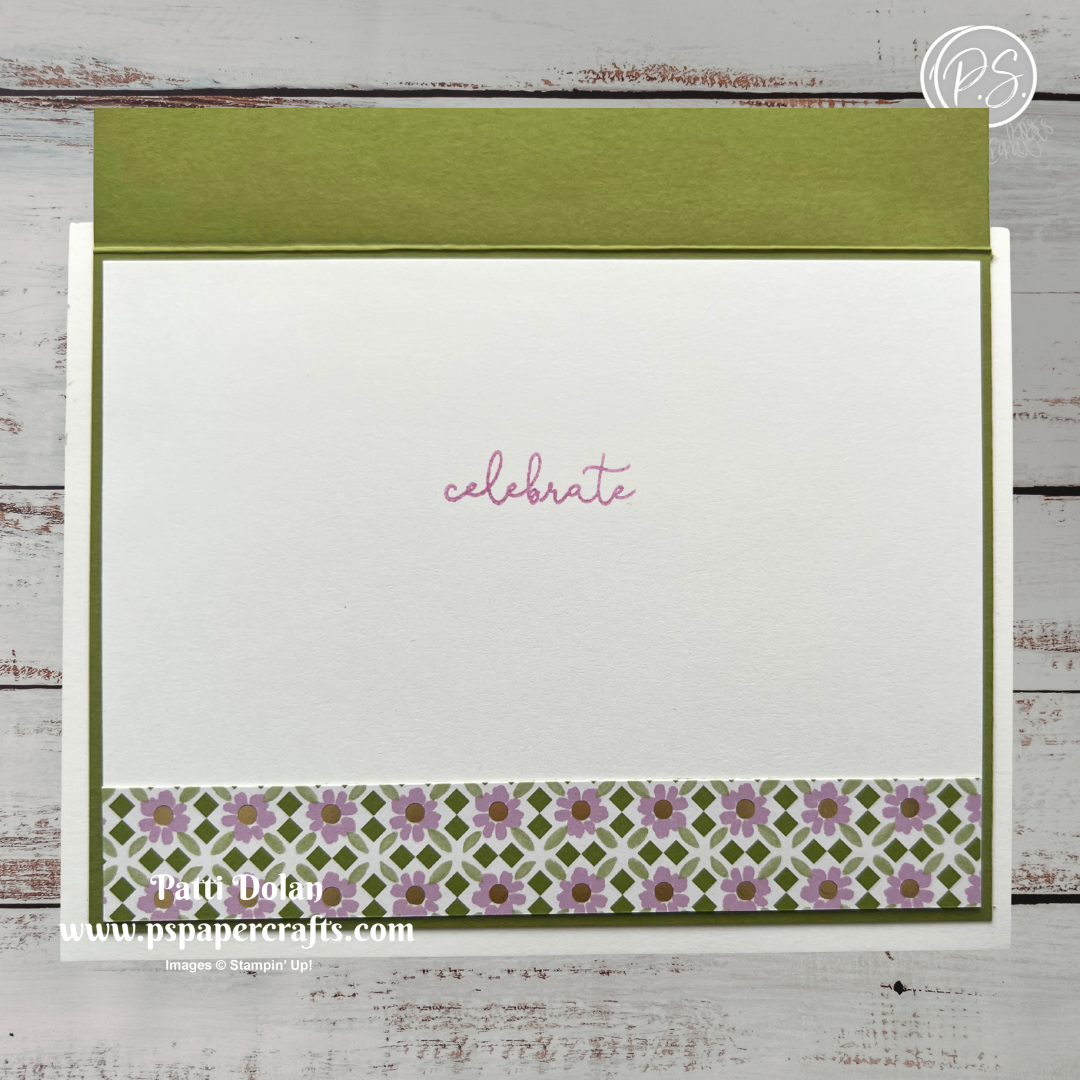
This card was made using the Lovely & Beautiful Designer Series Paper and Banner Sayings Bundle. I embossed the layer after adding the Designer Series Paper pieces using the Beautiful Pattern 3D Embossing Folder.


I love the blues in this card from the Nature Walk Designer Series Paper. I used the Banner Sayings Bundle and Beautiful Pattern 3D Embossing Folder on this card as well.


Supply List

You can click on the item to purchase it from my Online Store.


Friendly Foliage Color Combo

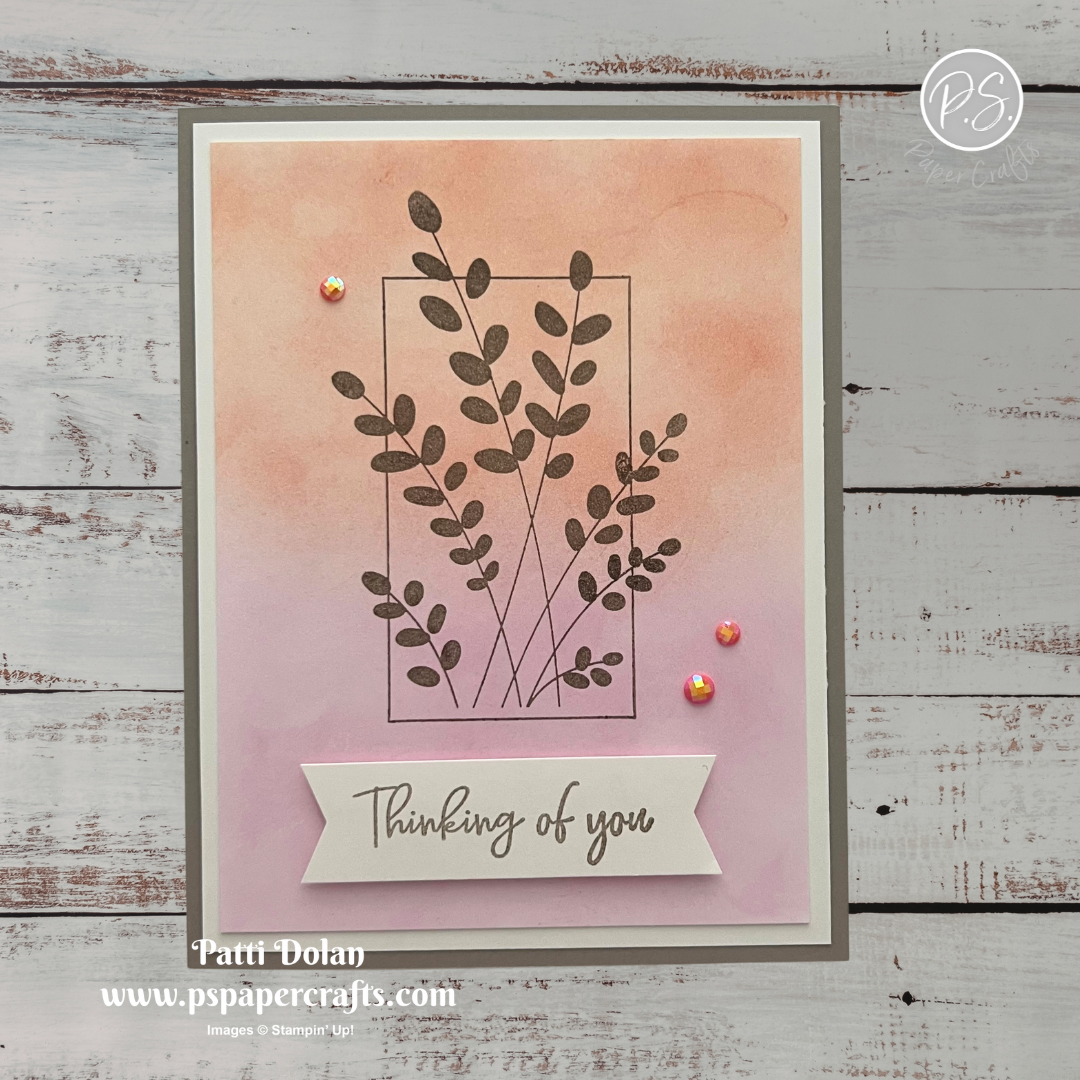
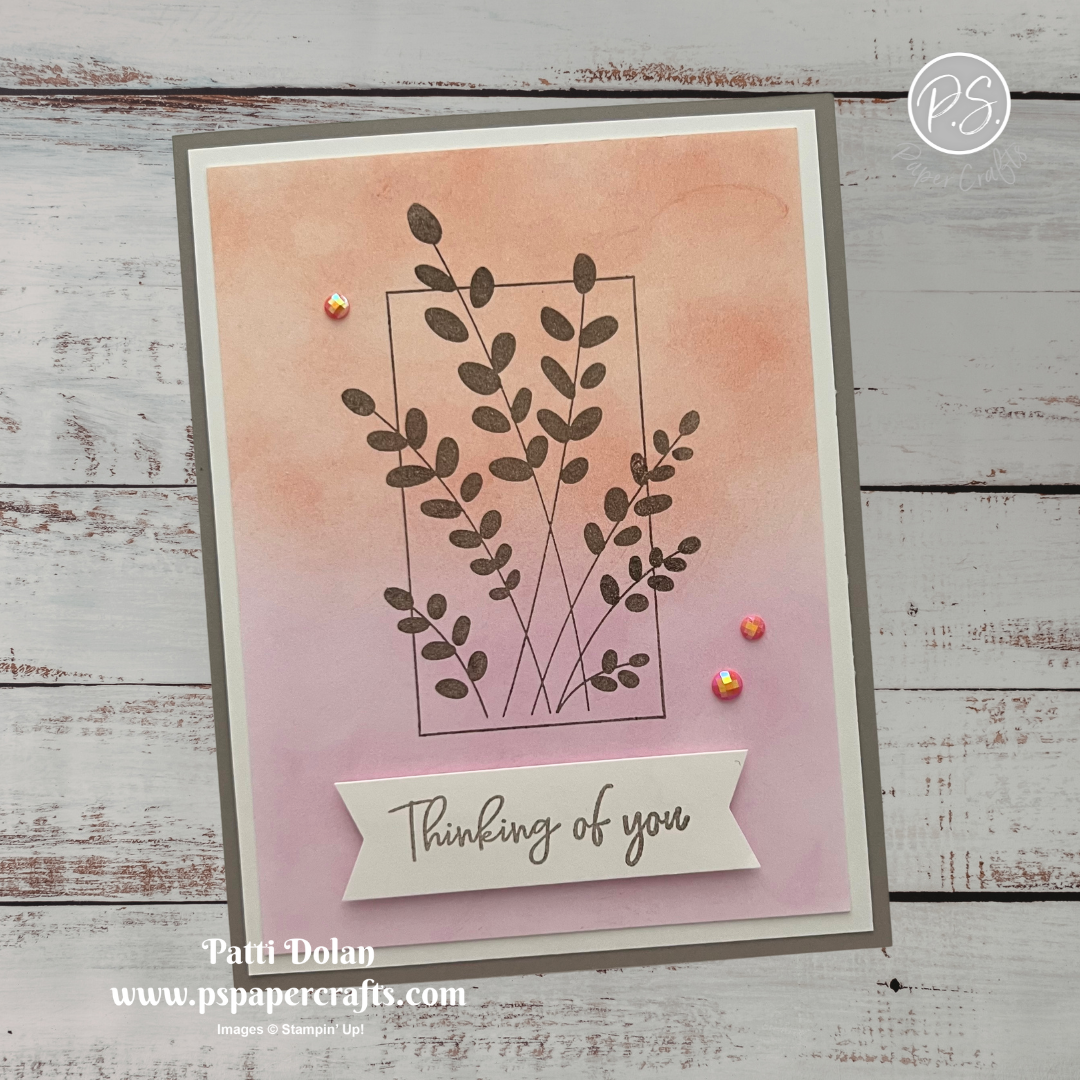
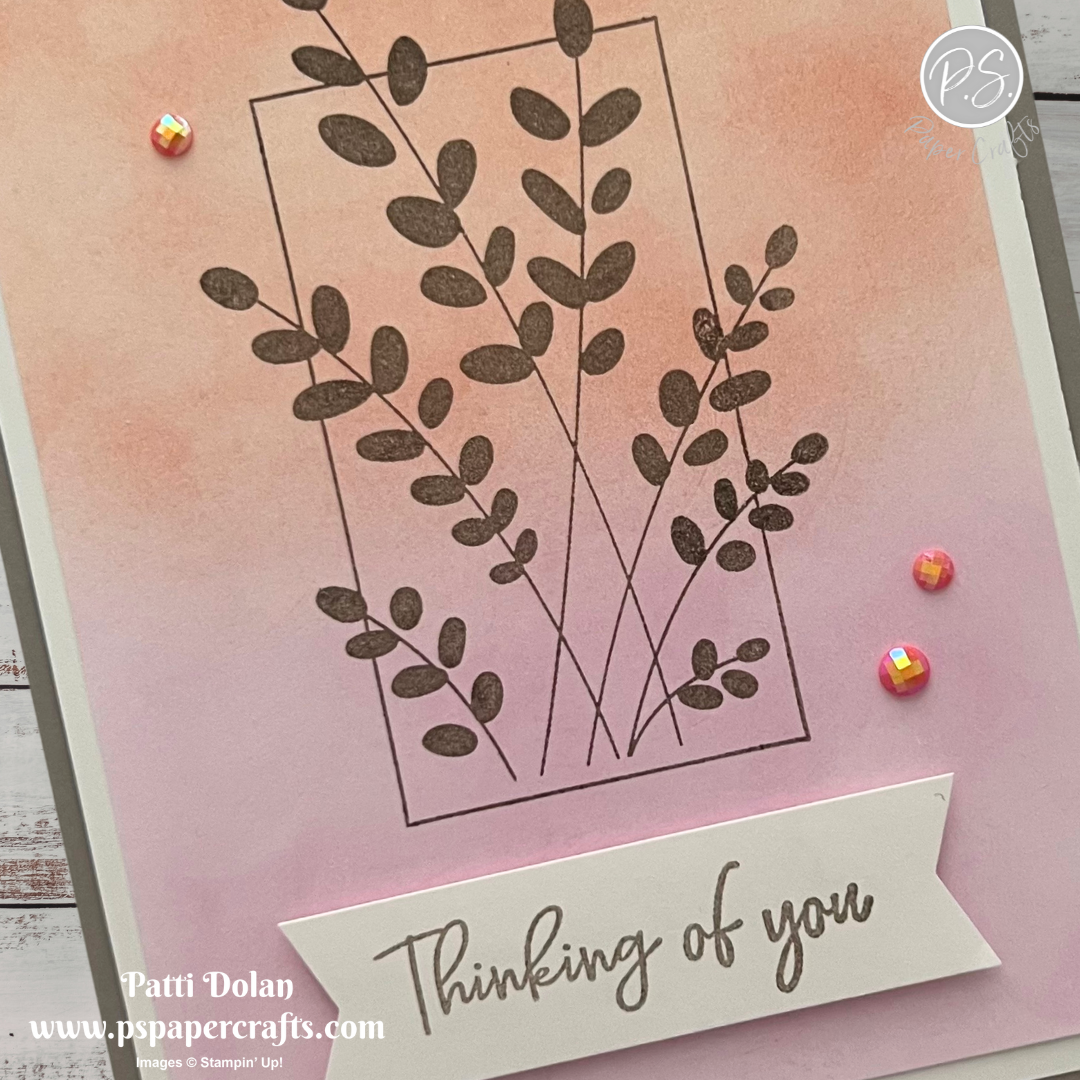
This is a very simple but elegant card using the Friendly Foliage Stamp Set. I blended some ink for the background layer and then stamped to foliage image; clean and simple!


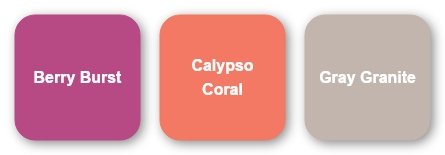
I used the Color Combo from my January Inspiration Calendar - Berry Burst, Calypso Coral and Gray Granite.

You can get my Inspiration Calendar each month when you subscribe to my email list.


Tips & Instructions

  • Gray Granite Card Base - 5-1/2 x 8-1/2, score at 4-1/4

  • Basic White Layer - 4 x 5-1/4

  • Basic White Layer - 3-3/4 x 5, blend Berry Burst Ink to the bottom and Calypso Coral Ink to the top of the layer using Blending Brushes.

  • Stamp the foliage image to the inked layer in Gray Granite Ink. Adhere to the white layer and then to the card base.

  • Stamp the sentiment on a 3/4 strip of Basic White in Gray Granite Ink. Banner both ends and adhere to the card with Dimensionals.

  • Add some Calypso Coral Pearlized Faceted Circles.


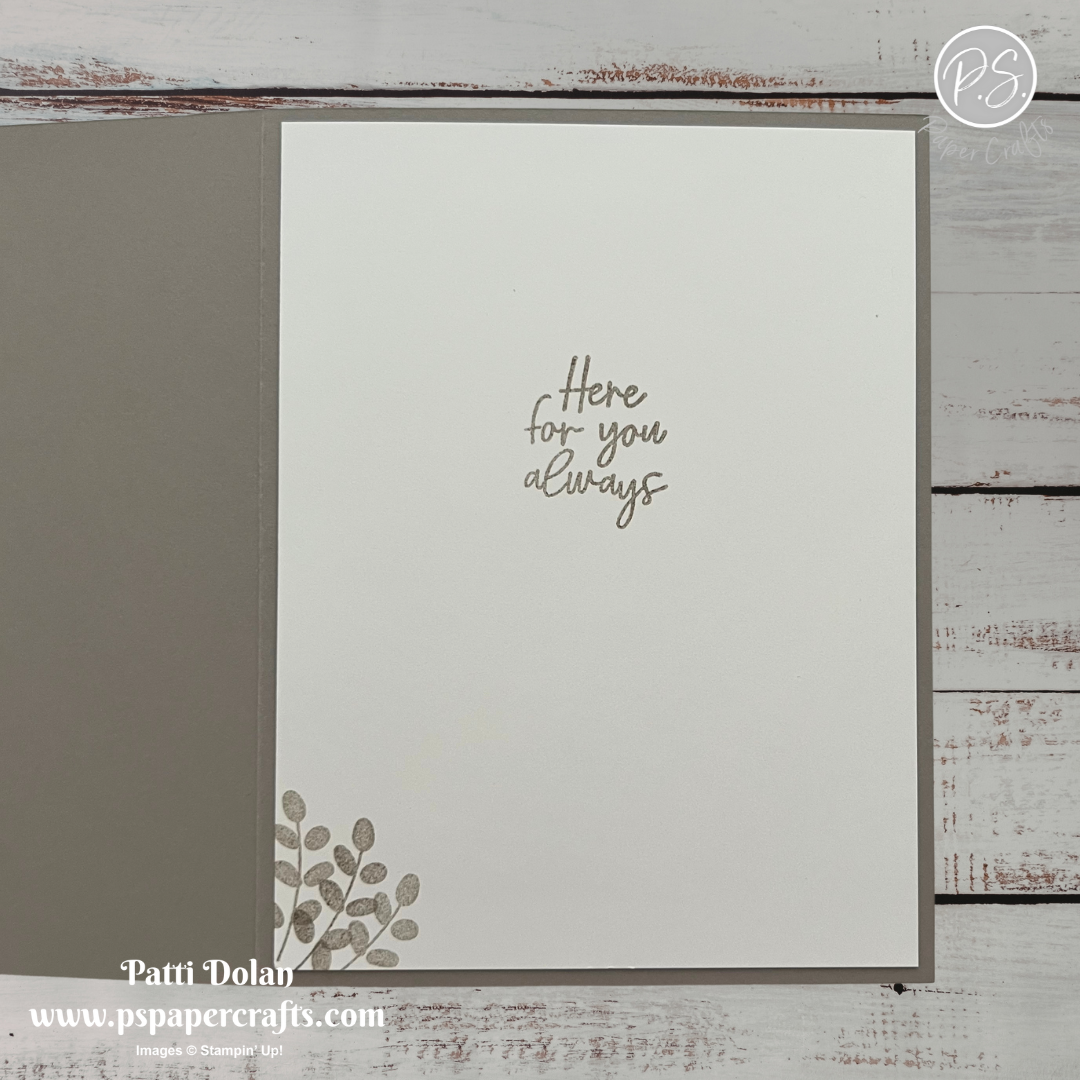
On the inside layer (4 x 5-1/4), stamp sentiment and some small branches in Gray Granite Ink.


I love how the thin rectangle is part of the image—it really pulls everything together.


Supply List

You can click on the item to purchase it from my Online Store.


Sketch Challenge - Fabulous Sayings

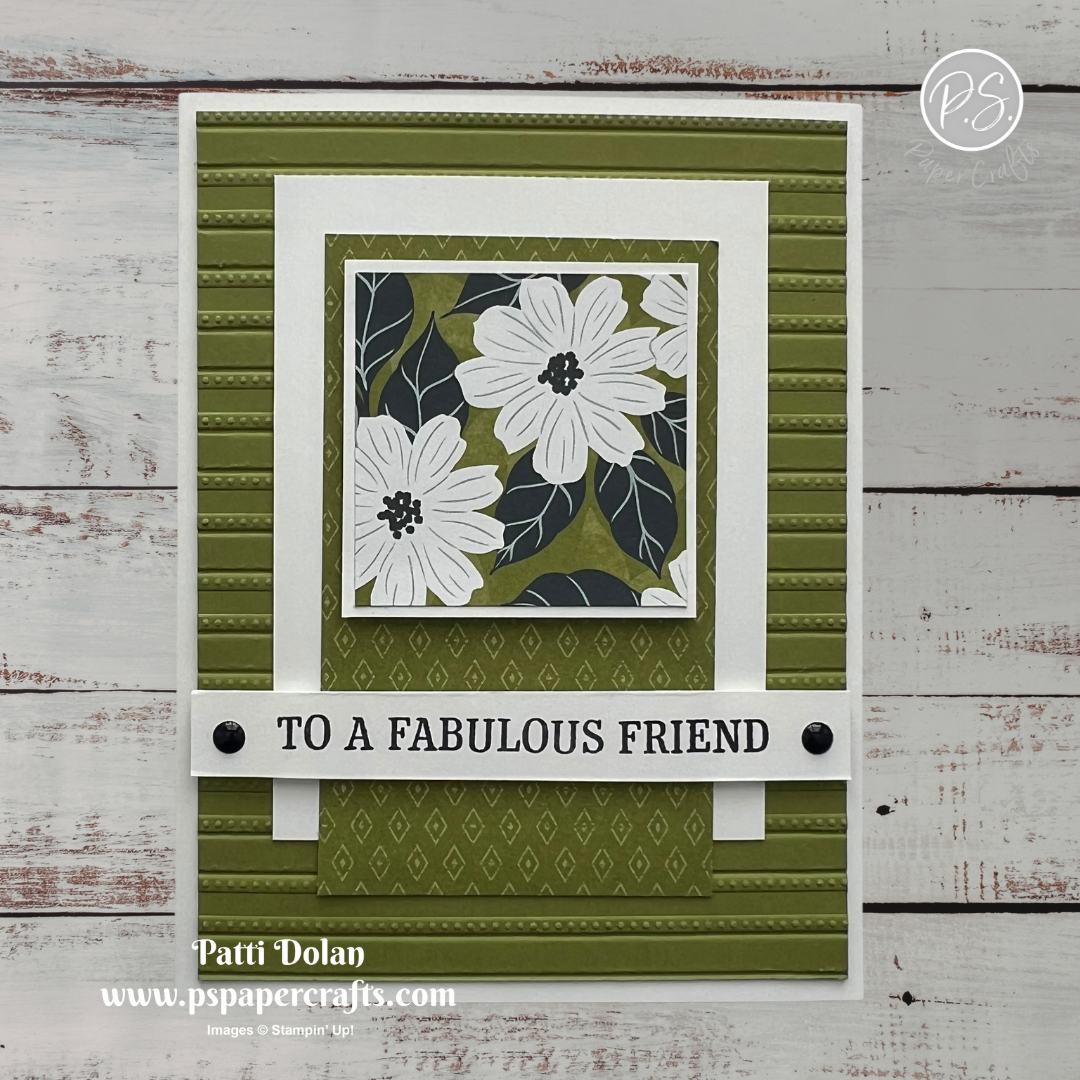
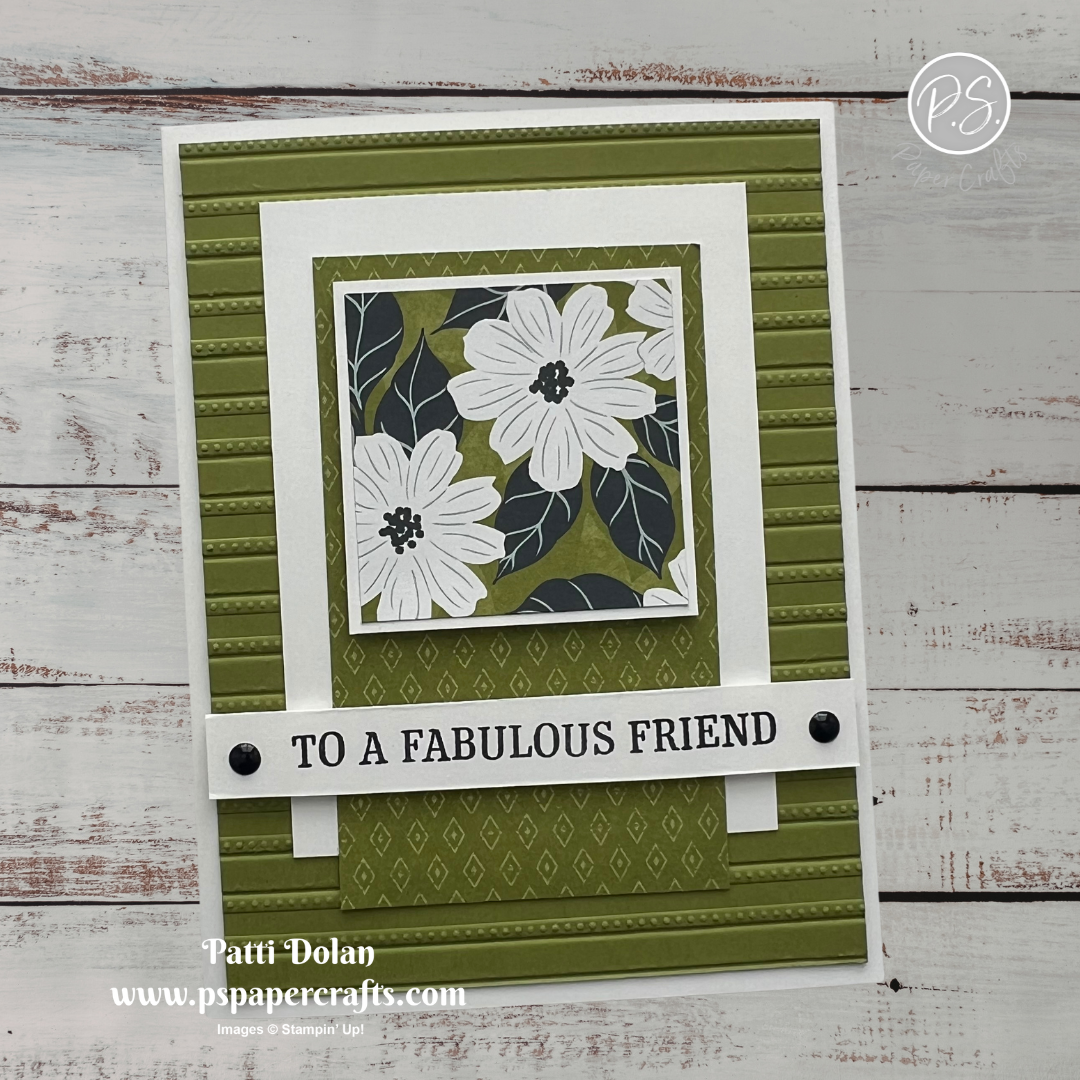
Here’s my card for this week’s Splitcoaststampers Sketch Challenge. I used the Fabulous Sayings Stamp Set for the sentiment. This is the new Product of the Month that you can purchase for just $5 when your order is $75 or more.


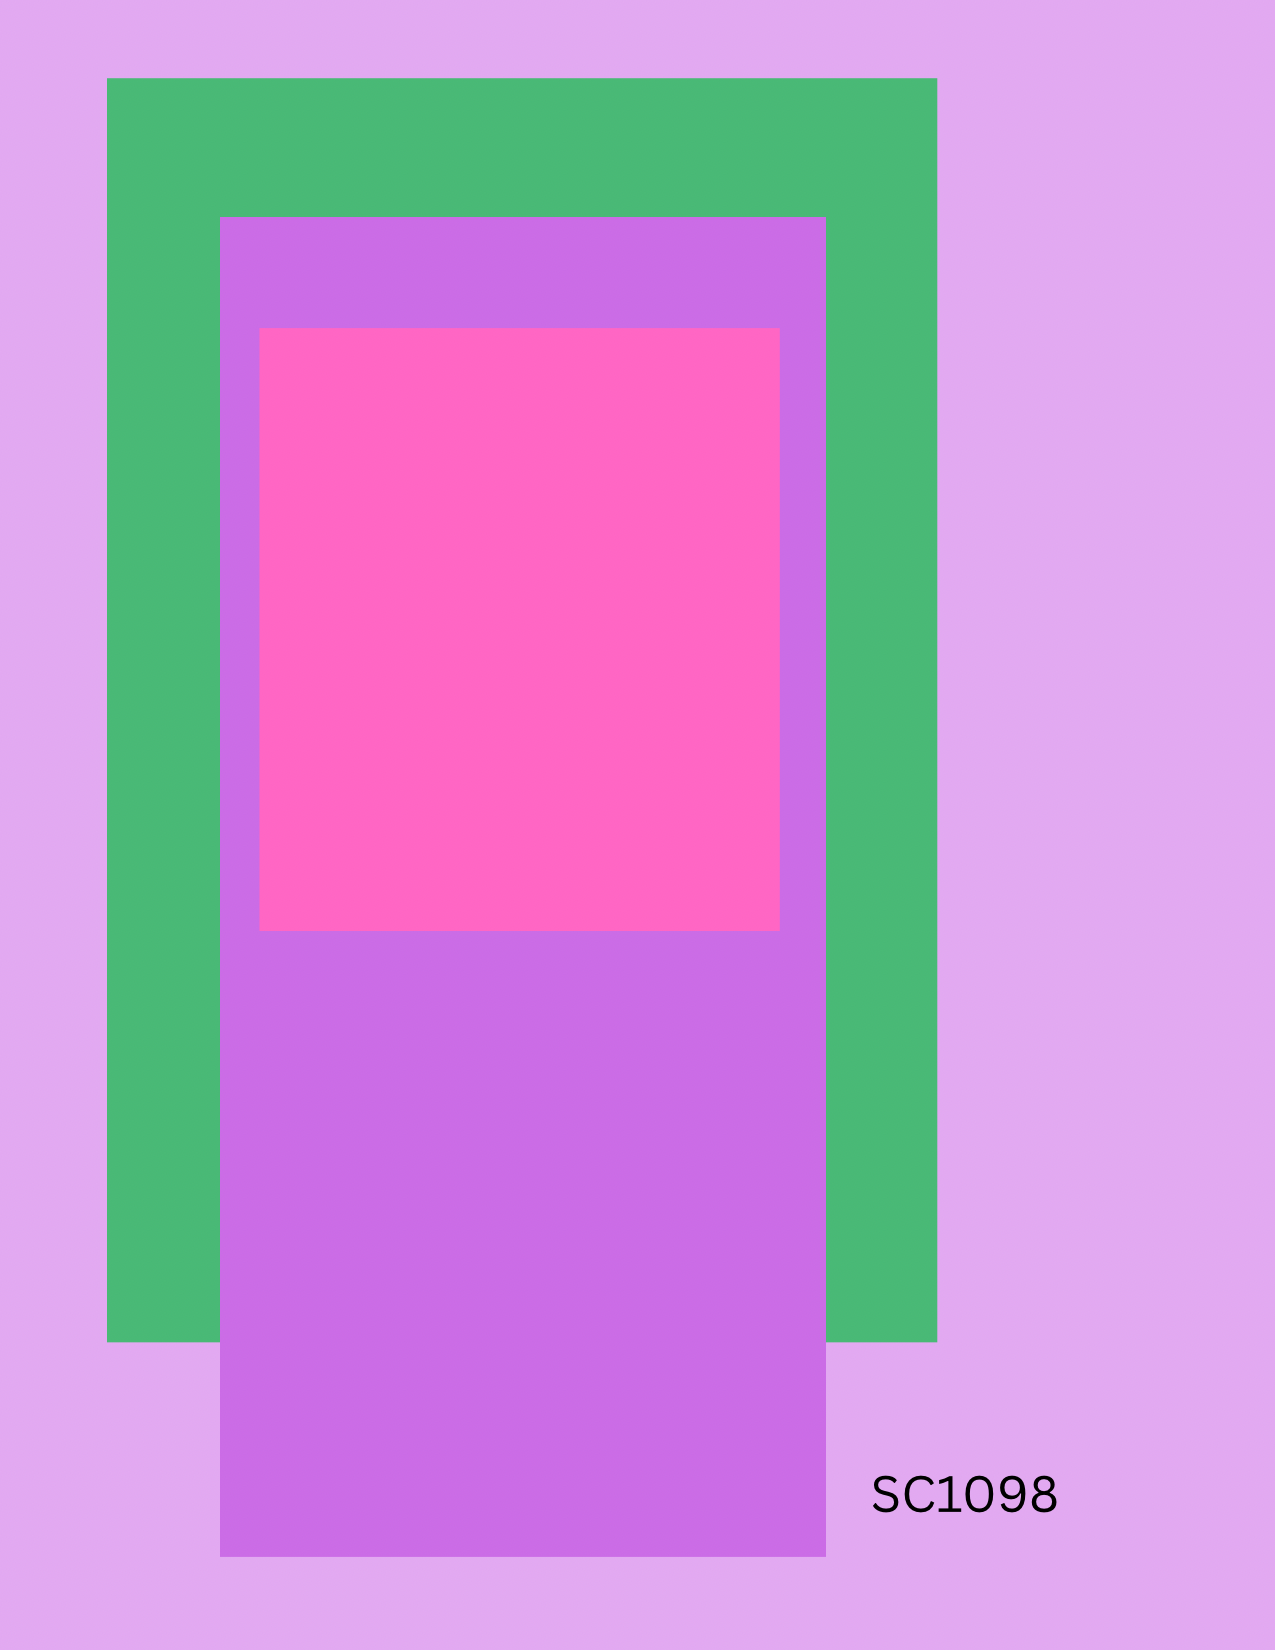
Here’s the sketch I used. You can see all the projects posted for this week’s challenge by clicking on the sketch below.


Tips & Instructions

  • Thick Basic White Card Base - 5-1/2 x 8-1/2, score at 4-1/4

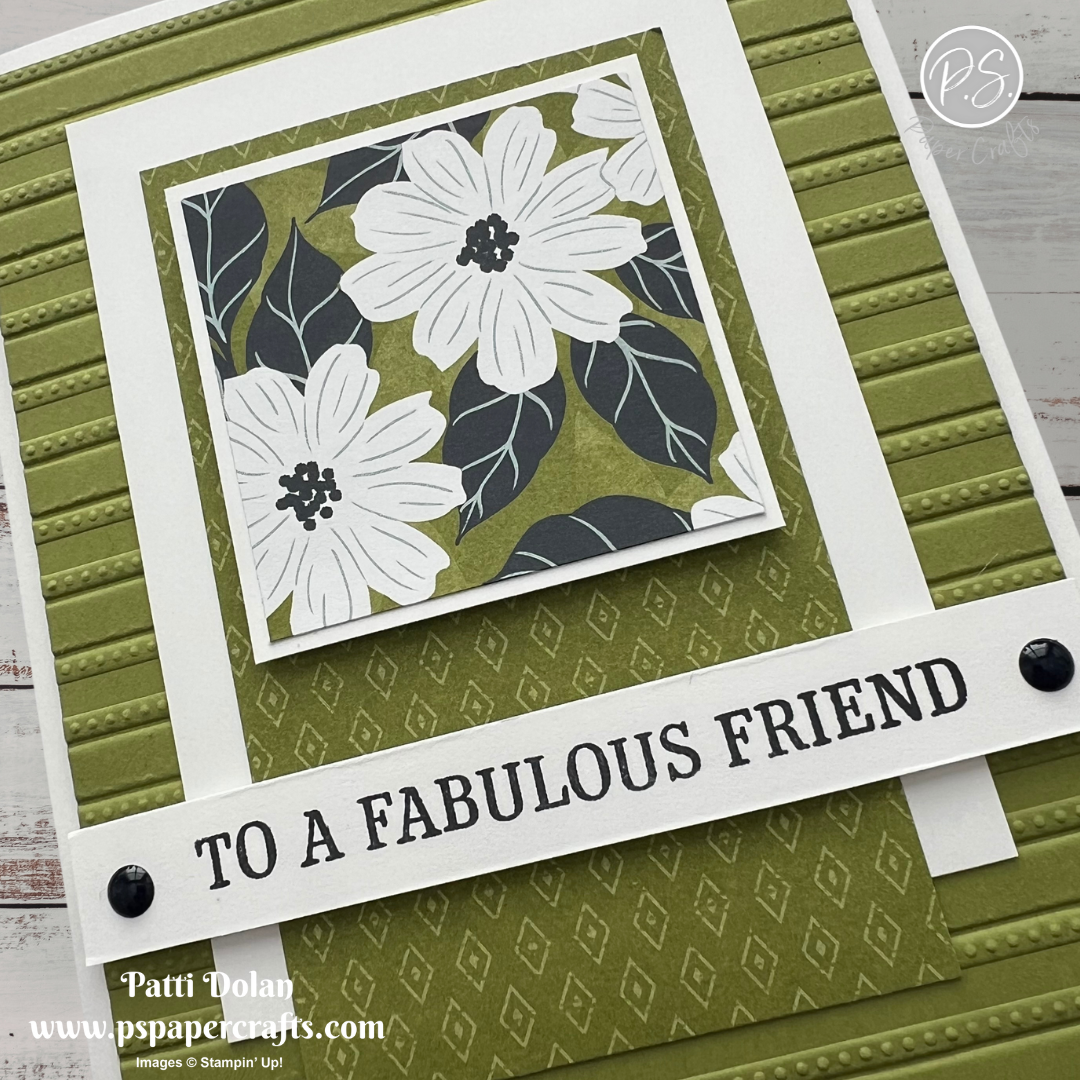
  • Old Olive Layer - 4 x 5-1/4, emboss using the Lovely Stripes 3D Embossing Folder and adhere to the card base.

  • Basic White Layer - 3 x 4

  • Lovely Blossoms Designer Series Paper (green pattern) - 2-3/8 x 4, adhere to the white layer and then to the card.

  • Lovely Blossoms Designer Series Paper (floral square) - I used the square that was in the paper pack. It measures 2 x 2.

  • Basic White Square - 2-1/8 x 2-1/8, adhere behind the floral square and then to the card with Dimensionals.

  • Basic White Strip - 1/2 x 4, stamp sentiment in Secret Sea Ink. Adhere to the card with Dimensionals.

  • Add 2 Secret Sea Moody Palette Glossy Dots.


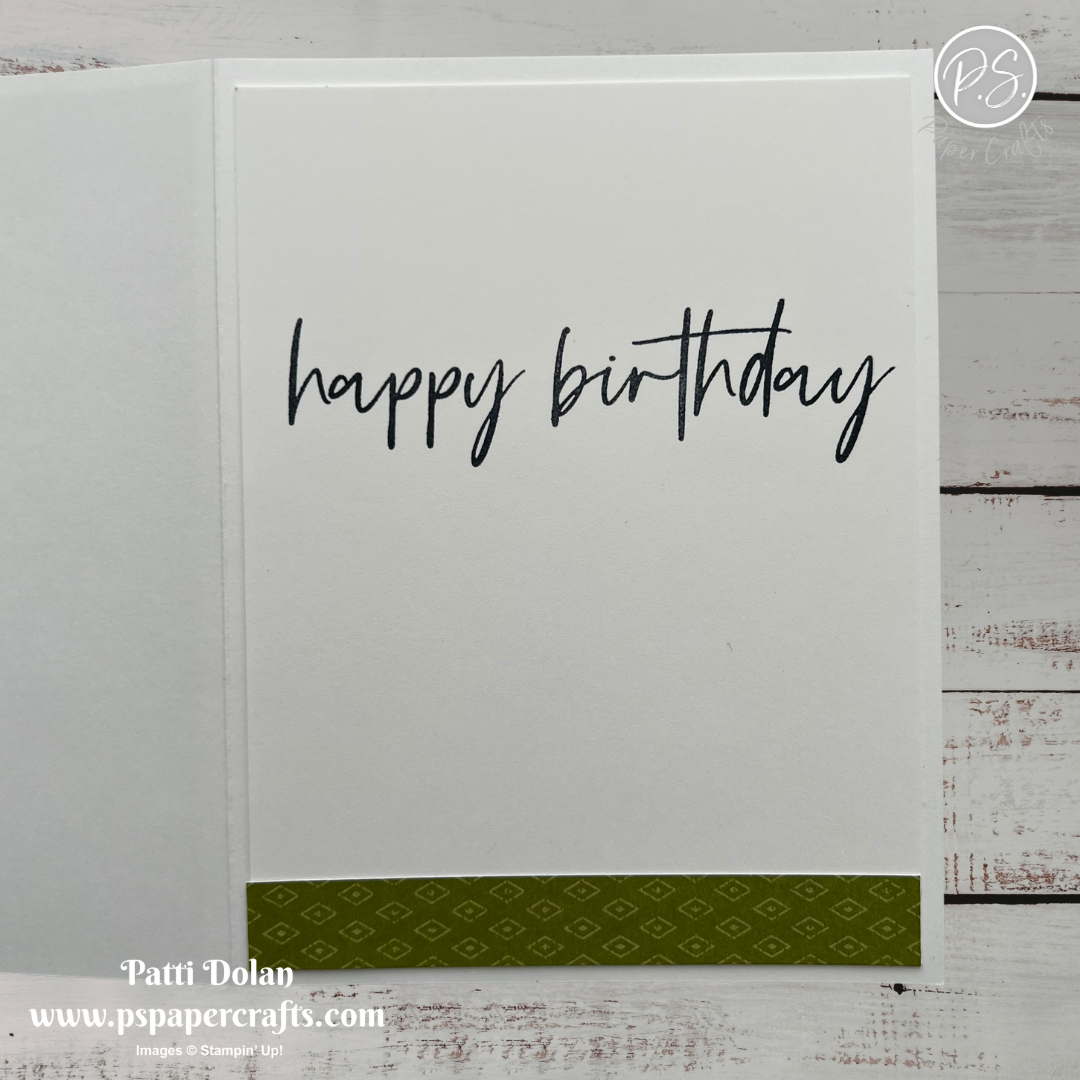
On the inside layer (4 x 5-1/4), stamp sentiment in Secret Sea Ink. Add a 3/4 x 4 strip of the Designer Series Paper.


I love the embossed background layer with the various layers arranged on it.


Supply List

You can click on the item to purchase it from my Online Store.


Crayon Resist Technique

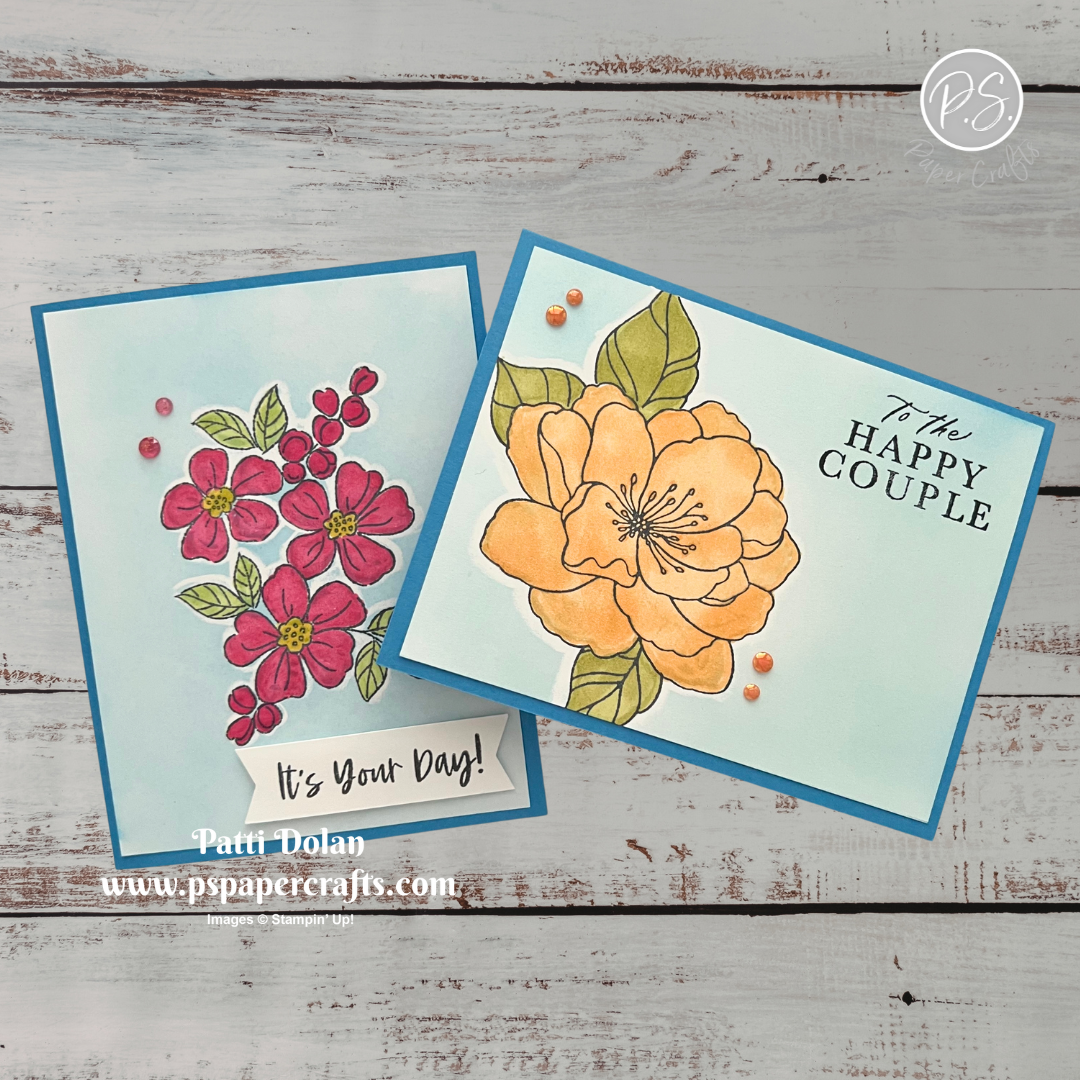
Have you ever used the Crayon Resist Technique? It’s easy to do and creates a very subtle outline of your image. I learned this technique from Beate Johns on Splitcoaststampers.


Watch the video to see step by step instructions to make these cards using this technique.

Click on the button below to get a printable pdf with measurements and instructions.


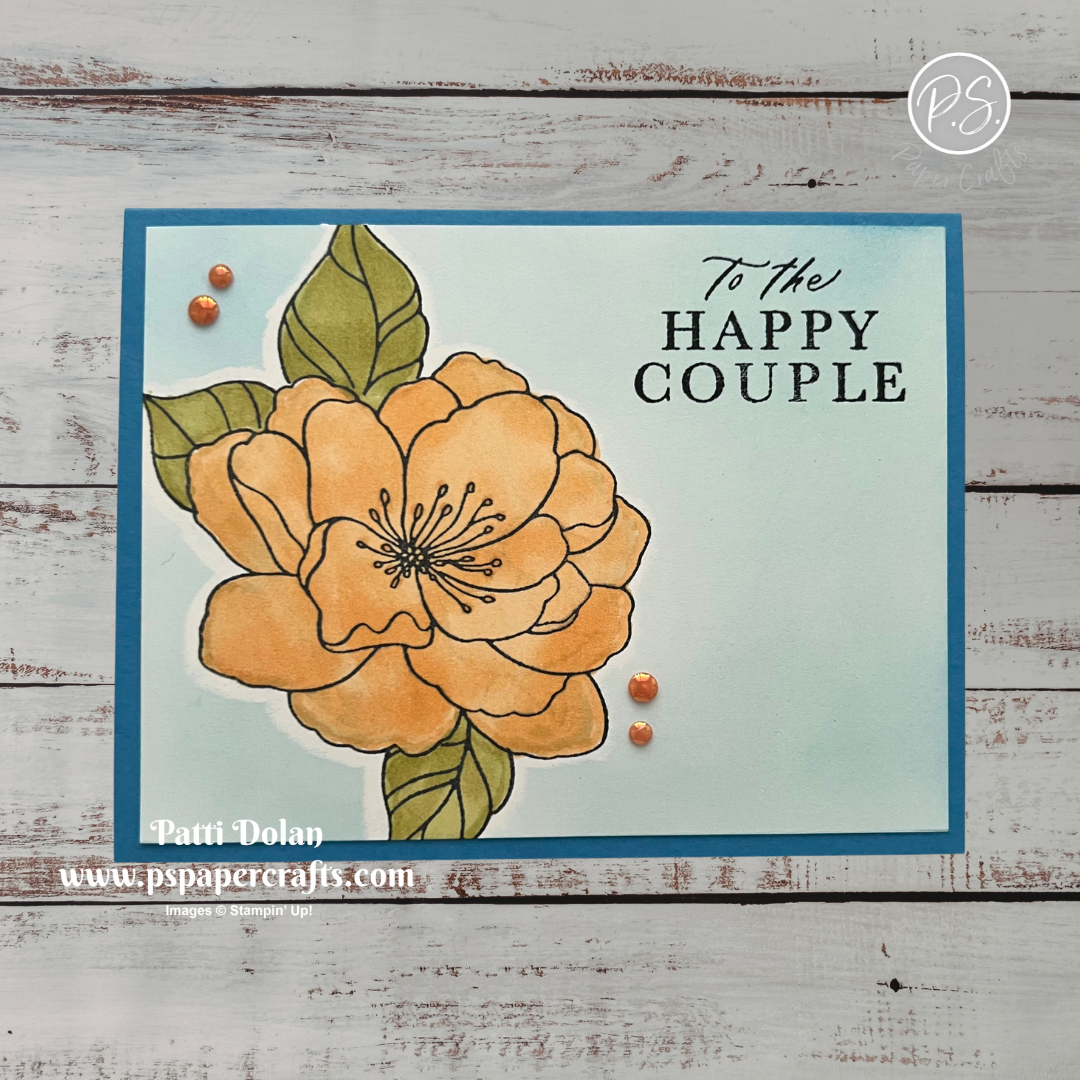
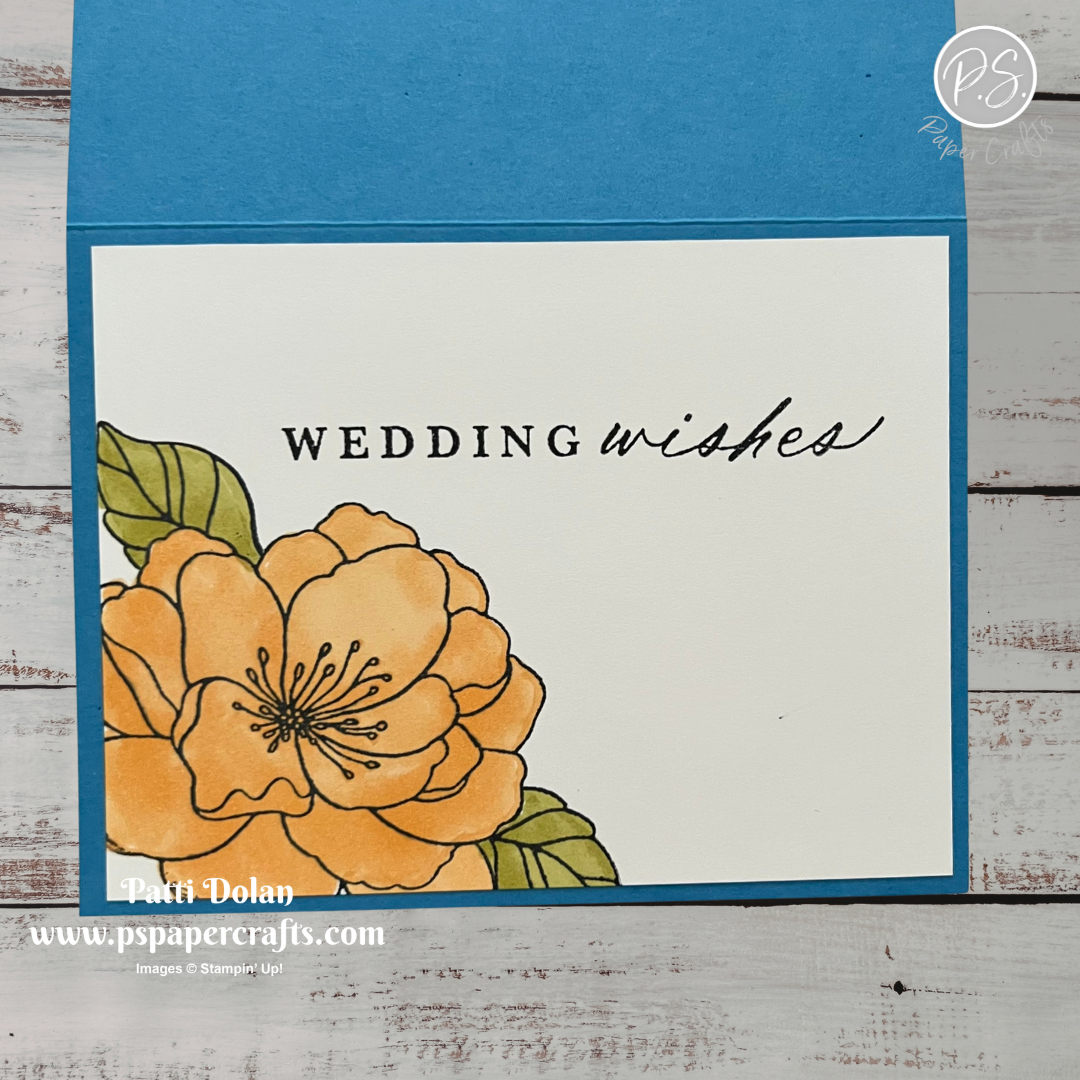
This beautiful Wedding Card was made using the Simply Beautiful Stamp Set. The flower and leaves were colored using Peach Pie and Old Olive Stampin’ Blends Markers. I used the Masking Technique to get the leaves behind the flower.


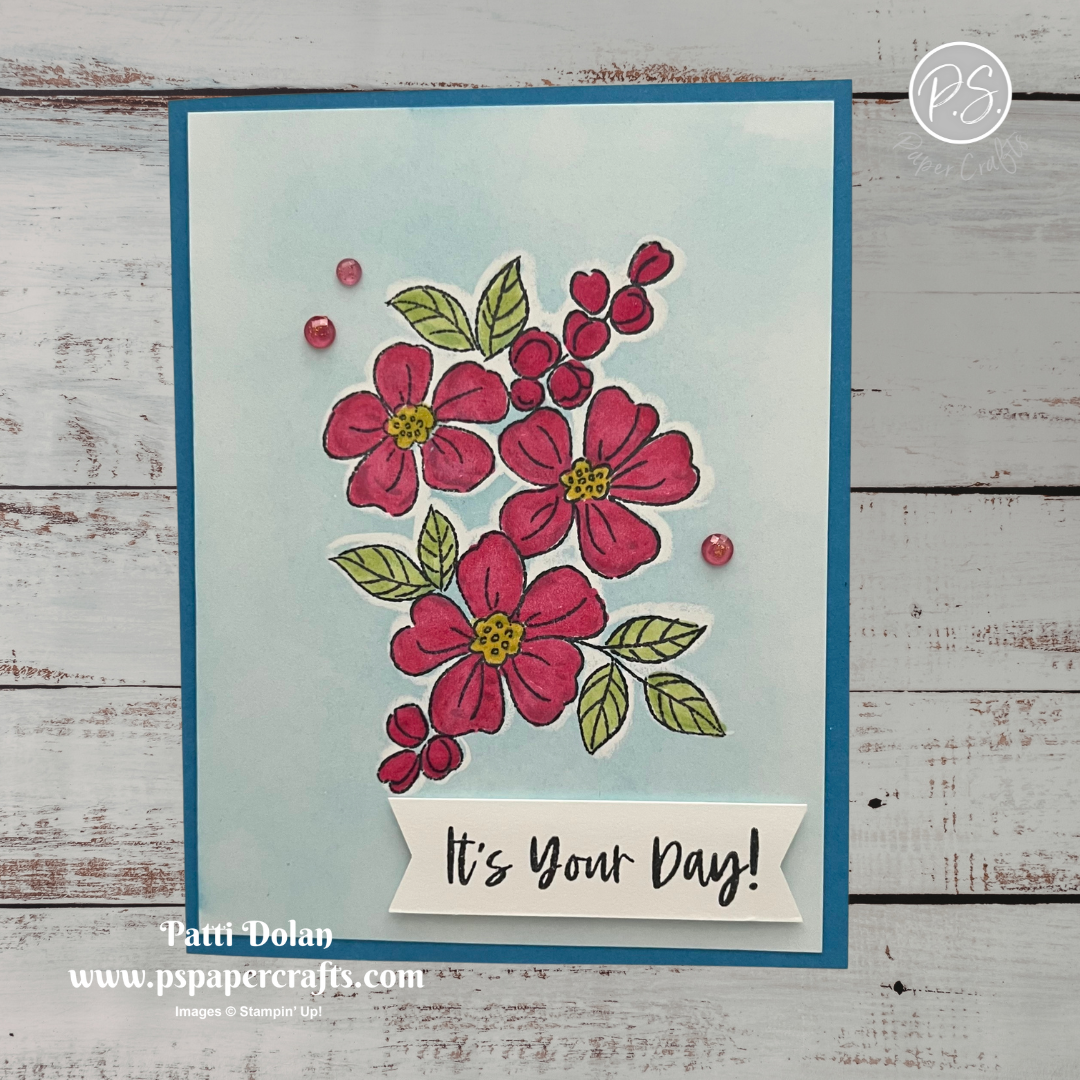
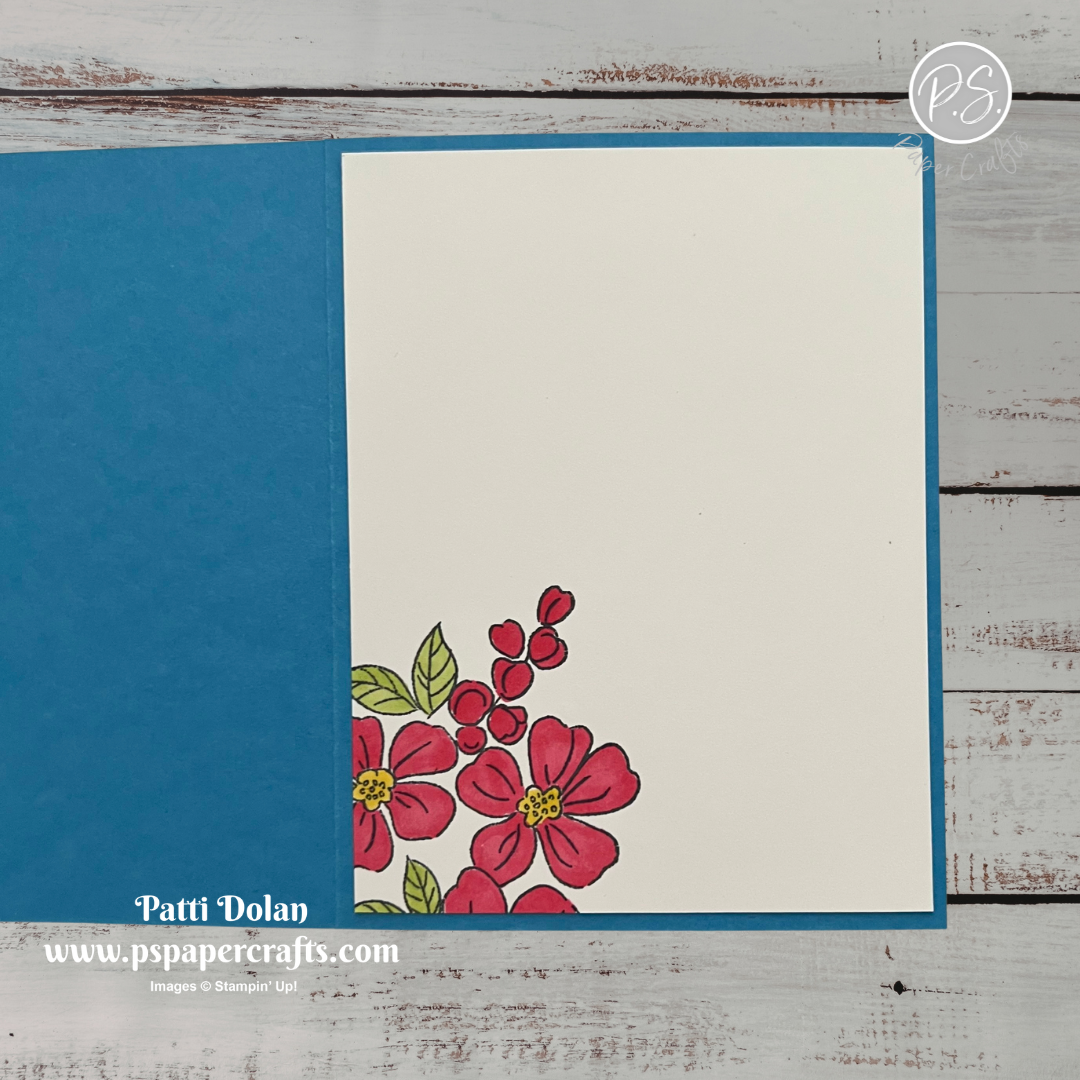
This card was made using the Fragrant Layers Stamp Set for the Floral image and the sentiment.


Supply List

You can click on the item to purchase it from my Online Store.


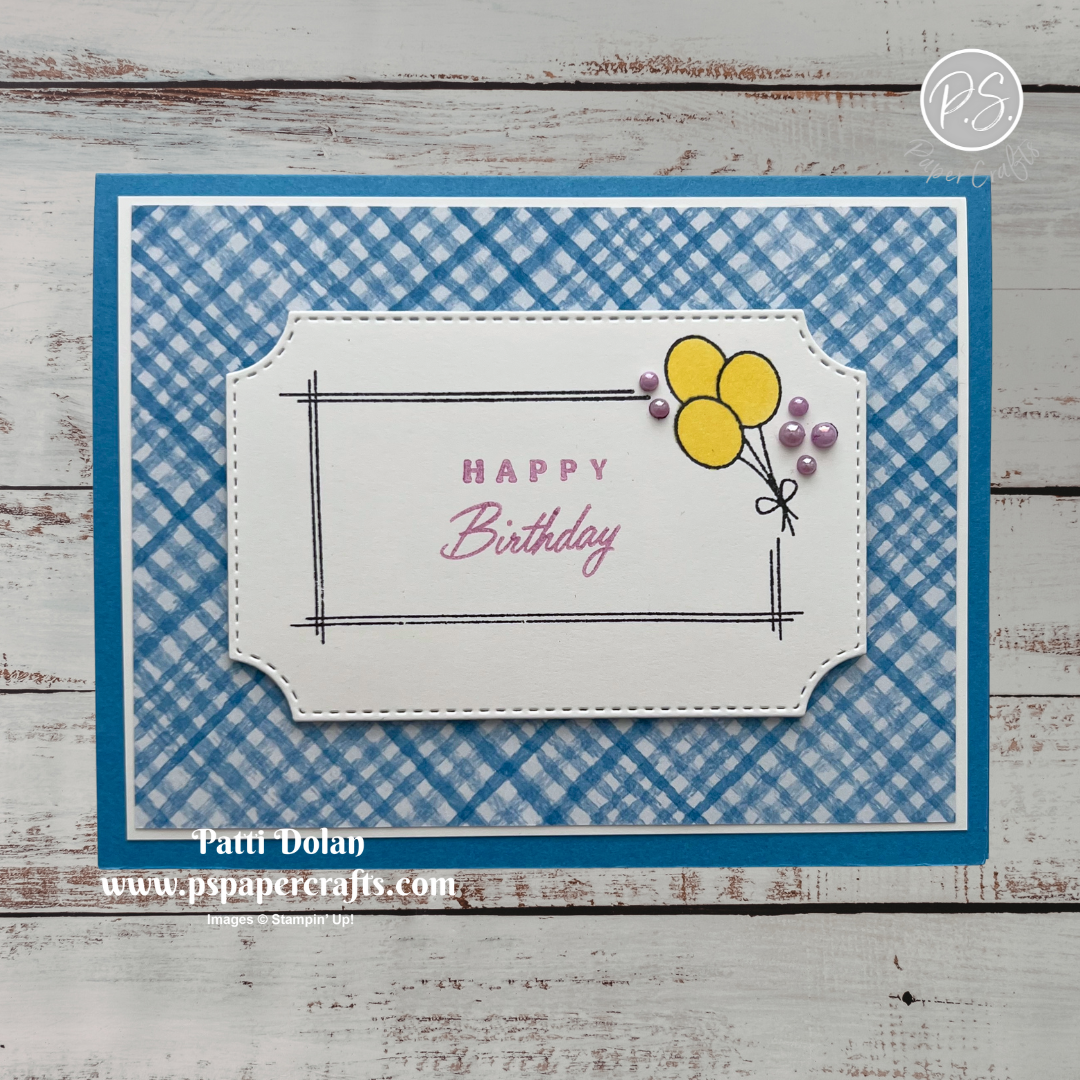
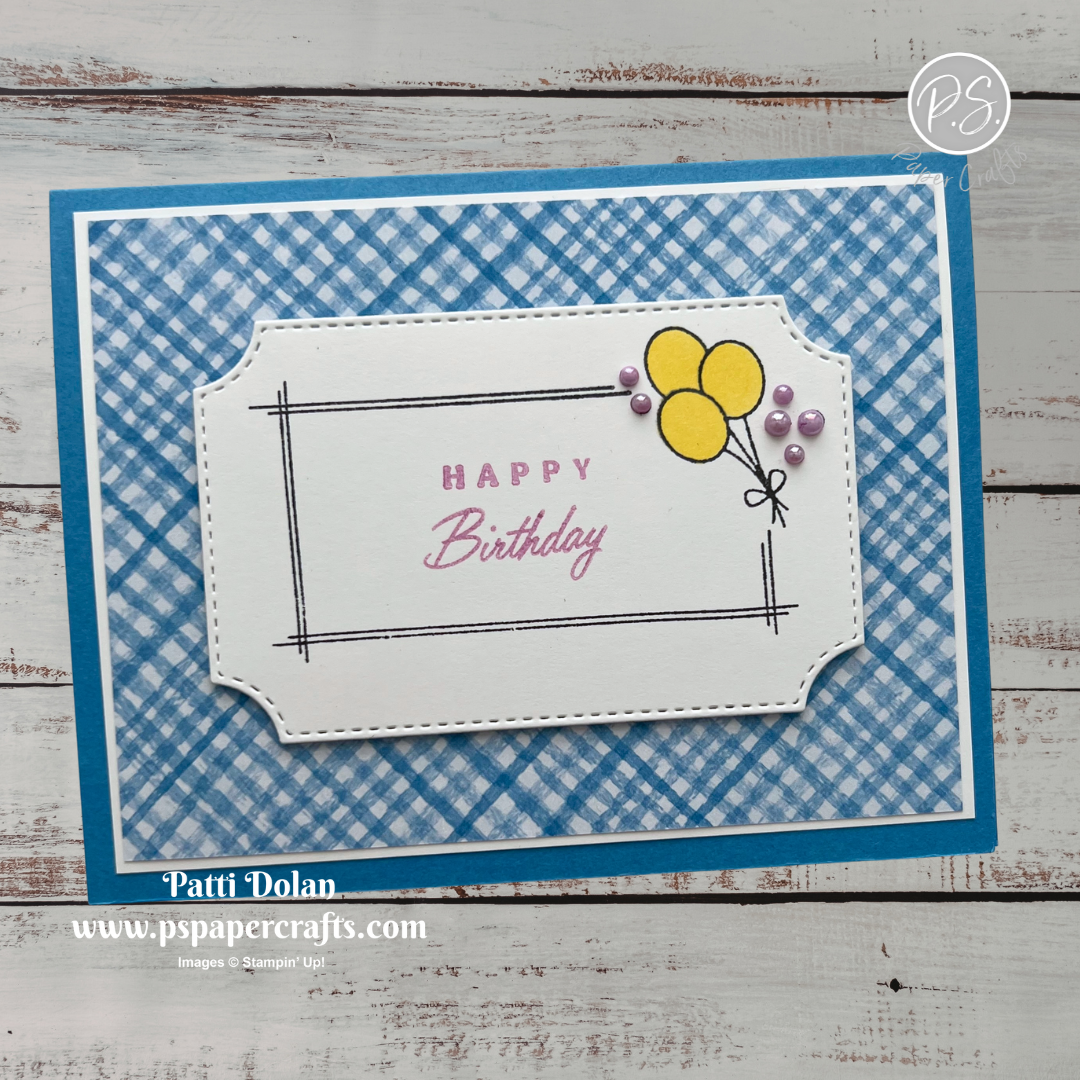
Addressed To You Color Combo

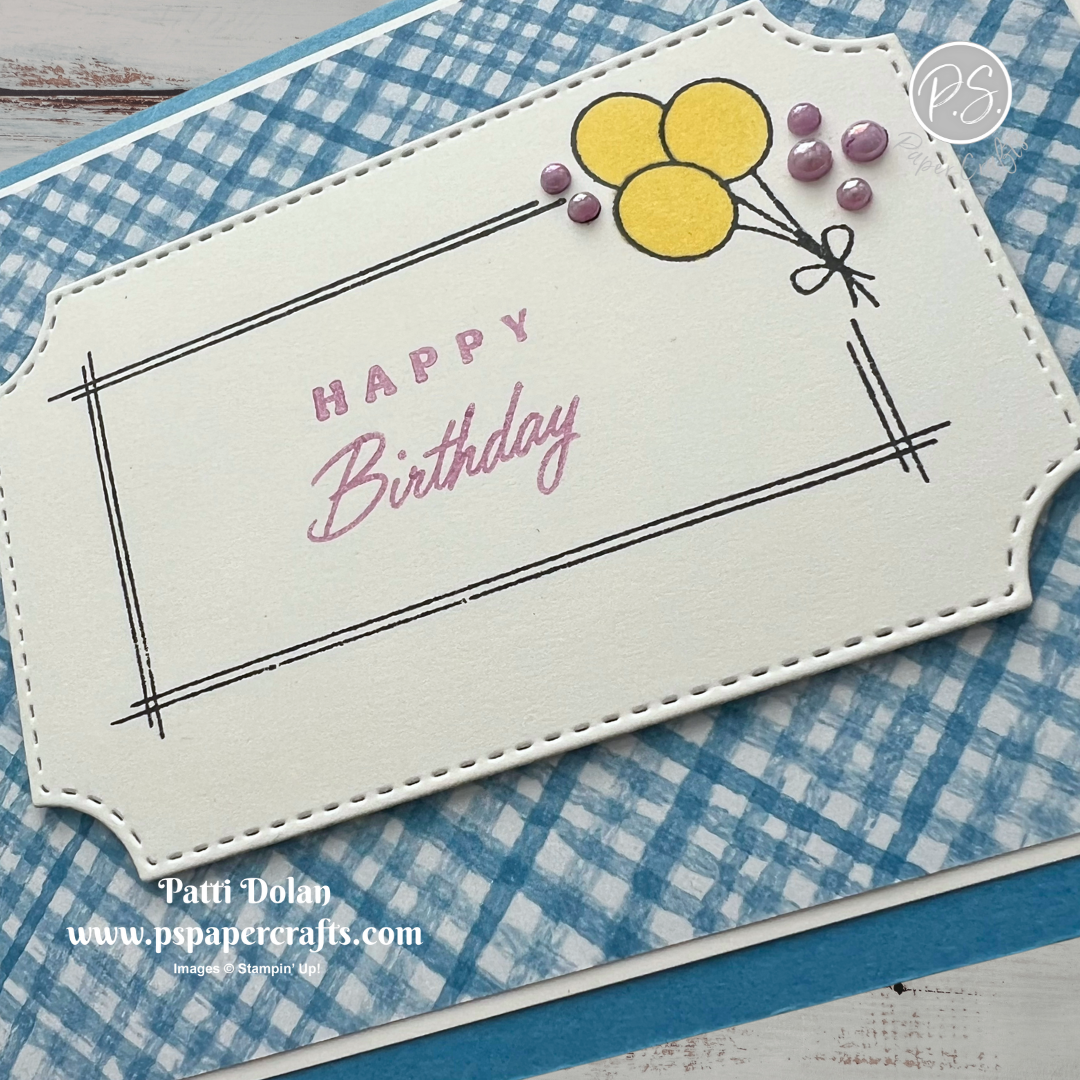
The Addressed To You Stamp Set is so fun. You can use it to make cards or decorate envelopes. The rectangle image has an opening where you can stamp different images like the balloons.


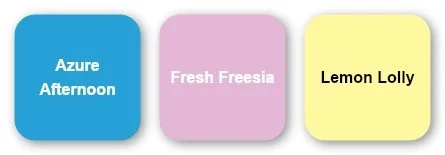
I used the Color Combo from my January Inspiration Calendar - Azure Afternoon, Fresh Freesia and Lemon Lolly.


Tips & Instructions

  • Azure Afternoon Card Base - 5-1/2 x 8-1/2, score at 4-1/4

  • Basic White Layer - 4 x 5-1/4, adhere to the card base.

  • Love Notes Designer Series Paper - 3-3/4 x 5, adhere to the card.

  • Use the Branching Out Dies to die cut the label from Basic White.

  • Stamp the rectangle image from the Addressed To You Stamp Set in Black Memento Ink.

  • Stamp the balloons in the opening of the rectangle in Black Memento Ink.

  • Stamp the sentiment in Fresh Freesia Ink.

  • Color the Balloons with a Dark Lemon Lolly Stampin’ Blends Marker.

  • Color some Iridescent Pearl Basic Jewels with a Dark Fresh Freesia Stampin’ Blends Marker and adhere to the circles in the image. I used the small and medium.


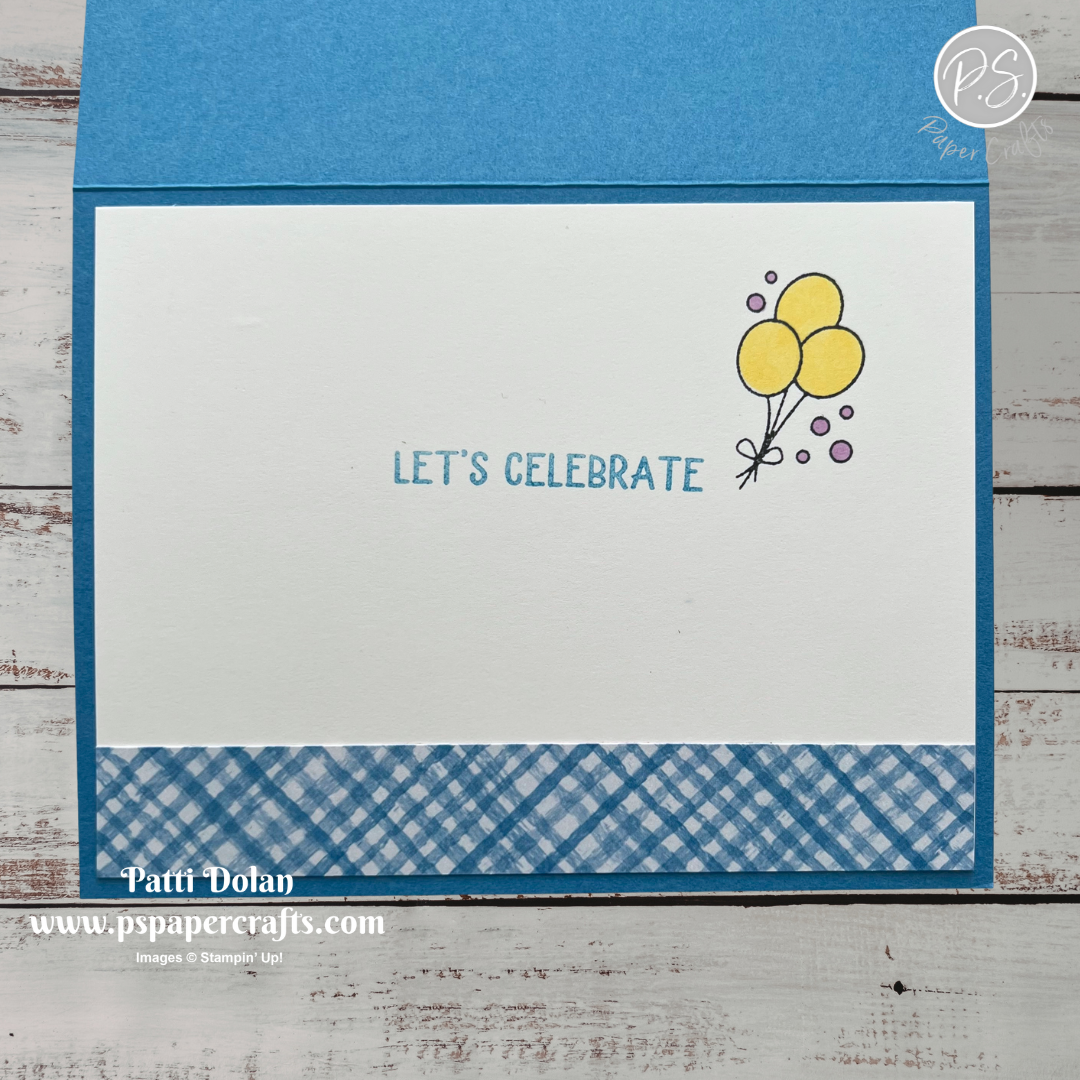
On the inside layer (4 x 5-1/4), stamp sentiment in Azure Afternoon Ink. Stamp the Balloons in Black Memento Ink and color with Dark Lemon Lolly and Dark Fresh Freesia Stampin’ Blends Markers. Adhere a 3/4 x 5-1/4 strip of the Designer Series Paper to the bottom.


I love that you can change the image in the rectangle in this stamp set. The options are flowers, snowflakes and evergreens.


Supply List

You can click on the item to purchase it from my Online Store.