Gorgeous Posies Project Kit

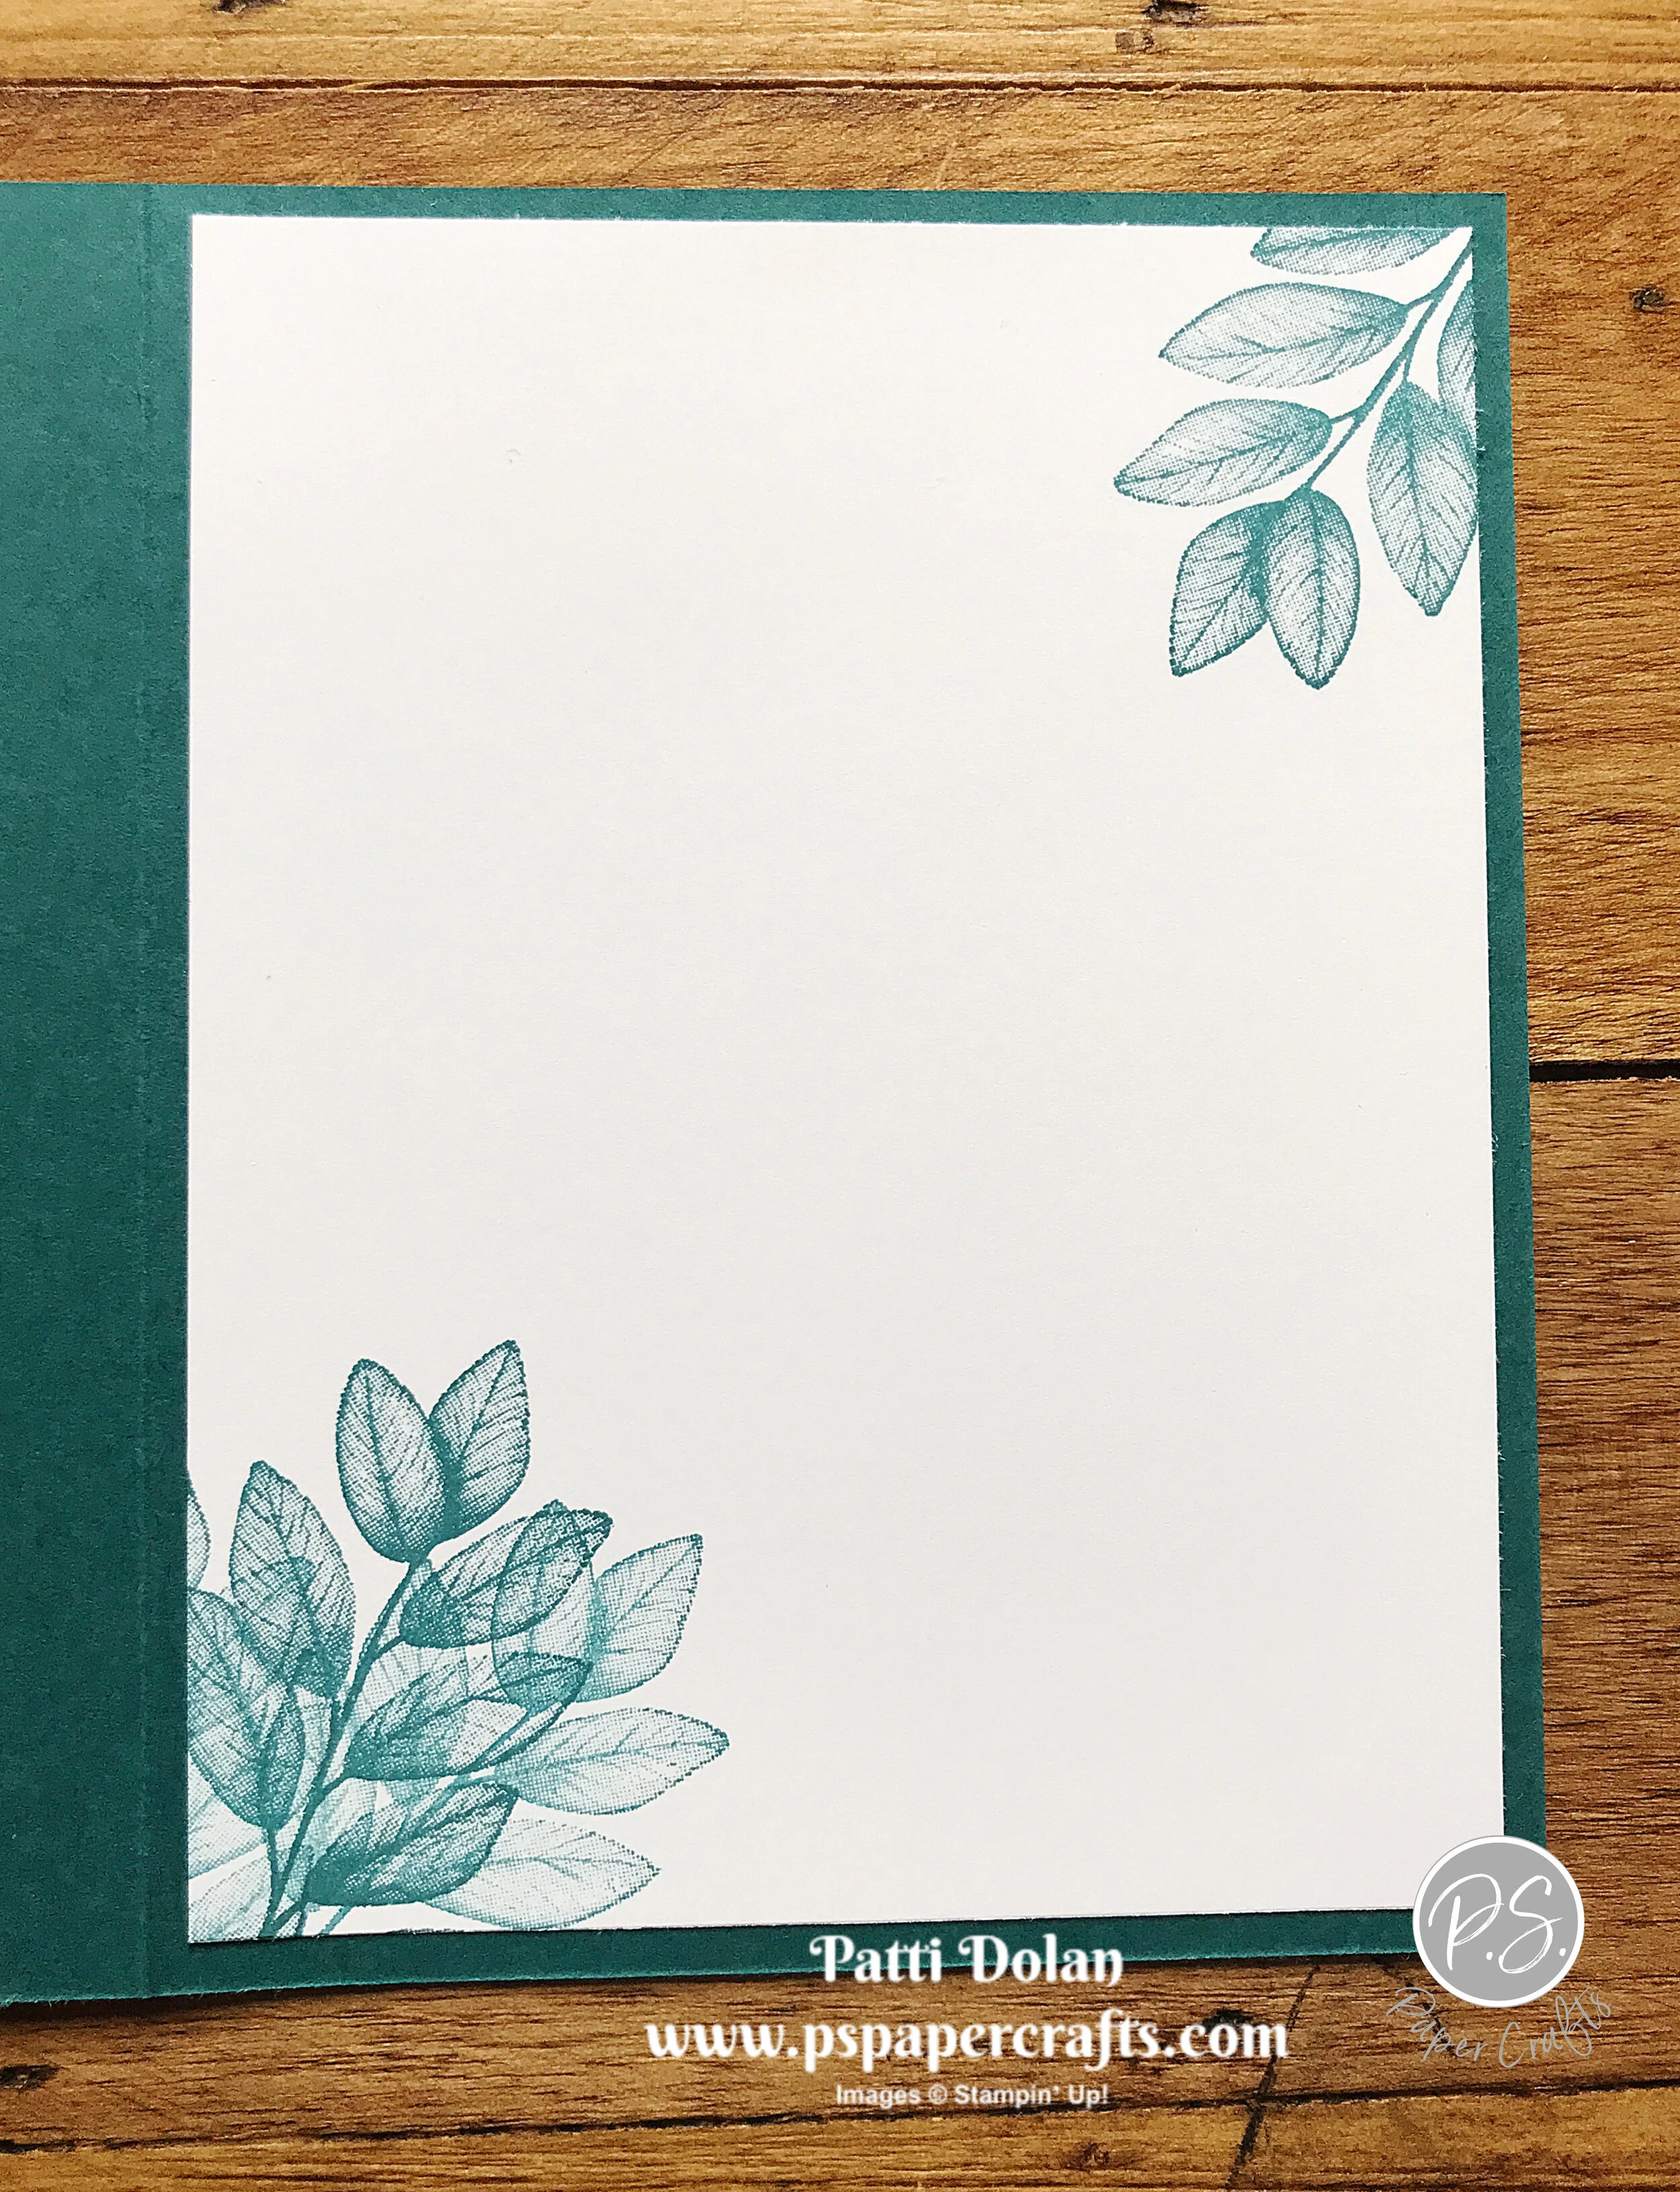
The Gorgeous Posies Project Kit is absolutely beautiful. The kit includes vibrant card fronts, card bases, envelopes, ribbon, die cuts, sentiment labels to make 16 cards along with a pretty box to hold them. The colors are striking!

 
Georgous Posies Card Kit .png
 

I’ll walk you through making one of each of the 4 designs in the video.


You’ll need some additional supplies to make the cards as shown but you can change up the sentiments if you want to use what you have on hand.

  • Gorgeous Posies Cling Stamp Set

  • Stamp Pads - Highland Heather, Gorgeous Grape, Blackberry Bliss and Blushing Bride

  • Adhesives - Dimensionals, Mini Glue Dots, Stampin’ Seal

  • Clear Blocks

 
Georgous Posies Card Kit card1.jpg
 

The cards have gold accents which make them so rich looking.

 
Georgous Posies Card Kit card2.jpg
 

The ribbon is so pretty; sheer in the middle, gold running through with satin white on the edges. There’s also a purple twine included.

 
Georgous Posies Card Kit card3.jpg
 

These cards are so easy to put together and are really so beautiful. You can purchase multiple kits and make more than one using the same stamp set or have a few people each buy a kit and share the stamp set.

 
Georgous Posies Card Kit card4.jpg
 

Supply List

Love Patti.png
 

Dainty Queen Anne's Lace

I used the Queen Anne’s Lace Stamp Set to make this card. I love how delicate it looks; just simple and pretty!

 
Dainty Queen Anne's Lace Card2.jpg
 

The flower image is a two-step stamp where you stamp the full image and then stamp over with the flower image. The fonts for the sentiments are so pretty.

 
Screen Shot 2020-06-17 at 11.02.20 PM.png
 

Tips & Instructions

  • Seaside Spray Card Base - 5 1/2 x 8 1/2, score at 4 1/4, emboss card front using the Dainty Diamonds 3D Embossing Folder

  • Whisper White Layer - 4 1/2 x 3 1/2

  • Seaside Spray Layer - 4 3/8 x 3 3/8

  • Whisper White Layer - 4 1/4 x 3 1/4

  • Color flower part of the stamp with Seaside Spray Stampin’ Write Marker and stems with Pear Pizzazz Stampin’ Write Marker (DO NOT USE STAMPIN’ BLENDS) and breath on stamp to moisten, then stamp on smallest layer

  • Ink up the flower top stamp with Seaside Spray Ink and stamp off (stamp on scrap) then stamp over flowers

  • Stamp sentiment with Pear Pizzazz Ink

  • Adhere layers together and add to card base using Dimensionals

  • Add some Rhinestones

 
Dainty Queen Anne's Lace Card1.jpg
 

On the inside color stamp, excluding the top flower and stem like it was done on the card front and stamp in lower corner.

 
Dainty Queen Anne's Lace inside.jpg
 

Supply List

Love Patti.png
 

Fun Glimmer Birthday Cards

These cards were so fun to make and you can get two cards using the positive and negative pieces. The Rainbow Glimmer Paper is so bright and cheerful!

 
Fun Glitter Birthday Cards - All.jpg
 

Watch the video to see all the steps and get a better look at the Glimmer Paper.


This set was made with Granny Apple Green and Bermuda Bay.

 
Fun Glimmer Birthday Cards Green Both.jpg
 

Tips & Instructions (Positive)

  • Granny Apple Green Card Base - 5 1/2 x 8 1/2, score by 4 1/4

  • Bermuda Bay Layer 5 1/8 x 3 7/8

  • Whisper White Layer 5 x 3 3/4

  • Cut letters from 5 1/8 x 3 7/8 piece of Rainbow Glimmer Paper, make sure you save the inside parts of the letters (A, P, B, R)

  • Stamp sentiment with Granny Apple Green Ink

  • Adhere letters starting with Birthday so you can center Happy above it.

  • Stamp confetti around the sentiments

  • Adhere to Bermuda Bay Layer and adhere to card using Dimensionals

 
Fun Glimmer Birthday Cards Green2.jpg
 

Tips & Instructions (Negative)

  • Granny Apple Green Card Base - 5 1/2 x 8 1/2, score by 4 1/4

  • Whisper White Layer - 5 1/4 x 4

  • Rainbow Glimmer Paper - 5 1/8 x 3 7/8

  • Adhere Glimmer Paper and the center pieces for the letters to Whisper White Layer

  • Adhere layer to card base using Dimensionals

 
Fun Glimmer Birthday Cards Green1.jpg
 

These cards are Magenta Madness and Mango Melody.

 
Fun Glimmer Birthday Cards Magenta Both.jpg
 

Follow the instructions for the Granny Apple Green and Bermuda Bay Card, stamping the sentiment in Magenta Madness Ink and the confetti with Mango Melody Ink.

 
Fun Glimmer Birthday Cards Magenta2.jpg
 

I used Daffodil Delight as the background layer to keep it a little brighter.

 
Fun Glimmer Birthday Cards Magenta1.jpg
 

Supply List

Love Patti.png
 

Basket Of Blooms - Thinking Of You!

I think I bought this stamp set because of the flower pot image. Is that crazy? There is something about it that just hit me.

 
Basket Of Blooms - Thinking Of You2.jpg
 

You can make arrangements in the flower pot, basket and vase. The larger flower images coordinate with the Small Bloom Punch.

 
Screen Shot 2020-06-15 at 11.27.22 PM.png
 

Tips & Instructions

  • Just Jade Card Base - 5 1/2 x 8 1/2, score at 4 1/4

  • Whisper White Layer 5 x 3 3/4

  • Just Jade Square - 1 1/2 x 1 1/2

  • Whisper White Square - 1 3/8 x 1 3/8, stamp sentiment (from Many Mates Stamp Set)

  • Stamp flower pot with Black Memento Ink, color with Just Jade Stampin’ Blends Marker and fussy cut

  • Stamp greenery images with various greens - I used Mossy Meadow, Old Olive and Garden Green

  • Stamp 2 larger flowers with Magenta Madness and punch with Small Bloom Punch

  • Stamp 3 small flowers with Mango Melody Ink and color with Light Daffodil Delight Stampin’ Blends Marker; fussy cut the flowers

  • Adhere flower pot and flowers using Dimensionals for the larger flowers

  • Using light Cinnamon Cider Stampin’ Blends Marker color beneath the flower pot

  • Add Cinnamon Cider Enamel Dots to center of the small flowers and Rhinestones to the center of the large flowers

  • Adhere layers to card

 
Basket Of Blooms - Thinking Of You1.jpg
 

On the inside stamp sentiment with Black Memento Ink and the greenery image with Old Olive, stamp a second and third time without re-inking.

 
Basket Of Blooms - Thinking Of You inside.jpg
 

Supply List

Love Patti.png
 

Sketch Saturday - Whale Done

I used the Seabed 3D Embossing Folder for the background on this card. It’s awesome! This is the card I made for today’s sketch challenge.

 
Sketch Saturday - Whale Done Card3.jpg
 

The sketch is for the CAS(E) This Sketch Challenge from Splitcoaststampers.

 
Screen Shot 2020-06-12 at 10.56.15 PM.png
 

Tips & Instructions

  • Garden Green Card Base - 5 1/2 x 8 1/2, score at 4 1/4

  • Soft Sea Foam Layer - 5 3/8 x 4 1/8, emboss with Seabed 3D Embossing Folder

  • Cut Whisper White Circle and Garden Green Scalloped Circle using Layering Circle Dies

  • Stamp turtle with Garden Green Ink and just the top of the jellyfish around with Soft Sea Foam Ink

  • Stamp heart with Real Red Ink

  • Adhere circles together and then to card

  • Color sentiment stamp with Garden Green and Real Red Stampin’ Write Markers (do no use Stampin’ Blends on stamps) and stamp on 3/4” strip of Whisper White

  • Punch both ends of the sentiment strip using Banner Triple Punch and adhere to card using Dimensionals

 
Sketch Saturday - Whale Done Card4.jpg
 

On the inside stamp jellyfish with Soft Sea Foam Ink and the plant images with Garden Green stamping off on one of them to get a lighter shade.

 
Sketch Saturday - Whale Done inside2.jpg
 

The Whale Done Stamp Set has some great images and there’s a punch that coordinates with the whale and I love this embossing folder.

 
Sketch Saturday - Whale Done Stamp.jpg
 

Supply List

Love Patti.png
 

Beautiful World Cards

The Beautiful World Bundle is really cool. It’s great for a traveler or masculine cards or just to let someone know they are special in your life.

 
World Of Good Cards Both.jpg
 

Watch the video to see all the beautiful papers in the World of Good Specialty Designer Series Paper and all the great dies that are in this Bundle.


I made two different cards for different purposes. One is for someone special and the other for someone who is heading for a new chapter of their life.

 
_World Of Good Card1.jpg
 

Tips & Instructions

  • Early Espresso Card Base - 5 1/2 x 8 1/2, score at 4 1/4

  • Brass Foil Sheet - 5 1/4 x 4 - tip, cut out middle of the foil sheet to save for another project, it will be hidden so no one will know)

  • World of Good Specialty Designer Series Paper - 5 x 3 3/4

  • Adhere layers

  • Cut circles from Soft Seafoam Cardstock and Seaside Spray from World Map Dies

  • Cut both globes and both stands from Early Espresso Cardstock from World Map Dies

  • Assemble globes and stands and adhere to card, using Dimensionals on smaller one

  • Stamp sentiment on 1” strip with Early Espresso Ink and punch one end using Banner Triple Punch

  • Adhere to card using Dimensionals

 
_World Of Good Card2.jpg
 

On the inside stamp appropriate sentiment and ink well with Early Espresso Ink. Stamp feather with Seaside Spray Ink.

 
_World Of Good Cards - Inside.jpg
 

Supply List

Love Patti.png
 

Peony Garden Sympathy Card

I made this beautiful sympathy card by coloring just the background on a piece of the Peony Garden Designer Series Paper.

 
Peony Garden Sympathy Card2.jpg
 

This Designer Series Paper is just beautiful. The images are very subtle in grays and pinks.

 
Screen Shot 2020-06-10 at 10.16.02 PM.png
 

Tips & Instructions

  • Basic Gray Card Base - 5 1/2 x 8 1/2, score at 4 1/4

  • Peony Garden Designer Series Paper 5 1/4 x 4

  • Color background of the Designer Series Paper with a Dark Pool Party Stampin’ Blends Marker

  • Stamp sentiment with Basic Gray Ink on Whisper White Cardstock and cut with Stitched So Sweetly Die

  • Wrap piece of Pool Party Sheer Ribbon around Designer Series Paper and adhere to back

  • Adhere sentiment label over ribbon using Dimensionals

  • Tie bow and adhere with Mini Glue Dot

  • Add 3 Rhinestones to sentiment label

 
Peony Garden Sympathy Card1.jpg
 

On the inside stamp sentiment with Basic Gray Ink. Stamp flower and leaves in bottom corner with Basic Gray Ink, stamping off first to get a lighter shade.

 
Peony Garden Sympathy Card inside.jpg
 

Supply List

Love Patti.png
 

Celebrate Sunflowers - Sponging Technique

Aren’t these beautiful? I sponged the flowers and then added the delicate die over them.

 
Celebrate Sunflowers - Sponging Technique Both.jpg
 

I’ll show you how to make these in the video below.


The first one was sponged with Daffodil Delight and Rich Razzleberry.

Tips & Instructions

  • Rich Razzleberry Card Base - 5 1/2 x 8 1/2, score at 4 1/4

  • Daffodil Delight Layer - 5 1/4 x 4, stamp smaller sunflowers with Daffodil Delight Ink

  • Whisper White - sponge center with Daffodil Ink and outside with Rich Razzleberry, blending as you go (I used Ink Blending Brushes but you can use a Stampin’ Sponge, cut in quarters)

  • Cut background flower from sponged piece

  • Cut detailed flower from Rich Razzleberry Cardstock

  • Cut center from Daffodil Delight Cardstock

  • Adhere pieces together to create the flower and adhere to card with Dimensionals

  • Stamp sentiment on scrap of Whisper White Cardstock with Rich Razzleberry Ink and punch with Label Me Fancy Punch

  • Wrap piece of Whisper White Bakers Twine around the card twice and adhere to back.

  • Adhere sentiment over ribbon with Dimensionals

  • Tie bow with 2 strands Bakers Twine and adhere with Mini Glue Dot

  • Add some pearls to the sentiment label

 
Celebrate Sunflowers - Sponging Technique razzleberry2.jpg
 

The card below was sponged with Daffodil Delight and Calypso Coral Ink. I made this the same way as the card on the video with some different colors.

  • Card base - Early Espresso

  • Card Layers - Calypso Coral (5 3/8 x 4 1/8), Bumble Bee (5 1/4 x 4)

  • Stamp small flowers on the Bumble Bee Layer with Versamark Ink

  • Use Early Espresso Faux Suede Trim

  • Use Bumble Bee Enamel Dots (from 2020-2022 In Color Enamel Dots)

 
Celebrate Sunflowers - Sponging Technique orange.jpg
 

On the inside, stamp two small sunflowers with Daffodil Delight Ink.

 
Celebrate Sunflowers - Sponging Technique Inside.jpg
 

Supply List for both cards.

Love Patti.png
 

Pretty Sympathy Card using Celebrate Sunflowers

When I stamped the sunflower with black ink on the Daffodil Delight card, I just loved it. That was the start of this card. The sentiment is from a Host Set called Touched My Heart.

 
Pretty Sympathy Card using Celebrate Sunflowers card2.jpg
 

The Celebrate Sunflowers Stamp Set has this beautiful large sunflower image. Look at all the details in the image. There are coordinating Sunflower Dies that you can bundle together with it.

 
Celebrate Sunflowers Bundle.png
 

Tips & Instructions

  • Basic Black Card Base - 5 1/2 x 8 1/2, score at 4 1/4

  • Whisper White Layer - cut with largest die from Ornate Layers Dies and adhere to card base

  • Stamp sentiment (from Touched My Heart Host Set) with Black Memento Ink

  • Daffodil Delight scrap - stamp large flower with Black Memento Ink and cut with coordinating Sunflower Die

  • Add Wink Of Stella to the flower

  • Old Olive scrap - stamp 3 leaves with Black Memento Ink and cut with coordinating die

  • Adhere leaves behind sunflower and then adhere flower to card

  • Adhere pearls, I used a large and small for each grouping

 
Pretty Sympathy Card using Celebrate Sunflowers card1.jpg
 

On the inside stamp leaves with Old Olive Ink to top and bottom corner.

 
Pretty Sympathy Card using Celebrate Sunflowers inside.jpg
 

Supply List

Love Patti.png
 

Pick A Free Bundle

Have you ever thought about joining Stampin’ Up! as a Demonstrator? This is a perfect time to do it. They are giving you a FREE Bundle if you join by June 30, 2020.

Screen Shot 2020-06-07 at 2.47.15 PM.png

I’ve never regretted joining as a demonstrator 3 years ago. I think the best part about it is all the wonderful people I’ve met who love to do what I love to do. We have great fun in our Facebook groups with sharing our creations, helping each other, praying for each other, challenges, training, etc.

There’s really no pressure to sell or even do this as a business. Most people just want the discount but if you do want to make this a business, there’s plenty of help from fellow demonstrators.

Right now, there is a special promotion going on where you get a FREE Bundle in your starter kit. So here’s what you get for $99.00 (US):

  • $125 worth of product (you choose)

  • Free Bundle - ONE stamp and punch bundle (p. 168–169) or ONE stamp and die bundle (p. 173-179) from the 2020–2021 Annual Catalog

  • Free Shipping

  • 20% off future orders and 20% commission on orders placed with you.

  • Access to team Facebook Groups

Still on the fence? Email me and we can set up a call and talk about it. patti@pspapercrafts.com

Love Patti.png
 

Sketch Saturday - Jar of Flowers

For today’s sketch challenge I used the Jar Of Love Bundle along with the new Just Jade Cardstock and Gingham Ribbon.

 
Sketch Saturday - Jar of Flowers1.jpg
 

The sketch is from the CAS(E) This Sketch Challenge from Splitcoaststampers.

 
Screen Shot 2020-06-06 at 3.46.11 PM.png
 

The Jar Of Flowers is such a fun bundle. There is a punch that easily punches out the mason jar. If you purchase as a bundle, you get 10% off. The Stamp set has some “reversible” stamps which means you can ink and stamp both sides.

 
Screen Shot 2020-06-06 at 3.45.20 PM.png
 

Tips & Instructions

  • Just Jade Card Base - 5 1/2 x 8 1/2, score at 4 1/4

  • Just Jade Layer - 5 3/8 x 4 1/8, emboss with Subtle 3D Embossing Folder and adhere to card base

  • Whisper White Cardstock - cut with Stitched Rectangle Die

  • Whisper White scrap - stamp mason jar with Smoky Slate Ink, stamp the water (using back of water stamp) with Pool Party ink, stamping off first, stamp stems with Soft Suede Ink and then punch with coordinating Jar Punch

  • Stamp flowers with Black Memento Ink on the Stitched Rectangle (use the jar to determine where to stamp the flowers

  • Color flowers and leaves with Stampin’ Blends (Dark Poppy Parade, Light Daffodil Delight, Dark Pool Party, Dark Flirty Flamingo, Light Rich Razzleberry, Dark Old Olive)

  • Adhere jar beneath flowers and adhere layer to card

  • Tie bow with ribbon and adhere with Mini Glue Dot

  • Stamp sentiment (from Itty Bitty Birthdays) on 1/2” strip of Whisper White with Black Ink and punch each end with Banner Triple Punch and adhere to card using Dimensionals

 
Sketch Saturday - Jar of Flowers2.jpg
 

On the inside stamp sentiment and flowers with Black Memento Ink. Color flowers the same way you did the outside layer.

 
Sketch Saturday - Jar of Flowers inside.jpg
 

Supply List

Love Patti.png
 

Birds & Branches - Just because

I love birds so when I saw the Birds & Branches Bundle in the new catalog, I had to get it. Aren’t these fun?

 
Birds & Branches - Just because both.jpg
 

I’ll tell you all about this bundle as I make the card in the video.


Tips & Instructions

  • Garden Green Card Base - 5 1/2 x 8 1/2, score at 4 1/4

  • Forever Greenery Designer Series Paper Layer - 5 1/4 x 4

  • Whisper White Layer - 4 1/2 x 3 1/2

  • Scraps of Whisper White Cardstock to stamp nest with Crumb Cake Ink, eggs with Seaside Spray Ink, Bird with Pacific Point Ink, and feet with Early Espresso Ink, cut with coordinating dies

  • Adhere feet to bird so you don’t lose them

  • Color belly with Light So Saffron and wing with Light Calypso Coral Stampin’ Blends Markers

  • Stamp large branch across the card and add some smaller branches with Early Espresso Ink

  • Stamp leaves with Garden Green Ink

  • Adhere eggs and nest to card and then adhere bird using Dimensionals

  • Stamp sentiment with Early Espresso Ink

  • Adhere some gems to card

 
Birds & Branches - Just because card2.jpg
 

Look at the beautiful images and dies in this bundle. I can’t wait to use the wreath die and border die!

 
Birds & Branches - Stamp Set.jpg
 

I made a mistake on this card so had to add some additional gems. Do you ever do that? Embellishments alway cover up our mistakes :)

 
Birds & Branches - Just because card1.jpg
 

On the inside I stamped some branches with leaves in two corners. I’m not sure who I’ll give it to so I didn’t want to add a sentiment.

 
Birds & Branches - Just because inside.jpg
 

Supply List

Love Patti.png
 

More Blossoms In Bloom Cards

I made some more cards using the Blossoms In Bloom Bundle from the new Annual Catalog. This is such a great bundle. Look at yesterday’s post to see a different card with a video showing the new products.

 
Blossoms In Bloom Both2.jpg
 

The first card was made with just the large stamp. It’s simple but beautiful! I used my Stamparatus for this since the stamp was so large.

Tips & Instructions

  • Highland Heather Card Base - 5 1/2 x 8 1/2, score at 4 1/4

  • Whisper White Layer - 5 1/4 x 4

  • Stamp large floral image with Highland Heather Ink, stamp leaves with Granny Apple Green Ink and stamp flower centers with Soft Suede Ink

  • Using a Sponge Dauber add ink to centers of flowers with Daffodil Delight Ink

  • Stamp sentiment at top corner with Highland Heather Ink

  • Color 3 Rhinestones with Dark Highland Heather Stampin’ Blends Marker and adhere below sentiment

  • Adhere layer to card base

 
Blossoms In Bloom Highland Heather.jpg
 

On the inside stamp portion of large floral image on bottom and top corners along with centers and leaves like the card front. Stamp sentiment with Highland Heather Ink.

 
Blossoms In Bloom Highland Heather inside.jpg
 

I stamped the large floral image with Rococo Rose Ink and then added the thin floral border with a piece of Rococo Rose Cardstock that was cut from the coordinating die.

Tips & Instructions

  • Rich Razzleberry Card Base - 5 1/2 x 8 1/2, score at 4 1/4

  • Whisper White Layer - 5 1/4 x 4

  • Stamp large floral image with Rococo Rose Ink and stamp flower centers with So Saffron Ink

  • Cut piece of Rococo Rose Cardstock using the thin floral die from the Many Layered Blossoms Die and cut off leaves and small flowers

  • Adhere over the stamped image lining it to fit around the flowers

  • Stamp leaves with Old Olive Ink

  • Stamp sentiment with Rich Razzleberry Ink

  • Adhere layer to card

 
Blossoms In Bloom Rococo Rose.jpg
 

On the inside stamp small flowers with Rococo Rose Ink, stamp centers with So Saffron Ink and leaves with Old Olive Ink.

 
Blossoms In Bloom Rococo Rose inside.jpg
 

Supply List

Love Patti.png
 

Blossoms In Bloom Cards

I made these cards with the new Blossoms In Bloom Bundle. Aren’t they beautiful? The dies are huge and layer together to so nicely.

 
Blossoms In Bloom Both.jpg
 

In the video I’ll show you how I layered the large floral pieces together. I used the new In Color called Misty Moonlight along with Seaside Spray and adhered them to a Daffodil Delight layer.


Tips & Instructions

  • Misty Moonlight Card Base - 5 1/2 x 8 1/2, score at 4 1/4

  • Daffodil Delight Layer - 5 3/8 x 4 1/8

  • Misty Moonlight - cut thin floral piece with the Many Layered Blossom Dies

  • Seaside Spray - cut thicker floral piece with Many Layered Blossom Dies

  • Adhere pieces together using small amounts of Liquid Glue to the Misty Moonlight piece

  • Optional - color inside of leaves with Dark Granny Apple Green Stampin’ Blends Marker

  • Adhere floral piece to Daffodil Delight Layer

  • Stamp sentiment on scrap of Whisper White, punch with Label Me Fancy Punch, then punch small holes on each end

  • Feed Misty Moonlight/Silver Bakers Twine through the holes and wrap around card 3 times

  • Add dimensionals to label and adhere to card, then tape twine in back of the layer

  • Adhere layer to card base

 
Blossoms In Bloom Card2.jpg
 

I love these colors together. The dies can be layered or not layered, used with the stamp; so many options. Look at my Blog tomorrow for some other ideas.

 
Blossoms In Bloom Card1.jpg
 

On the inside stamp some flowers using Daffodil Delight centers with Seaside Spray and leaves with Granny Apple Green Inks.

 
Blossoms In Bloom Inside.jpg
 

Supply List

Love Patti.png
 

2020-2022 In Color Cards

The new In Colors are here!!!! Every year with the new catalog, Stampin’ Up! introduces 5 new colors that are available for 2 years.

This year’s 2020-2022 In Colors are beautiful. Introducing Bumble Bee, Misty Moonlight, Just Jade, Cinnamon Cider, Magenta Madness!

 
2020-2022 In Color Cards All.jpg
 

First up is Bumble Bee. I used the In Color Designer Series Paper on each card to show the different patterns. These are 6x6 papers and you can get them in each of the color families.

 
2020-2022 In Color Card Bumble Bee.jpg
 

Next, is Misty Moonlight. I added some In Color Ribbon to each card. It’s so soft and easy to tie.

 
2020-2022 In Color Card Misty Moonlight.jpg
 

I think Just Jade is my favorite. I’m sure that will change as time goes on and I use them more.

 
2020-2022 In Color Card Just Jade.jpg
 

Cinnamon Cider will be a great color for the Fall season. I added some In Color Enamel Dots to each card.

 
2020-2022 In Color Card Cinnamon Cider.jpg
 

Last but definitely least is Magenta Madness. This color is bright and vibrant. It will be a great pop of color on any card.

 
2020-2022 In Color Card - Magenta Madness.jpg
 

I used the Tasteful Label Dies and Tasteful Touches Stamp Set for the sentiments. They are all stamped with Black Memento Ink.

 
2020-2022 In Color Cards - stamp set.jpg
 

Supply List

The new In Colors will be available starting June 3, 2020 when the new Annual Catalog goes live.

Need a catalog? Just email me patti@pspapercrafts.com with your address and I’ll mail you one.

Love Patti.png
 

Sketch Saturday - Field Of Flowers

I used the Field Of Flowers Bundle for this card. The stamp set has a coordinating punch to punch out the small flowers.

 
Sketch Saturday - Field Of Flowers Card1.jpg
 

I made this card for the CAS(E) This Sketch Challenge from Splitcoaststampers. Here’s the sketch!

 
Screen Shot 2020-05-30 at 1.48.29 PM.png
 

I thought the Ornate Floral 3D Embossing Folder would make a great background layer.

 
Sketch Saturday - Field Of Flowers stamp.jpg
 

Tips & Instructions

  • Granny Apple Green Card Base - 5 1/2 x 8 1/2, score at 4 1/4

  • Granny Apple Green Layer - 5 3/8 x 4 1/8, emboss with Ornate Floral 3D Embossing Folder and adhere to card base

  • Whisper White Layer - 4 1/2 x 3 1/2, stamp greenery image with Granny Apple Green Ink

  • Stamp larger stem and leaves image with Granny Apple Green and flower tops with Rococo Rose Ink

  • Stamp small flowers on Whisper White Scrap with Highland Heather and Daffodil Delight Ink and punch with coordinating punch

  • Adhere punched flowers to greenery

  • Stamp sentiment on 1/2” strip of Whisper White and punch both ends with Lovely Labels Pick A Punch

  • Punch 5/8” strip of Granny Apple Green and punch with Lovely Labels Pick A Punch

  • Adhere strips together and adhere to card with Dimensionals

 
Sketch Saturday - Field Of Flowers card2.jpg
 

On the inside stamp stem and leaves image with Granny Apple Green Ink and flower tops with Rococo Rose Ink.

 
Sketch Saturday - Field Of Flowers inside.jpg
 

Supply List

Love Patti.png
 

Jar Of Flowers - Thanks A Bunch

I love the rustic look of this card. I used the Jar Of Flowers Stamp Set with the In Good Taste Designer Series Paper.

 
Jar Of Flowers - Thanks A Bunch card2.jpg
 

I colored the flowers with Stampin’ Blends and added some Wink Of Stella to the flower centers to give them a little shine.


The Jar Of Flowers Stamp Set has such beautiful images and has a coordinating punch for the jar.

 
Jar Of Flowers - Thanks A Bunch stamp.jpg
 

Tips & Instructions

  • Early Espresso Card Base - 5 1/2 x 8 1/2, score at 4 1/4

  • In Good Taste Designer Series Paper - 5 3/8 x 4 1/8, adhere to card base

  • Whisper White Layer - 4 1/2 x 2 3/4

  • Stamp flowers with Black Memento Ink

  • Stamp the flowers again on a piece of scrap paper and cut along bottom to create a mask

  • Using the mask, cover flowers and stamp jar with Smoky Slate Ink

  • Color jar with Light Soft Sea Foam Stampin’ Blends and the flowers with Calypso Coral, Soft Suede, Light Pumpkin Pie and Dark Granny Apple Green Stampin’ Blends

  • Add Wink Of Stella to flower centers

  • Adhere layer to card

  • Stamp sentiment (from Celebrate Sunflowers) with Early Espresso Ink on 3 1/2 x 1/2 strip of Whisper White Cardstock and adhere using Dimensionals

  • Tie bow with Linen Thread and adhere to jar

  • Add 3 Gilded Gems to bow and sentiment strip

 
Jar Of Flowers - Thanks A Bunch card1.jpg
 

On the inside stamp flowers at bottom and top corners and color like the card front.

 
Jar Of Flowers - Thanks A Bunch inside.jpg
 

Supply List

Love Patti.png
 

Beautiful Hello Card with Forever Greenery

I decided to try using one of the Greenery Embossing Folders on this card. You get two in the package and they are 3 3/8” wide so you can create a nice layer on your card.

 
Hello Card with Forever Greenery Card2.jpg
 

I am loving the Forever Greenery Suite. The stamp set is Distinktive which means they have photo-realistic style images. Distinktive stamps have a special texture that gives added depth and dimension in a single step.

 
Hello Card with Forever Greenery stamp.jpg
 

Tips & Instructions

  • Pretty Peacock Card Base - 5 1/2 x 8 1/2, score at 4 1/4

  • Forever Greenery Designer Series Paper - 5 3/8 x 4 1/8, adhere to card base

  • Just Jade Layer - 5 3/8 x 3 1/4, emboss with Greenery Embossing Folder and adhere to card

  • Stamp sentiment and small leaf image with Pretty Peacock Ink on scrap of Whisper White Cardstock and cut with larger circle die from Tasteful Label Dies

  • Adhere 2 foil pieces from the Forever Gold Laser-cut Specialty Papers to card and adhere sentiment label over them using Dimensionals

 
Hello Card with Forever Greenery card1.jpg
 

On the inside stamp leaf images at top and bottom corners with Pretty Peacock Ink

 
Hello Card with Forever Greenery inside.jpg
 

Supply List

Love Patti.png
 

Music From The Heart Birthday Card

This is a great card for a teen or young adult. It’s fun but not too fancy!!!

 
Music From The Heart Birthday Card2.jpg
 

Watch the video to see how I created the guitar with combining the treble clef and the guitar neck images.


Tips & Instructions

  • Night Of Navy Card Base - 5 1/2 x 8 1/2, score at 4 1/4

  • Crumb Cake Layer - 5 x 3 3/4, stamp notes randomly with Night Of Navy Ink

  • Wrap piece of Denim Ribbon around layer, adhere to back and then adhere to card base

  • Crumb Cake Focal Layer - 3 1/2 x 2 1/2, stamp guitar, sentiment and notes as shown in the video with Night Of Navy Ink (stamp off first when stamping the notes)

  • Night Of Navy Layer - 3 5/8 x 2 5/8, adhere to focal layer and then adhere to card using Dimensionals

  • Add 3 Rhinestones

 
Music From The Heart Birthday Card.jpg
 

On the inside stamp notes across the bottom and sentiment with Night Of Navy Ink.

 
Music From The Heart Birthday Card inside.jpg
 

Supply List

Love Patti.png
 

Masculine - You're A Classic Card

This is a great card for Father’s Day or a guy’s Birthday! I paired the Geared Up Garage Stamp Set with the World Of Good Designer Series Paper.

 
Masculine - You're A Classic Card2.jpg
 

The car image reminds me of the car that I learned how to drive a stick shift on. It was a red Datsun 240z. The dies coordinate so nicely with the stamps and there’s a bunch of gears you can cut out as well.

 
Masculine - You're A Classic Card stamp set.jpg
 

Tips & Instructions

  • Basic Black Card Base - 5 1/2 x 8 1/2, score at 4 1/4

  • World Of Good Specialty Designer Series Paper - 5 1/4 x 4, adhere to card base

  • Whisper White Cardstock - cut using the 4th largest rectangle from the Stitched Rectangle Dies

  • Stamp card with Black Memento Ink and cut with coordinating die

  • Color with Stampin Blends (Real Red and Smoky Slate) and add some Wink Of Stella to the headlights and windows

  • Stamp smoke across bottom of rectangle with Smoky Slate Ink, stamping off first to get lighter color.

  • Stamp sentiment with Real Red Ink

  • Adhere car using Dimentionals and adhere rectangle to card

  • Add 3 Gilded Gems

 
Masculine - You're A Classic Card.jpg
 

On the inside stamp sentiment with Real Red Ink. Stamp Smoke across bottom with Smoky Slate Ink, stamping off first.

 
Masculine - You're A Classic Card inside.jpg
 

Supply List

Love Patti.png