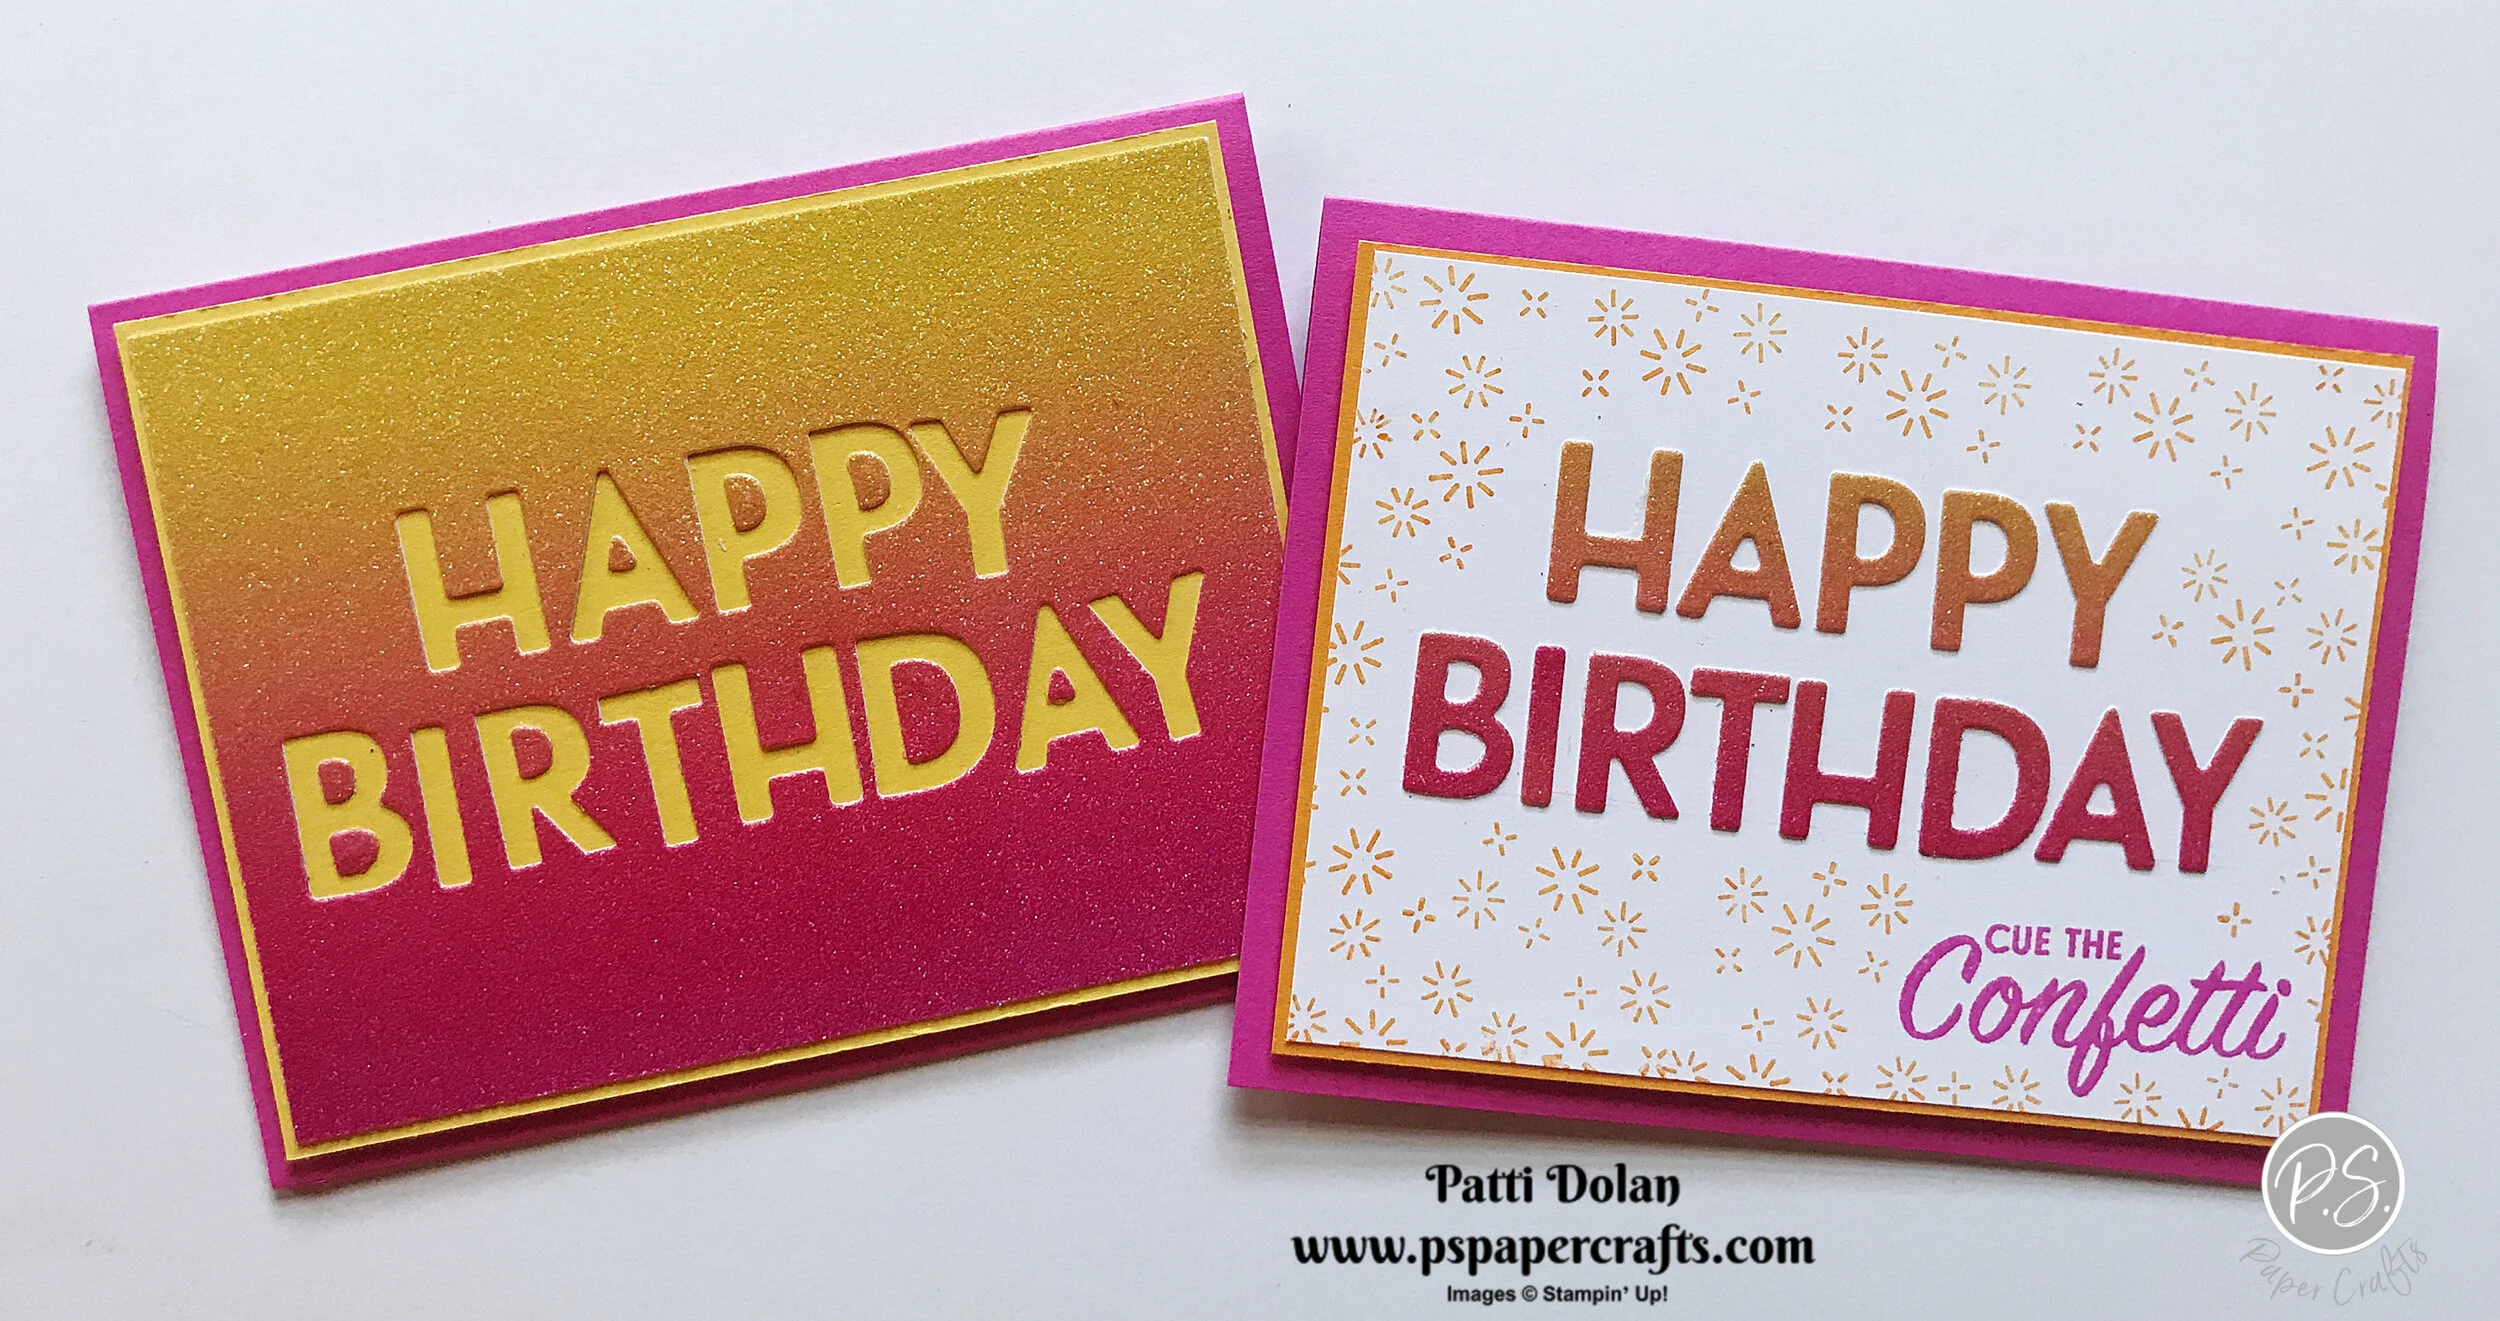
These cards were so fun to make and you can get two cards using the positive and negative pieces. The Rainbow Glimmer Paper is so bright and cheerful!

Watch the video to see all the steps and get a better look at the Glimmer Paper.
This set was made with Granny Apple Green and Bermuda Bay.

Tips & Instructions (Positive)
Granny Apple Green Card Base - 5 1/2 x 8 1/2, score by 4 1/4
Bermuda Bay Layer 5 1/8 x 3 7/8
Whisper White Layer 5 x 3 3/4
Cut letters from 5 1/8 x 3 7/8 piece of Rainbow Glimmer Paper, make sure you save the inside parts of the letters (A, P, B, R)
Stamp sentiment with Granny Apple Green Ink
Adhere letters starting with Birthday so you can center Happy above it.
Stamp confetti around the sentiments
Adhere to Bermuda Bay Layer and adhere to card using Dimensionals

Tips & Instructions (Negative)
Granny Apple Green Card Base - 5 1/2 x 8 1/2, score by 4 1/4
Whisper White Layer - 5 1/4 x 4
Rainbow Glimmer Paper - 5 1/8 x 3 7/8
Adhere Glimmer Paper and the center pieces for the letters to Whisper White Layer
Adhere layer to card base using Dimensionals