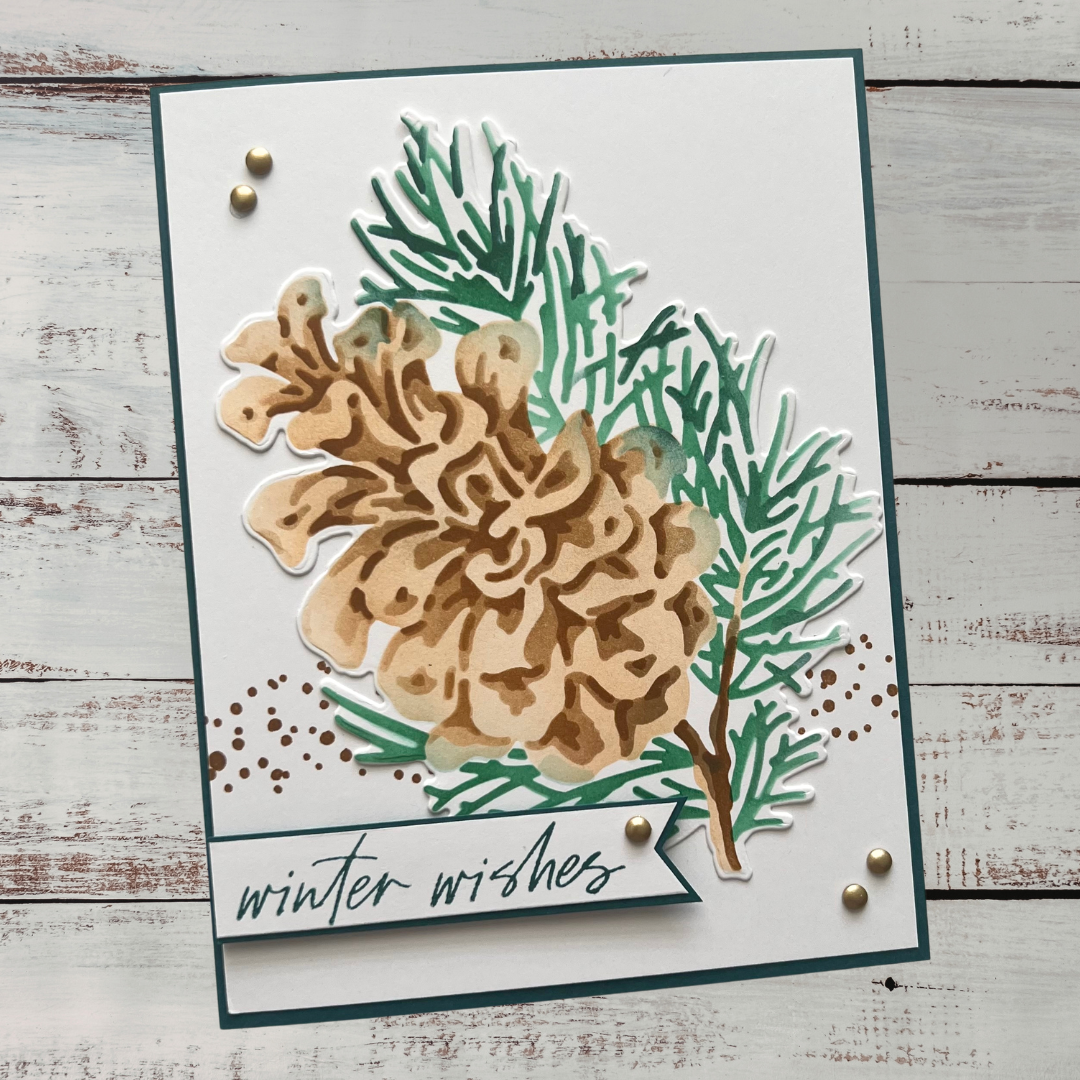
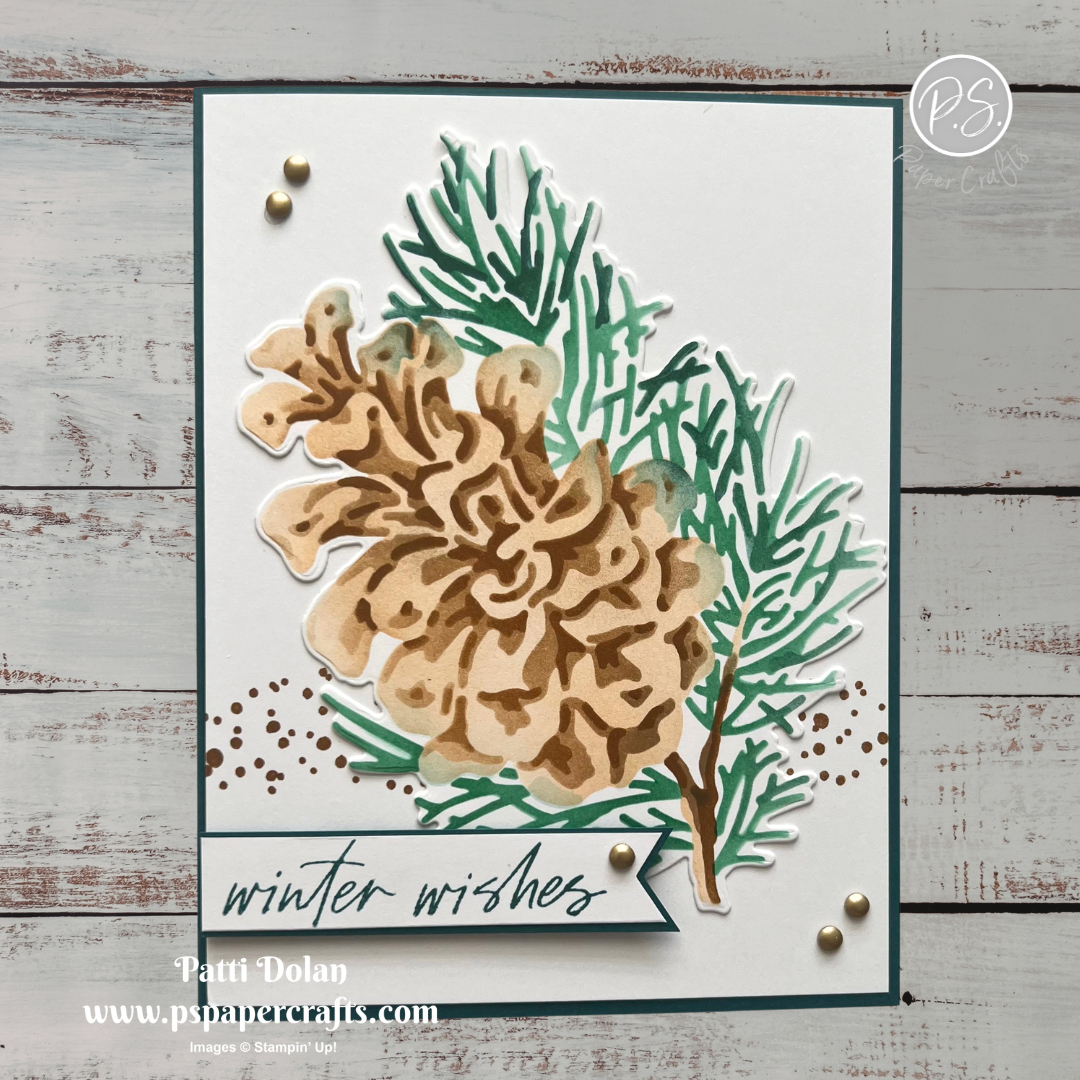
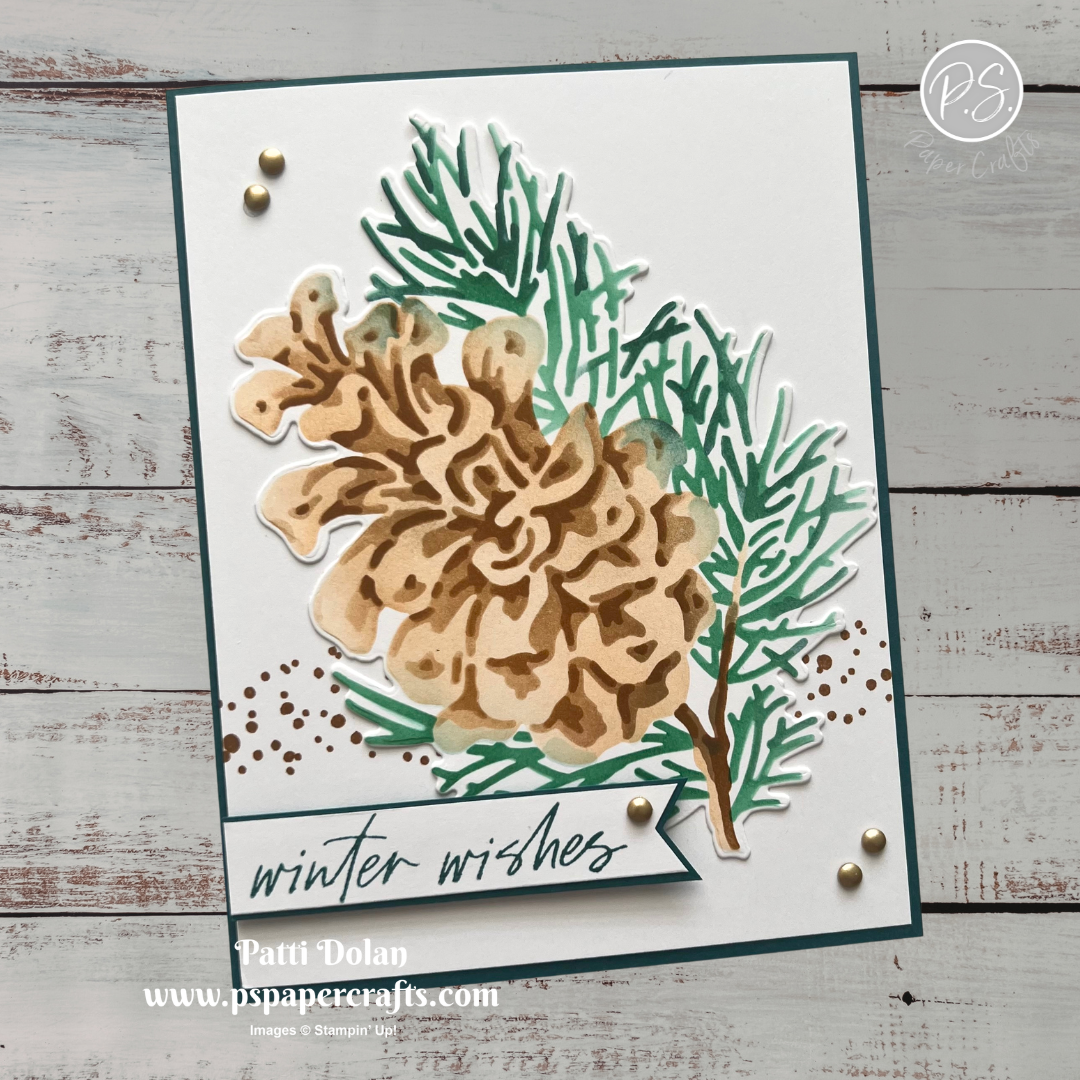
The new Frosted Pinecones Bundle includes a stamp set, dies and Decorative Masks! The masks are so fun to use to add layers of colors to create a beautiful card with lots of dimension.
I made this card for the weekly Splitcoaststampers Sketch Challenge. Here’s the sketch I used.
You can see all the projects posted for this week’s challenge by clicking on the sketch below.
Tips & Instructions
Pretty Peacock Card Base - 5-1/2 x 8-1/2, score at 4-1/4
Basic White Layer - 4-1/8 x 5-3/8, stamp the dots across the bottom area in Pecan Pie ink and adhere the layer to the card base.
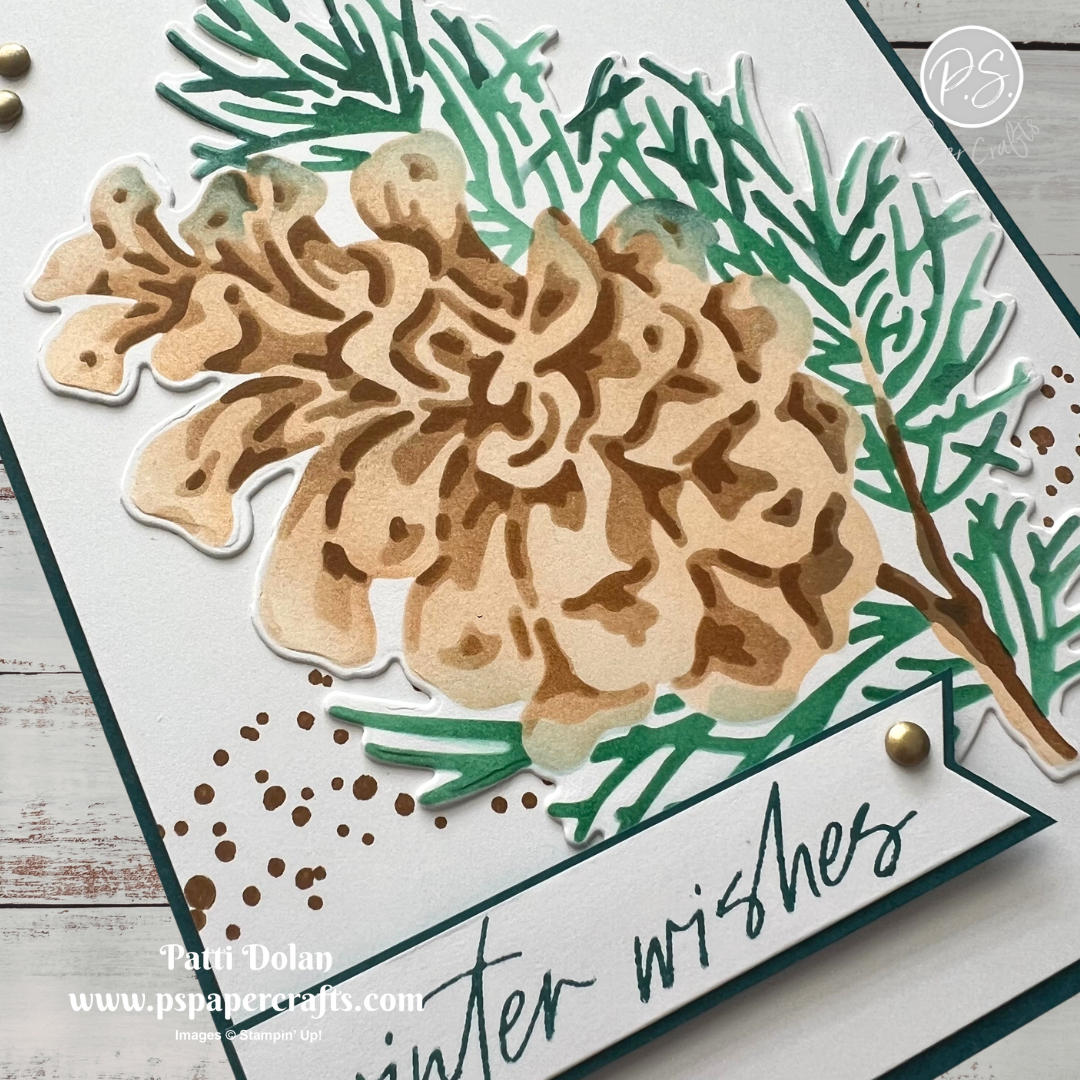
Basic White Cardstock - 4 x 5-1/4, use the Frosted Pinecones Decorative Masks, ink pads and blending brushes to create the pinecone. I started with Mask #1 and a light layer of Crumb Cake ink, next, Mask #2 Crumb Cake ink but I pressed a little harder. Next, Mask #3 with Pecan Pie Ink, followed by Mask #4 and Shaded Spruce Ink. Finally, Mask #5 with Pretty Peacock ink but I only did the greenery area.
Tips - use the notch at the top of each mat to line up the mats. I drew a line along the notch and top on my grid paper so I could line up each mat. I also used Post-It Tape to hold the cardstock in place.Die cut the pinecone with the coordinating die and adhere it to the card.
Stamp the sentiment on a 1/2” strip of Basic White in Pretty Peacock ink. Banner one end. Adhere it to a 5/8” strip of Pretty Peacock that you also bannered one end. Adhere to the card with Dimensionals.
Add some Gold Adhesive-Backed Dots.
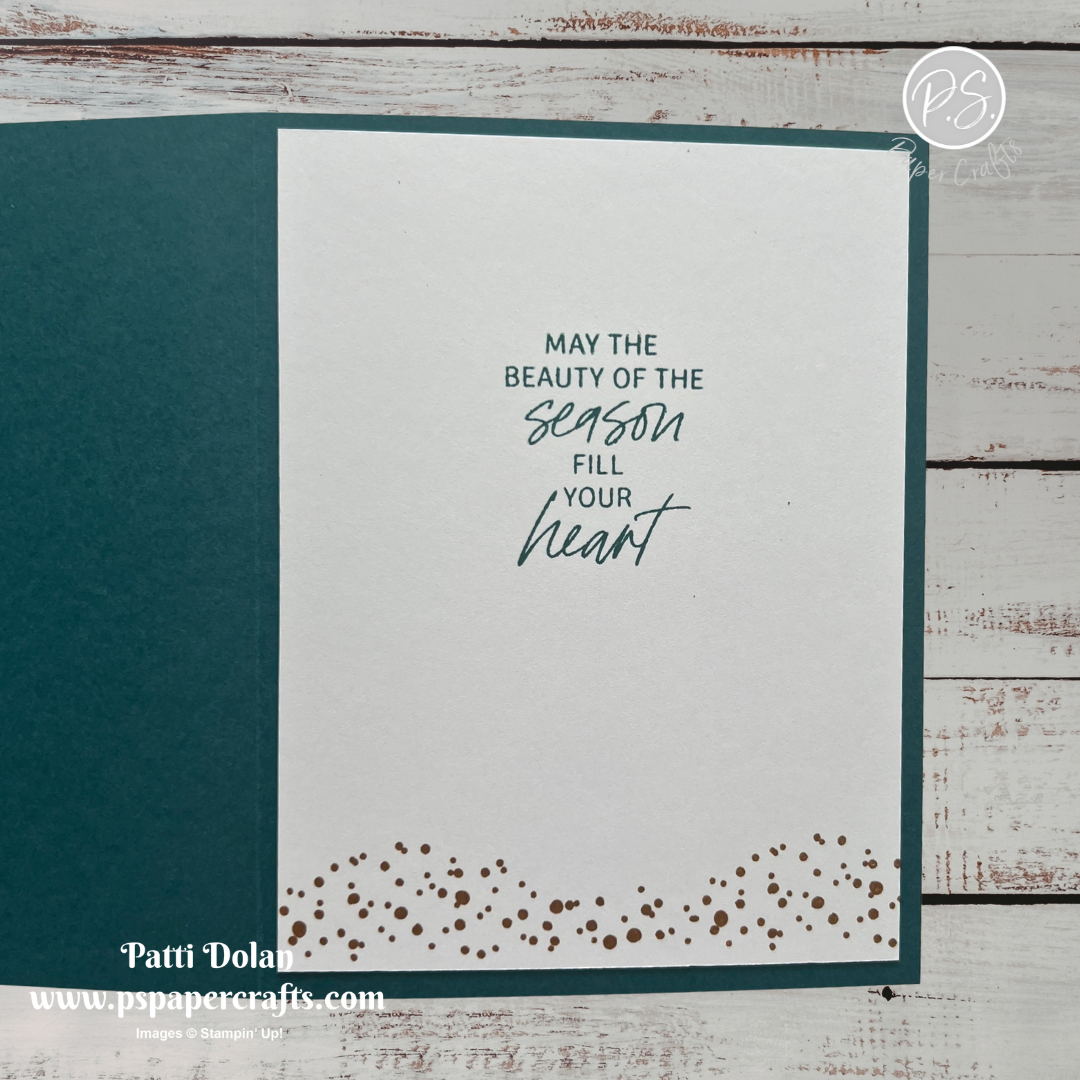
On the inside layer (4 x 5-1/4), stamp the sentiment in Pretty Peacock ink and stamp the dots across the bottom in Pecan Pie ink.
I love all the dimension on the pinecone. Those masks are easy to use and so fun to see the changes as you add each layer of ink.
Supply List
You can click on the item to purchase it from my Online Store.