I made these cute cards to coordinate with the treat boxes from this month’s Paper Pumpkin Kit. They fit perfectly in our 3x3 envelopes and came out so cute!

Watch the video to see how to make the box and then use pieces and the stamp set from the kit to make the coordinating cards.
If you’re not familiar with Paper Pumpkin, let me tell you about it. It’s a subscription where you receive an exclusive kit by mail each month that includes designed projects, precut pieces, a stamp set, and ink. You can subscribe monthly or purchase pre-paid subscriptions. When you prepay you can get a discount and earn perks like Stampin’ Rewards. Choose from 1-, 3-, 6- and 12-month subscriptions.
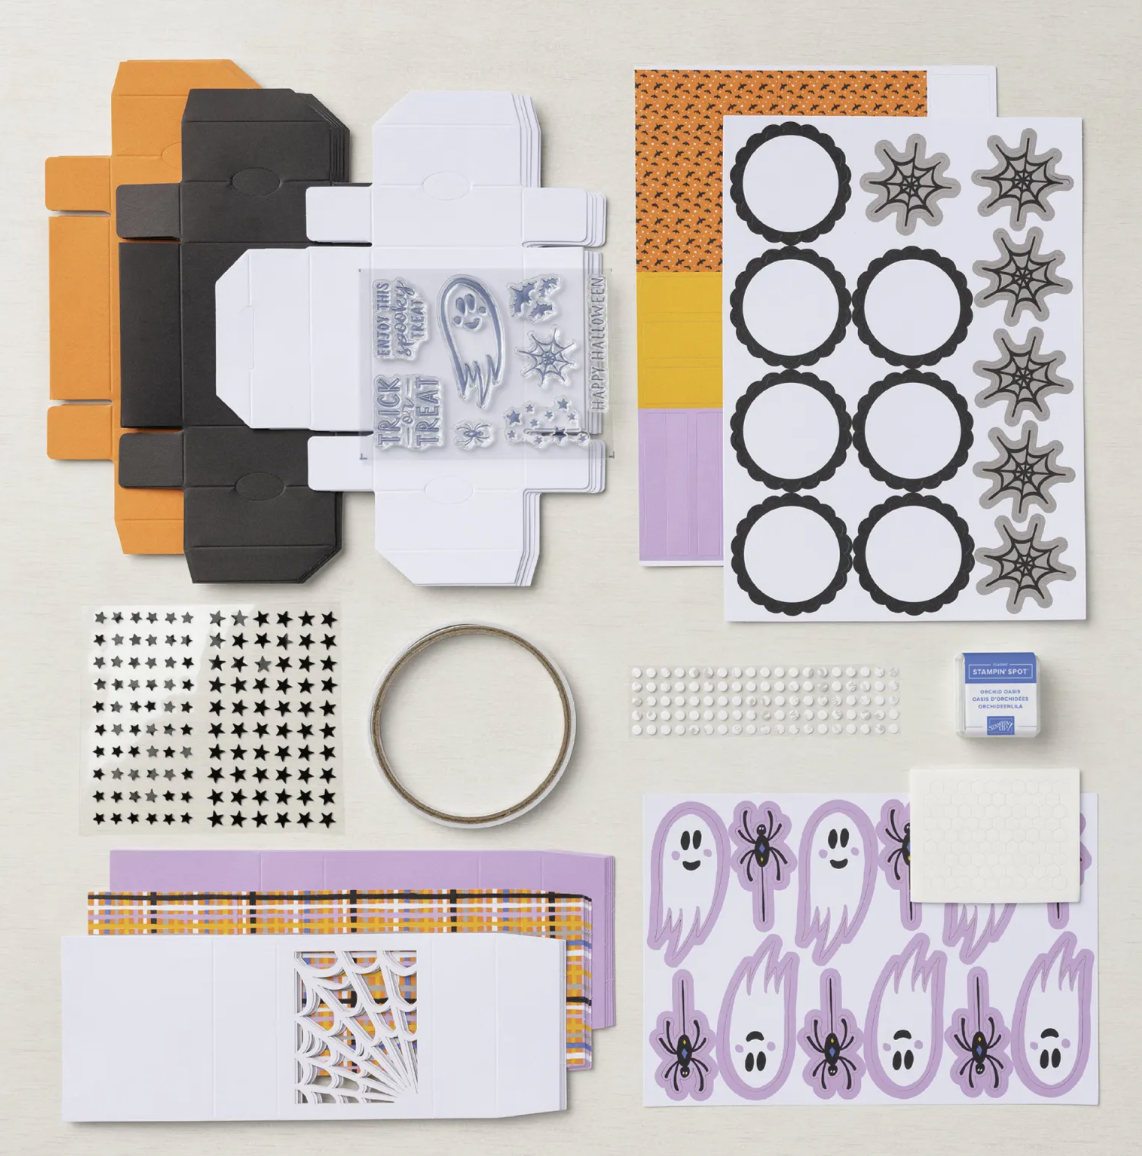
Here’s a sample of what’s included in a kit.
Card 1 Instructions
Basic Black Card Base - 6 x 3, score at 3
Basic White Layer - 2 5/8 x 2 5/8
Cut plaid belly band to 2 1/2 x 2 1/2 (cut piece between the score lines, you’ll get 2 pieces from one belly band)
Pumpkin Pie Strip - 2 5/8 x 1/2
Adhere layers and strip to card base.
Stamp sentiment with Black Memento Ink on the circle label from the kit and adhere to the card with Dimensionals.
Add some stars.
Basic White Inside Layer - 2 3/4 x 2 3/4, stamp with ghost and sentiment.
Decorate envelope with ghost and spider.

Card 2 Instructions
Pumpkin Pie or Crushed Curry Card Base - 6 x 3, score at 3
Fresh Freesia Layer - 2 3/4 x 2 3/4
Basic White Layer - 2 1/2 x 2 1/2, splatter black ink using the Dark Black Stampin’ Blends Marker.
Stamp spider web and spider with Black Memento Ink.
Crushed Curry Strip - 2 3/4 x 1/2, punch banner at each end using the Banners Pick A Punch.
Adhere layers and banner strip to card base.
Basic White Label - 1 1/2 x 1, stamp sentiment with Black Memento Ink and adhere with Dimensionals.
Basic White Inside Layer - 2 3/4 x 2 3/4, stamp with spiders and sentiment.
Decorate envelope with spider web and spider.

Card 3 Instructions
Basic White Card Base - 6 x 3, score at 3
Basic Black Layer - 2 3/4 x 2 3/4
Cut Fresh Freesia belly band to 2 1/2 x 2 1/2 (cut piece between the score lines, you’ll get 2 pieces from one belly band). Save the 2 1/2 x 1/2 leftover strip. You can also use Fresh Freesia Cardstock.
Stamp bats on Fresh Freesia piece with Orchid Oasis Ink.
Pumpkin Pie Strip - 2 1/4 x 1, stamp bats with Black Memento Ink.
Adhere layers and strip to card base.
Stamp sentiment with Orchid Oasis Ink on the leftover Fresh Freesia Strip and adhere with Dimensionals.
Add a small star to the sentiment.
Basic White Inside Layer - 2 3/4 x 2 3/4, stamp with bats and sentiment.
Decorate envelope with bats.

Supply List
You can click on the item to purchase it from my Online Store.