
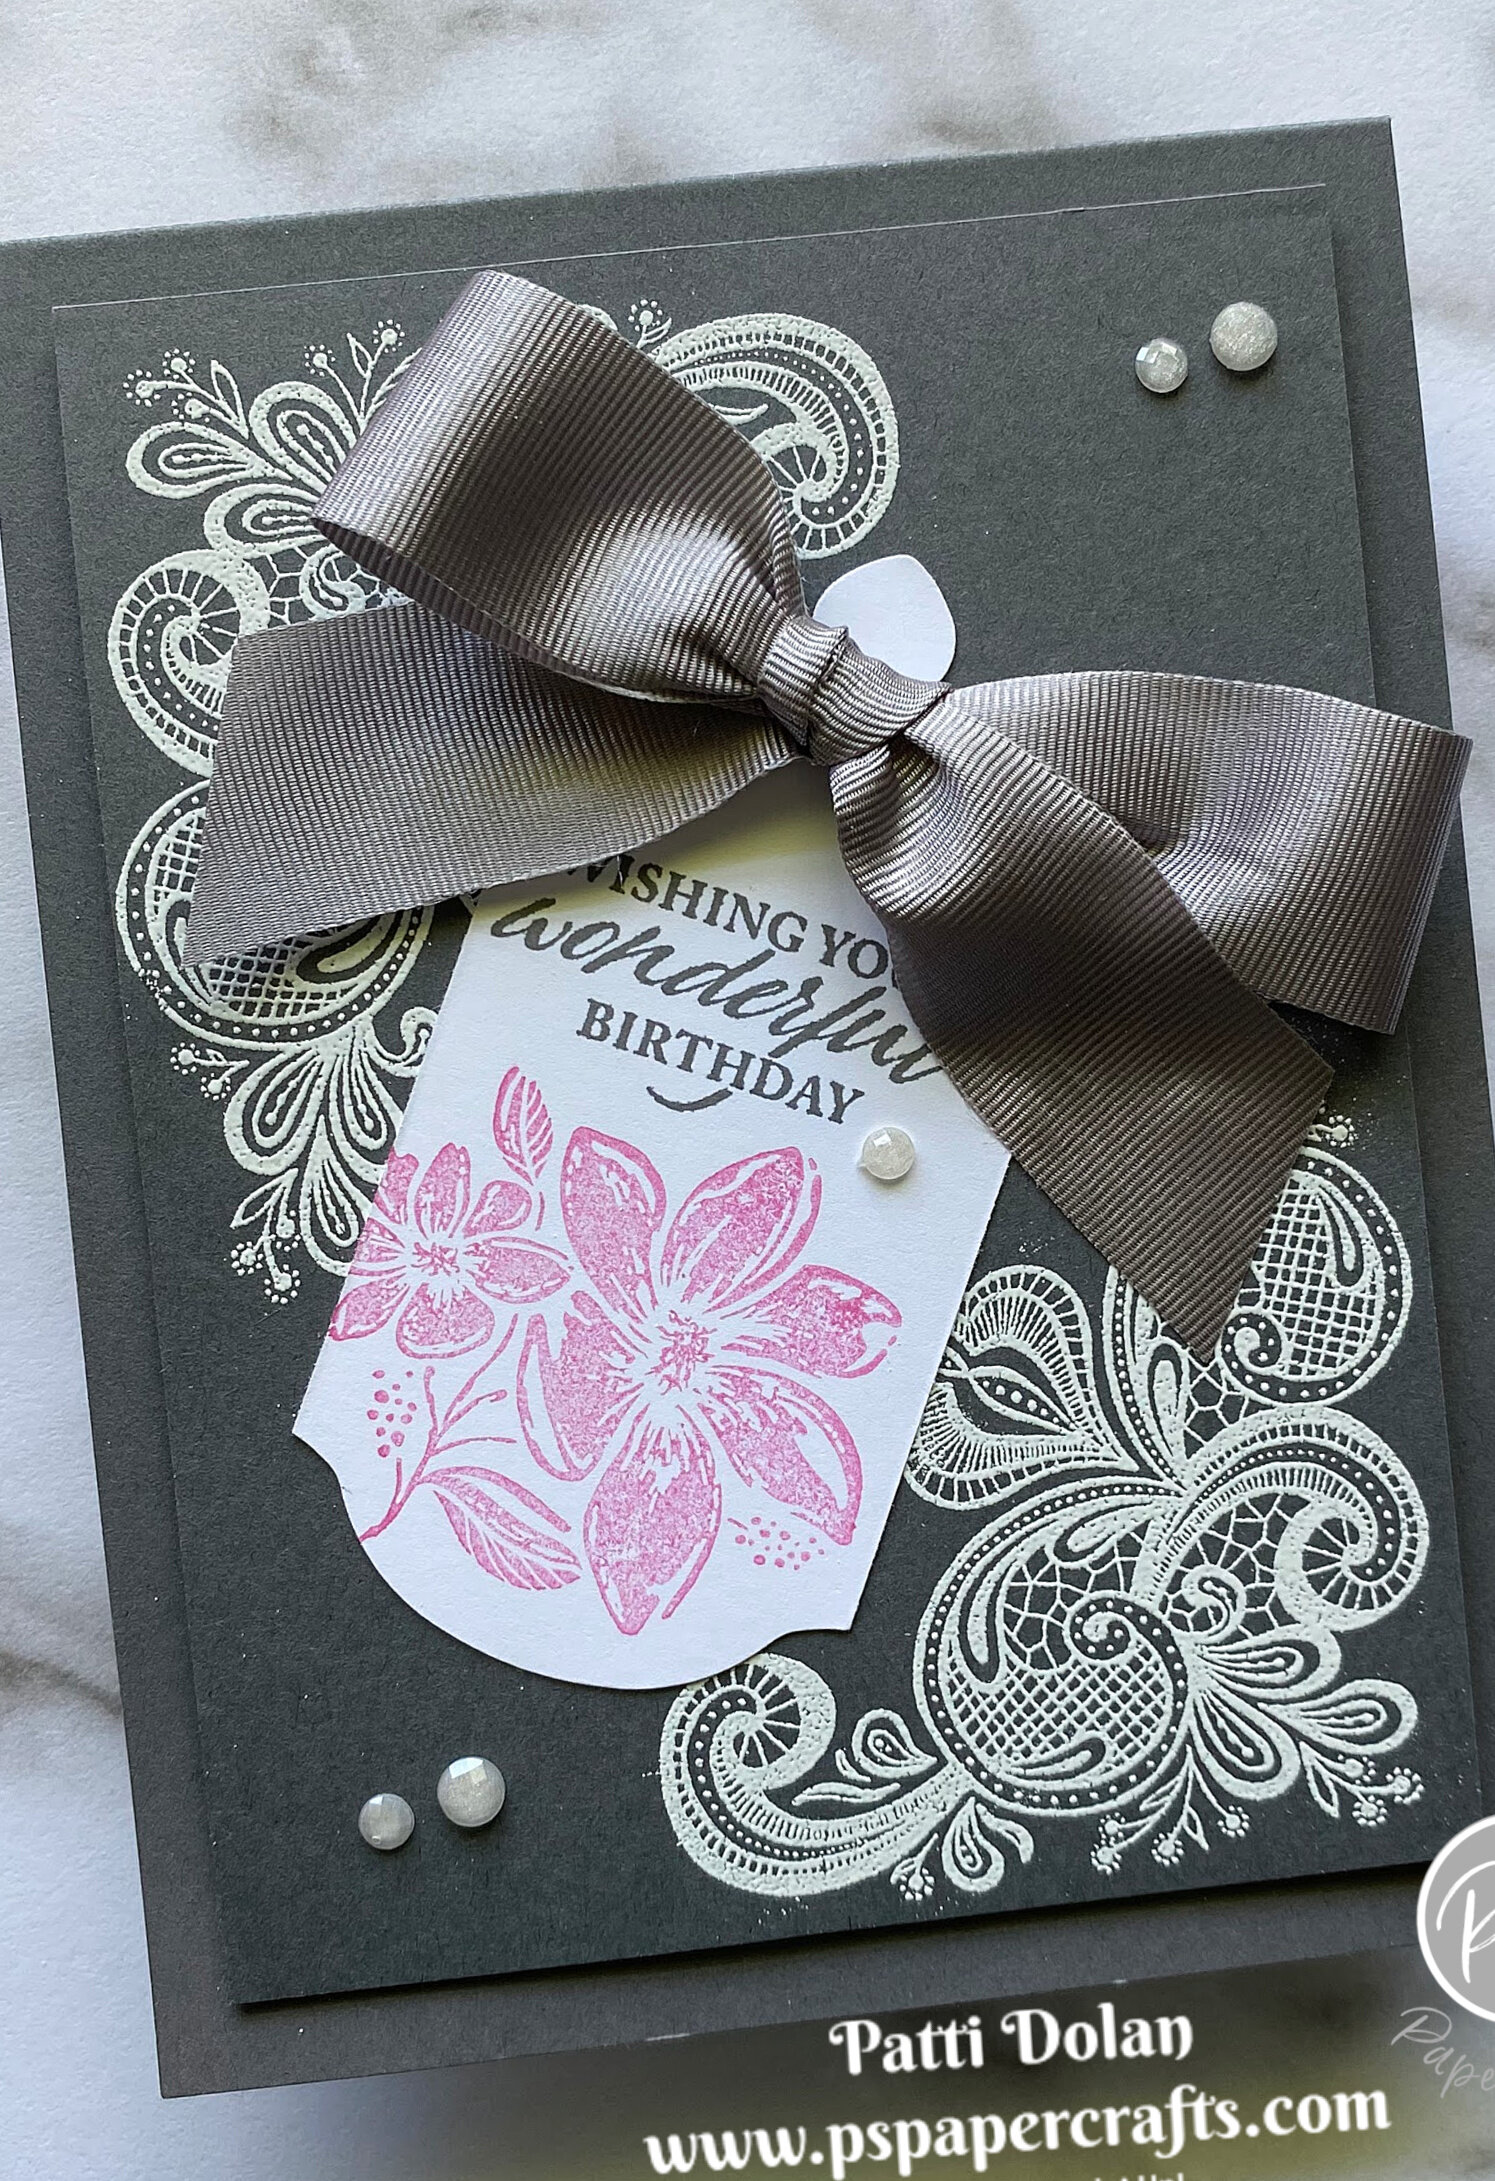
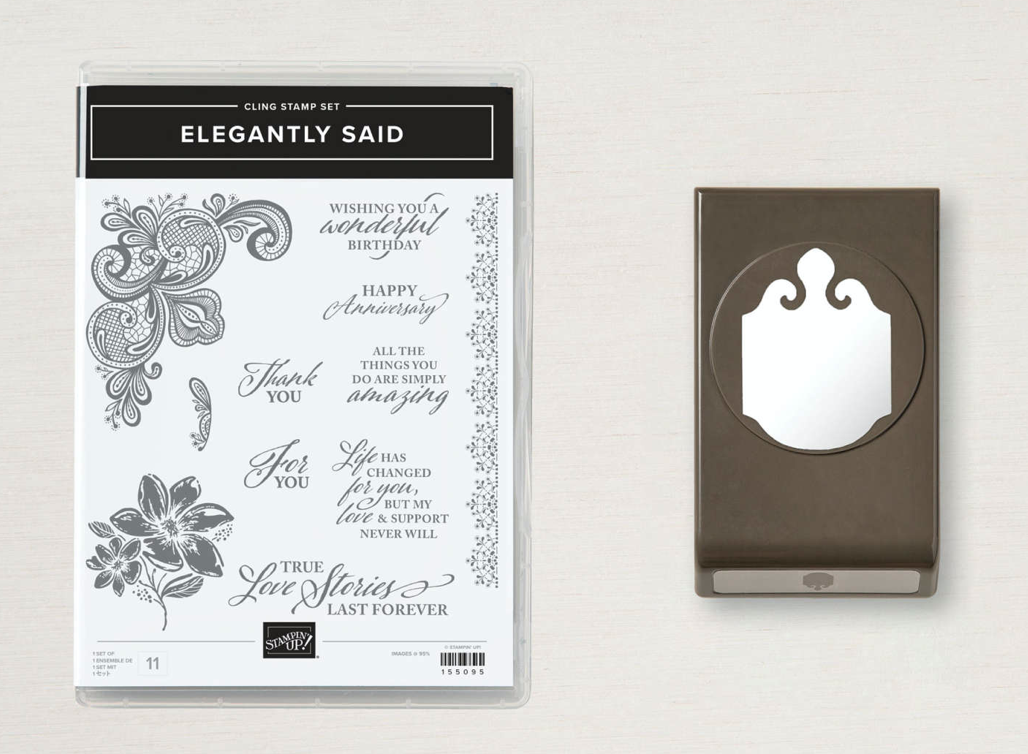
I made this beautiful Birthday Card using the Elegantly Said Bundle. Elegant is a perfect description for this bundle.

In the video I’ll show you how to make this card and a tip to create a longer label using the punch.
This images are gorgeous and I love the sentiments with the mix of script and type fonts. The punch makes it easy to quickly punch out a pretty label.
Tips & Instructions
Basic Gray Card Base - 4 1/4 x 11, score at 5 1/2
Basic Gray Layer - 5 x 3 3/4
Stamp the large flourish image at the top and bottom corners on the layer using Versamark Ink. Heat emboss using White Embossing Powder.
Basic White Strip - slightly under 1 3/4”, feed in back of the punch and punch the top. Stamp the sentiment with Basic Gray Ink. Stamp the flower with Polished Pink Ink, stamping off first to get a lighter shade. Trim the bottom of the strip if necessary and feed in the back of the punch and punch the bottom. (See video for a demonstration.)
Adhere label to layer and then adhere layer to card base using Dimensionals.
Tie Bow and adhere using Glue Dots. You can add some Glue Dots to the tails if you want to secure them in place.
Add some Elegantly Faceted Gems.


