

I just love this Whimsy & Wonder Specialty Designer Series Paper. The colors are so bright and fun!
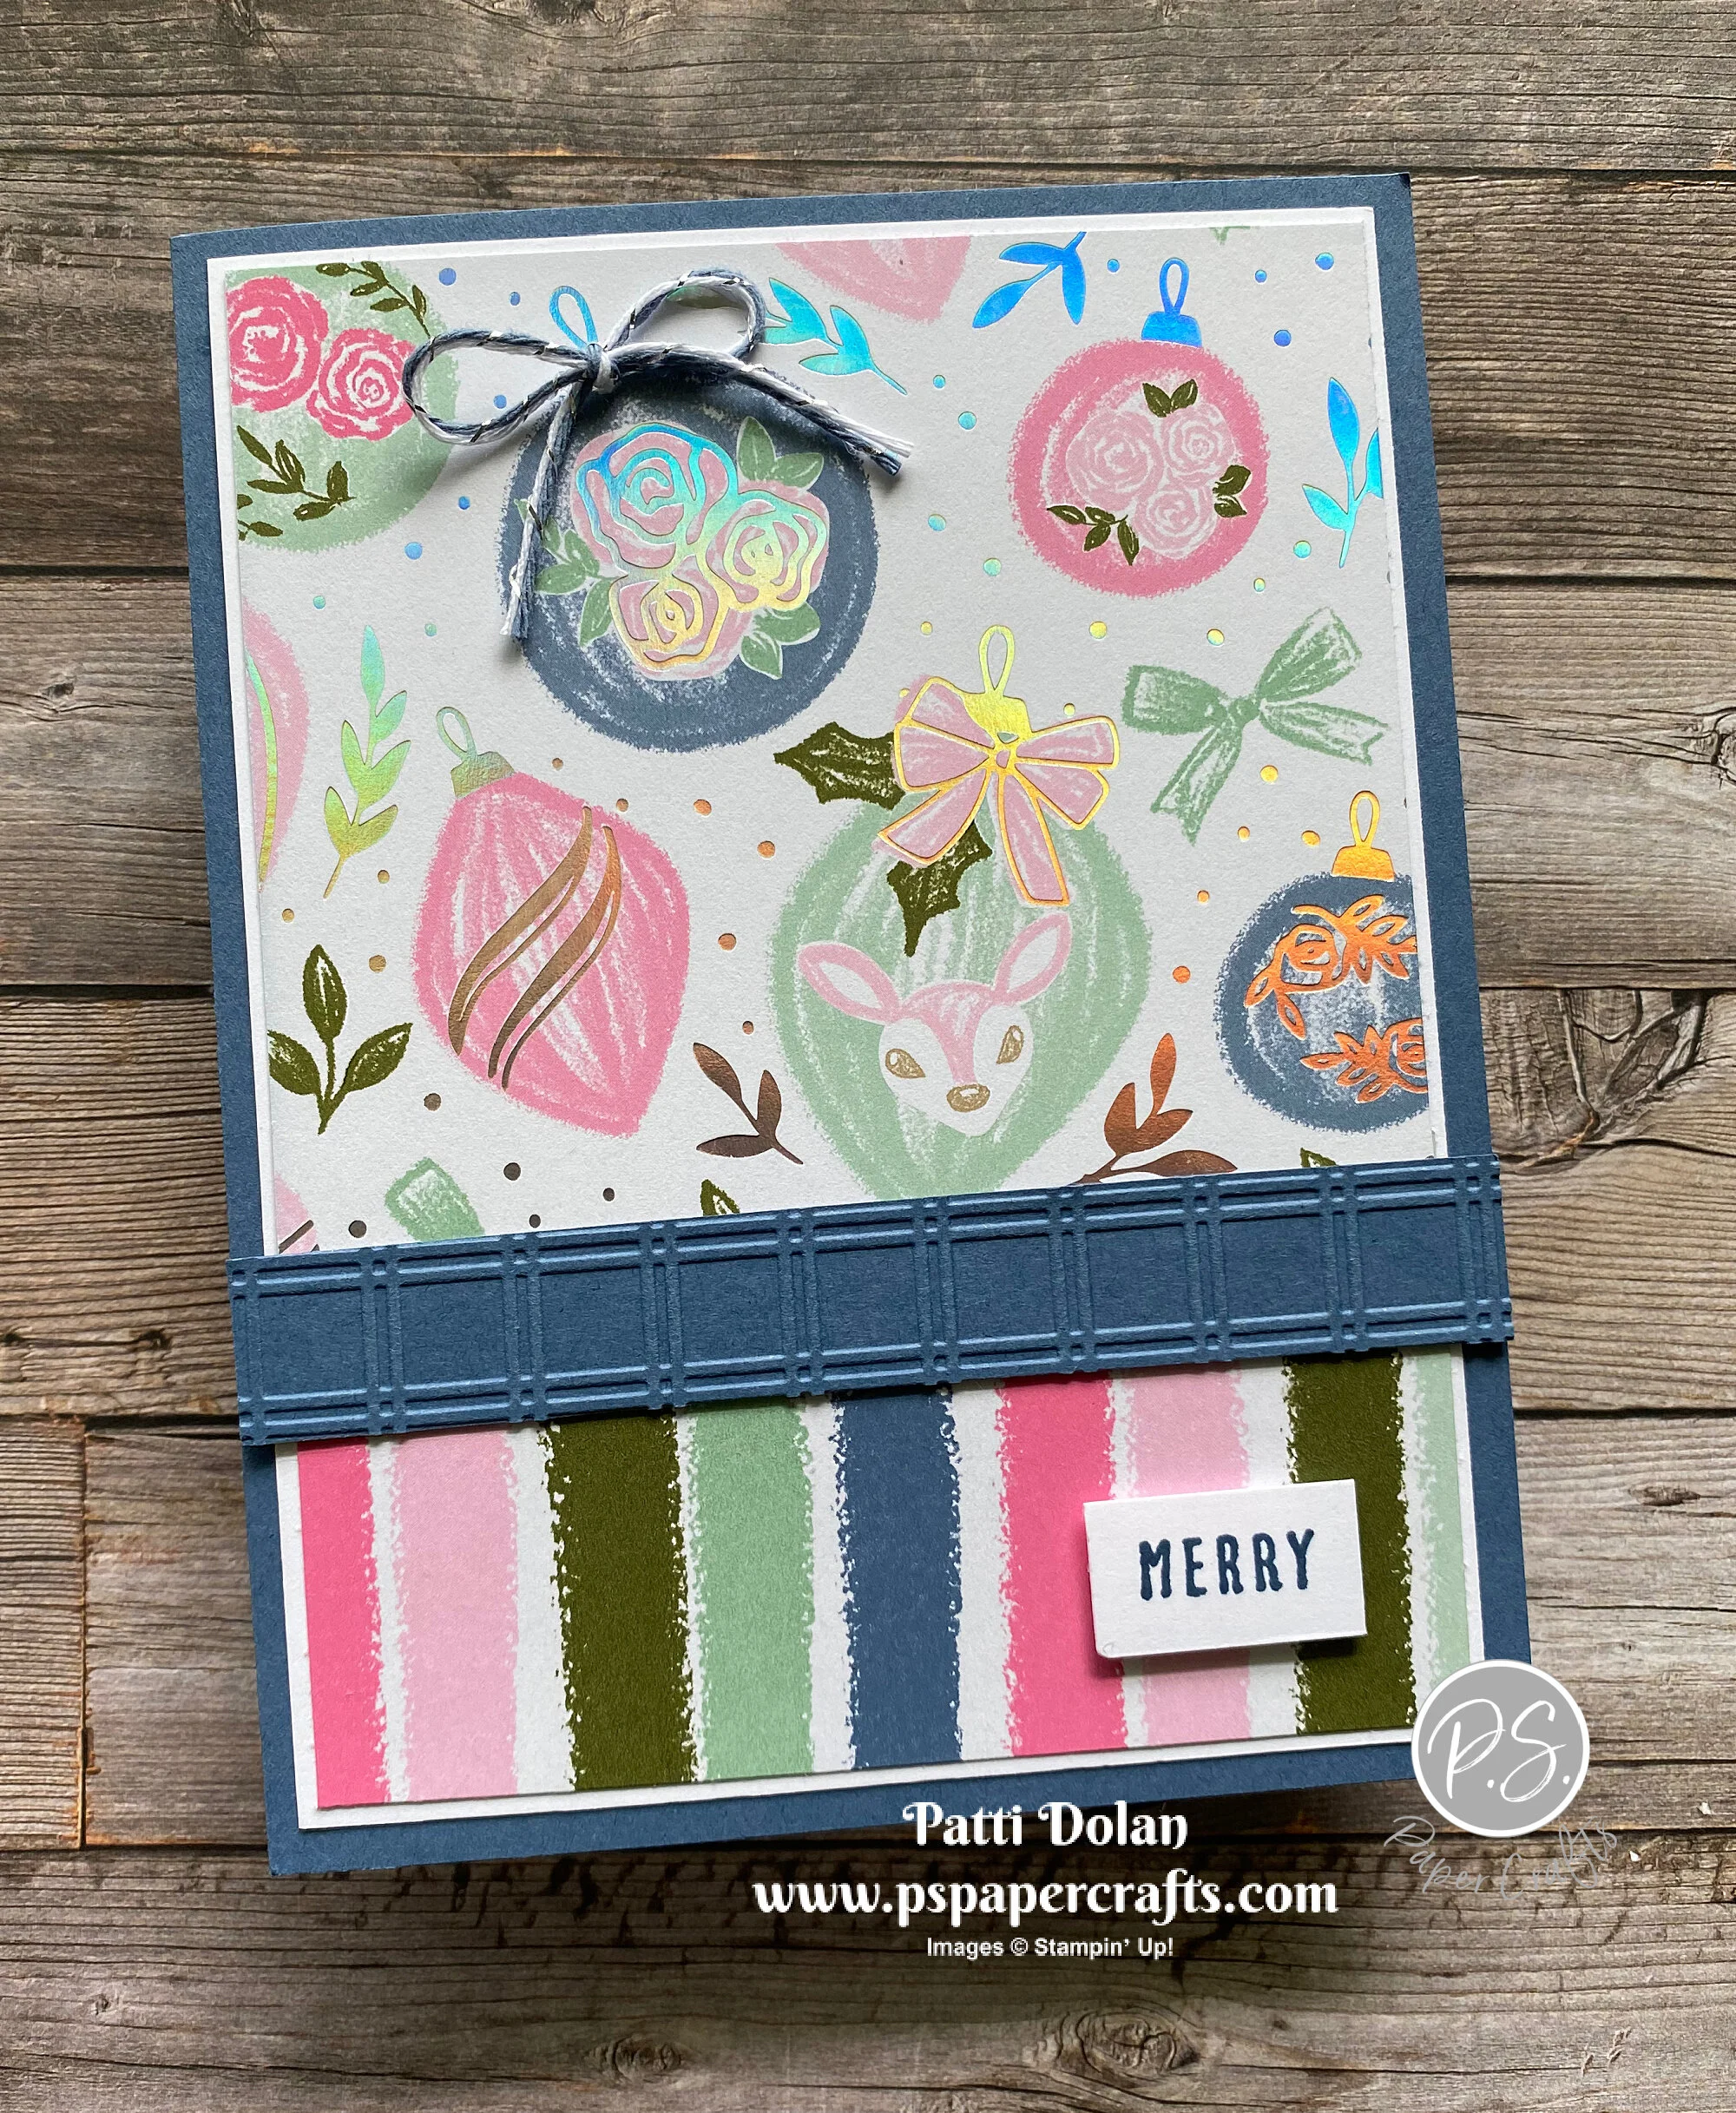
Here’s a closer look at the patterns. It has Iridescent accents that add such beautiful sparkle to your card.

The pretty ornaments and the bold stripes on this paper create a whimsical card for the Christmas season.

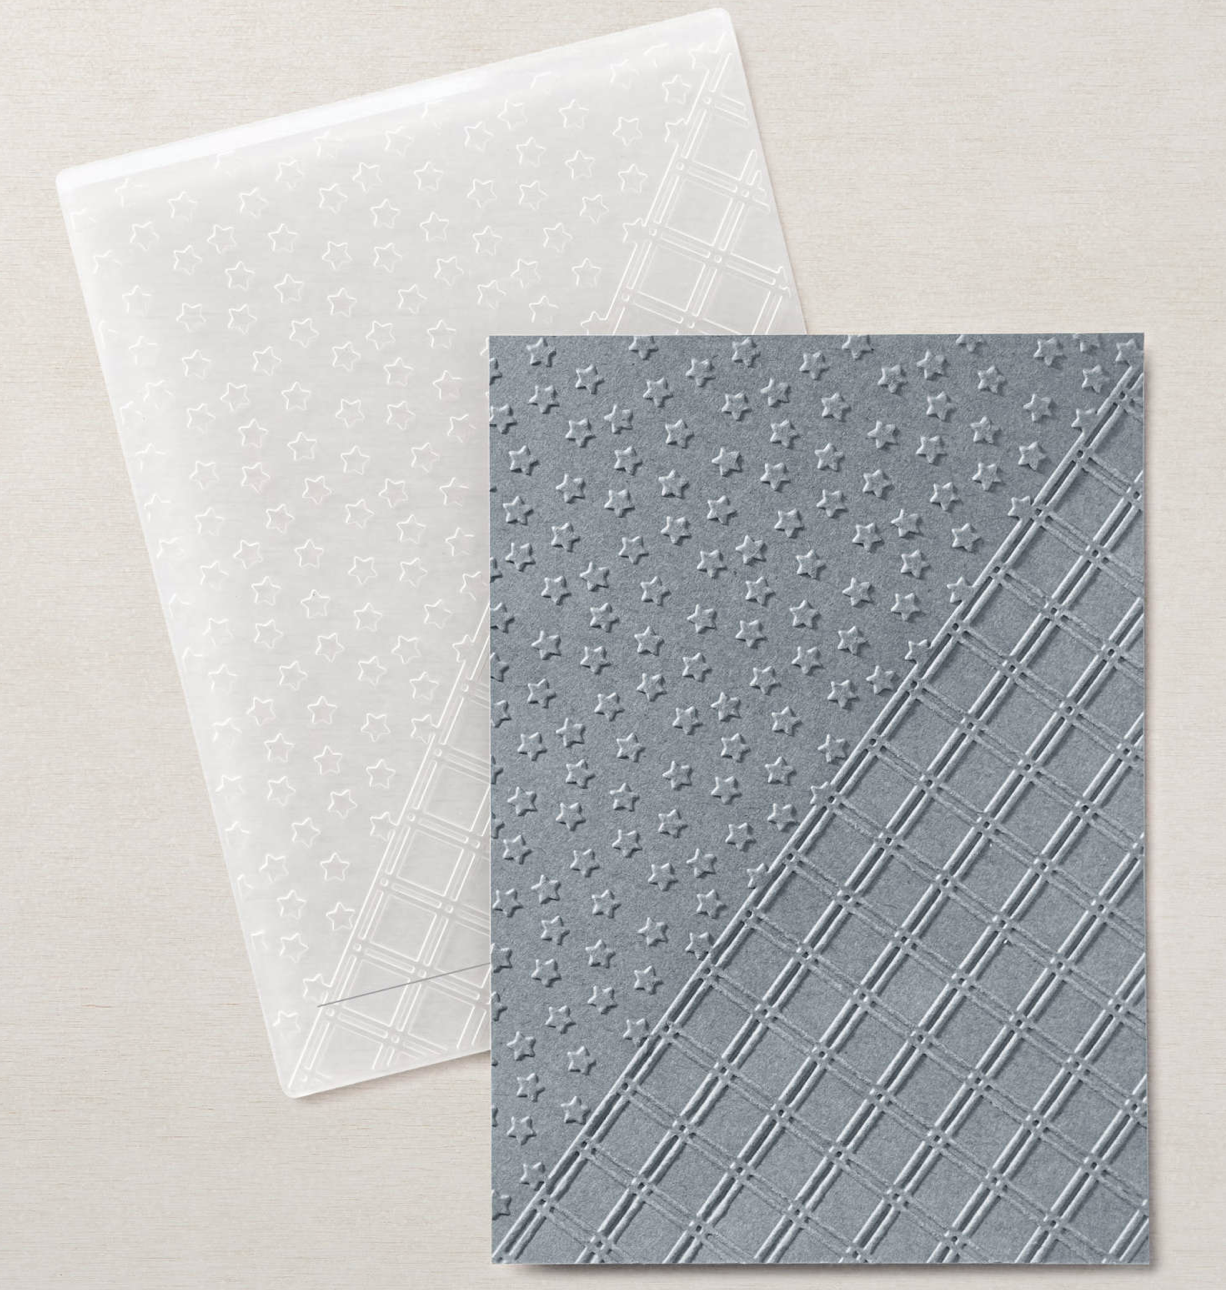
I embossed a strip of Misty Moonlight Cardstock with the bottom part of the Star-Crossed Embossing Folder. I like to use an embossed strip instead of ribbon to break up the top and bottom patterns.
Tips & Instructions
Misty Moonlight Card Base - 5 1/2 x 8 1/2, score at 4 1/4
Basic White Layer - 5 1/4 x 4
Whimsy & Wonder Designer Series Paper (ornaments) - 3 7/8 x 3 3/4
Whimsy & Wonder Designer Series Paper (stripes) - 3 7/8 x 1 1/2
Adhere Designer Series Paper to the white layer and adhere to card base.
Misty Moonlight Strip - 4 1/4 x 5/8, emboss with the Star-Crossed Embossing Folder and adhere over seam on the card.
Stamp sentiment (from Christmas To Remember) with Misty Moonlight Ink on 1/2” strip of Basic White Cardstock. Adhere to card with Dimensionals.
For an added touch, adhere a bow to one of the ornaments with a Glue Dot. I used the Misty Moonlight/Silver Baker’s Twine.


