Planted Paradise Birthday Card

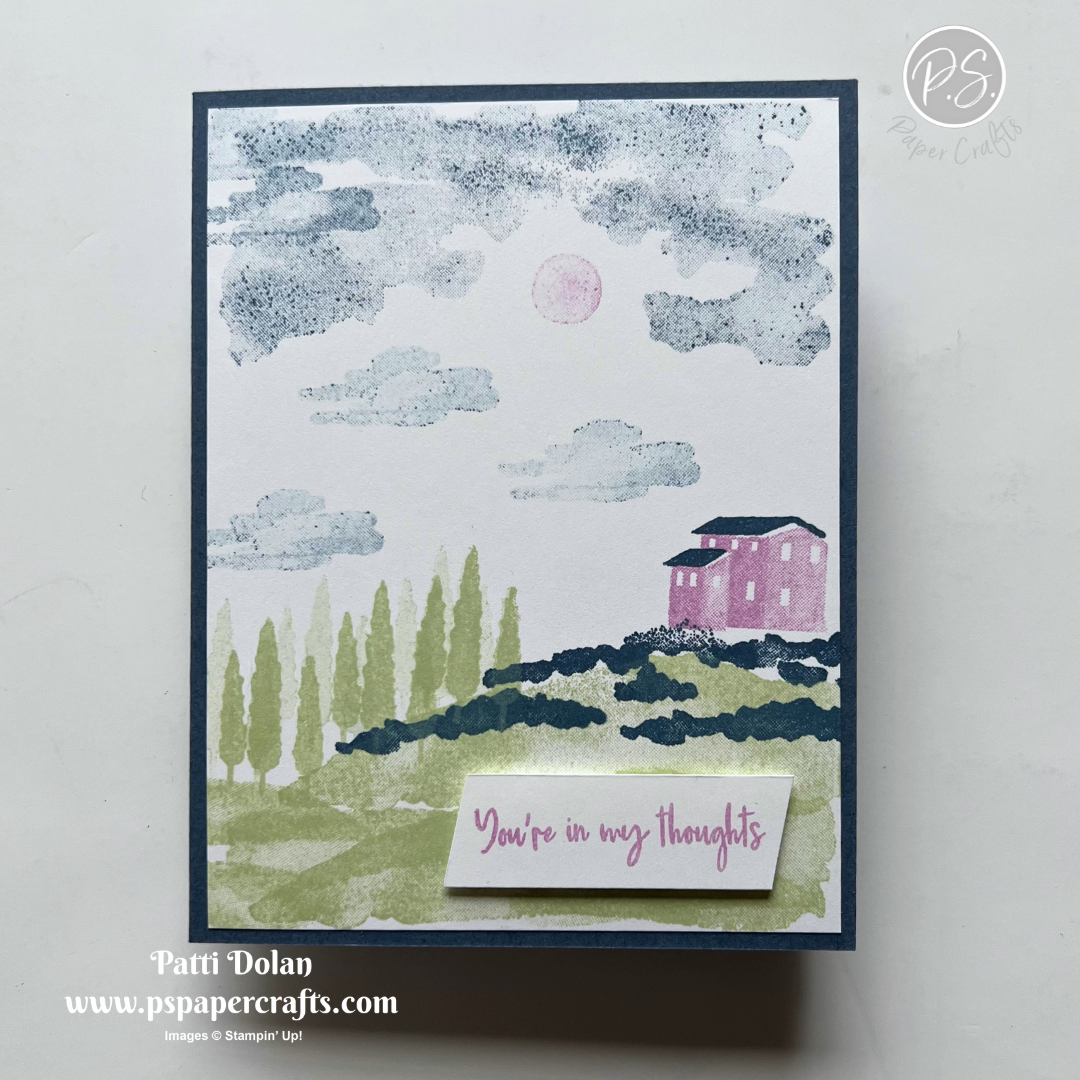
One of my favorite things to do when making a card is to stamp my own background layer. The Planted Paradise Stamp Set has plenty of images for this techinique.


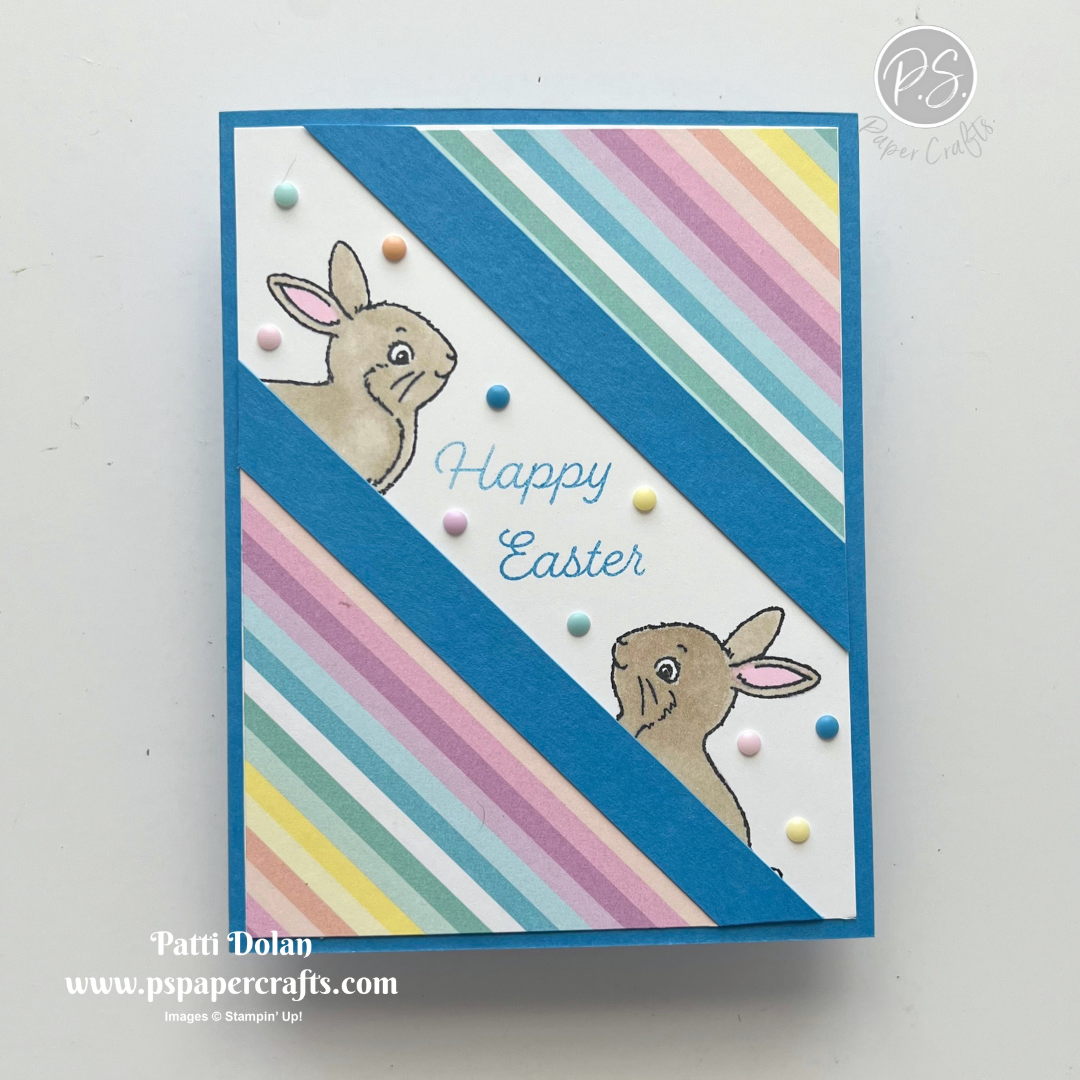
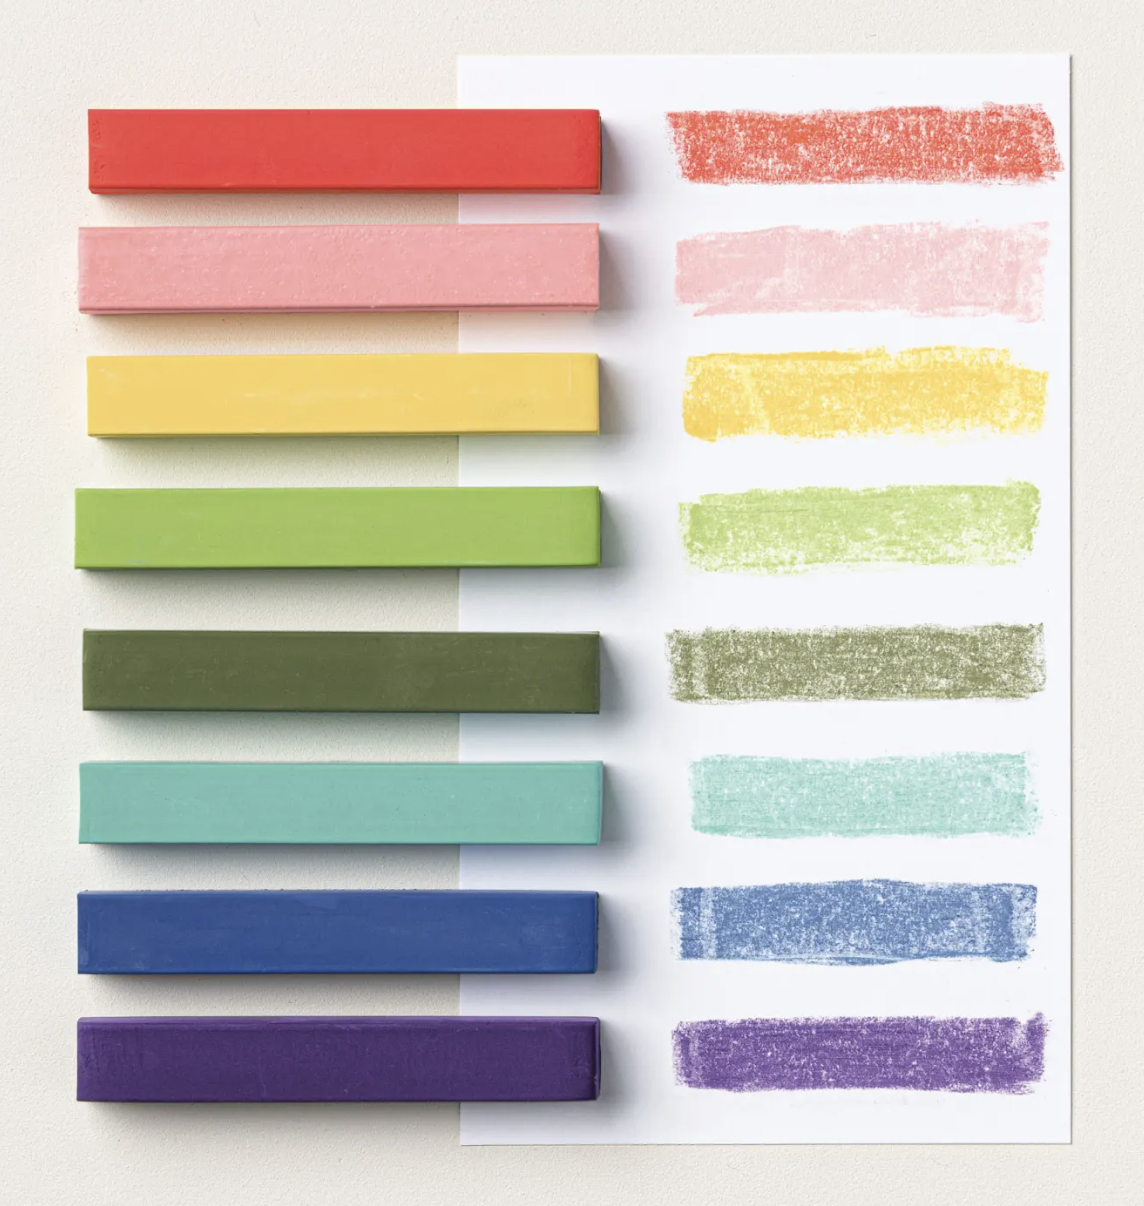
I used the Color Combo from my March Inspiration Calendar for this card - Bubble Bath, Pretty Peacock, Pool Party. The sentiment is from the Sweetly Scripted Stamp Set which has beautiful sentiments and will be back in stock on April 8, 2024.


Tips & Instructions

  • Pretty Peacock Card Base - 5 1/2 x 8 1/2, score at 4 1/4

  • Basic White Layer - 5 1/4 x 4, stamp images starting with the largest first to create a pretty patterned background. I used Bubble Bath, Pool Party and Pretty Peacock inks.

  • Adhere layer to the card base.

  • Basic White Sentiment Strip - 4 x 3/4, stamp sentiment in Pretty Peacock ink.

  • Pretty Peacock Strip - 4 x 1, adhere to the sentiment strip and adhere to the card.

  • Add a Bubble Bath Rainbow Dot.


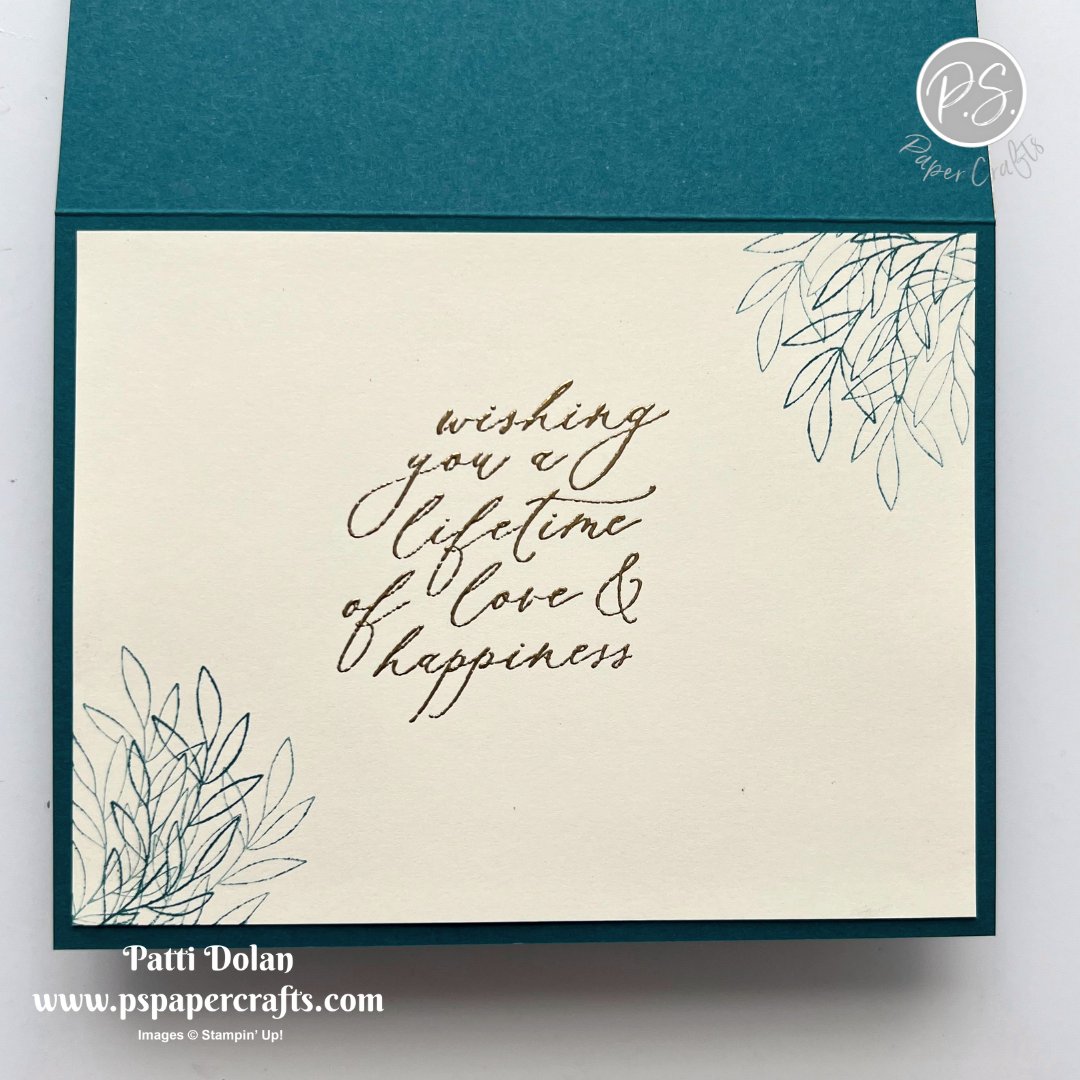
On the inside layer (4 x 5 1/4) stamp sentiment in Pool Party ink. The sentiment is from the Charming Sentiments Stamp the leaves in Pretty Peacock ink, stamping a second time without re-inking. Stamp off and stamp a third leaf. Stamp a butterfly in Bubble Bath ink.


Supply List

You can click on the item to purchase it from my Online Store.

Cute Easter Bunny Card

The Easter Bunny Stamp Set has adorable bunny images. I used the Lighter Than Air Designer Series Paper which has great pastel colors to make this cute Easter Card.


The card is for this week’s Splitcoaststampers Sketch Challenge. You can click on the sketch to see other projects posted for the challenge.


Tips & Instructions

  • Azure Afternoon Card Base - 5 1/2 x 8 1/2, score at 4 1/4

  • Basic White Layer - 5 1/4 x 4

  • Lighter Than Air Designer Series Paper - 5 1/4 x 4. Cut top and bottom to create 2 triangles. Lay the triangles on the white layer and draw pencil marks along the edge of the triangles.

  • Stamp the bunnies in Black Memento Ink so the bunny heads are between the pencil lines. Leave space for the sentiment.

  • Color the bunnies with Light Crumb Cake Stampin’ Blends Marker and the ears with a Light Bubble Bath Stampin’ Blends Marker.

  • Stamp sentiment between the bunnies in Azure Afternoon ink. To get the sentiment in two rows, cover one word with a piece of Post-It Note, ink up the uncovered word, remove the Post-It Note and stamp. Clean your stamp and do the same for the other word.

  • Adhere the triangles to the white layer.

  • Add two 1/2” strips of Azure Afternoon to the edge of each triangle. Trim off the edges and adhere the layer to the card base.

  • Add some small Rainbow Adhesive-Backed Dots in various colors.


On the inside layer (4 x 5 1/4) stamp bunny in Black Memento ink. Color with Light Crumb Cake and Light Bubble Bach Stampin’ Blends Markers. Stamp sentiment in Azure Afternoon ink. The sentiment is from the Excellent Eggs Stamp Set.


I love all the pretty colors in the strips and dots on this card and those cute bunnies looking at each other.


Supply List

You can click on the item to purchase it from my Online Store.

Forever Love Wedding Card

The Forever Love Suite has beautiful paper, images and dies, perfect for a wedding card.


Tips & Instructions

  • Pretty Peacock Card Base - 5 1/2 x 8 1/2, score at 4 1/4

  • Forever Love Designer Series Paper - 5 1/2 x 4 1/4 adhere to the card base.

  • Forever Love Designer Series Paper - 5 1/2 x 4 1/4, die cut using the largest Countryside Corners Dies. Adhere to the card.

  • Die cut the large floral oval from Gold Foil and Very Vanilla. You will insert the solid Very Vanilla piece into the gold oval opening, after you stamp it.

  • Stamp the sentiment on the Very Vanilla oval piece in Versamark ink and heat emboss with Gold Embossing Powder.

  • Adhere the gold floral oval to the card and then insert and adhere the Very Vanilla piece. It will fit in perfectly.

  • Add some gold Blooming Pearls.


On the inside layer (4 x 5 1/4) stamp sentiment in Versamark ink and heat emboss with Gold Embossing Powder. Stamp the leaves multiple times some direct and some after stamping off.


I love all the gold on this card, it’s such an elegant look for a wedding card.


Supply List

You can click on the item to purchase it from my Online Store.

Sketch Saturday - Sweet Baby Card

I don’t have a baby stamp set so I decided to create a baby card for a new addition to our family using shapes and alphabet dies.


The card I made is for this week’s Atlantic Hearts Sketch Challenge. I didn’t have a large heart die so I fussy cut it.


Tips & Instructions

  • Fresh Freesia Card Base - 5 1/2 x 8 1/2, score at 4 1/4

  • Basic White Layer - 5 x 3 3/4, adhere to card base.

  • Fussy cut a heart from a piece of Lighter Than Air Designer Series Paper. I used a heart shape that I printed from the internet and used that to cut the heart shape. Adhere heart to card using Dimensionals.

  • Cut letters for name from Fresh Freesia using the Mini Alphabet Dies. I used scraps and just cut the letters I needed.

  • Lay out the heart and name to determine where to stamp the Welcome sentiment. Stamp sentiment in Fresh Freesia Ink. The sentiment is from the Sweet Songbirds Stamp Set.

  • Adhere heart to card using Dimensionals.

  • Adhere the letters to spell the name.

  • Add some Fresh Freesia Rainbow Dots.


On the inside layer (4 x 5 1/4) stamp sentiments in Fresh Freesia ink. The sentiments are from the Charming Sentiments Stamp Set. Add a 3/4 x 4 piece of the Designer Series Paper.


The pattern on the heart works well for this sketch challenge.


Supply List

You can click on the item to purchase it from my Online Store.

Double Fan Fold Cards

The Double Fan Fold card design is so fun. There’s lots of scoring, folding and cutting to create the fan folds but it’s worth it when you’re done.


Watch the video to see step by step instructions to make this design.

Click on the button below to get a printable pdf with measurements and instructions.


This card was made using the Flowering Zinnia Designer Series Paper. I just love this paper. The sentiment is from the Simply Zinnias Stamp Set. I added some Brushed Brass Butterflies which I love to add to floral cards.


I made this card using the Fresh As A Daisy Designer Series Paper and Cheerful Daisies Bundle.


Supply List

You can click on the item to purchase it from my Online Store.

Hills of Tuscany Color Combo

The Hills of Tuscany Stamp Set has great images that you can use to create a scene that has a watercolor look to it.


The color combo I used is from my March Inspiration Calendar - Soft Sea Foam, Fresh Freesia and Misty Moonlight. You can stamp off on scrap paper to remove the first layer of ink and get a lighter shade. This gives you more choices when you’re limited on the number of stamp pads you’re using.

You can get my Inspiration Calendar each month when you subscribe to my email list.


Tips & Instructions

  • Misty Moonlight Card Base - 5 1/2 x 8 1/2, score at 4 1/4

  • Basic White Layer - 5 1/4 x 4

  • Stamp images with Soft Sea Foam, Fresh Freesia and Misty Moonlight inks.

    • I used Misty Moonlight for the sky but stamped off first to get a lighter shade.

    • Then I stamped the grass in Soft Sea Foam using the largest image first and then fill in with some of the smaller images.

    • Add some of the hill top images in Misty Moonlight.

    • Stamp the house in Fresh Freesia and the roof in Misty Moonlight inks.

    • Stamp some trees in Soft Sea Foam ink, stamping a second time without re-inking the stamp. This will give the look of trees in a distance.

    • Stamp the sun in Fresh Freesia Ink, stamping off twice first to get a very light look.

    • Stamp some of the cloud images in Misty Moonlight ink to fill in the sky stamping off twice first to get a light look.

  • Adhere layer to the card base.

  • Stamp sentiment on a 3/4” strip of Basic White in Fresh Freesia ink and trim both ends at an angle. Adhere to card with Dimensionals.


On the inside layer (4 x 5 1/4) stamp the hills in Soft Sea Foam ink and the trees in Misty Moonlight ink. Stamp the trees a second time without re-inking. Stamp the sentiment in Fresh Freesia ink.


I love how calming and peaceful this scene is.


Supply List

You can click on the item to purchase it from my Online Store.

Sketch Challenge - Latte Love

I’m so happy with how this card turned out. When I looked at the sketch I thought it was simple and I would use some sort of floral pattern but then I thought to use the coffee cup for the circle and voila, a completely different card.


The sketch I used is from the weekly Splitcoaststampers Sketch Challenge. I’m on the sketch team and get an early look at their sketches and create each week to post in the gallery.

You can click on the sketch to see the other projects posted for this week’s challenge.


Tips & Instructions

  • Early Espresso Card Base - 5 1/2 x 8 1/2, score at 4 1/4

  • Basic White Layer - 4 x 5 1/4

  • A Little Latte Designer Series Paper (heart pattern) - 4 x 5 1/4

  • A Little Latte Designer Series Paper (coffee splatter) - 3 x 3 square. Cut in half diagonally.

  • Put the bottom half of the triangle on the heart patterned layer and cut off the top triangle. Adhere the splatter triangle to the heart patterned paper.

  • Put the the layer over the white layer to determine position for stamping. Stamp the sentiment in Lost Lagoon ink and the coffee splatter in Pecan Pie ink.

  • Adhere the patterned paper to the white layer and then to the card base.

  • Die cut the coffee cup from the Designer Series Paper with coordinating dies. Adhere to the card with Dimensionals.


On the inside layer (4 x 5 1/4) add a 4 x 3/4 strip of the Designer Series Paper.


It looks like I just folded down the corner, doesn’t it. I didn’t like the backside of the paper for this card so that’s why I cut a different pattern to create the triangle.


Supply List

You can click on the item to purchase it from my Online Store.

Simple Suite Stampers - Perennial Lavender

This is the card I made for the March Simple Suite Stampers Tutorial. We featured the Perennial Lavender Suite. I love everything about it!


The Tutorial Bundle contains 12 projects made by Stampin’ Up! Demonstrators using the products from the Perennial Lavender Suite. It has pictures, measurements and instructions for each project.

I will send you the tutorial for free when you place a $35 or more order (before shipping & tax) or you can purchase it by clicking on the Tutorials Button at the top of this page to purchase it.


This card is so sweet with the pretty bouquet of lavender.


Here’s what the inside looks like. Stamp the flowers a second time without re-inking to get the lighter shade.


I love adding a piece of Vellum to soften up the background.


Supply List

You can click on the item to purchase it from my Online Store.

Sketch Saturday - Pets & More

I made a monochromatic card for this week’s sketch challenge. It’s a sympathy card to send to some who lost their precious pet dog.


The sketch is from the weekly Atlantic Hearts Sketch Challenge.


Tips & Instructions

  • Pebbled Path Card Base - 5 1/2 x 8 1/2, score at 4 1/4

  • Basic White Layer - 5 1/4 x 4, emboss using the crosshatch folder from the Basics 3D Embossing Folders. Adhere to card base.

  • Pebbled Path In Color Designer Series Paper Layer- 5 1/4 x 2

  • Basic White Strip - 5 1/4 x 3/4, adhere to the Designer Series Paper layer.

  • Pebbled Path In Color Designer Series Paper Strip - 5 1/4 x 1/4, adhere to center of white strip. Adhere the layered piece to the card.

  • Stamp the cute dog image on a scrap of Basic White in Pebbled Path Ink and fussy cut.

  • Cut a scrap of Basic White using the 3rd from smallest Deckled Circle Die and stamp sentiment in Pebbled Path ink. The sentiment is from the Hope You Know Stamp Set. Stamp 2 paw prints in Pebbled Path Ink.

  • Cut a scrap of Pebbled Path ink using the 4th from smallest Deckled Circle Die. Adhere behind the sentiment circle. Adhere to the card using Dimensionals.

  • Adhere the dog to the card using Dimensionals.

  • For the banners cut a 1/2” strip from the Designer Series Paper and banner one end. Cut a 1/2” strip of Pebbled Path and emboss using the Basics 3D Embossing Folder. Banner one end. Adhere the banners to the card.

  • Add a Brushed Metallic Adhesive-Backed Dot to the dog collar.


On the inside layer (4 x 5 1/4) stamp sentiment and dog print in Pebbled Path ink.


Isn’t that dog so cute, It was so easy to fussy cut.


Supply List

You can click on the item to purchase it from my Online Store.

Vertical Freestanding Mother's Day Cards

These Vertical Freestanding Cards are so pretty and they stand up very well on a shelf. Both are Mother’s Day cards but you can make them for whatever occasion you want.


Watch the video to see step by step instructions to make this design. There’s lots of pieces but it’s easy once you understand how it works.

Click on the button below to get a printable pdf with measurements and instructions.


This card was made using the beautiful Perennial Lavender Designer Series Paper. The sentiment is from the Perennial Postage Stamp Set and was stamped on a label cut using the Thoughtful Expressions Dies.


I made this card using the pretty Delightful Floral Designer Series Paper. I think this is one of my favorite paper packs.


Supply List

You can click on the item to purchase it from my Online Store.

Easter Lilies - Color Combo

I made this Easter Card using the Easter Lilies Bundle. The lily images are beautiful and I love the sentiments.


The Color Combo is from my March Inspiration Calendar - Granny Apple Green, Sweet Sorbet and Shaded Spruce. You can get my calendar each month when you subscribe to my email list.


Tips & Instructions

  • Shaded Spruce Card Base - 5 1/2 x 8 1/2, score at 4 1/4, stamp the palm leaf image multiple times in Shaded Spruce ink on the card front.

  • Basic White - cut using the 3rd from largest rectangle from the Deckled Rectangle Dies. Stamp sentiment at the bottom corner in Shaded Spruce ink. Adhere to the card front.

  • On Basic White stamp the leaves and 3 lily images in Crumb Cake Ink. Die cut using the coordinating Easter Lillies Dies.

  • Using a Sponge Dauber color the center and base of the lilies in Sweet Sorbet Ink. Use a Sponge Dauber to color the leaves and stems in Granny Apple Green Ink.

  • Arrange and adhere the lilies to the white rectangle using a Dimensionals on the larger lily image.

  • Add some birds from the Adhesive-Backed Dragonflies & Birds.


On the inside layer (4 x 5 1/4) stamp the sentiment in Shaded Spruce ink. Stamp and color the lily image the same way you did the front.


I love how this turned out. The lilies are so pretty.


Supply List

You can click on the item to purchase it from my Online Store.

Sketch Challenge - Heartfelt Hexagons

Here’s my card for this week’s Splitcoaststampers Sketch Challenge using the pretty Countryside Inn Designer Series Paper.


When I saw this sketch, I decided to make a quilt style card and the patterns on the paper work well for a quilt. Once I had all the pieces in place, I embossed the entire layer.


Tips & Instructions

  • Thick Basic White Card Base - 5 1/2 x 8 1/2, score at 4 1/4

  • Basic White Layer - 5 1/4 x 4

  • Cut a bunch of 1” squares, look at both sides of the paper to get a good mixture of light and dark patterns. Put adhesive, I used Stampin’ Seal on the entire white layer and start adding the squares starting somewhere in the middle of the layer working your way out. Mix the light and dark as you go. Let them hang over the edge and once the layer is full, trim around the edges.

    Tip - use a Silicon Mat when you are putting adhesive on the white layer.

  • Cut some 1/8” strips of Night of Navy. Adhere them over the seams of the squares. Lay them across all one way and then the other. Trim off the edges.

  • Emboss the layer using the Countryside Blossoms Embossing Folder. Adhere to the card base.

  • On a piece of Basic White stamp the border and the sentiment in Night of Navy ink. Punch with the Heartfelt Hexagon Punch and adhere to the card with Dimensionals.


On the inside layer (4 x 5 1/4) add a 3/4” strip of the Designer Series Paper.


Can you see how pretty the embossing looks….looks like a quilt, right?


Supply List

You can click on the item to purchase it from my Online Store.

Quick & Easy Meandering Meadows Card

The Meandering Meadows Designer Series Paper has such beautiful scenes. You don’t need to add much to the paper to create a stunning card!


Tips & Instructions

  • Night of Navy Card Base - 4 1/4 x 11, score at 5 1/2 (top folding)

  • Basic White Layer - 5 1/4 x 4

  • Meandering Meadows Designer Series Paper - 5 x 3 3/4, adhere to the white layer. Wrap piece of Night of Navy Bordered Ribbon around the layers and adhere to the back. Adhere layer to card base.

  • Stamp sentiment on Basic White in Night of Navy ink and cut down. I cut it to about 1 1/4 x 1 7/8. Adhere to the card using Dimensionals.

  • Tie bow with the ribbon and adhere to card with a Glue Dot.


On the inside layer (4 x 5 1/4) stamp sentiment in Night of Navy ink. Stamp the flower in Black Memento and color. I used a Garden Green Stampin’ Write Marker for the leaves but you can use any green. Color the flower with a Dark Highland Heather Stampin’ Blends Marker.


Doesn’t this look like a painting? The scenes in this paper pack are gorgeous.


Supply List

You can click on the item to purchase it from my Online Store.

Sketch Saturday - Excellent Eggs

This was such a fun card to make for this week’s sketch challenge. With the Excellent Eggs Dies you can cut different colored cardstock and then mix and match the pieces.


The Sketch is from the weekly Atlantic Hearts Sketch Challenge.


Tips & Instructions

  • Thick Basic White Card Base - 5 1/2 x 8 1/2, score at 4 1/4

  • Light & Airy Designer Series Paper - 5 1/4 x 4, adhere to the card base.

  • Basic White - Two 1/2” strips, emboss using the dots folder from the Basics 3D Embossing Folders. Cut down to fit the Designer Series Paper layer - one piece 4” long and the other 5 1/4” long. Adhere to card as shown.

  • Using the Excellent Eggs Dies, die cut 3 eggs from different colored cardstock. I used Lemon Lolly, Granny Apple Green and Fresh Freesia. Fit the pieces into the eggs to get the different accents on the eggs. Play around with it. I taped them on the back to keep them in place.

  • Adhere the eggs to the card. I used Dimensionals and glue.

  • Stamp sentiment on 3/4” strip of Basic White in Granny Apple Green ink and adhere to the card.

  • Add some Rainbow Adhesive-Backed Dots.


On the inside layer (4 x 5 1/4) stamp sentiment in Fresh Freesia ink and add a 3/4 x 5 1/4 strip of the Designer Series Paper.


I think the embossed dots on the strip along with the rainbow dots work well with this patterned paper.


Supply List

You can click on the item to purchase it from my Online Store.

Double Decker Pop Out Card

This week’s Fun Fold Card is called a Double Decker Pop Out Card. I got the idea from Susan Campfield.


Watch the video to see how to make this fun fold design and then click the button below it to get a printable pdf with measurements and instructions.


I used the beautiful Poetic Expressions Designer Series Paper and Thoughtful Expressions Bundle for this card. The embossed layers were made using the new Fun Patterns Embossing Folder.


This is a great masculine card using the Let’s Go Fishing Designer Series Paper and Gone Fishing Bundle. The embossed layers we made using the Twisted Rope 3D Embossing Folder.


Supply List

You can click on the item to purchase it from my Online Store.

Everyday Details - Color Combo

This sweet card was made using the Everyday Details Stamp Set and Dies along with the Glorious Gingham Designer Series Paper.


The color combo is from my March Inspiration Calendar - Lemon Lime Twist, Azure Afternoon and Night of Navy. You can get my calendar each month when you subscribe to my email list.


Tips & Instructions

  • Thick Basic White Card Base - 5 1/2 x 8 1/2, score at 4 1/4

  • Glorious Gingham Designer Series Paper (Lemon Lime Twist) - 5 1/4 x 4. Wrap a piece of Night of Navy Bordered Ribbon around the layer and adhere it to the back. Adhere layer to card base.

  • Die cut the largest rectangle from Basic White using the Everyday Details Dies.

  • Stamp image on the rectangle in Black Memento ink and color with Stampin’ Blends Markers. I used Light Night of Navy for the vase and then added Wink of Stella. The larger flowers were colored with Light Azure Afternoon and the small flowers with Dark Azure Afternoon. I used Dark Lemon Lime Twist on the leaves.

  • Die cut the smallest rectangle from Basic White using the Everyday Details Dies and stamp the sentiment in Night of Navy. The sentiment is from the Hills of Tuscany Stamp Set.

  • Adhere both rectangles to the card with Dimensionals.

  • Tie a bow with the ribbon and adhere with a Glue Dot. Add some Iridescent Pearls to the flowers.


On the inside layer (4 x 5 1/4) stamp the flower portion of the image on the bottom left and top right corners in Black Memento Ink and color with Stampin’ Blends Markers.


You can’t really see the glimmer from the Wink of Stella on the vase but it really is pretty in person.


Supply List

You can click on the item to purchase it from my Online Store.

Sketch Challenge - Hooray for Surprises

This week’s sketch challenge was fun and I used the Hooray for Surprises Stamp Set and Lighter Than Air Designer Series Paper to make my card.


Here’s the sketch from the Splitcoaststampers Weekly Sketch Challenge. You can click on it to see other projects posted for this week’s challenge.


Tips & Instructions

  • Azure Afternoon Card Base - 5 1/2 x 8 1/2, score at 4 1/4

  • Basic White Layer - 5 1/4 x 4, adhere to the card base.

  • Lighter Than Air Designer Series Paper Layer - 4 3/4 x 3 1/2 adhere to the card

  • Basic White - die cut the second from largest circle using the Everyday Details Dies. Using the Hooray for Surprises Stamp Set, stamp the cake in Flirty Flamingo, candle in Azure Afternoon and flame in Lemon Lolly inks. Adhere to card using Dimensionals.

  • On 1/2” strips of Basic White stamp sentiment in Azure Afternoon ink. I covered the “Birthday” sentiment with a piece of Post-It Note, inked it up, removed the Post-It-Note and stamped it. Clean your stamp and repeat covering the “Happy” sentiment. Cut angles on each side and cut to be the same size. Adhere to card using Dimensionals.

  • Add some Rainbow Adhesive-Backed Dots.


On the inside layer (4 x 5 1/4) stamp sentiment in Azure Afternoon ink. Stamp the cake using the same colors you used on the card front.


I think all the dots pull this together (paper, circle and embellishment).


Supply List

You can click on the item to purchase it from my Online Store.

Lifetime of Love Wedding Card

I made this pretty wedding card using the Lifetime of Love Bundle and our Soft Pastels.


Have you ever tried using the Soft Pastels? There are a number of ways to color with them.


Here’s a video I made a while back showing some tips on using Soft Pastels.


Tips & Instructions to make this card:

  • Pretty Peacock Card Base 4 1/4 x 11, score at 5 1/2

  • Delightful Floral Designer Series Paper (orange piece) - 5 1/4 x 4, adhere to the card base.

  • Basic White Layer - 4 3/4 x 3 1/2

  • Delightful Floral Designer Series Paper - cut 2 wreath pieces from the leafy pattern using the Lifetime of Love Dies. Adhere together to create the wreath with leaves all around.

  • Lay wreath on white layer to determine where to stamp the sentiment. Stamp sentiment in Pretty Peacock Ink. Adhere wreath to card

  • Stamp the floral image on Basic White in Smoky Slate Ink. Color with Soft Pastels. I used Poppy Parade and Mossy Meadow. I scraped some of the chalk onto a clear block with my spatula end of a Take Your Pick Tool and then used Sponge Daubers to color. I also used Q-Tips and A Blender Pen to add some find details to the flowers. Die cut the flowers with coordinating die. Adhere to the bottom of the wreath and adhere layer to card.

  • Add some Pretty Peacock Tinsel Gems.


On the inside layer (4 x 5 1/4) stamp sentiment in Pretty Peacock ink. Stamp the floral image in Smoky Slate ink. Color with the green, yellow and orange Soft Pastels.


This card turned out so pretty! Cutting the wreath from a patterned paper gives it a nice variety of greens.


Supply List

You can click on the item to purchase it from my Online Store.

Sketch Saturday - Latte Love

Here’s my card for this week’s Atlantic Hearts Sketch Challenge. I used the new A Little Latte Suite which comes out as an Online Exclusive on March 5th.


This is the sketch that I used. The Designer Series Paper was perfect to use for this design.


Tips & Instructions

  • Early Espresso Card Base - 5 1/2 x 8 1/2, score at 4 1/4

  • Basic White Layer - 5 1/4 x 4

  • A Little Latte Designer Series Paper - Cut 4 strips:

    • 5 1/4 x 1

    • 5 1/4 x 3/4

    • 5 1/4 x 1 1/4

    • 5 1/4 x 3/4

  • Adhere the strips to the white layer and then to the card base.

  • Stamp the cup image on a scrap of Basic White in Pecan Pie Ink. Color with a light Lost Lagoon Stampin’ Blends Marker. Stamp the coffee inside the cup in Pecan Pie ink.

  • Stamp the spoon on a scrap of Basic White in Black Memento ink. Color with a light Smoky Slate Stampin’ Blends Marker.

  • Die cut the cup and spoon using the Latte Love Dies. Cut off the bottom of the spoon and adhere the handle to the cup using a little glue at the bottom of it.

  • Stamp the sentiment in Lost Lagoon Ink on a scrap of Basic White and fussy cut around it. Adhere it to the side of the cup.

  • Die cut a piece of Basic White and a piece of Vellum using the 5th from smallest Deckled Circles Die.

  • Adhere the cup and sentiment to the Vellum circle with Dimensionals. Adhere the Vellum circle to the white circle putting adhesive only behind the images so you don’t have the adhesive showing through the Vellum.

  • Adhere the circle to the card.

  • Add some Adhesive-Backed Swirl Dots.


On the inside layer (4 x 5 1/4) stamp sentiment in Lost Lagoon Ink. I colored just the words that I wanted on the stamp with a Stampin’ Write Marker and stamped it. You can also cover the words you don’t want with a Post-It Note and ink it up with an ink pad.

Die cut 2 small cups from the Designer Series Paper and 2 small coffee images from the back of that Designer Series Paper and adhere to the layer.


The patterns on this paper are so fun with those hearts in the cream, the splatters and the coffee rings.


Supply List

You can click on the item to purchase it from my Online Store.

Note: The A Little Latte Suite Products (Designer Series Paper, Stamp Set & Dies) will be available for purchase from the Online Exclusives starting March 5. The Swirl Dots will be available starting April 29.

Pretty Corner Fold Cards

Today I made a video showing how to make a Corner Fold Card. This design is elegant and I found it on Pinterest posted by Marsha LaFroth.


Watch the video to see step-by-step instructions to make this design. I’ll show you the new Flowering Zinnia Suite which is part of the Online Exclusives that will launch March 5.

Click the link below to get a printable pdf with measurements and instructions.


This card was made using the Flowering Zinnias Designer Series Paper and Simply Zinnia Bundle. The colors and patterns in this paper are bold and vibrant.


This card was made using the Nature’s Sweetness Designer Series Paper and Lovely & Sweet Bundle. This elegant paper is perfect for sympathy, wedding and anniversary cards.


Supply List

You can click on the item to purchase it from my Online Store.

Note: The Flowering Zinnia Products are an Online Exclusive which will be available for purchase starting March 5, 2024.